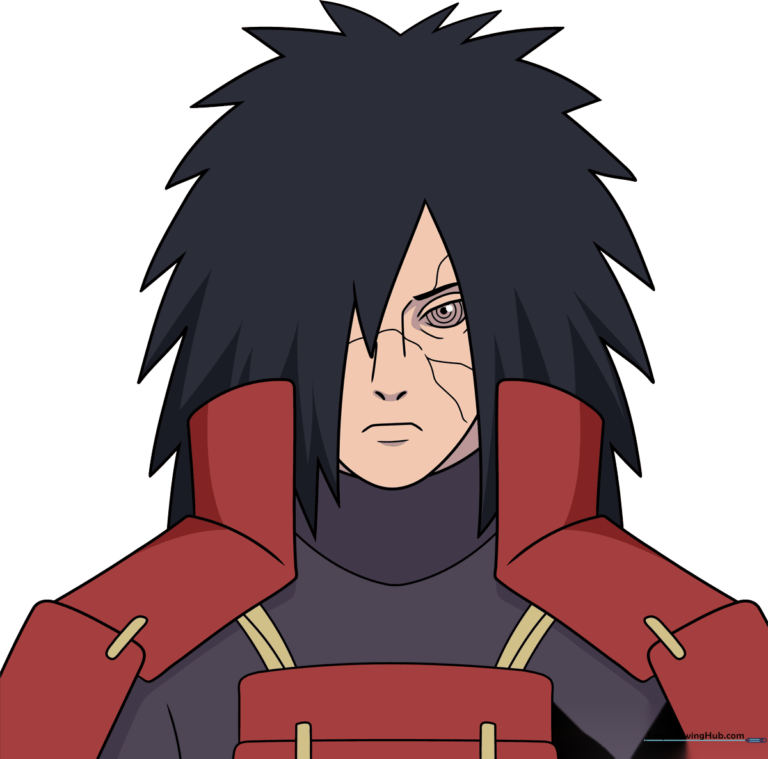
How to Draw Madara Uchiha: Easy Step-by-Step Anime Guide
Ready to bring the legendary Madara Uchiha to life? This tutorial is designed for intermediate artists looking to capture his intense expression and iconic armor. Grab your pencil, eraser, and a fine-liner to follow along with these professional techniques.
🎯 Final Result
Step-by-Step Instructions
Step 1: Sketching the Eye and Brow
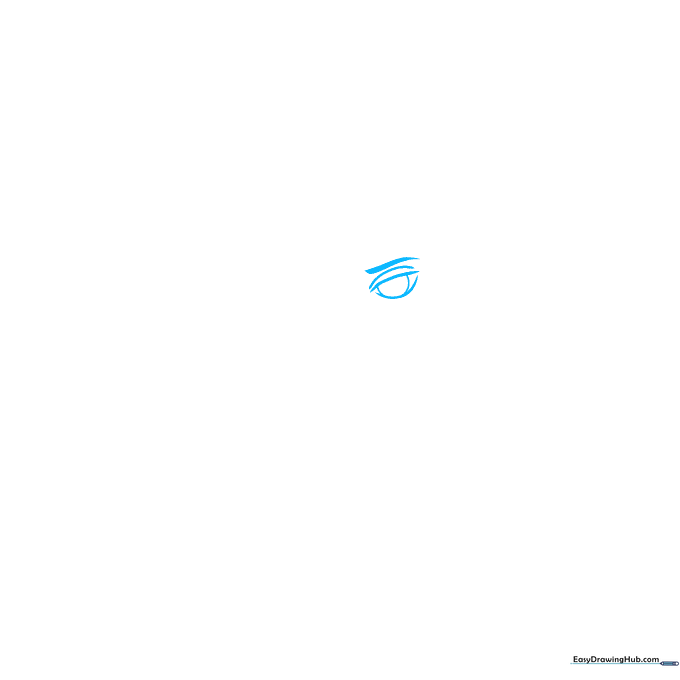
Start by sketching the eye. Use a thick, bold curve for the brow and a sharp, angular line for the upper lid. Teacher's Tip: Keep your pencil pressure light here so you can easily adjust the proportions before committing to darker lines.
Step 2: Defining the Pupil and Facial Features
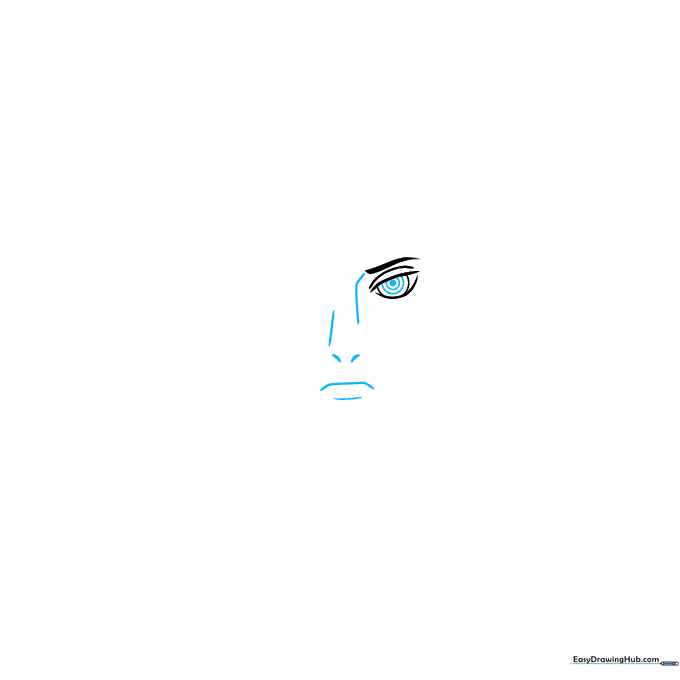
Draw three concentric circles for the iris and pupil, shading the center dark. Add the nose and a stern, frowning mouth. Teacher's Tip: Use a sharp pencil tip to ensure the pupil is perfectly round, which adds that signature 'Uchiha' intensity.
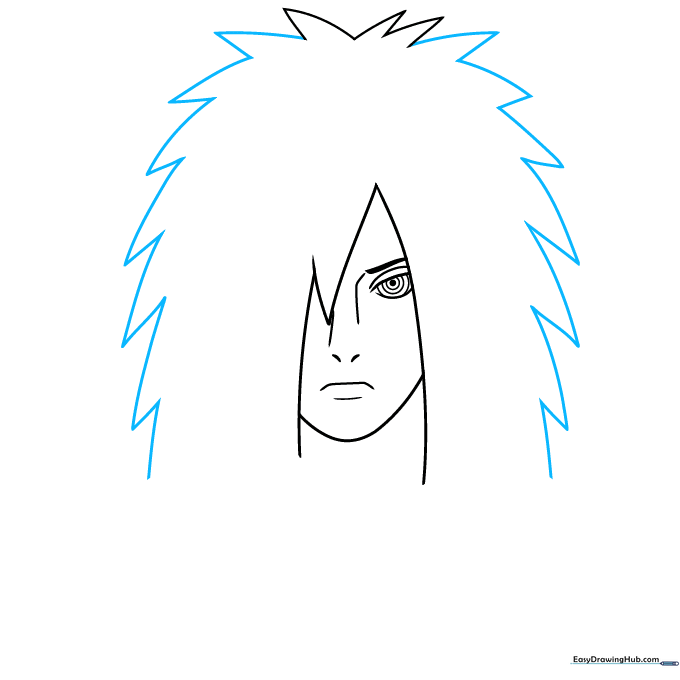
Step 3: Framing the Face with Hair
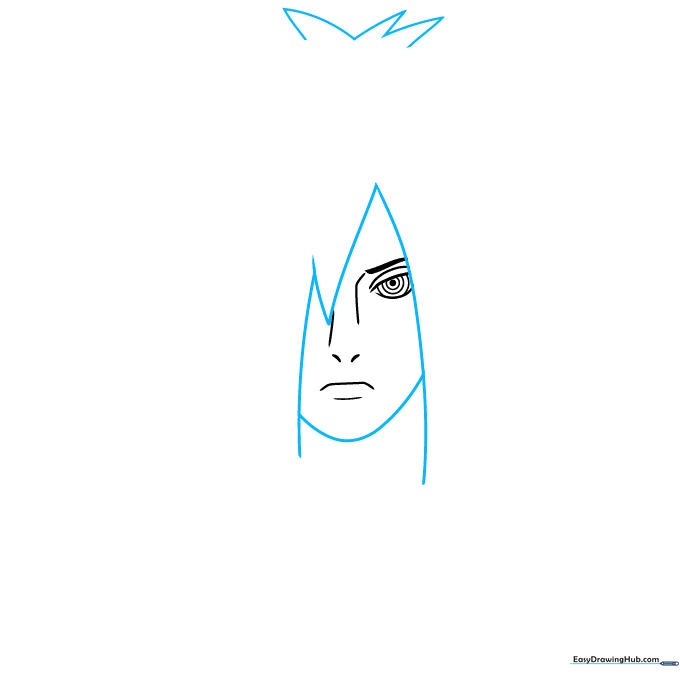
Use long, sweeping curves that meet at jagged points to frame the forehead and jawline. Teacher's Tip: Don't worry about perfect symmetry; anime hair looks more natural when the spikes vary slightly in length.
Step 4: Adding Shaggy Hair Details
Continue the hair using a zigzag pattern to create that signature shaggy, wild look. Teacher's Tip: Vary the pressure on your pencil to create thicker, darker lines at the base of the hair clumps for added depth.
Step 5: Constructing the High Collar
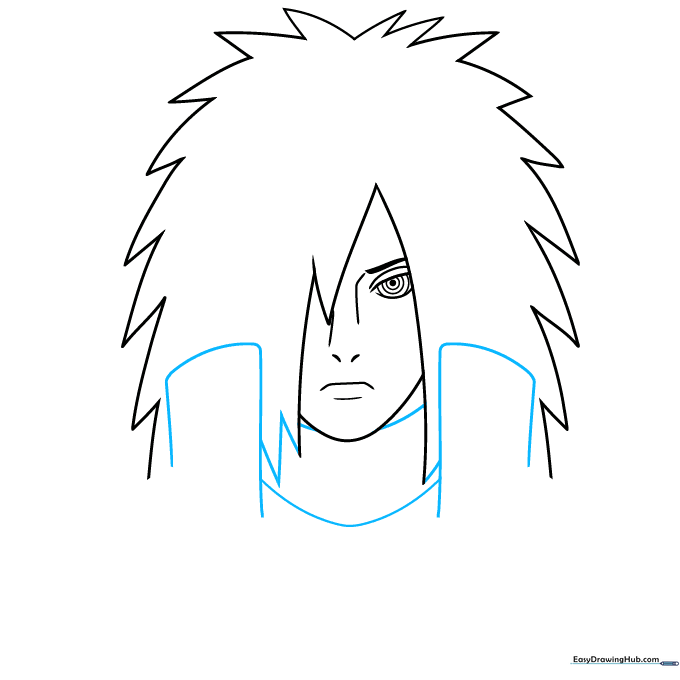
Draw the tall, rectangular collar pieces. These form the base of his armor. Teacher's Tip: Use a ruler or a straight edge if you struggle to keep the rectangular shapes consistent.
Step 6: Layering the Armor
Add overlapping rectangular plates to the collar. Connect them with small, precise rectangles. Teacher's Tip: Think of these as stacked plates; ensure the lines overlap slightly to show depth.
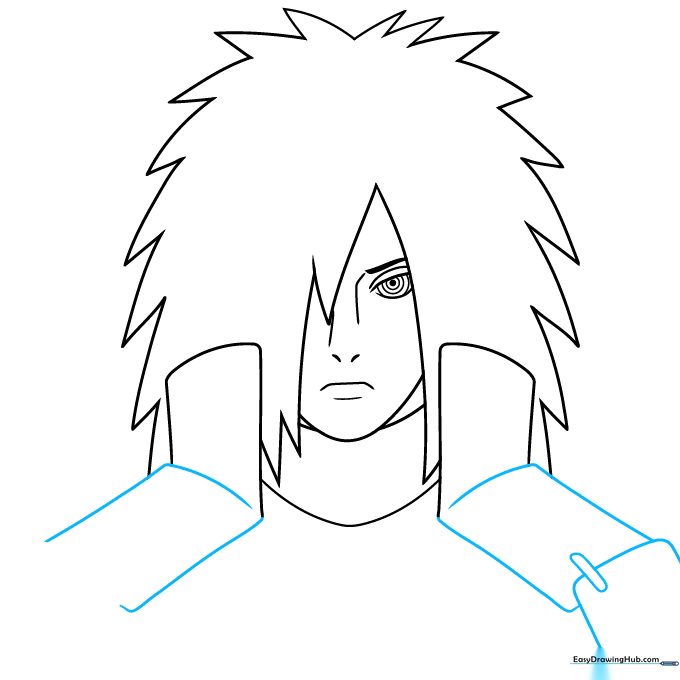
Step 7: The Chest Plate
Complete the shoulder armor and add the curved chest plate. Connect it to the shoulder pieces with two sets of parallel lines. Teacher's Tip: Keep your lines clean and steady to maintain the 'hard' look of the armor.
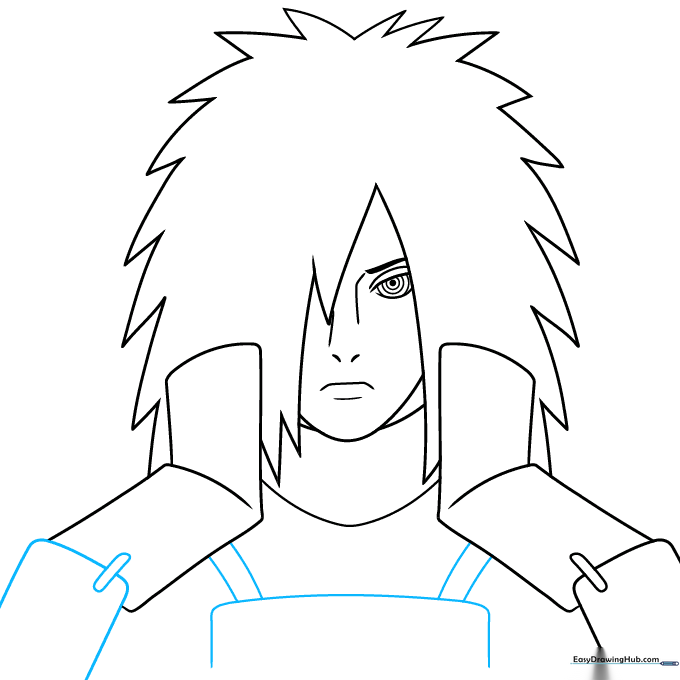
Step 8: Refining Armor Details
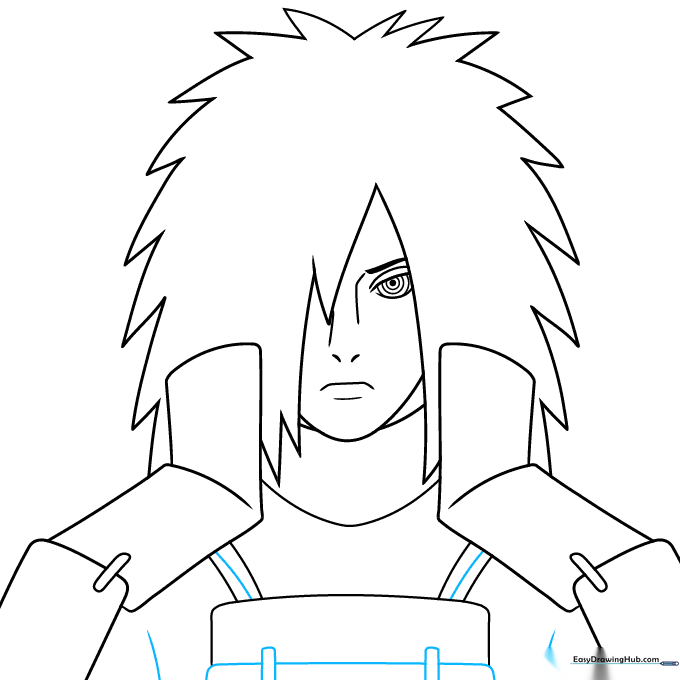
Add the lower chest plate and contour the arms with curved lines. Teacher's Tip: Adding these subtle contours helps the armor look like it's wrapping around a human form rather than just floating.
Step 9: Final Facial Details
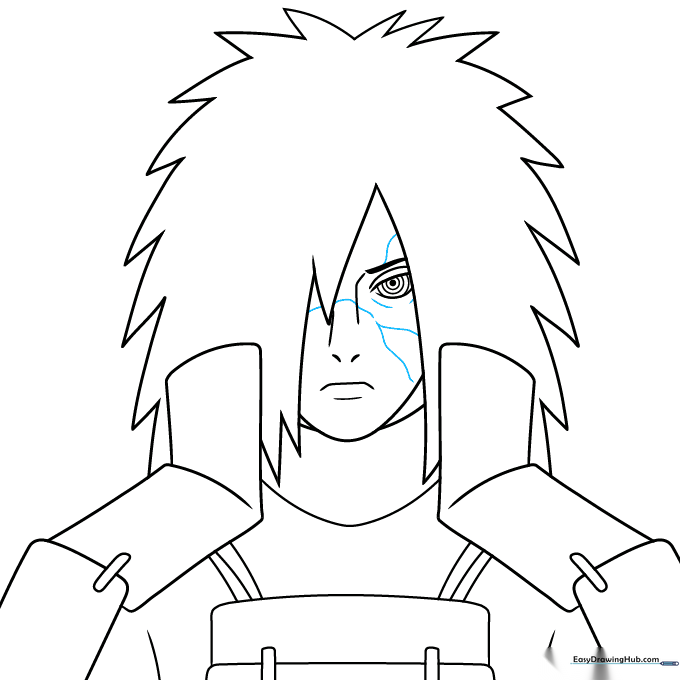
Add the finishing touches: the scar above the eye and the 'Y' shaped scar on the cheek. Teacher's Tip: Use a lighter touch for the scars so they look like skin texture rather than heavy outlines.
Step 10: Coloring Your Masterpiece

Time to bring him to life! Use deep blacks for the hair, a vibrant purple for the eye, and classic red and black for the armor. Teacher's Tip: Use alcohol markers or colored pencils to blend the shadows on the armor for a professional finish.
More Tutorials


