How to Draw Luca: Easy 9-Step Guide for Kids
Bring the magic of the Italian Riviera to your sketchbook! This tutorial is designed for young artists ages 6+ to practice character proportions using simple shapes. Grab a pencil, an eraser, and a piece of paper to start building your own version of Luca.
🎯 Final Result

Step-by-Step Instructions
Step 1: Sketching the Eyes

Start by drawing four concentric circles for each eye. Shade the center to create those expressive pupils. Teacher's Tip: Keep your pencil pressure light so you can easily adjust the spacing between the eyes if they look a bit too far apart.
Step 2: Defining the Nose and Mouth
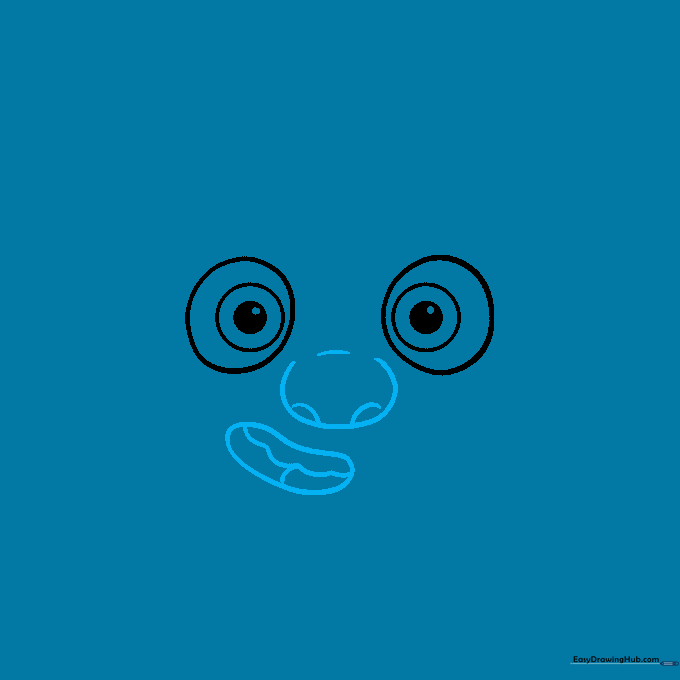
Draw a 'C' shaped line for the nose, adding two small curves at the bottom for nostrils. Sketch an irregular shape for the mouth, including the tongue and teeth. Teacher's Tip: Don't worry about perfect symmetry; Luca's charm comes from his expressive, slightly quirky features!
Step 3: Shaping the Face

Outline the face with a long, smooth curved line and add two arched eyebrows above the eyes. Teacher's Tip: Use your wrist to create a fluid motion for the jawline rather than short, choppy strokes.
Step 4: Starting the Hair
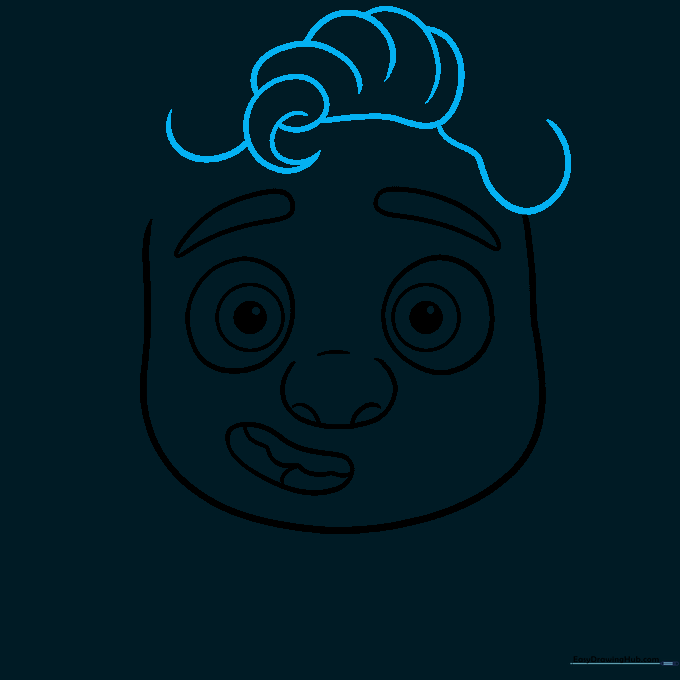
Use overlapping curved lines to create the hair, adding a spiral lock in the center of the forehead. Teacher's Tip: Think of the hair as 'clumps' or 'shapes' rather than individual strands to make it look more like a cartoon character.
Step 5: Adding Hair Volume
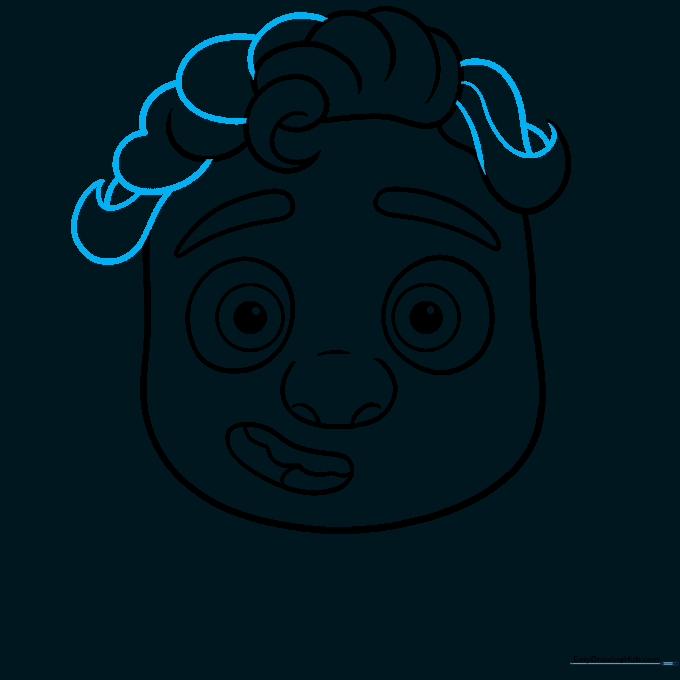
Continue adding pointed locks of hair on the sides of the face. Teacher's Tip: Let the lines meet at sharp points to give the hair a messy, adventurous look.
Step 6: Ears and Hair Details
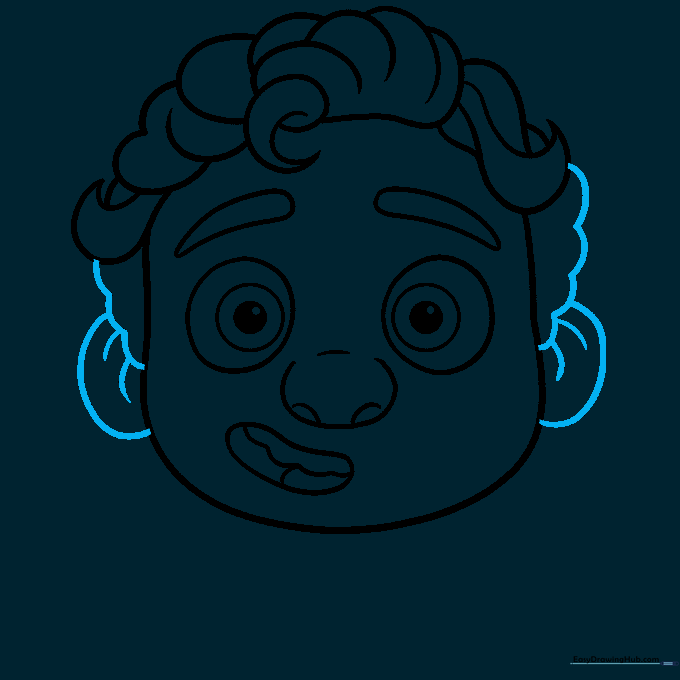
Use wavy lines to finish the hair and add 'C' shaped ears with internal details. Teacher's Tip: Keep the ear details simple—just two small curves are enough to suggest the inner ear structure.
Step 7: Adding Hair Texture
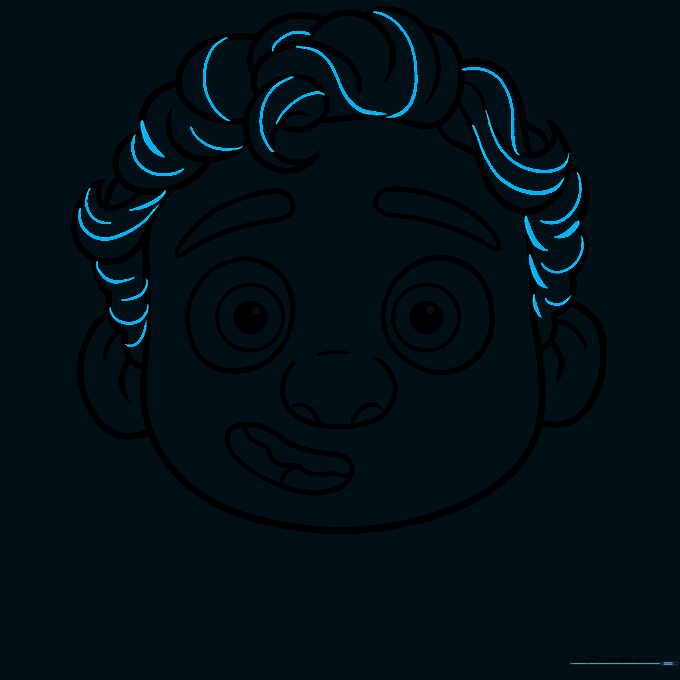
Add a few extra curved lines throughout the hair to show direction and texture. Teacher's Tip: Follow the curve of the head so the hair looks natural and not flat.
Step 8: Blush and Shirt Neckline
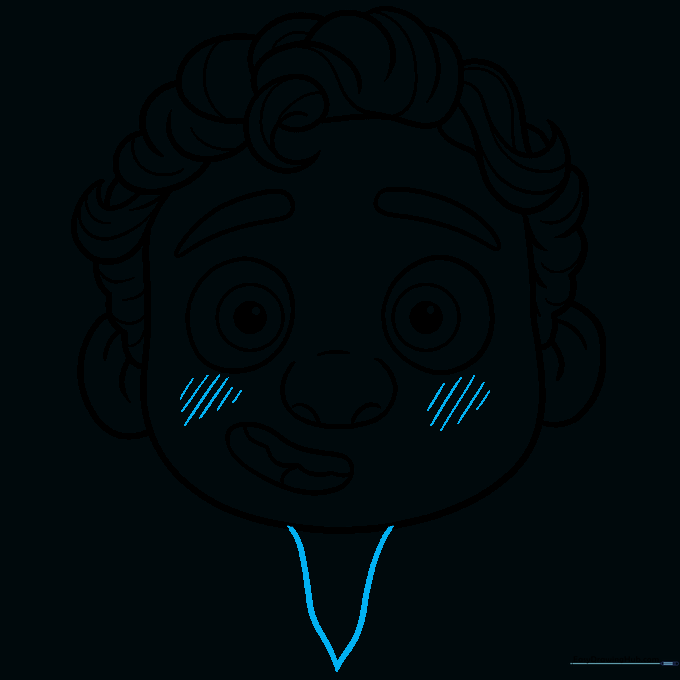
Draw diagonal lines on the cheeks for blush and a 'V' shape for the shirt collar. Teacher's Tip: Use a very light touch for the cheek lines so they look like a soft glow rather than harsh scratches.
Step 9: Completing the Shirt
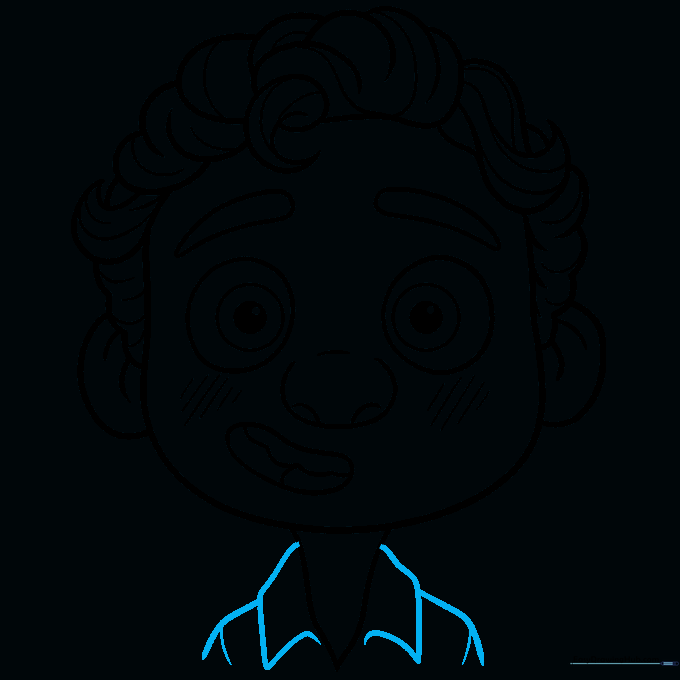
Finish the collar, shoulders, and sleeves using curved lines. Teacher's Tip: Check that your shoulders are wide enough to balance the size of the head.
Step 10: Adding Color

Bring Luca to life with color! Use warm browns for his hair and soft tones for his shirt. Teacher's Tip: Try using colored pencils and layering your colors to create depth in the hair.
More Tutorials


