How to Draw ‘Love’ in Bubble Letters: Easy Step-by-Step Guide
Perfect for ages 6 and up, this tutorial teaches you how to create vibrant, 3D-style bubble letters for the word 'Love.' All you need is a pencil, an eraser, and a black marker to get started. By the end of this lesson, you will have a professional-looking design ready for handmade cards or posters.
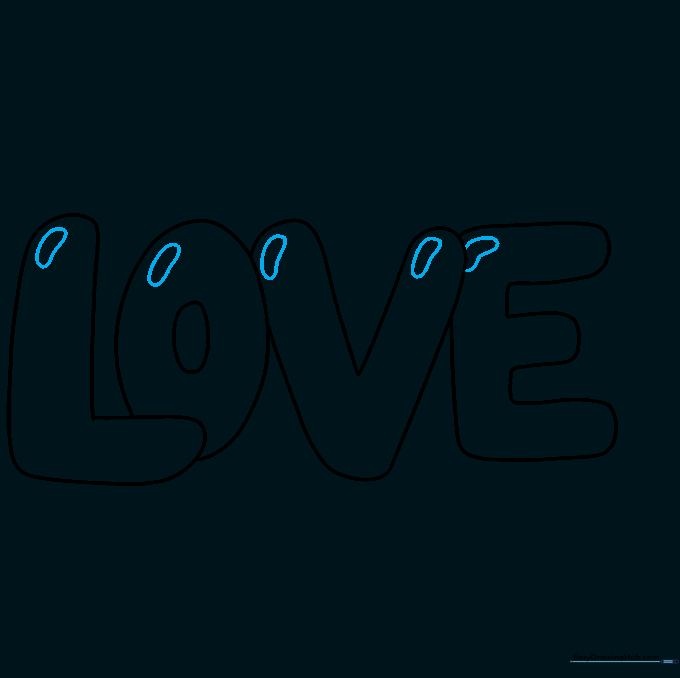
🎯 Final Result

Step-by-Step Instructions
Step 1: Sketching the Letter L
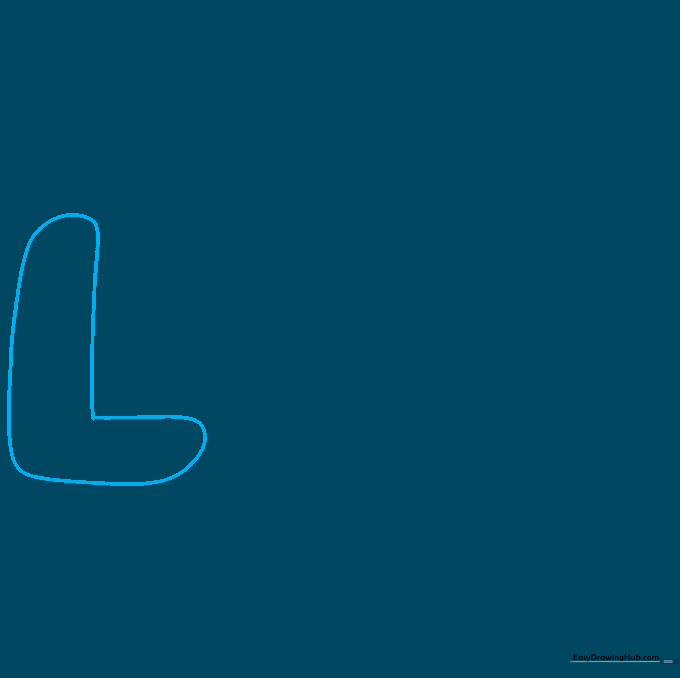
Start by drawing a standard 'L' shape. Then, add a curved line that follows the contour of the letter to give it thickness. Teacher's Tip: Keep your pencil lines very light so you can easily erase any overlapping marks later.
Step 2: Forming the Letter O
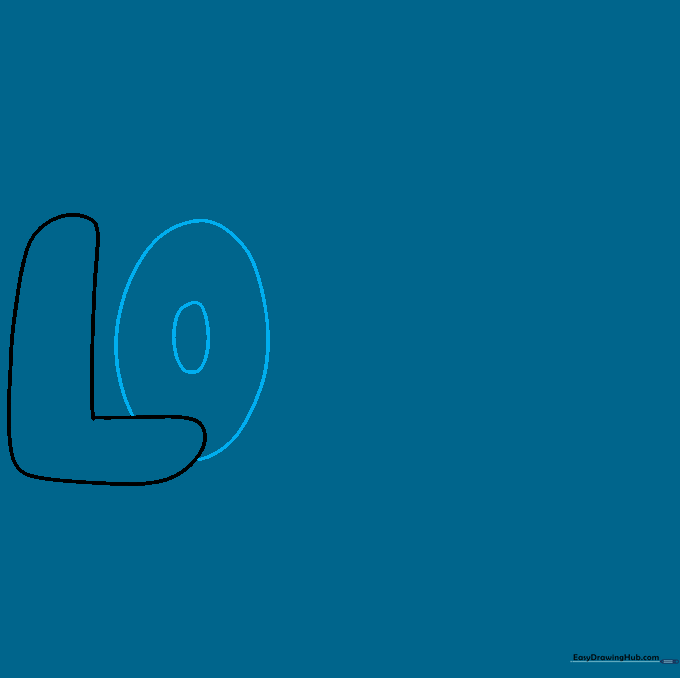
Draw a large oval for the 'O' next to your 'L.' To make it look like a bubble, draw a smaller oval inside it. Teacher's Tip: Let the 'O' slightly overlap the 'L' to create a sense of depth and connection.
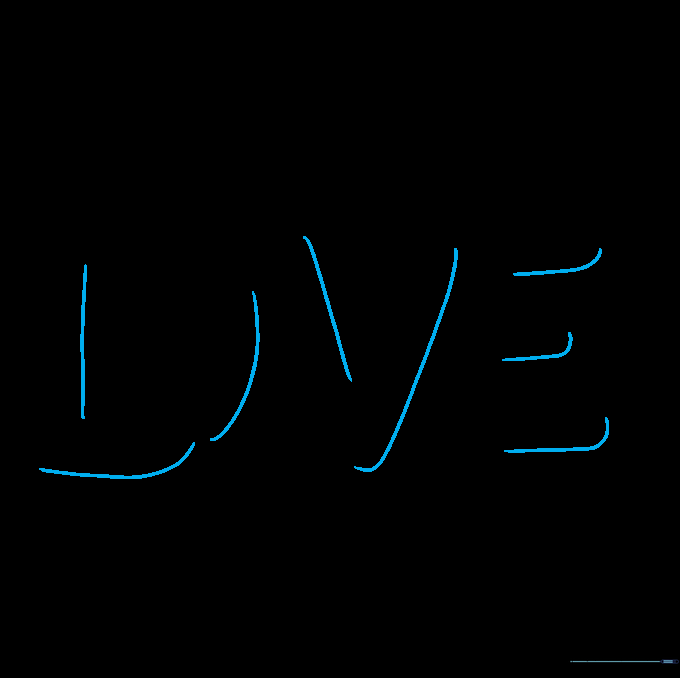
Step 3: Creating the Letter V
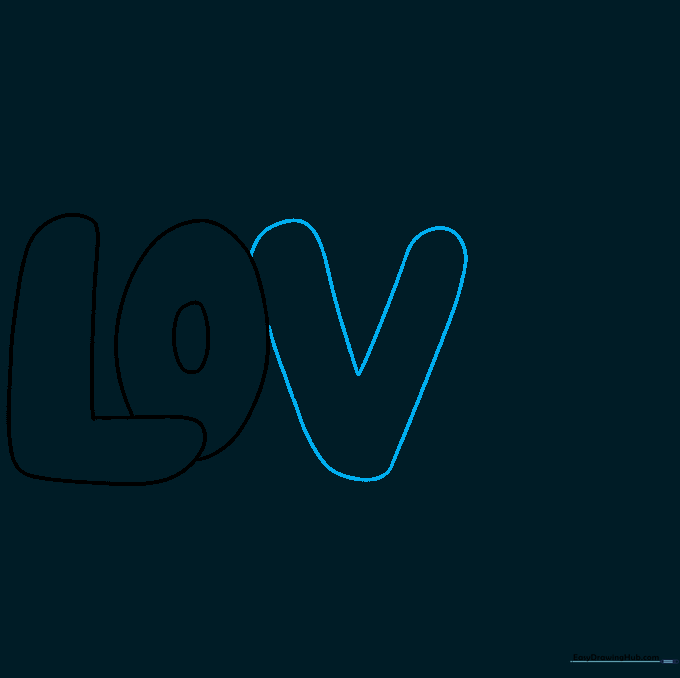
Sketch a 'V' shape using two straight lines, then wrap a curved line around the exterior to give it that 'puffy' bubble look. Teacher's Tip: Ensure the curves are smooth to make the letters look inflated.
Step 4: Adding the Letter E
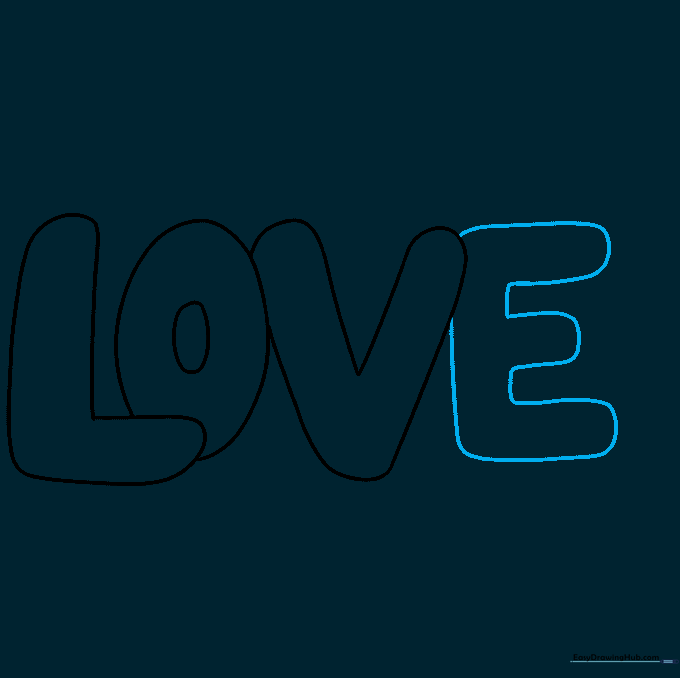
Draw the 'E' by extending lines from the 'V' and curving them back to form the three horizontal arms. Teacher's Tip: Keep the corners rounded rather than sharp to maintain the bubble aesthetic.
Step 5: Adding Highlights
Draw small, curved shapes at the top of each letter. These represent light reflections. Teacher's Tip: Placing these consistently on the same side of each letter makes the 'bubble' effect look much more realistic.
Step 6: Creating Depth
Draw lines parallel to the right and bottom edges of your letters. This creates a shadow effect. Teacher's Tip: Keep these lines thin and close to the edge to avoid making the letters look too heavy.
Step 7: Outlining L and O
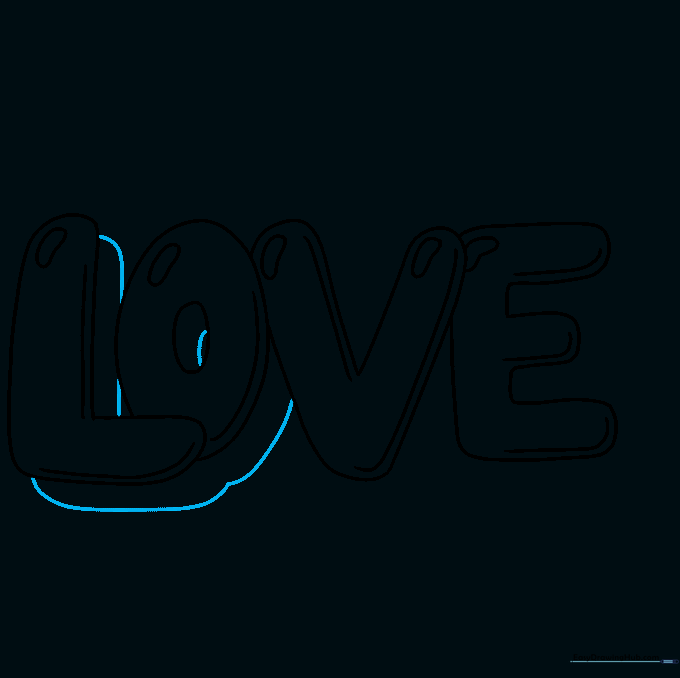
Go over your lines with a marker. Add curved lines through the center of the 'O' to emphasize its roundness. Teacher's Tip: Use a steady hand to keep the outlines smooth and continuous.
Step 8: Outlining V and E

Finish outlining the 'V' and 'E' with your marker, ensuring you include the shadow lines. Teacher's Tip: If you make a mistake, don't worry—you can turn it into a thicker line or add a little extra shadow!
Step 9: Adding Decorative Hearts
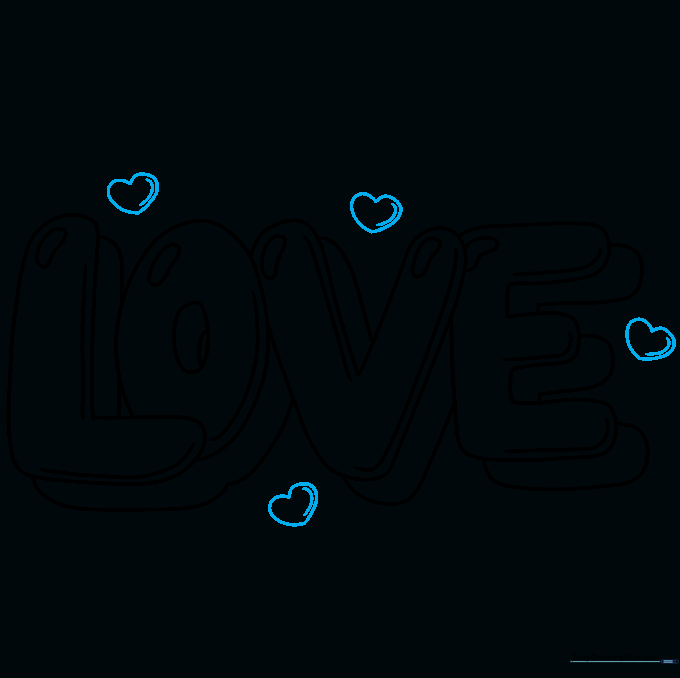
Draw small hearts around the word 'Love.' Give them the same bubble treatment by adding a small curved line for a highlight. Teacher's Tip: Vary the sizes of the hearts to create a more dynamic composition.
Step 10: Adding Color

Color your letters using bright pinks and reds. Teacher's Tip: Use a lighter shade for the main body and a darker shade for the shadows to make the letters really pop off the page.
More Tutorials


