How to Draw Love Birds: Easy 10-Step Guide for Kids
Perfect for young artists ages 5 and up, this tutorial helps you capture the charm of two sweet love birds. You will only need a pencil, an eraser, and your favorite coloring supplies to bring this pair to life. Follow along to build confidence in your sketching skills while creating a heartwarming piece of art.
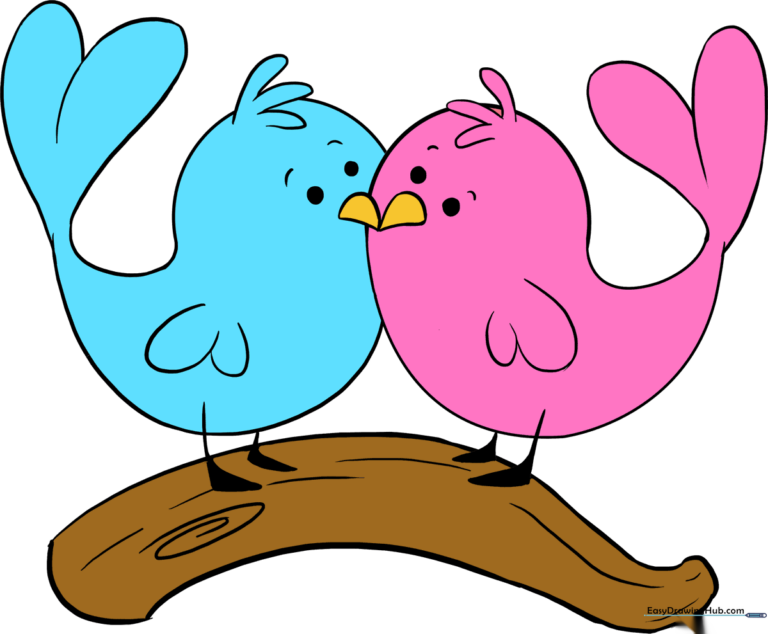
🎯 Final Result
Step-by-Step Instructions
Step 1: Sketching the First Head

Draw a light circle to serve as the head of the first bird. Teacher's Tip: Keep your pencil pressure very light so you can easily erase this guideline later once the final details are added.
Step 2: Adding the Second Head

Draw a second circle that slightly overlaps the first one. Teacher's Tip: The overlap makes it look like the birds are snuggling together, which is the secret to getting that 'love bird' look!
Step 3: Shaping the First Body
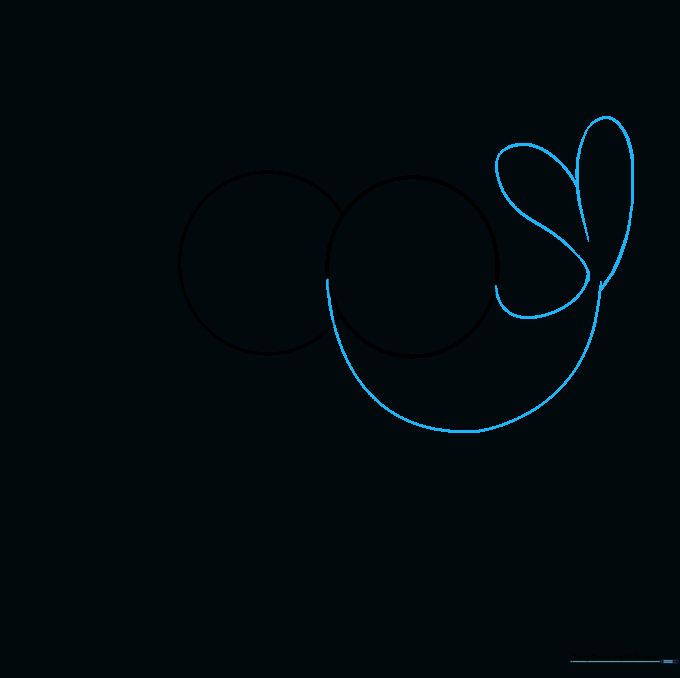
Use long, sweeping curved lines to outline the first bird's body, ending with a heart-shaped tail using an 'M' curve. Teacher's Tip: Don't worry if your lines aren't perfect; birds have soft, fluffy feathers, so a little wobble in your line adds character.
Step 4: Shaping the Second Body
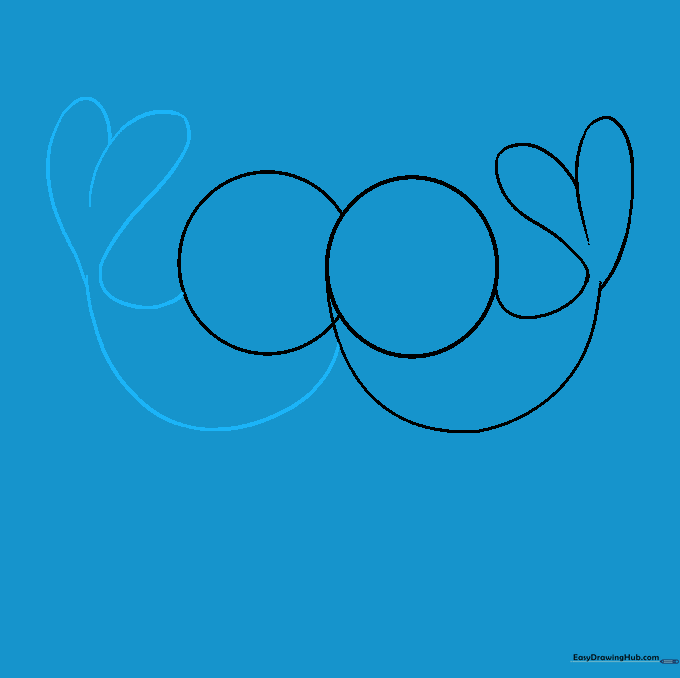
Repeat the process for the second bird, drawing curved lines that meet to form a matching heart-shaped tail. Teacher's Tip: Try to keep the size of both birds similar so they look like a balanced pair.
Step 5: Cleaning the Sketch

Gently erase the overlapping guide lines inside the heads. Teacher's Tip: Use a soft eraser and hold the paper down firmly so you don't accidentally crinkle it while cleaning up your drawing.
Step 6: Adding Wings and Crests
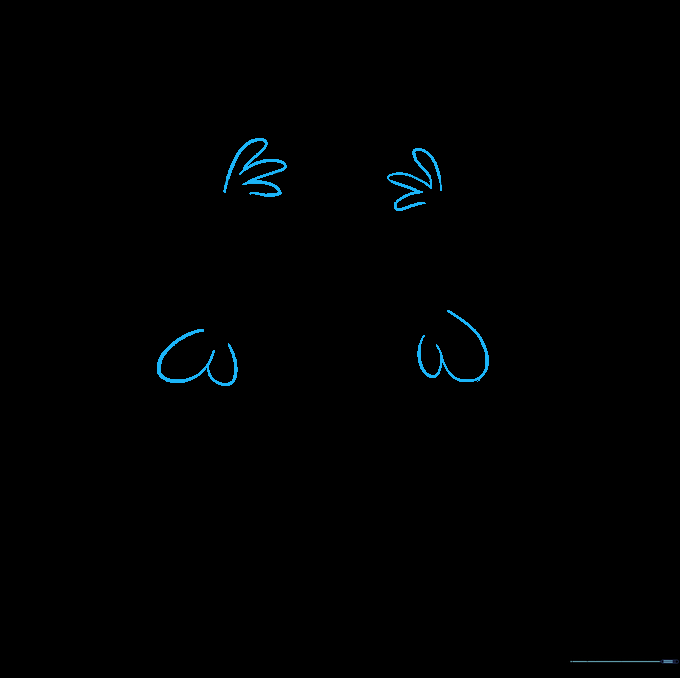
Add 'U' shaped wings and a feathery crest on top of each head. Teacher's Tip: For the crest, use short, quick strokes to mimic the look of ruffled feathers.
Step 7: Drawing the Feet
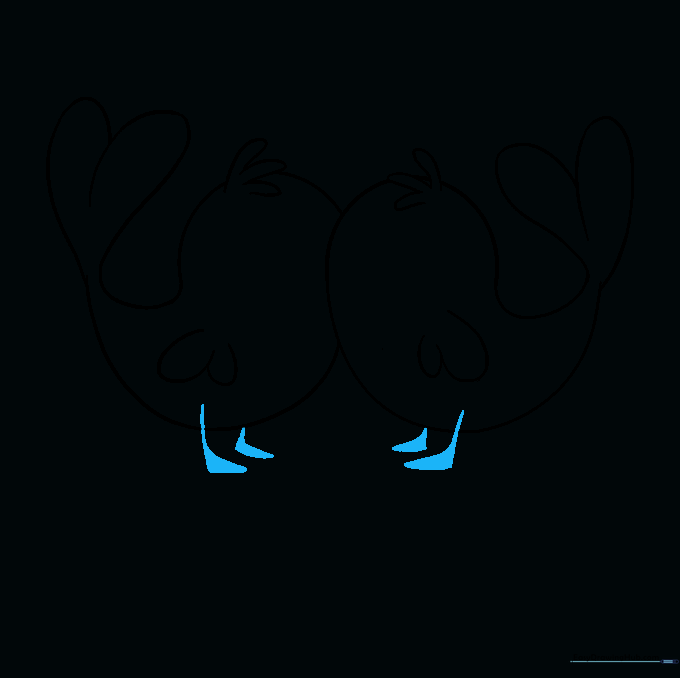
Draw small triangles beneath each bird to represent their feet. Teacher's Tip: Shade these triangles in to make them stand out against the branch you will add next.
Step 8: Giving Them Personality
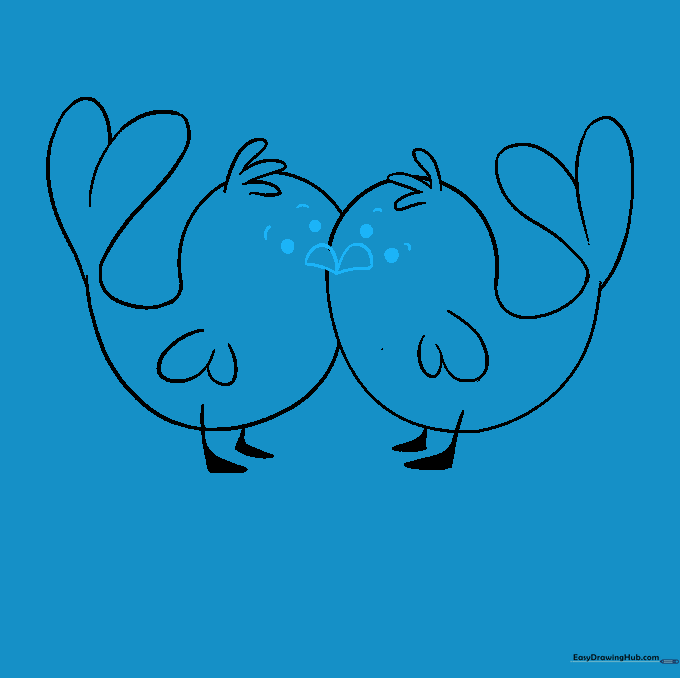
Sketch two curved triangles for the beaks, add circular eyes, and a small line for eyebrows. Teacher's Tip: The eyebrows give the birds a sweet, friendly expression—try changing the angle to make them look surprised or happy!
Step 9: Adding the Branch
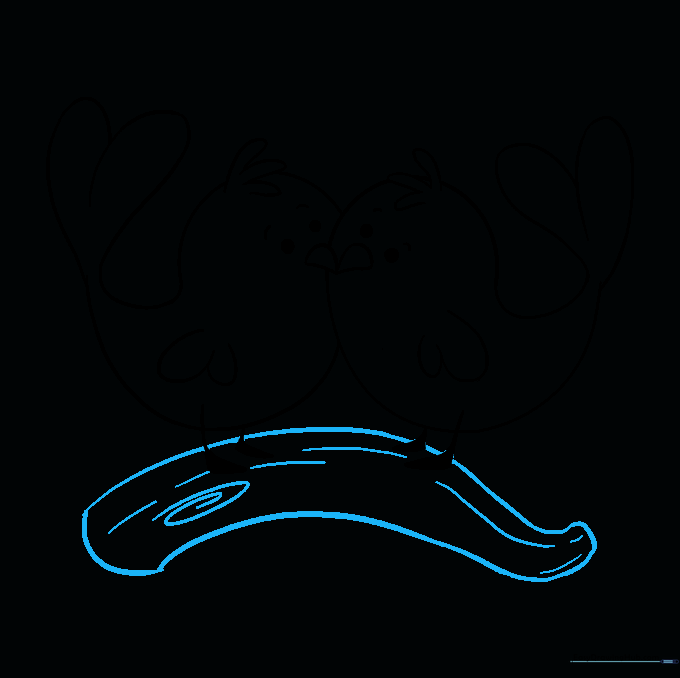
Draw a sturdy branch beneath the birds using two long, parallel lines. Add swirls to the bark for texture. Teacher's Tip: Make the branch slightly wider than the birds to give them a solid place to 'sit'.
Step 10: Bringing Them to Life with Color
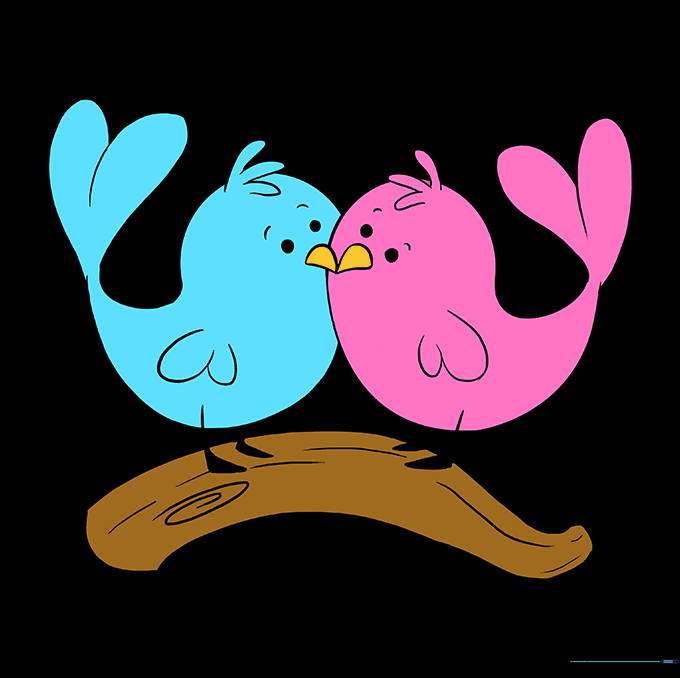
Color your birds! While we used pink and blue, feel free to experiment with vibrant greens, yellows, or oranges. Teacher's Tip: Use light pressure with your colored pencils to blend colors together for a softer, more realistic feather look.
More Tutorials


