How to Draw Lola Bunny: Easy Step-by-Step Guide
Bring the iconic Looney Tunes star to life with this fun, guided drawing lesson! Perfect for ages 6+, all you need is a pencil, paper, and an eraser. Follow these steps to master Lola's expressive features and sporty style while building your confidence as an artist.
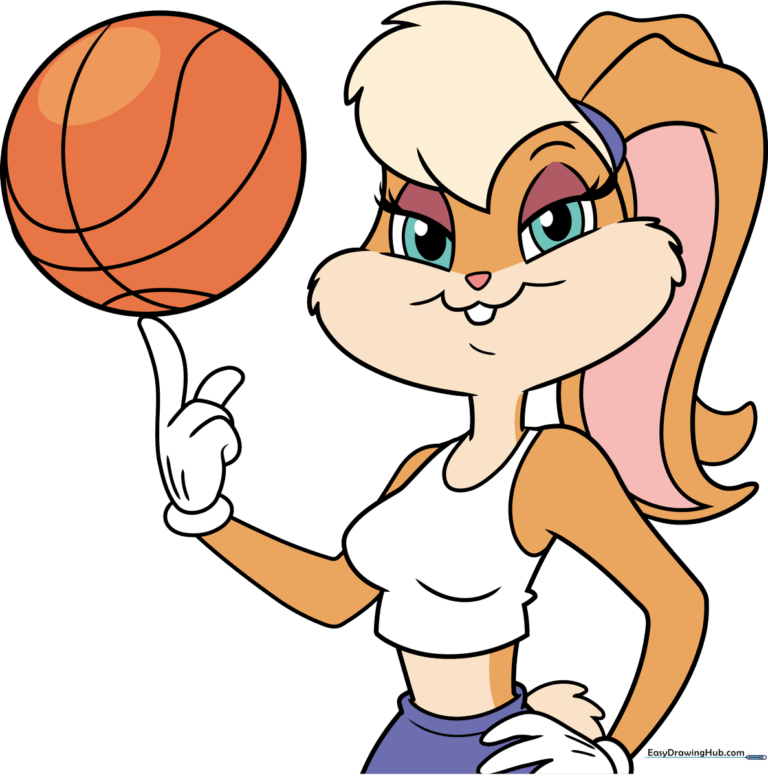
🎯 Final Result
Step-by-Step Instructions
Step 1: Sketching the Expressive Eyes
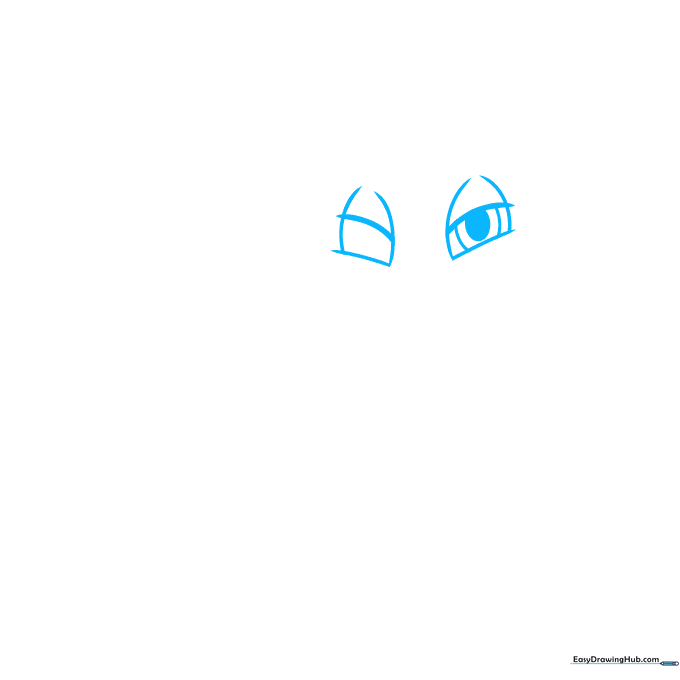
Start by drawing two parallel curved lines for the eyelids. Enclose them with a larger oval shape to define the eye socket. Teacher's Tip: Keep your pencil pressure light here so you can easily adjust the shape if needed.
Step 2: Adding the Nose and Cheeks

Draw a small inverted triangle between the eyes for the nose. Below it, sketch a wide 'W' shape for the mouth, adding small rectangles for her teeth. Use jagged, short lines to create her fluffy cheeks. Teacher's Tip: Use quick, flicking motions with your pencil to make the fur look soft and textured.
Step 3: Shaping the Head and Hair

Use overlapping curved lines to define the top of her head and her signature hairstyle. Add a small curved line for the eyebrow and a tiny dimple on the chin. Teacher's Tip: Think of her hair as a rounded shape sitting on top of the head circle.
Step 4: Eyelashes and Ears
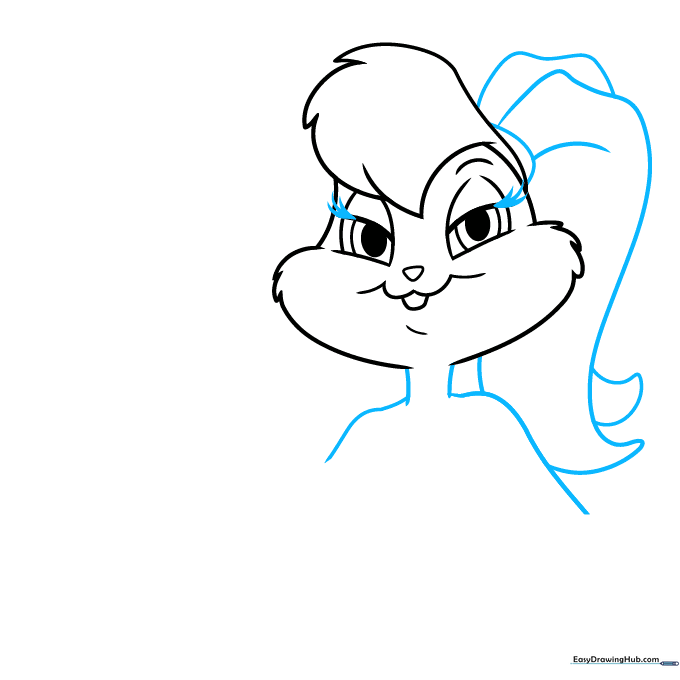
Add three pointed eyelashes to the outer corners of each eye. Sketch the neck and shoulders, then draw her ears pulled back into a ponytail. Teacher's Tip: Ensure the ears look long and graceful to capture her athletic look.
Step 5: Adding the Tank Top
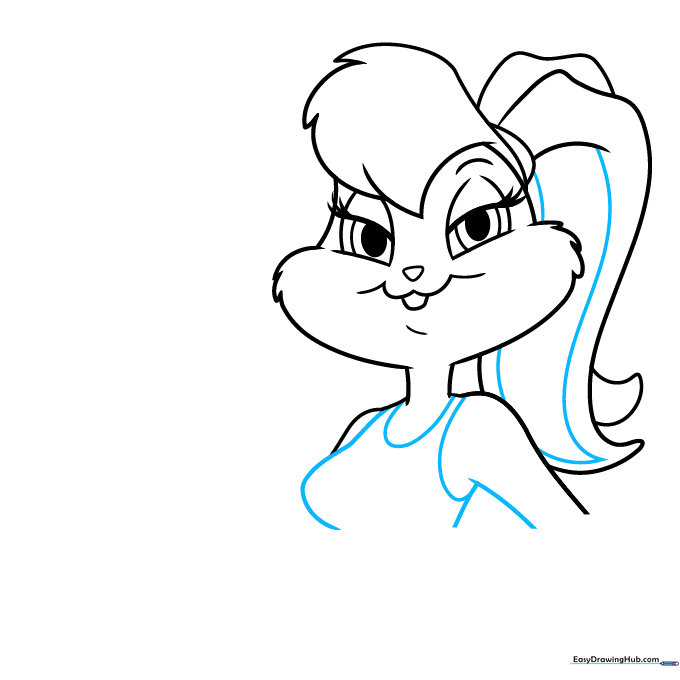
Detail the inside of her ears with curved lines. Use 'U' shaped lines to draw the neckline of her tank top and the start of her arm. Teacher's Tip: Keep the lines for the shirt smooth to contrast with the fluffy fur.
Step 6: Drawing the Arm and Hand
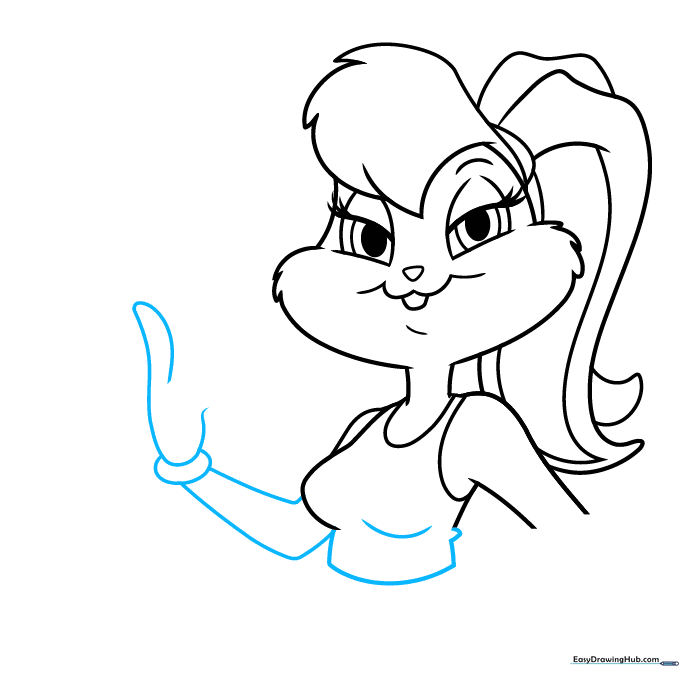
Finish the shirt outline and draw her arm using long, sweeping lines. Sketch the hand by doubling a curved line back on itself. Teacher's Tip: Use a small oval to connect the fingers for a clean, cartoon-style hand.
Step 7: Adding the Basketball
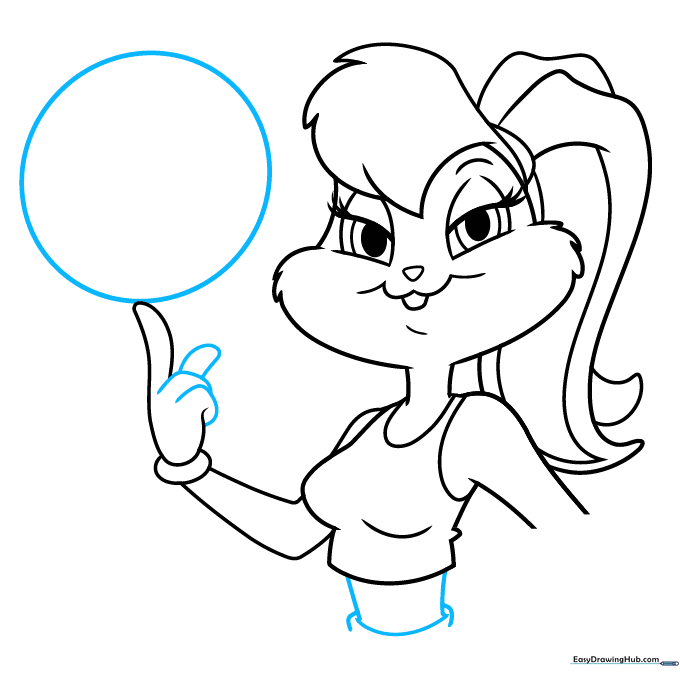
Continue the torso lines downward. Draw her fingers wrapped around a circle to represent the basketball. Teacher's Tip: Don't worry if the circle isn't perfect; basketballs are organic shapes in action!
Step 8: Completing the Pose
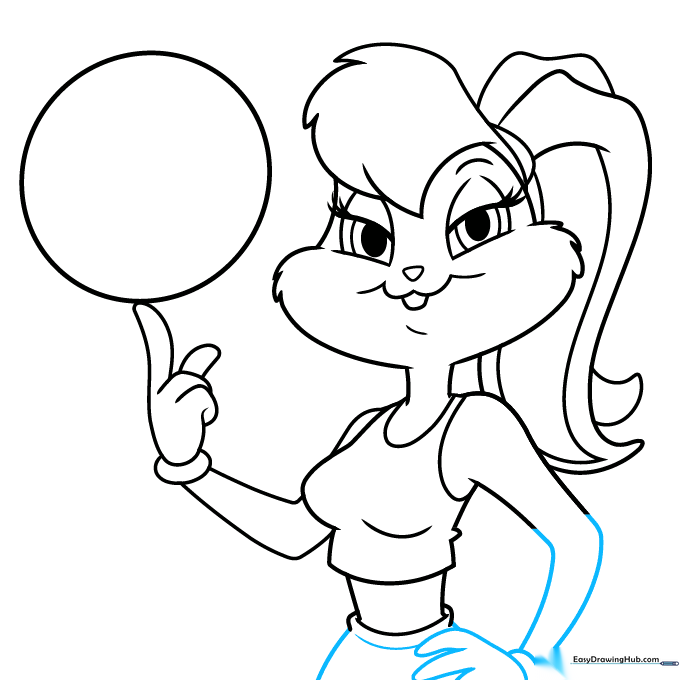
Use curved lines to finish the second arm and gloved hand. Add the waistband of her pants. Teacher's Tip: Keep the lines for the gloves slightly thicker to distinguish them from her fur.
Step 9: Final Details
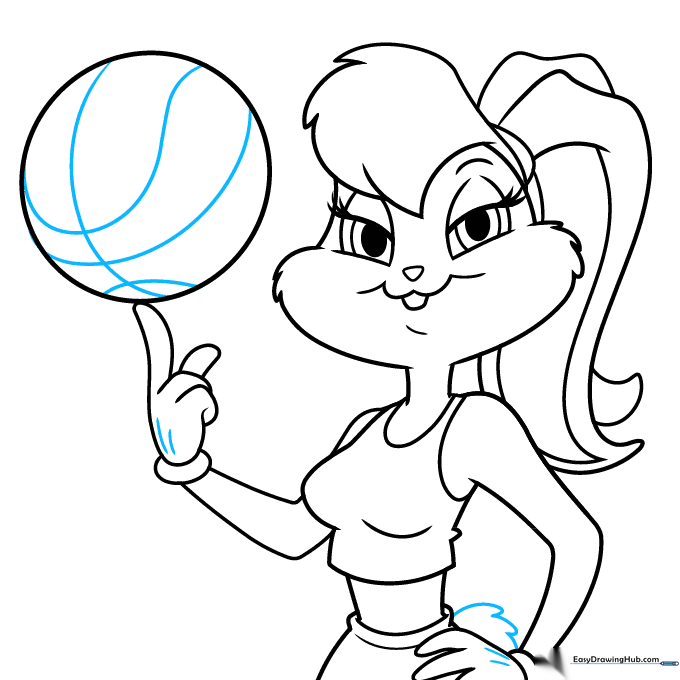
Add lines to the gloves and the classic cross-hatch pattern to the basketball. Finally, draw a small, fluffy tail using short, connected strokes. Teacher's Tip: The tail adds a cute, final touch of character!
Step 10: Bring Lola to Life with Color
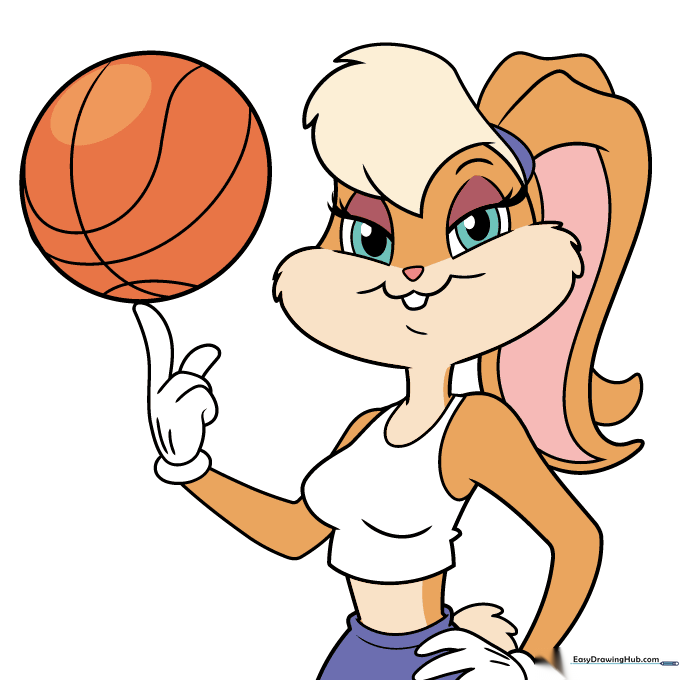
Your outline is ready! Use tan for her fur, cream for her muzzle and ears, and bright blue for her eyes. Teacher's Tip: Use light pressure with your colored pencils to create a soft, smooth look for her fur.
More Tutorials


