How to Draw Little Red Riding Hood: Easy 10-Step Guide
Bring this classic fairytale character to life with our simple, kid-friendly drawing guide. Designed for ages 5 and up, this activity requires only a pencil, paper, and an eraser to build confidence and artistic precision. Follow along to master the proportions of her iconic cape and basket.
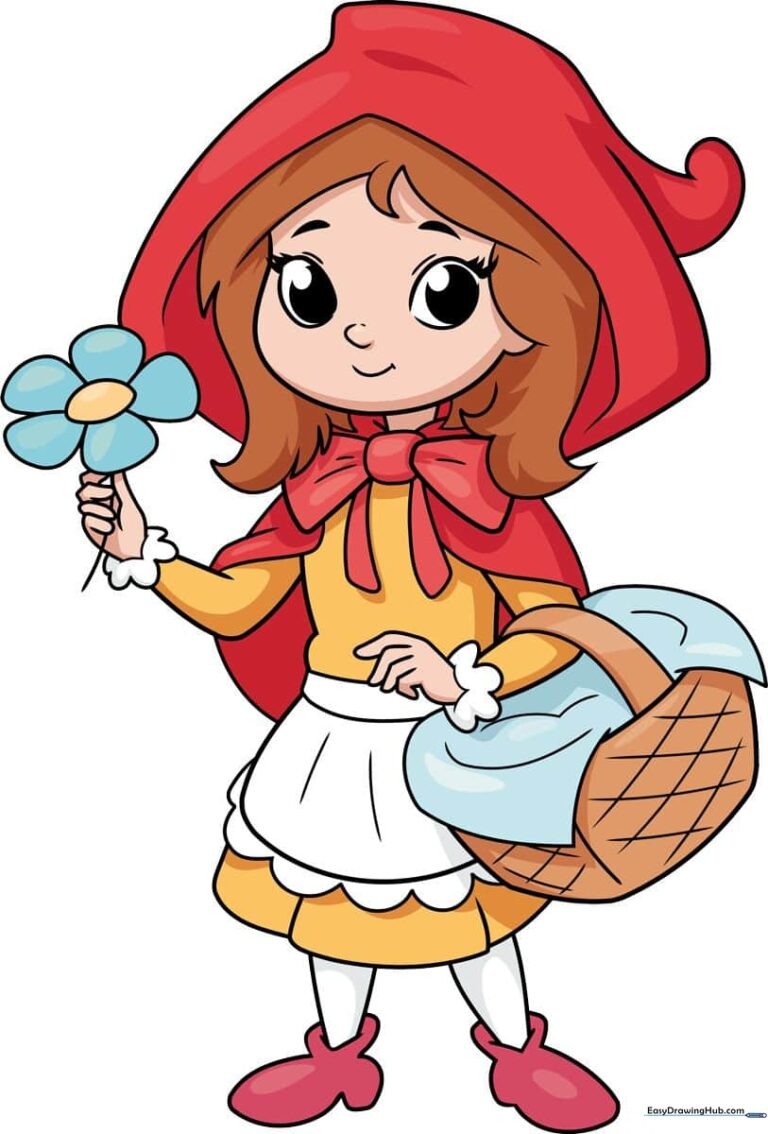
🎯 Final Result
Step-by-Step Instructions
Step 1: Sketching the Face

Draw a soft, rounded shape for the face. Add two small ovals for eyes and a tiny curve for the mouth. Teacher's Tip: Keep your pencil pressure light so you can easily adjust the eye placement if they look a bit lopsided.
Step 2: Adding Hair and Details

Outline the eyes with short, delicate strokes for lashes. Use jagged, curved lines to frame her face with hair. Teacher's Tip: Use short, quick flicks of your wrist to make the hair look natural and soft rather than stiff.
Step 3: Drawing the Hood
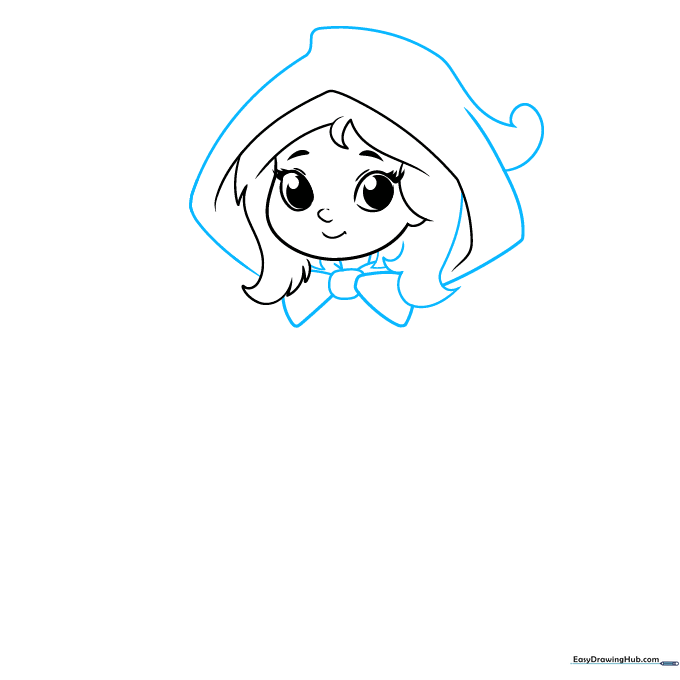
Draw two short lines for the neck and a bow beneath it. Enclose the top of the head with large, sweeping curves to form the hood. Teacher's Tip: Make sure the hood lines overlap slightly to give the fabric a sense of depth.
Step 4: Creating the Arms
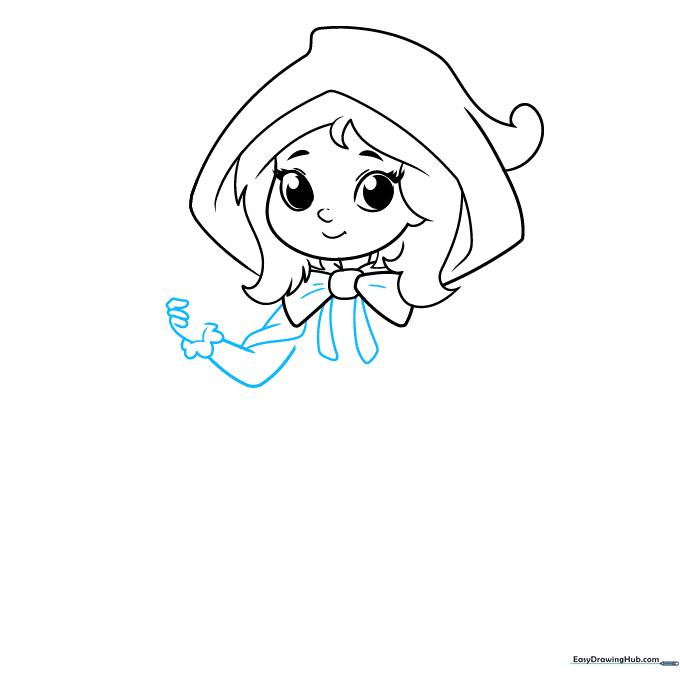
Add detail to the bow, then sketch the arm and sleeve cuff using curved lines. Teacher's Tip: Focus on the 'lacey' cuff—small, scalloped lines make it look like real fabric.
Step 5: Adding the Flower
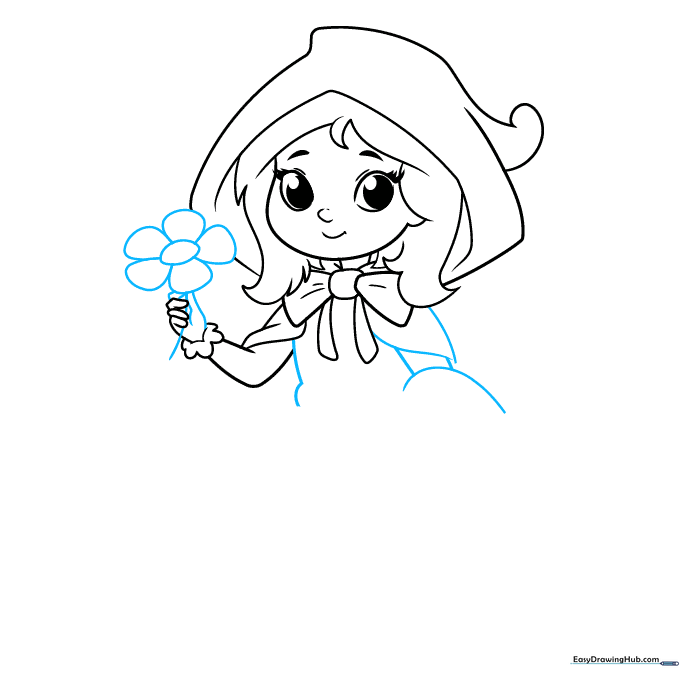
Draw a small flower in her hand using a central oval and U-shaped petals. Sketch the torso and the start of the opposite arm. Teacher's Tip: Keep the flower simple so it doesn't distract from the character's face.
Step 6: The Basket Handle
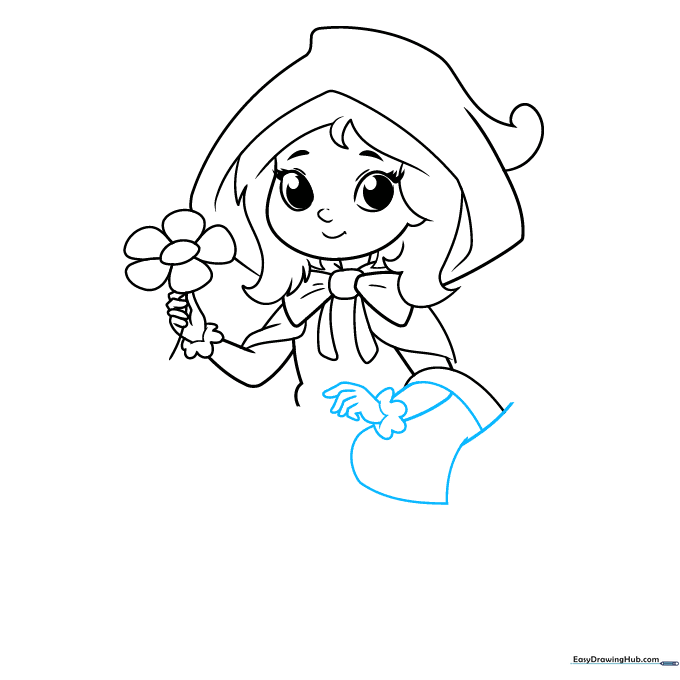
Sketch the basket handle over her arm and add the cloth inside. Finish the second arm. Teacher's Tip: The handle is just a simple arch—don't worry if it's not perfectly symmetrical!
Step 7: Cape and Skirt
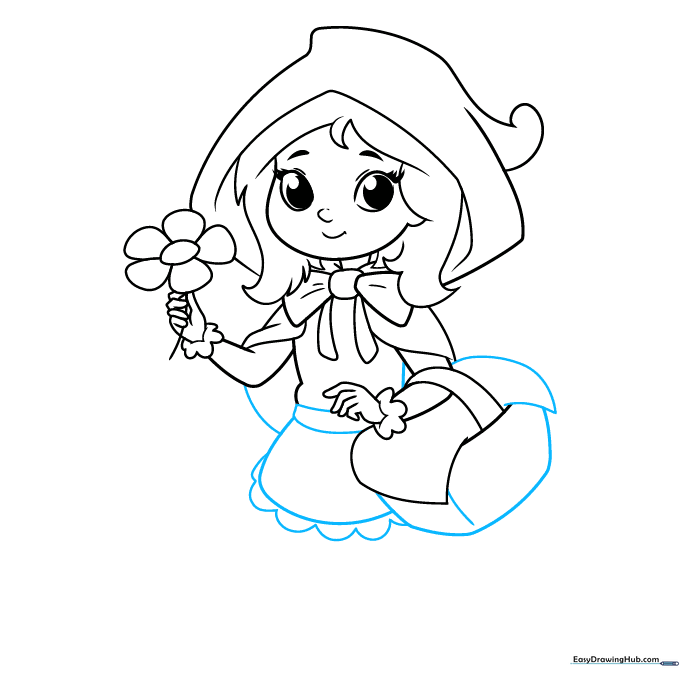
Complete the basket, then use long, flowing curved lines to draw the belt, skirt, and cape. Teacher's Tip: Use long strokes for the cape to make the fabric look like it's draping naturally.
Step 8: Legs and Shoes
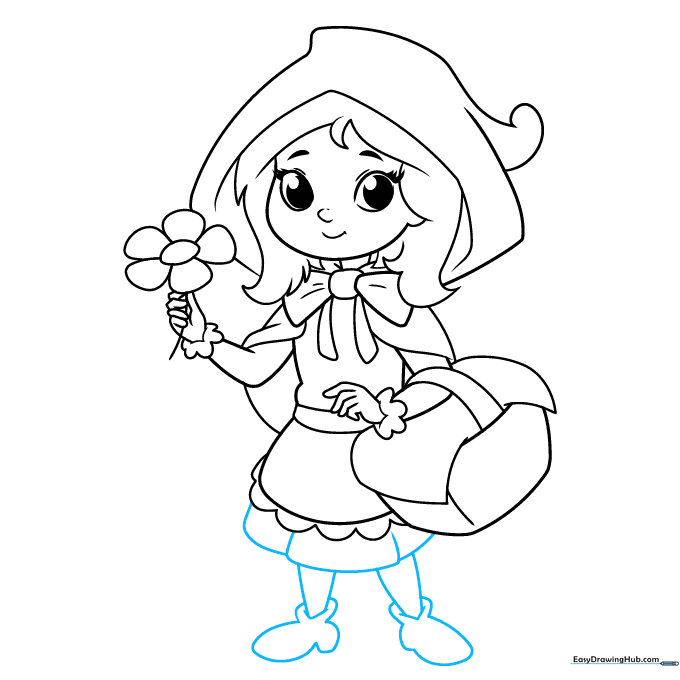
Add the bottom hem of the dress with overlapping curves. Sketch the legs and simple, rounded shoes. Teacher's Tip: Keep the shoes small to maintain the character's cute proportions.
Step 9: Adding Texture
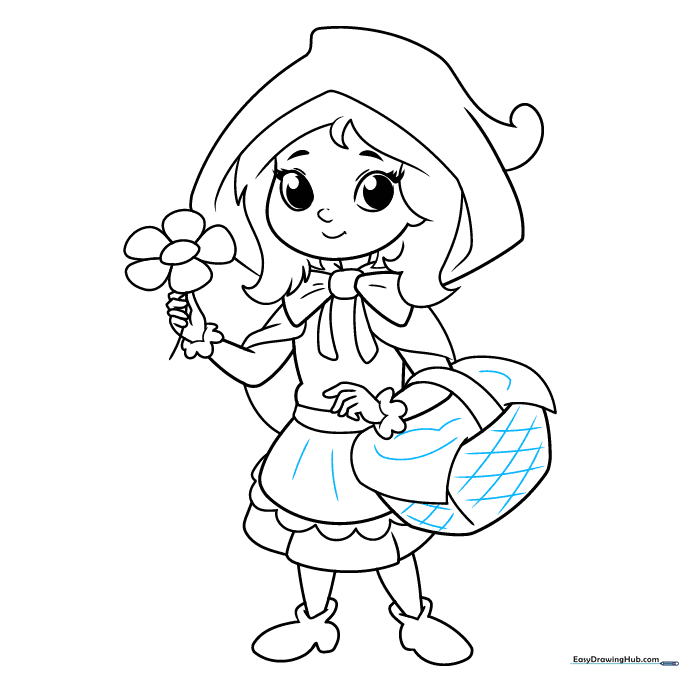
Add texture to the dress and basket. Use a cross-hatching pattern for the basket weave. Teacher's Tip: Cross-hatching is just a series of diagonal lines crossing each other—take your time to keep them evenly spaced.
Step 10: Final Coloring
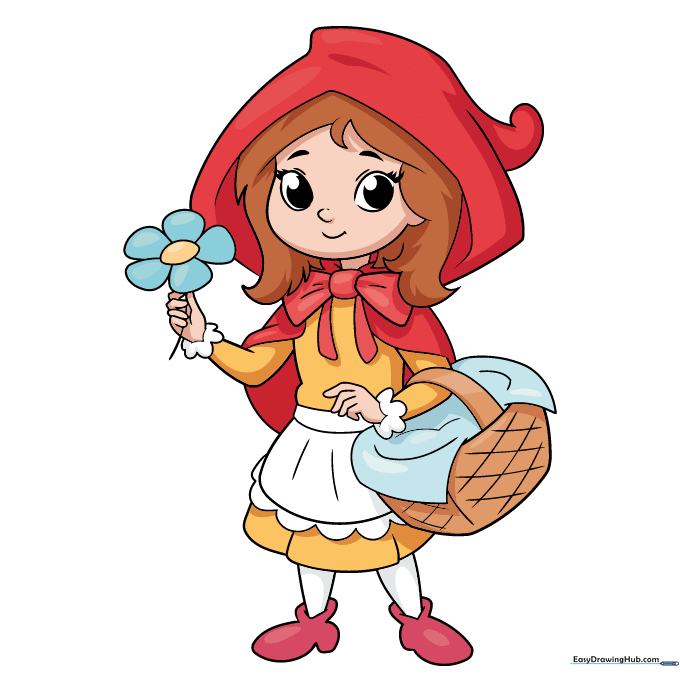
Your outline is complete! Use vibrant reds for the cape and hood to make her stand out. Teacher's Tip: Use light pressure with your red pencil first, then layer more color to create shadows in the folds of the cape.
More Tutorials


