How to Draw Lisa Simpson: Easy 10-Step Guide for Kids
Bring Springfield’s smartest resident to life with this fun, guided drawing lesson. Designed for young artists ages 6 and up, this tutorial requires only a pencil, paper, and an eraser. Follow along to master Lisa’s iconic spiky hair and saxophone while building your character-drawing confidence.
🎯 Final Result

Step-by-Step Instructions
Step 1: Sketching the Face and Eyes

Start by drawing an incomplete circle for the head. Add a horizontal line across it, then place two small, shaded circles for the eyes. Use a small curved line for her nose. Teacher's Tip: Keep your pencil lines light and loose so you can easily erase any mistakes as you refine her expression.
Step 2: Adding the Iconic Spiky Hair
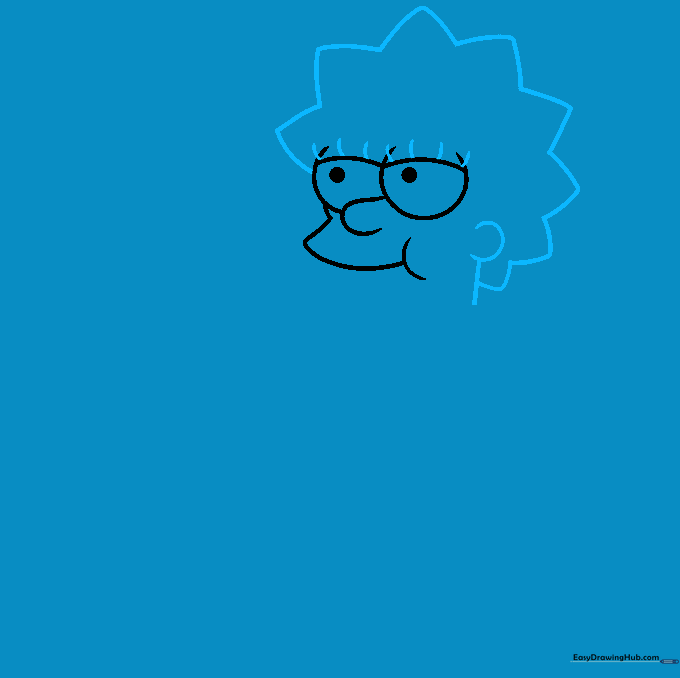
Draw Lisa's signature spiky hair using a series of connected zig-zag lines. Add a 'C' shape on the side for her ear and a short curved line for the back of her neck. Tip: Make the spikes slightly rounded at the tips to give them that classic cartoon look.
Step 3: Drawing the Necklace and Torso
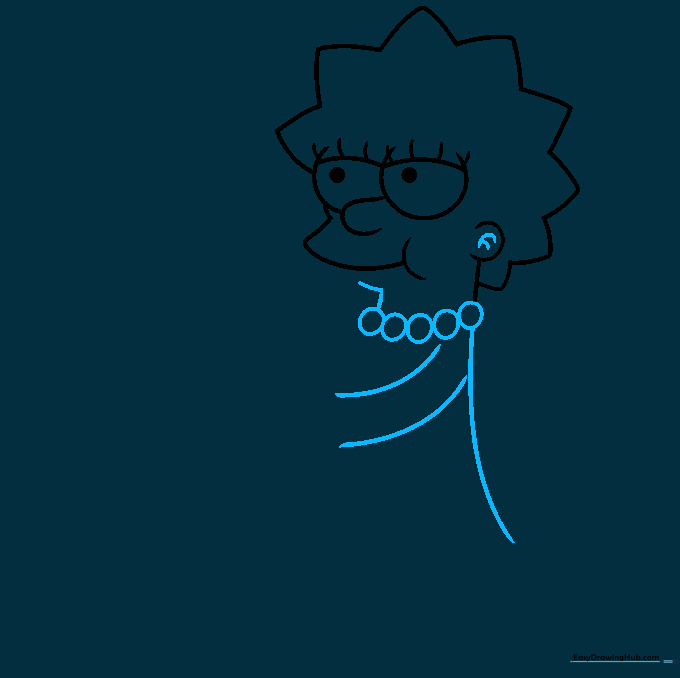
Create her pearl necklace by drawing a row of small, even circles around the neck area. Use an 'L' shaped line for the front of the neck and extend a curved line to form the back of her torso. Tip: Keep the pearls uniform in size to make the necklace look balanced.
Step 4: Sketching the Mouth and Arms
Draw a curved triangle for the saxophone mouthpiece near her mouth. Add curved lines for her arms and use 'U' shapes to sketch her fingers. Tip: Focus on the curve of the arms to show she is holding the instrument firmly.
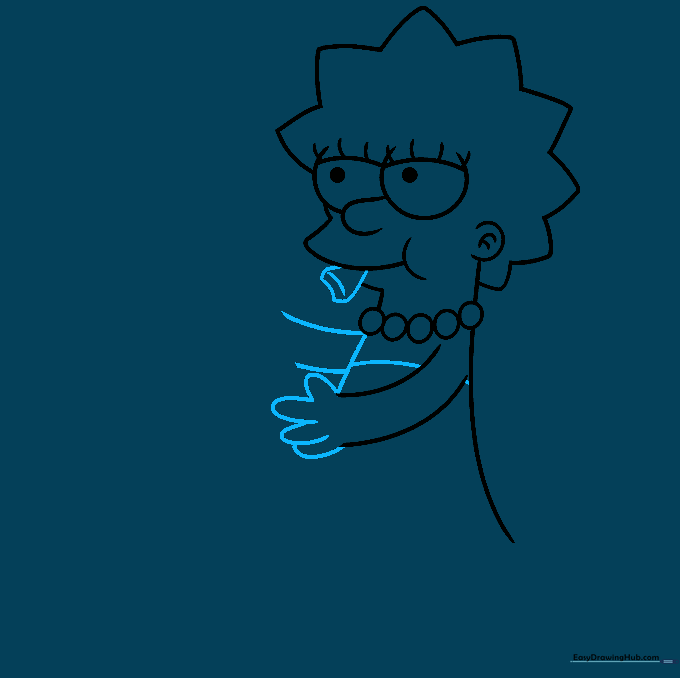
Step 5: Adding Saxophone Details

Draw the top section of the saxophone using curved lines. Add two flattened ovals for the keys. Tip: Keep the keys aligned with the body of the saxophone to maintain perspective.
Step 6: Extending the Saxophone
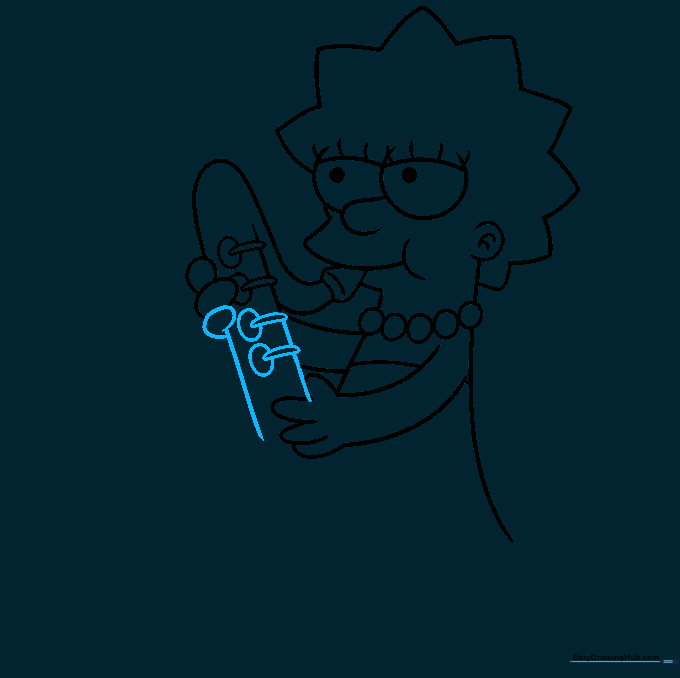
Continue the curved lines of the saxophone downward. Add two more keys using small ovals. Tip: Use a steady hand to keep the long curves of the instrument smooth.
Step 7: Drawing the Saxophone Bell
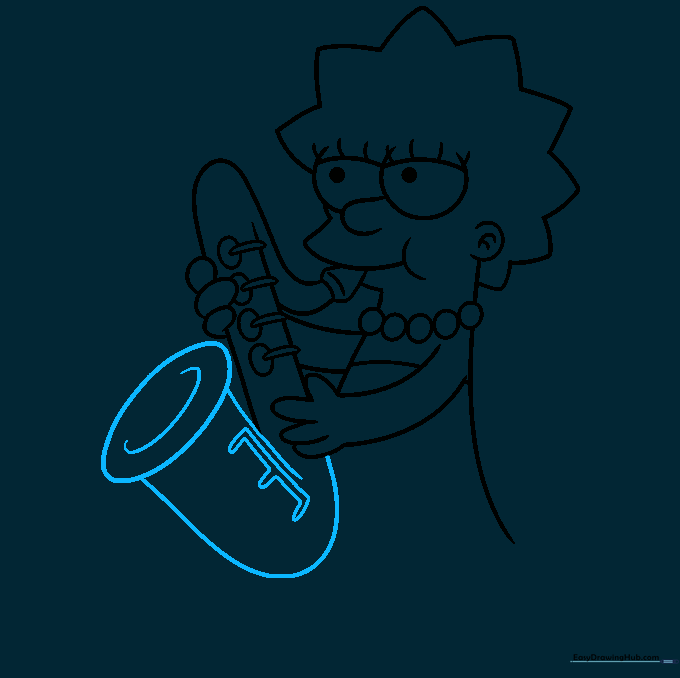
Draw the wide bell at the bottom of the saxophone. Connect the lines with an oval and add a 'C' shape inside. Trace an 'E' shape on the side for detail. Tip: The bell is the widest part of the instrument, so make it bold!
Step 8: Adding Dress and Leg Details
Add ovals to the 'E' shape on the saxophone. Draw the zig-zag hem of Lisa's dress using points. Sketch one leg and foot below the dress. Tip: Use short, quick strokes for the zig-zag hem to keep it looking sharp.
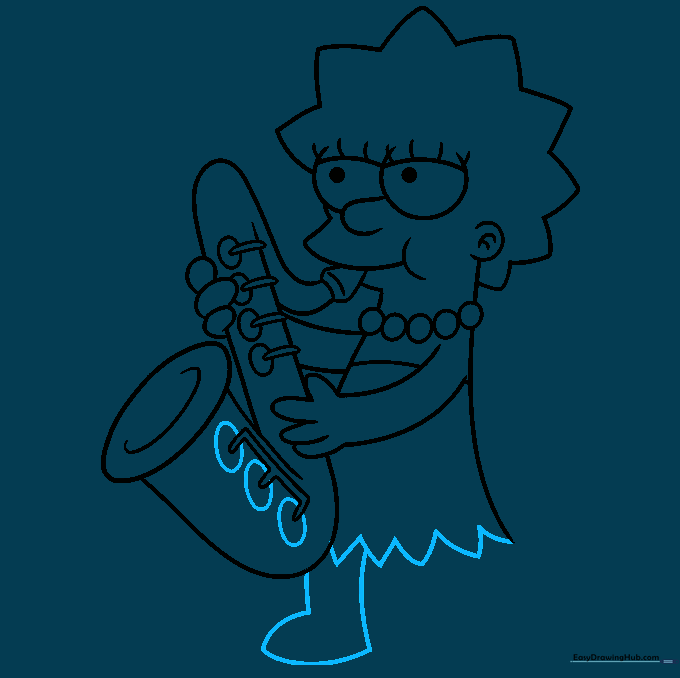
Step 9: Finalizing the Outline
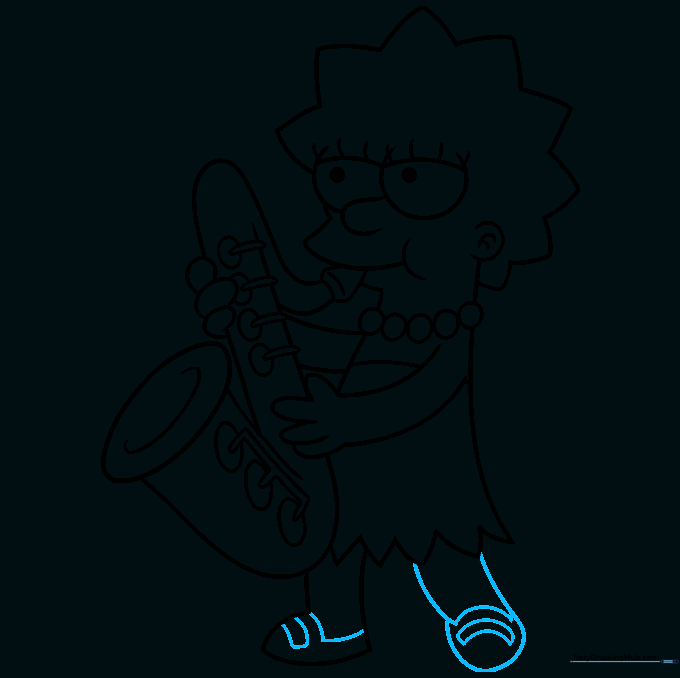
Sketch the second leg and add details to her shoes using curved rectangles. Tip: Ensure the shoes look like they are planted firmly on the ground to give your character balance.
Step 10: Bringing Lisa to Life with Color

Time to color! Use bright yellow for her skin and hair, and a vibrant red for her dress. Tip: Use a light touch with your markers or colored pencils to keep the colors smooth and even.
More Tutorials


