How to Draw Lipstick: Easy 10-Step Guide for Beginners
Ready to add a pop of color to your sketchbook? This tutorial is perfect for young artists and beginners looking to master simple geometric shapes. Grab your pencil and eraser, and let’s create a stylish lipstick tube together—it's a great way to practice symmetry and shading!
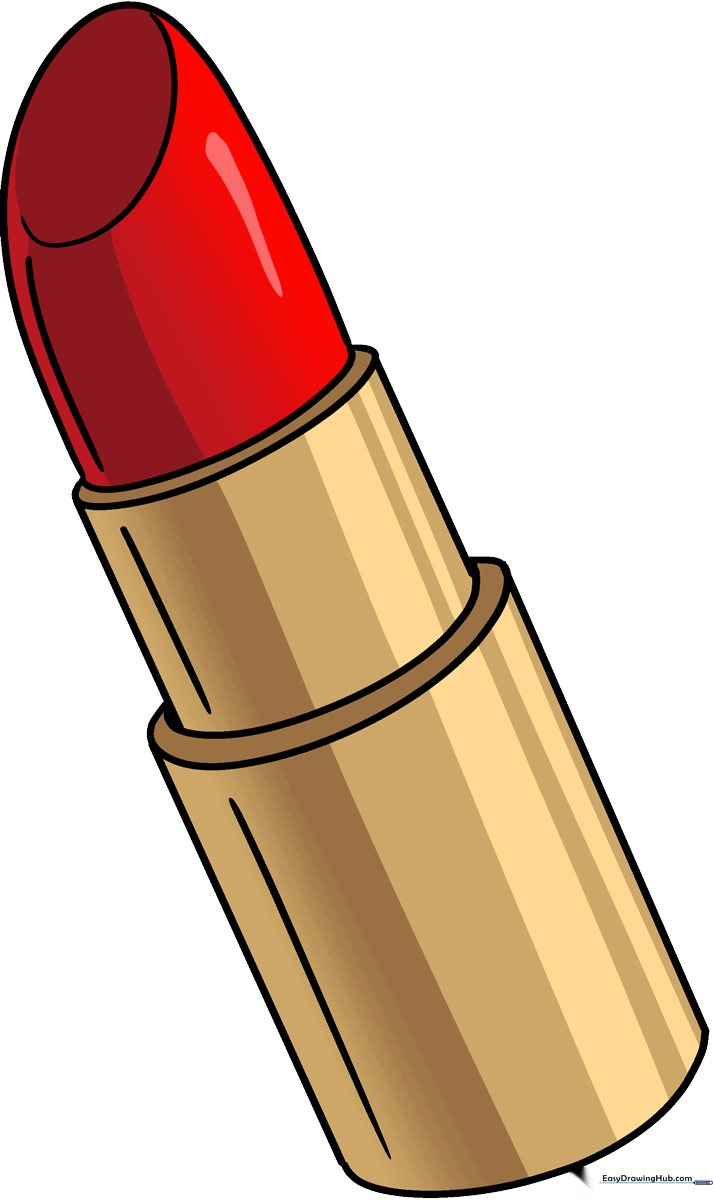
🎯 Final Result
Step-by-Step Instructions
Step 1: Sketching the Base

Draw two long, parallel lines on a slight diagonal slant. Connect them at the bottom with a curve. Teacher's Tip: Keep your pencil pressure light so you can easily adjust the shape if it looks a bit wobbly.
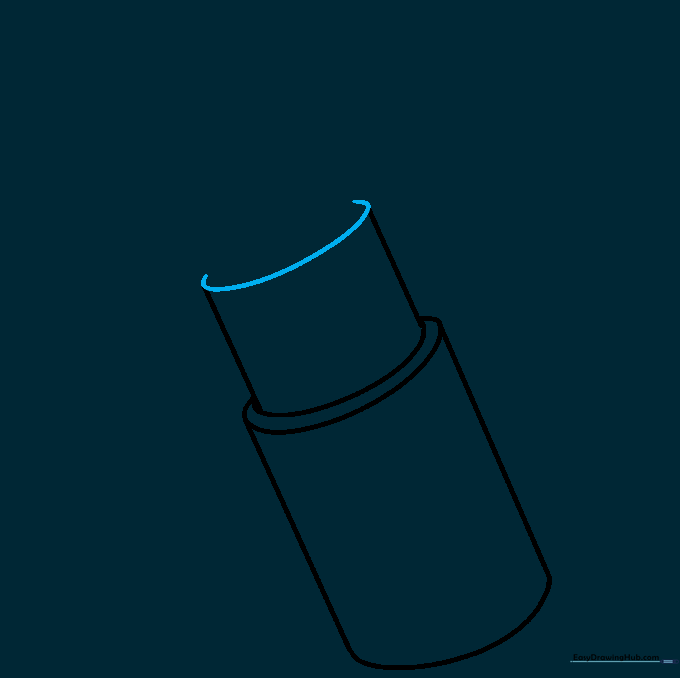
Step 2: Defining the Tube Opening
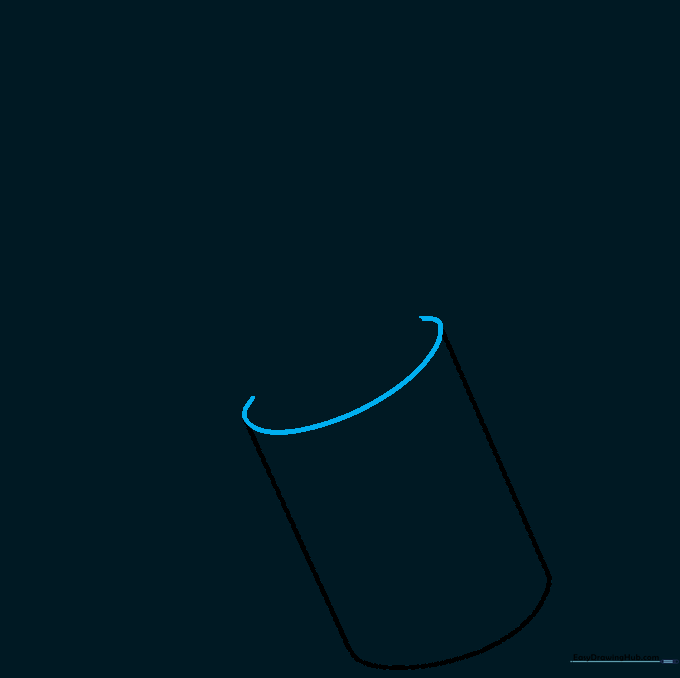
Draw a 'C' shaped line to connect the top of your parallel lines. This creates the opening where the lipstick sits. Tip: Imagine you are drawing the top of a soda can—keep the curve smooth.
Step 3: Adding the Inner Rim
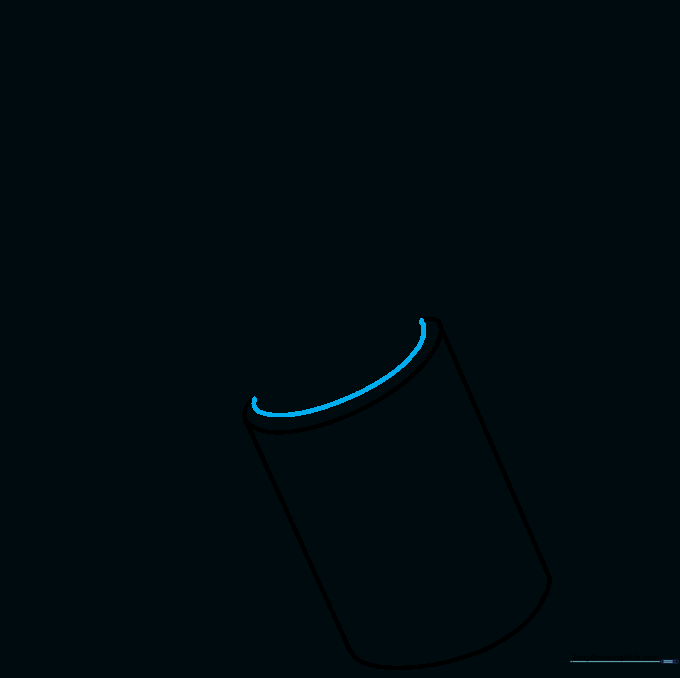
Draw a slightly smaller 'C' shape inside the first one. This adds depth, making the tube look like it has a solid rim. Tip: Focus on keeping the gap between the two lines consistent for a professional look.
Step 4: Drawing the Inner Mechanism
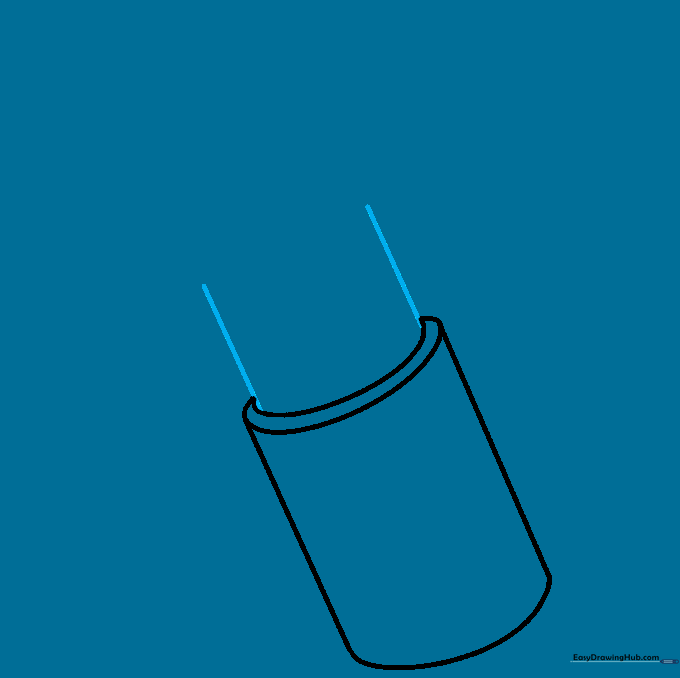
Draw two short, straight parallel lines extending upward from the tube. This represents the inner part of the lipstick holder. Tip: Use a ruler if you struggle with straight lines, but freehand is great for practice!
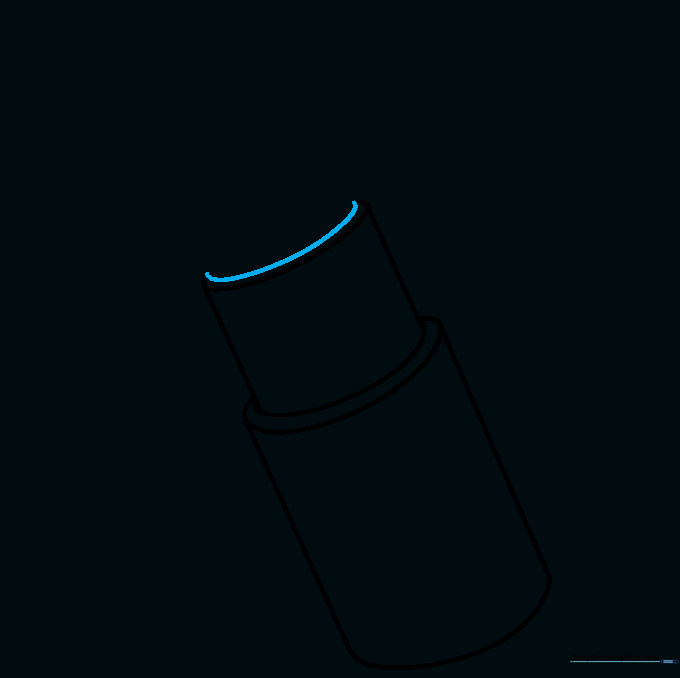
Step 5: Closing the Inner Tube
Draw a 'C' shaped line to close off the top of these new lines. This creates the platform for the lipstick color. Tip: Ensure this curve matches the angle of the tube base.
Step 6: Detailing the Inner Rim
Add another 'C' shaped line inside the one you just drew. This gives the inner mechanism a finished, realistic edge. Tip: Keep your lines thin and precise.
Step 7: Shaping the Lipstick
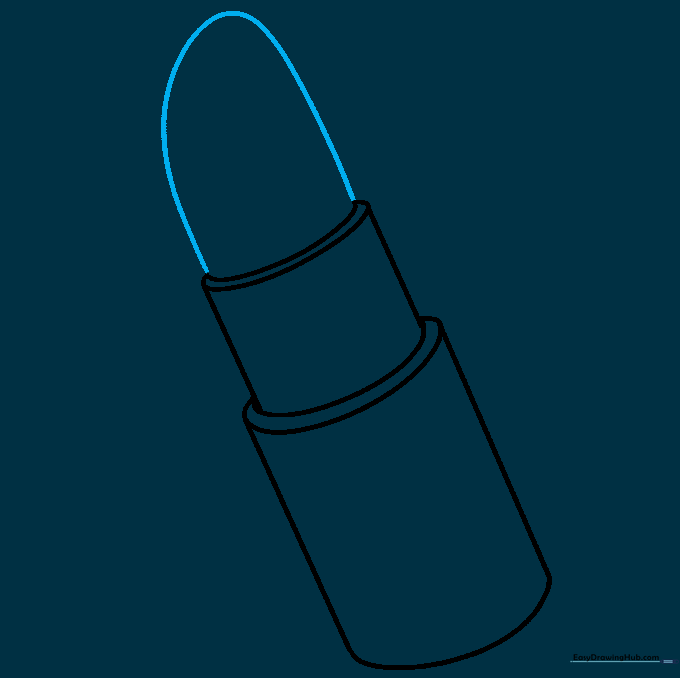
Extend a long, curved line from the inner tube, doubling it back to create the angled tip of the lipstick. Tip: The slant is what makes it look like real lipstick—don't make it too flat!
Step 8: Defining the Flat Tip
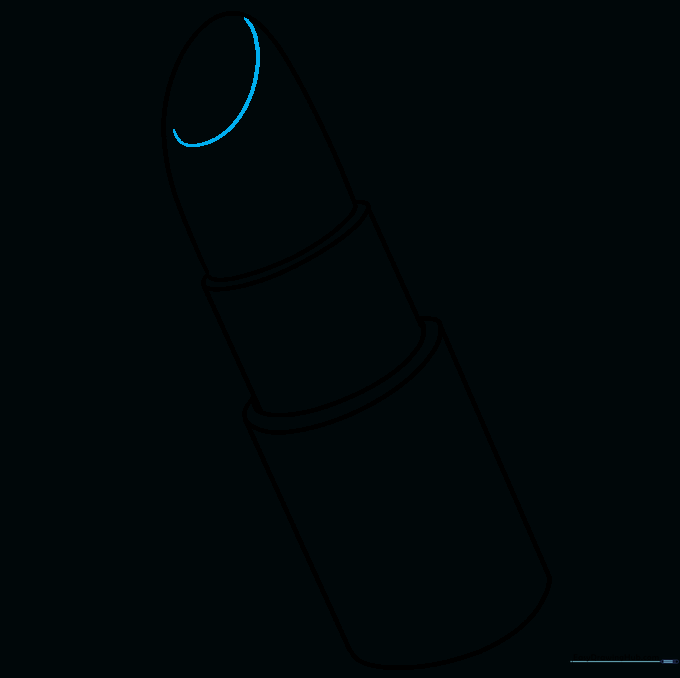
Draw a 'C' shaped line near the very top of the lipstick. This defines the flat surface that touches the lips. Tip: This small detail adds a lot of realism to your drawing.
Step 9: Adding Final Dimensions
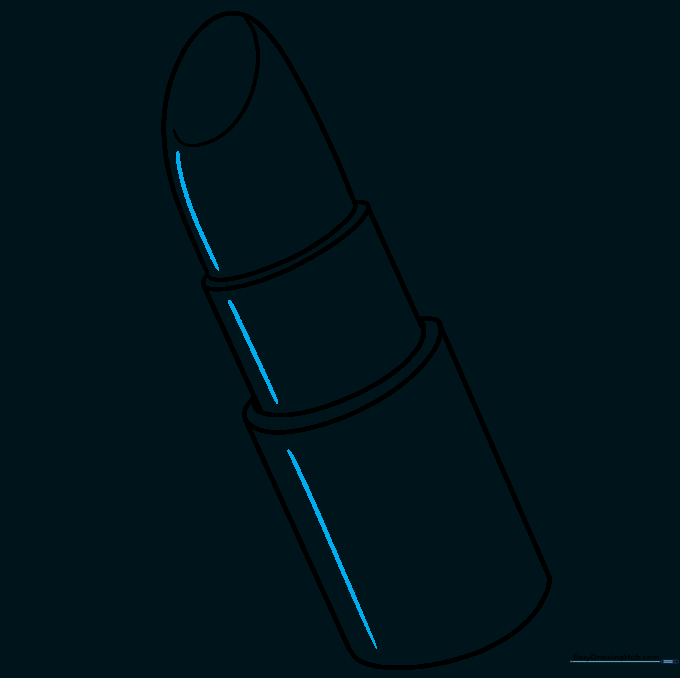
Add a curved line down the side of the lipstick and straight lines down the tube to create a 3D effect. Tip: Use these lines to show where the light might hit the tube.
Step 10: Bring It to Life with Color
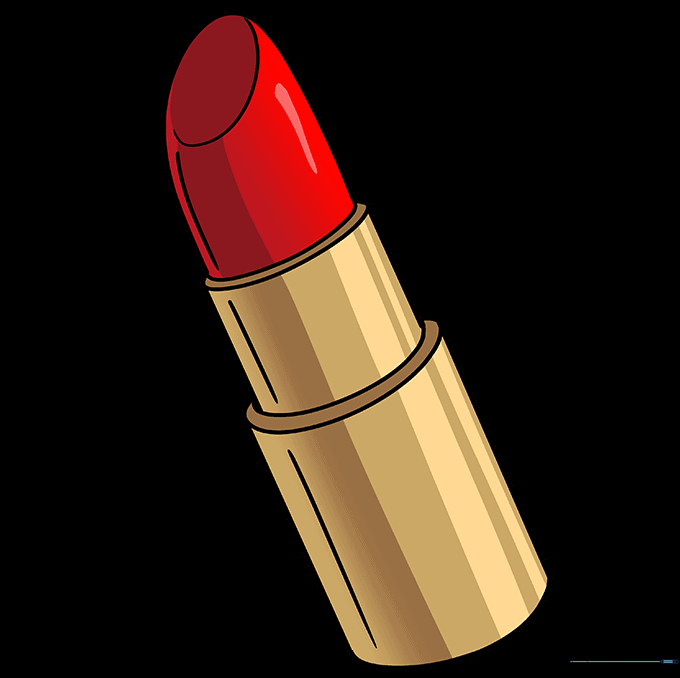
Time to color! Use vibrant reds, pinks, or even purples for the lipstick. Use metallic grays or blacks for the tube. Tip: Try leaving a small white space on the side of the lipstick to mimic a 'shine' or highlight.
More Tutorials


