How to Draw Lippy Lips: Easy 10-Step Shopkins Guide
Bring your favorite Shopkins character to life with this fun, guided drawing tutorial. Designed for ages 5 and up, this activity requires only a pencil, paper, and an eraser to develop hand-eye coordination. Follow along to master the iconic look of Lippy Lips in just ten simple steps.
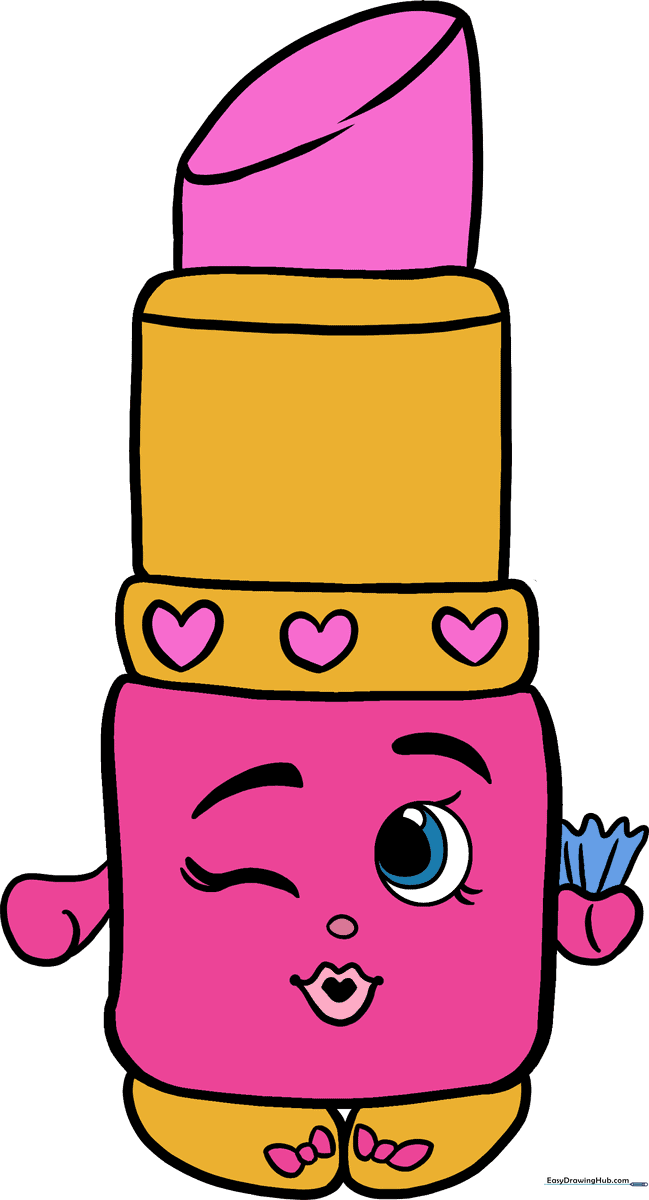
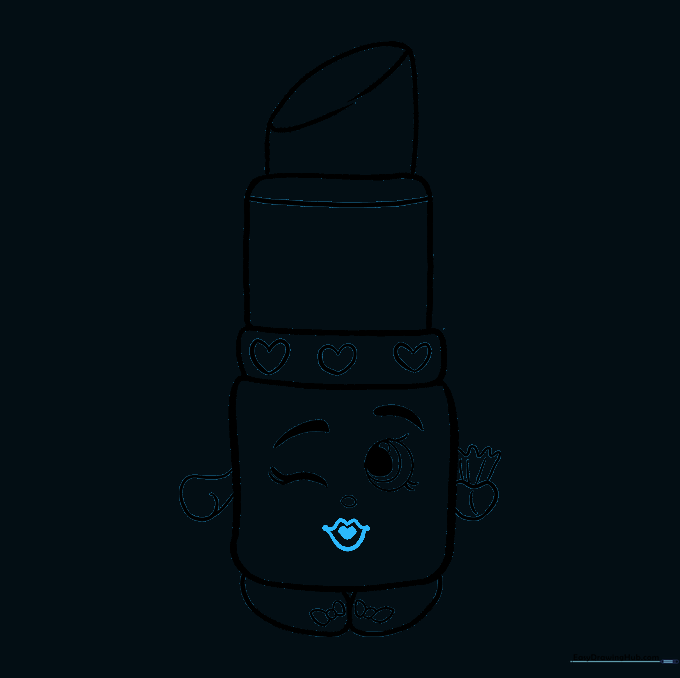
🎯 Final Result
Step-by-Step Instructions
Step 1: Sketching the Base

Draw a curved square with rounded corners to serve as the base of the lipstick tube. Teacher's Tip: Keep your pencil pressure light so you can easily adjust the shape if it looks a bit lopsided.
Step 2: Adding the Tube Brim
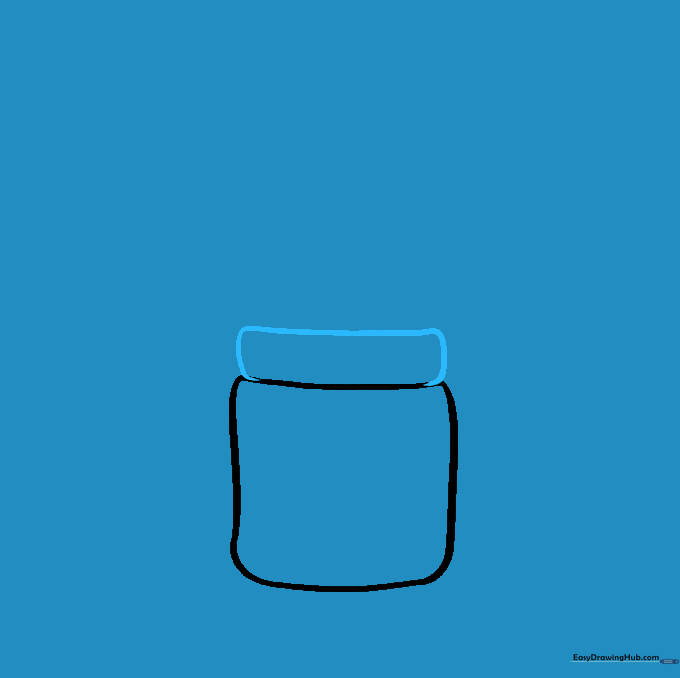
Add a curved rectangle with rounded corners on top of your square. This creates the brim of the lipstick container. Tip: Try to center this rectangle perfectly over the base for a balanced look.
Step 3: Creating the Upper Section
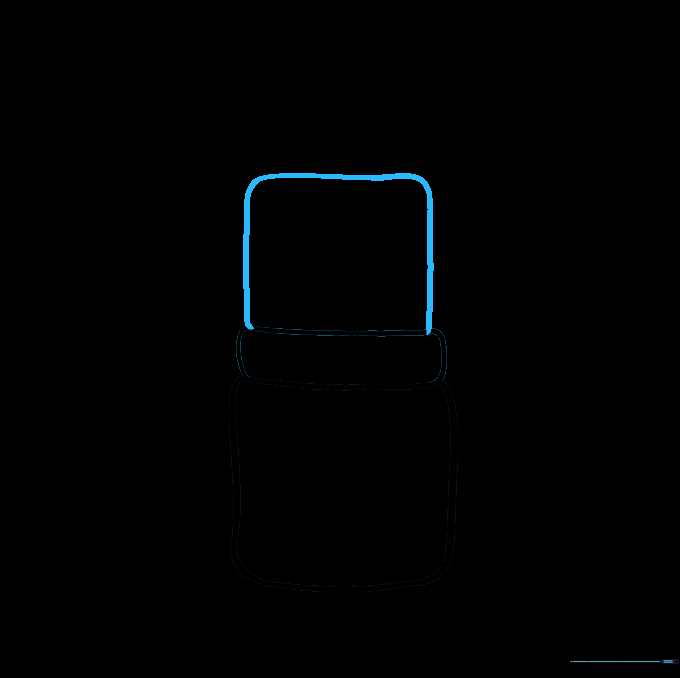
Draw another rounded square on top of the brim. This section connects the base to the lipstick itself. Tip: Keep the corners soft and rounded to maintain that cute, cartoon aesthetic.
Step 4: Drawing the Lipstick
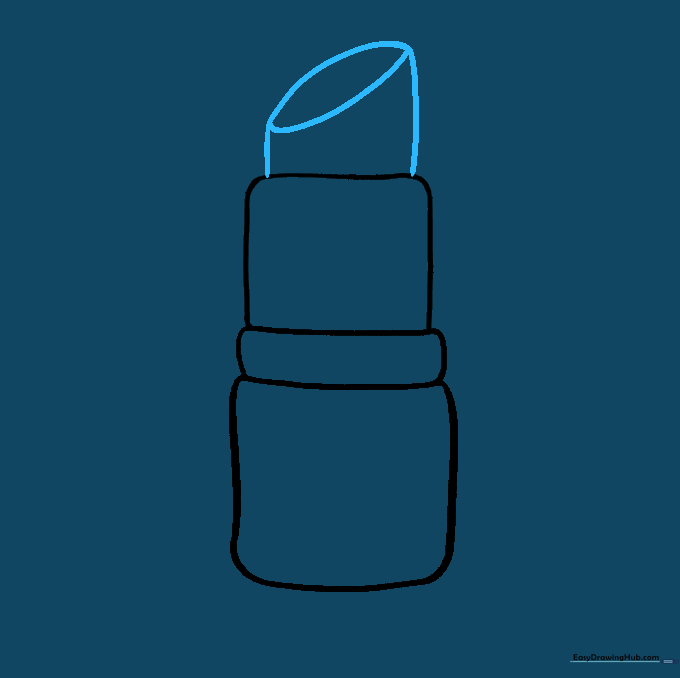
Draw two vertical lines of different lengths, then connect them with a slanted oval. This creates the angled tip of the lipstick. Tip: Use a smooth, continuous motion for the oval to make it look like real makeup.
Step 5: Sketching the Feet
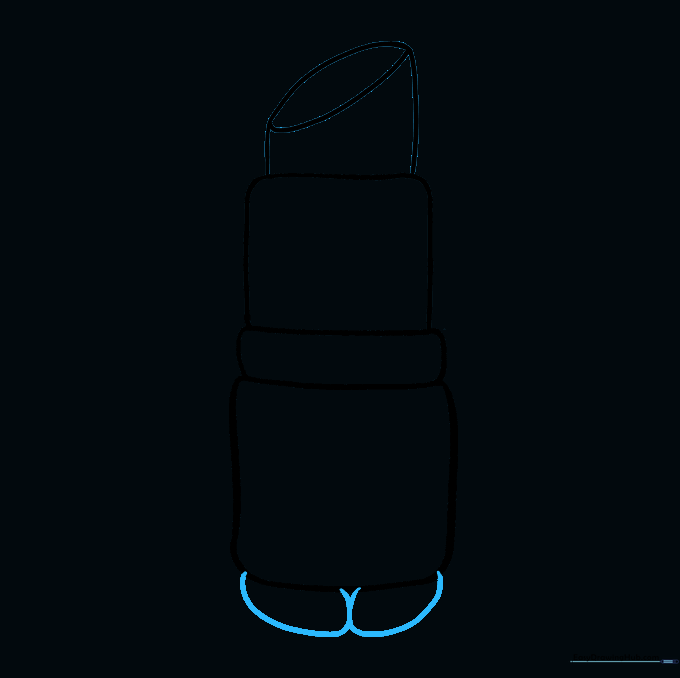
Add two partial ovals at the bottom of the tube to form Lippy's feet. Tip: Make sure they are symmetrical so your character looks like it can stand up on its own!
Step 6: Adding Decorative Details
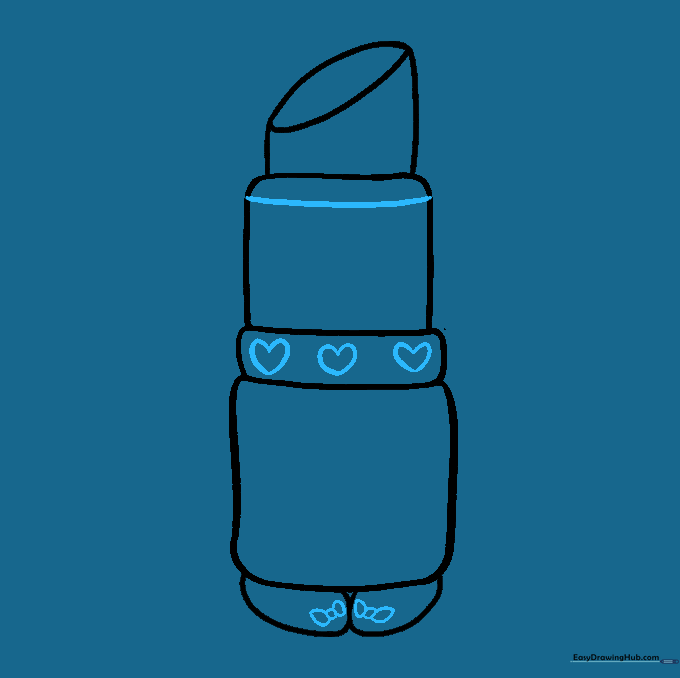
Draw three small hearts on the middle section and add bows to the shoes. For the bows, start with a tiny circle knot and add two rounded wings. Tip: Take your time with the hearts; they are a signature detail for this character.
Step 7: Drawing the Arms
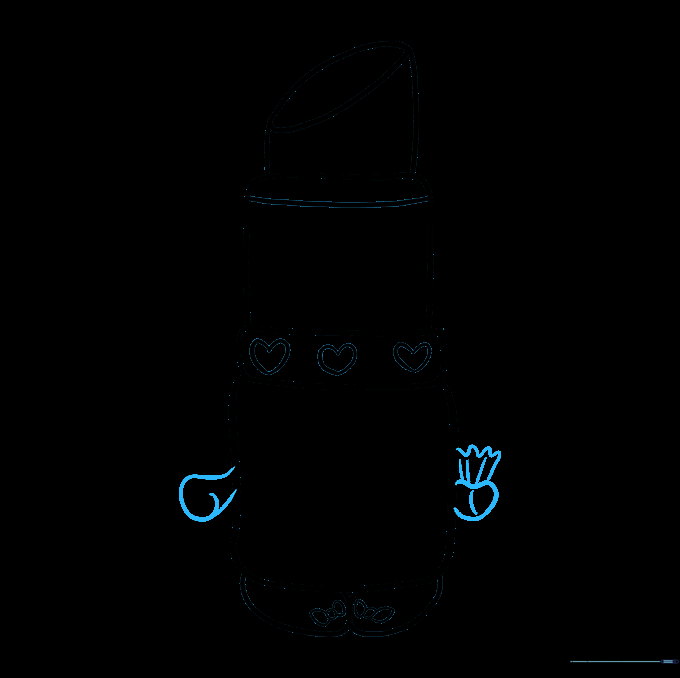
Draw two curved arms, one holding a wavy tissue. Tip: Use short, quick strokes for the wavy tissue to give it a soft, fabric-like texture.
Step 8: Adding the Face
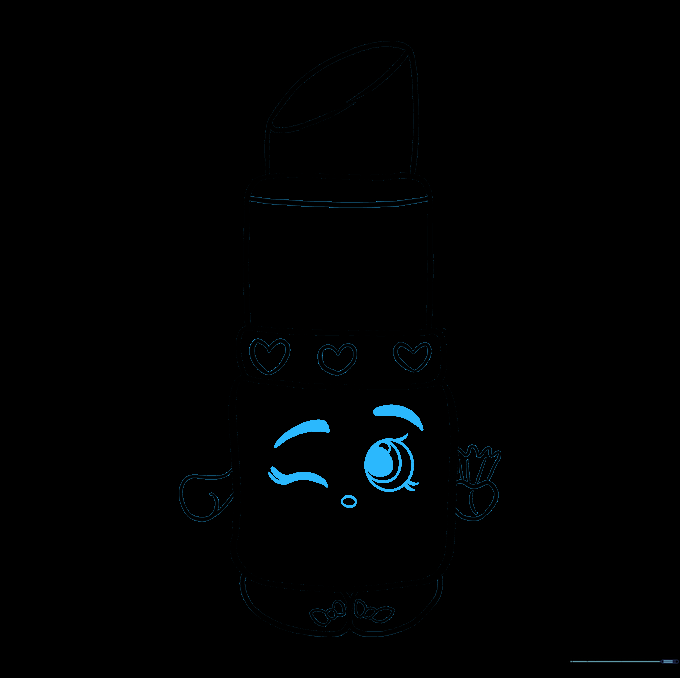
Draw one winking eye with lashes and one wide-open eye with a pupil. Add eyebrows and a small nose. Tip: The eyelashes should be drawn with a flick of the wrist to make them look sharp and expressive.
Step 9: Finalizing the Expression
Outline the lips and add a small shaded heart in the center to show a puckering expression. Tip: Use a darker pencil stroke here to make the mouth stand out as the focal point.
Step 10: Adding Color

Bring your drawing to life with color! Choose your favorite lipstick shade—perhaps a bright pink or classic red. Tip: Use light, circular motions when coloring to keep the texture smooth and even.
More Tutorials


