How to Draw Lilypad from Toy Story: Easy 10-Step Guide
Bring the charming Lilypad from Toy Story to life with this beginner-friendly drawing tutorial. Designed for young artists and fans of the franchise, this guide uses basic shapes to build confidence. Grab your pencil and eraser, and let’s start sketching this friendly character together!
🎯 Final Result

Step-by-Step Instructions
Step 1: Sketching the Expressive Eyes
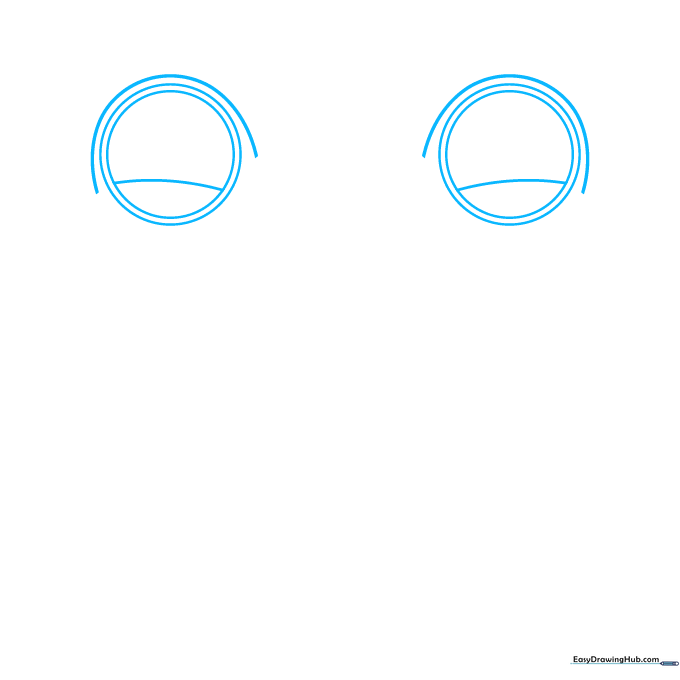
Start by drawing two large circles for the eyes, placing a smaller circle inside each. Add a curved line across the top of the inner circles to give her a friendly look. Teacher's Tip: Keep your pencil lines light so you can easily erase any overlapping marks later.
Step 2: Defining the Tablet Shape
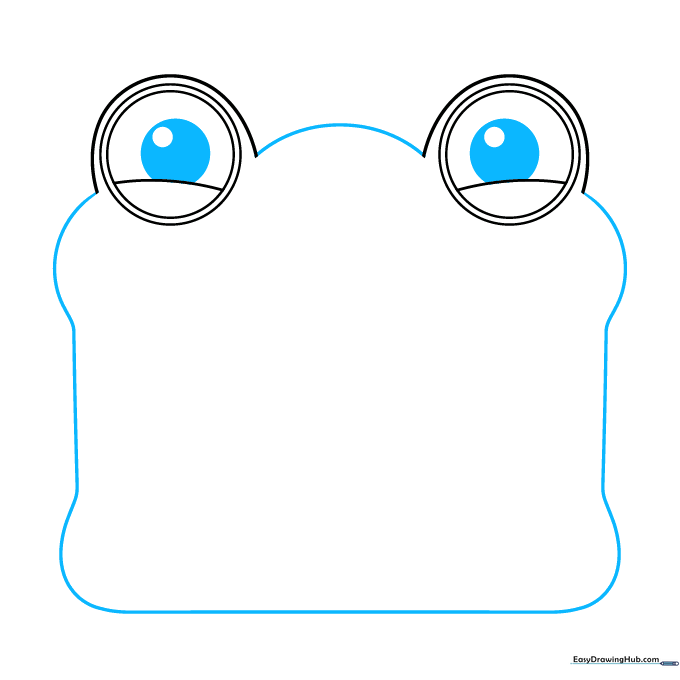
Add a smaller circle inside each pupil and shade the space between them to create depth. Connect the eyes with a gentle curve, then outline the main tablet body with a long, curved rectangle, adding slight bulges at the four corners. Tip: Use a steady hand to keep the corners rounded and soft.
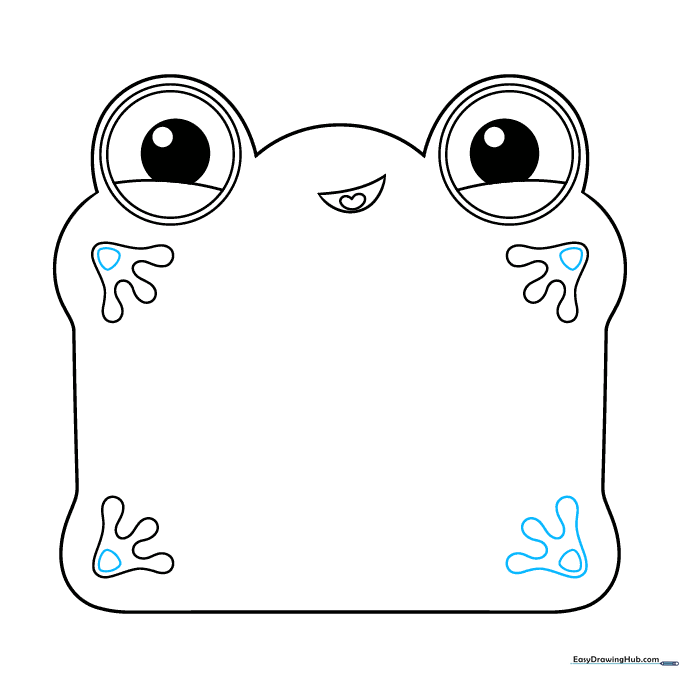
Step 3: Drawing the Mouth and First Foot
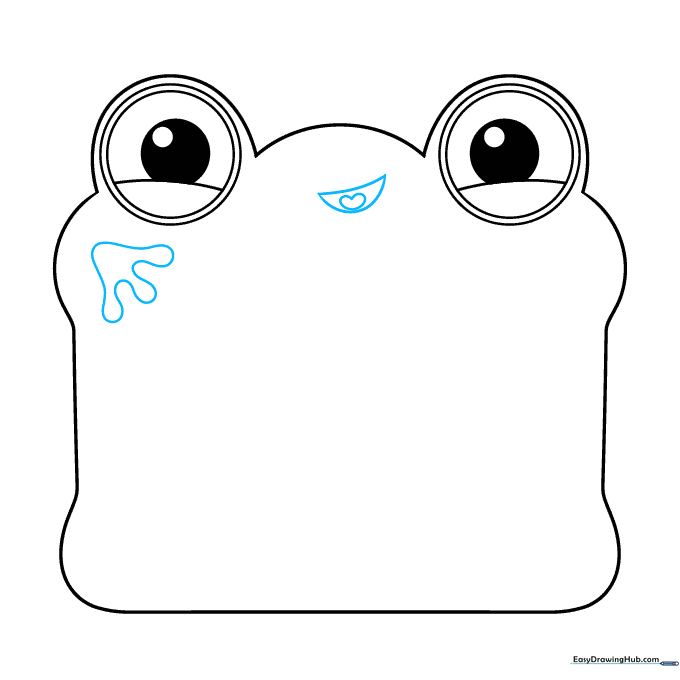
Sketch a crescent-shaped mouth with a small heart-shaped tongue inside. On one corner, draw a three-toed foot using a line that loops back on itself. Tip: Think of the foot as a soft, rounded cloud shape to get that cartoon look.
Step 4: Adding More Feet
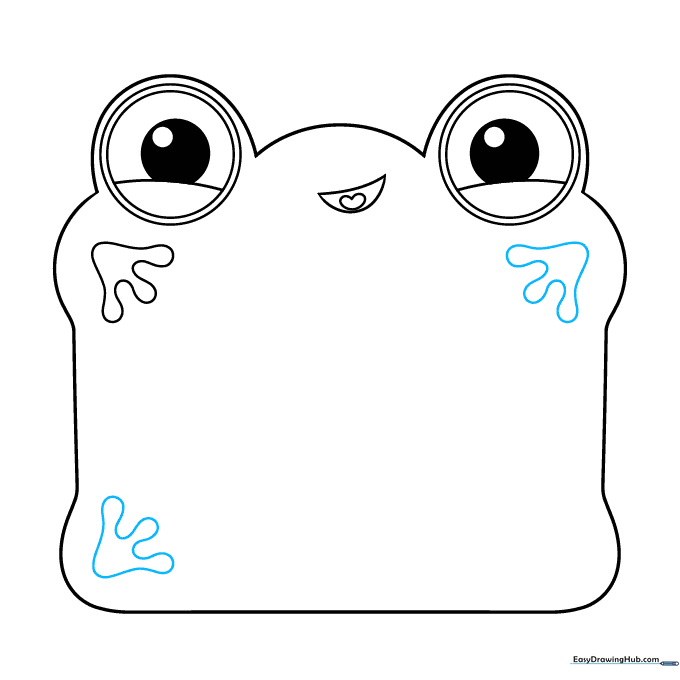
Repeat the process to add two more feet at the other corners of the tablet. Ensure they are consistent in size. Tip: If your lines aren't perfect, don't worry—Lilypad is a fun, organic character, so slight variations add personality!
Step 5: Final Foot and Details
Draw the fourth foot to complete the set. Inside each foot, add a small rounded triangle to define the toes. Tip: Use short, quick strokes for the triangle to keep the lines clean.
Step 6: Defining the Screen
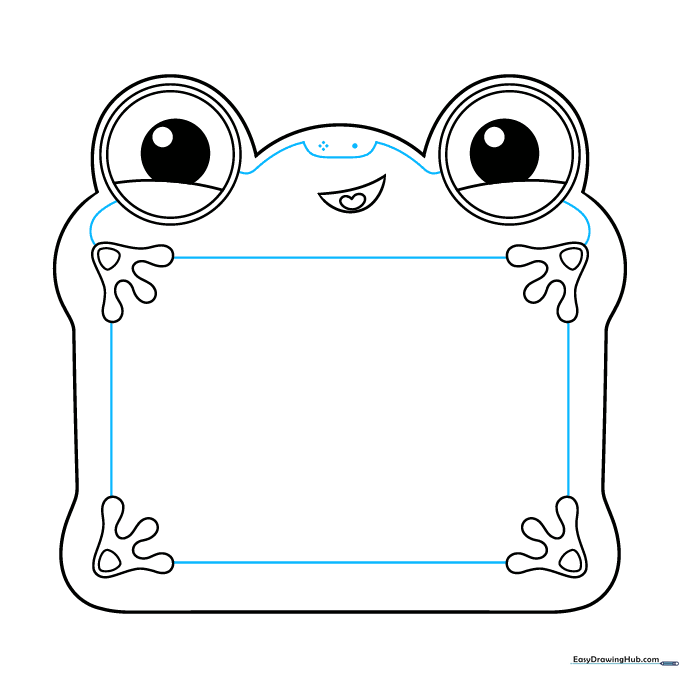
Connect the feet with straight lines to outline the tablet's screen area. Add a few small dots and curved lines near the face to give the character more expression. Tip: Use a ruler if you want the screen edges to be perfectly straight, or freehand for a more natural look.
Step 7: Adding Tablet Edges
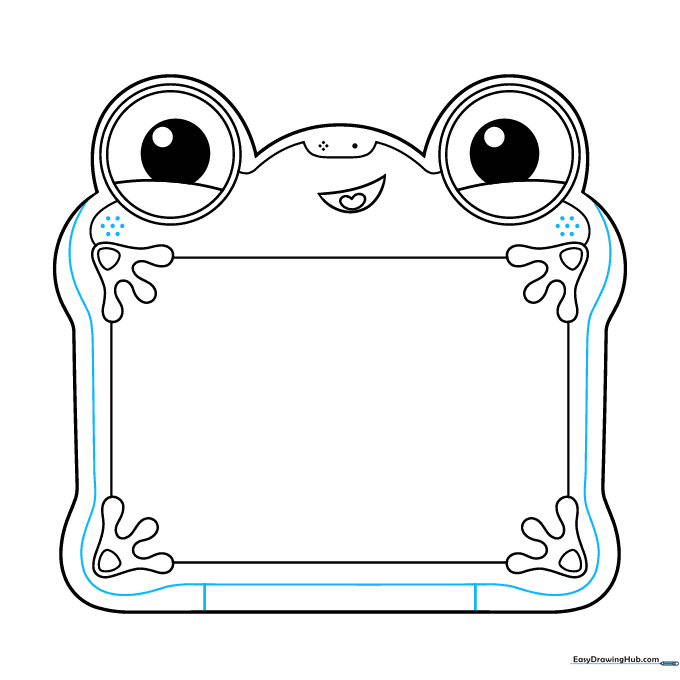
Draw a long, curved line along the outer edge of the tablet to create a border. Add two small lines between this border and the bottom outline for extra dimension. Tip: This adds a 3D effect, making the tablet look like a real object.
Step 8: Adding Pattern Details

Decorate the edges of the tablet with spots. Use wavy, blotchy lines to create a fun, organic pattern. Tip: Vary the size of the spots to make them look more natural.
Step 9: Adding the Greeting

Carefully draw the letters 'Hi!' in a thick, cursive script on the screen. Tip: Practice writing 'Hi!' on a separate piece of paper first to get the flow of the cursive letters right before adding them to your drawing.
Step 10: Bringing Lilypad to Life with Color

Your outline is complete! Now, bring Lilypad to life with color. Use green for the body, white for the eyes, and pink for the tongue. For the screen, try a light blue text against a darker blue background. Tip: Use colored pencils or markers to make the colors pop!
More Tutorials


