How to Draw Lightning McQueen: Easy 10-Step Guide
Ready to bring the Piston Cup champion to life? This tutorial is perfect for young artists ages 7+ who love the Cars movies. You'll only need a pencil, an eraser, and some markers to capture his iconic racing look. Follow along to master his sleek curves and signature smile.
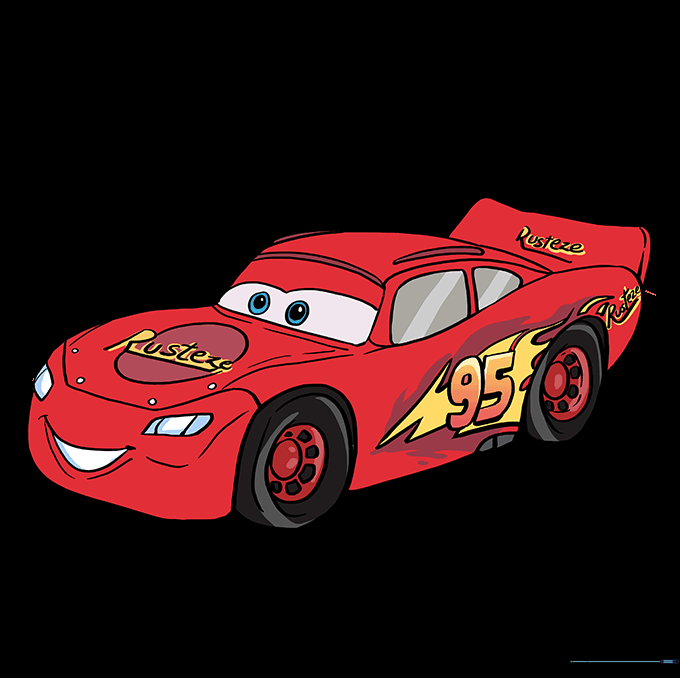
🎯 Final Result
Step-by-Step Instructions
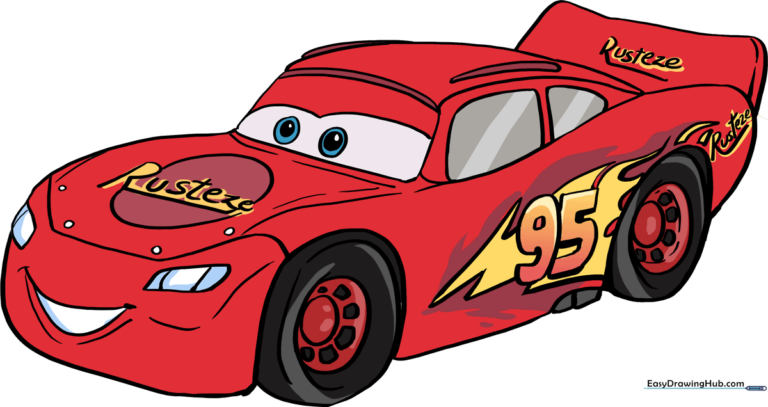
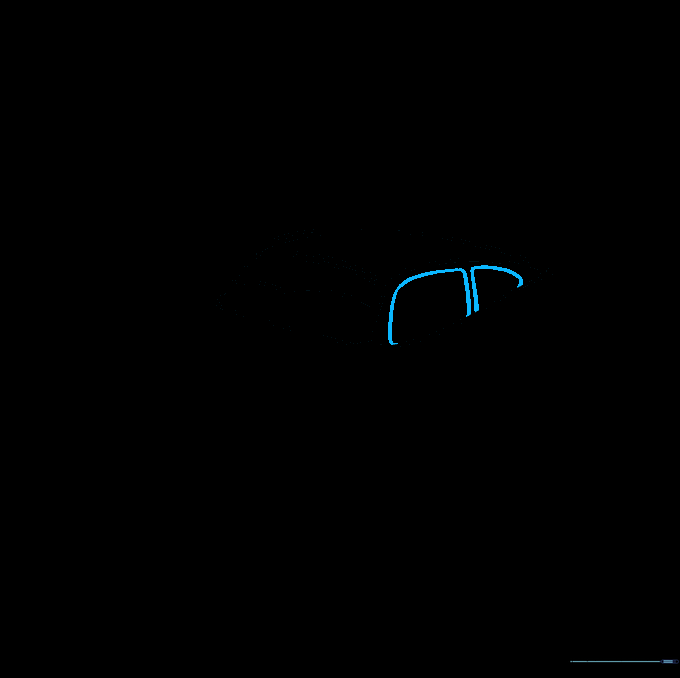
Step 1: Sketching the Windshield Eyes
Draw a rounded rectangle to serve as the windshield, which also acts as his expressive eyes. Add a curved line inside for the eyelids. Teacher's Tip: Keep this shape centered on your paper to leave room for the rest of the car body.
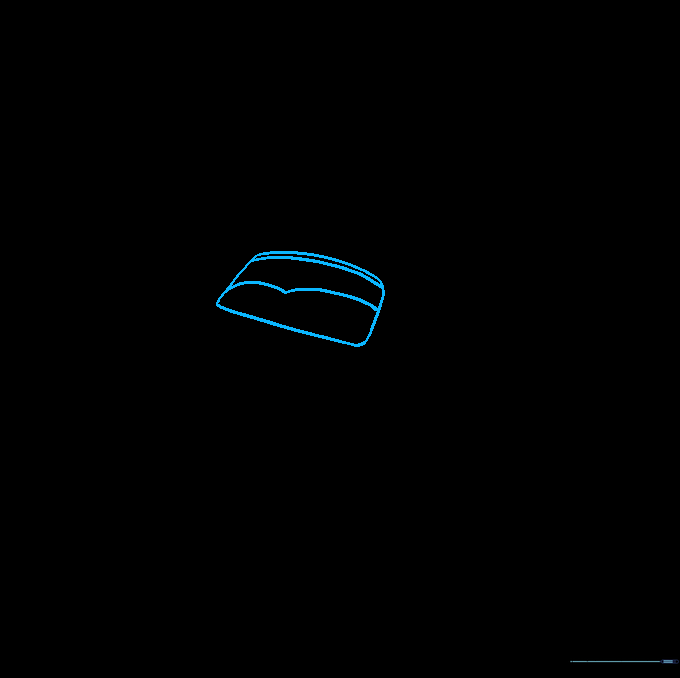
Step 2: Defining the Roofline
Extend a curved line from each side of the windshield to form the top of the car, meeting at a point toward the back. Tip: Use a light, sweeping motion to get that aerodynamic racing shape.
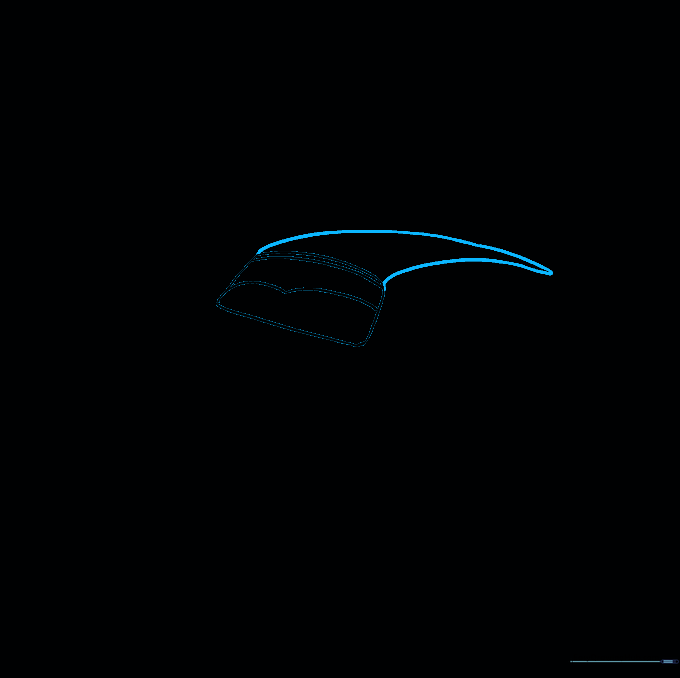
Step 3: Adding the Side Windows
Draw a small curved shape on the roof and connect the bottom of the windshield to the back of the car. This creates the side window frame. Tip: Make sure the lines are smooth to keep the car looking fast.
Step 4: Detailing the Windows
Inside the side window area, draw a rounded rectangle and a triangle. These represent the individual glass panels. Tip: Don't press too hard; these lines are just guides for the final drawing.
Step 5: Outlining the Hood and Fender
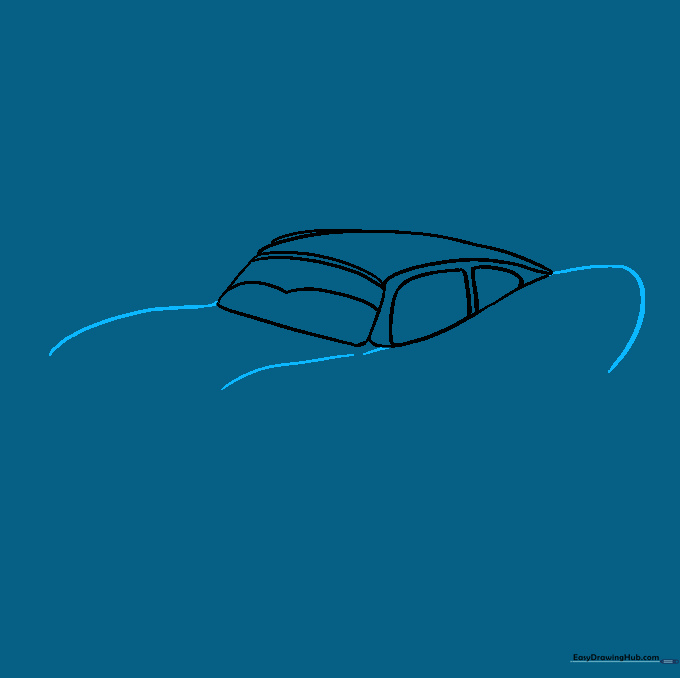
Draw curved lines from the bottom corners of the windshield to outline the hood, and another from the roof to the back for the fender. Tip: Think of these as the car's muscles—keep the curves bold.
Step 6: Adding the Spoiler
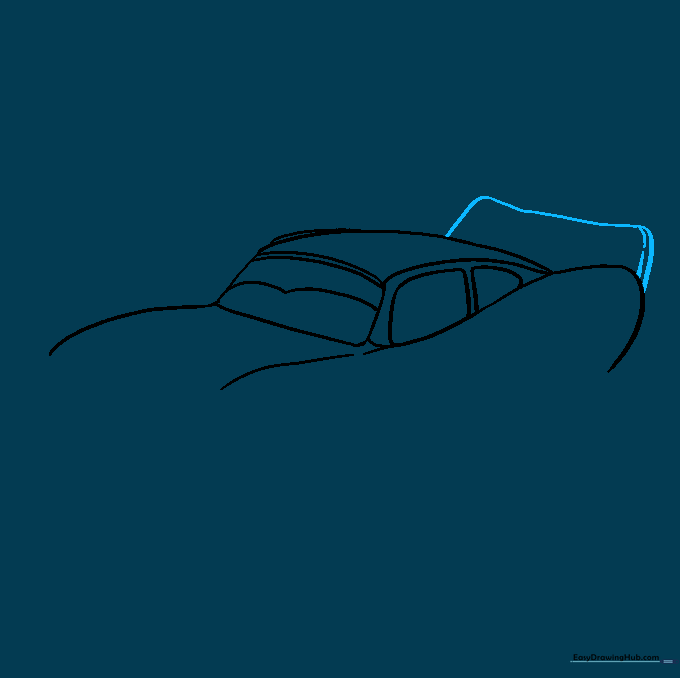
Draw a rounded rectangle at the back of the car with a parallel line to create the spoiler. Tip: This is what gives him that 'racer' look, so make sure it looks sturdy.
Step 7: The Face and Headlights
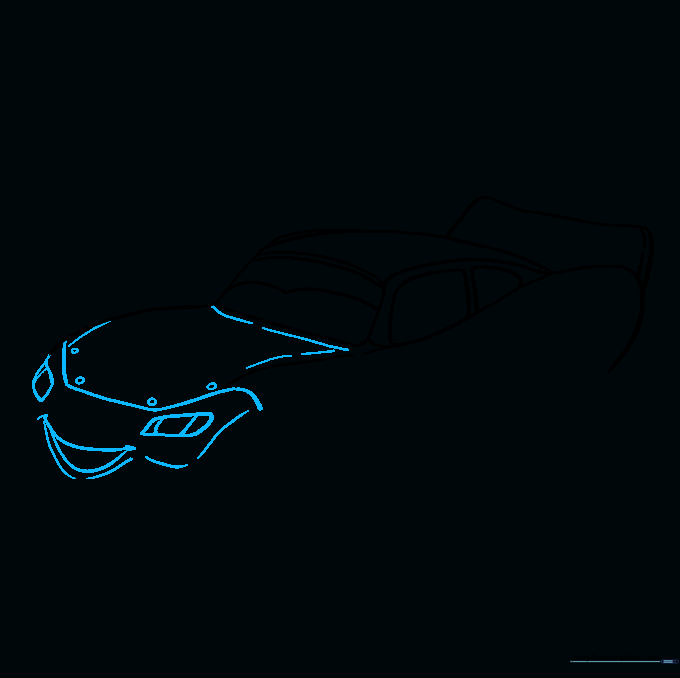
Draw the hexagonal hood, headlights, and his iconic smiling mouth. Tip: When drawing the mouth, make it wide and friendly to capture his personality.
Step 8: Drawing the Wheels
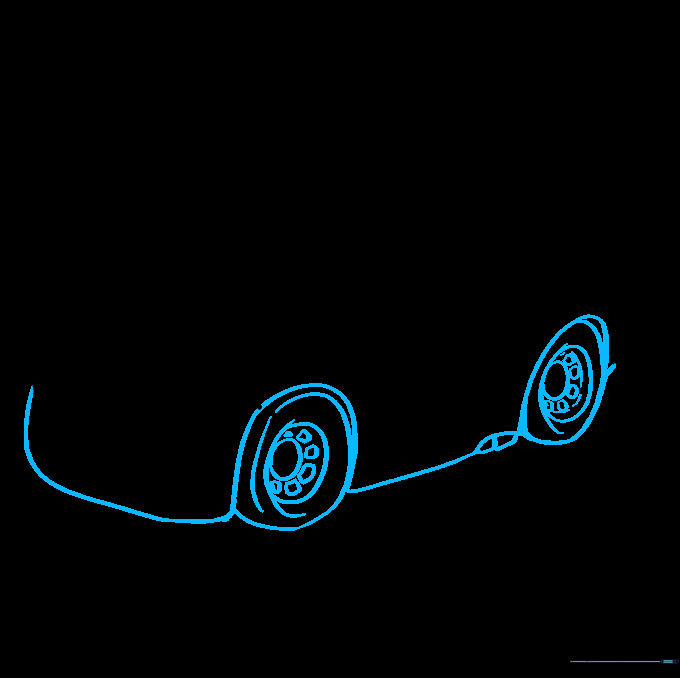
Draw the wheel wells and three circles inside each for the tires and hubcaps. Tip: Use a circular object like a coin if you struggle to draw perfect circles freehand.
Step 9: Adding Racing Decals
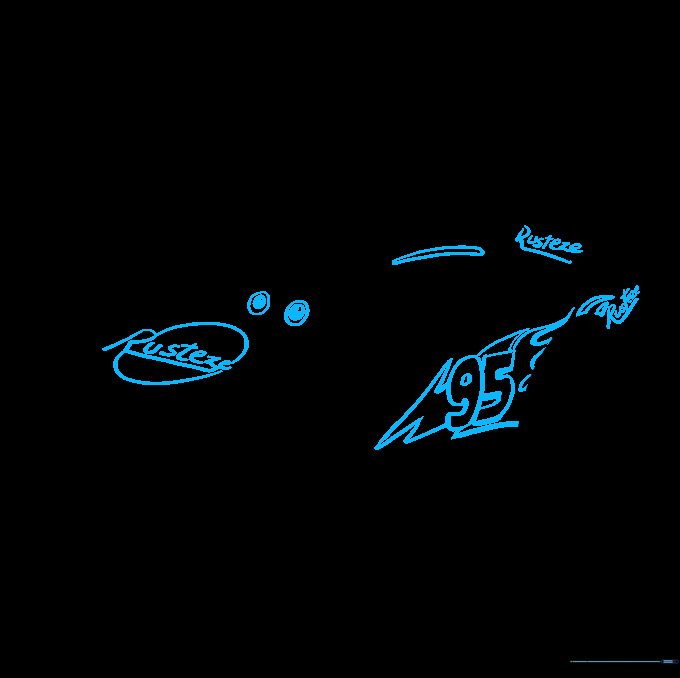
Draw his eyes, the 'Rusteze' logo on the hood, and the number '95' on the side with flame details. Tip: Take your time with the flames—use short, wavy strokes.
Step 10: Bringing Him to Life with Color
Color your drawing using bright red for the body and yellow/orange for the flames. Tip: Use a darker red for shading near the bottom of the car to give it a 3D look.
More Tutorials


