How to Draw Lego Batman: Easy 10-Step Guide for Kids
Ready to bring the Dark Knight to life? This tutorial is perfect for young artists ages 6+ who love superheroes and building blocks. Grab a pencil, an eraser, and a piece of paper to practice your geometric shapes and character proportions.
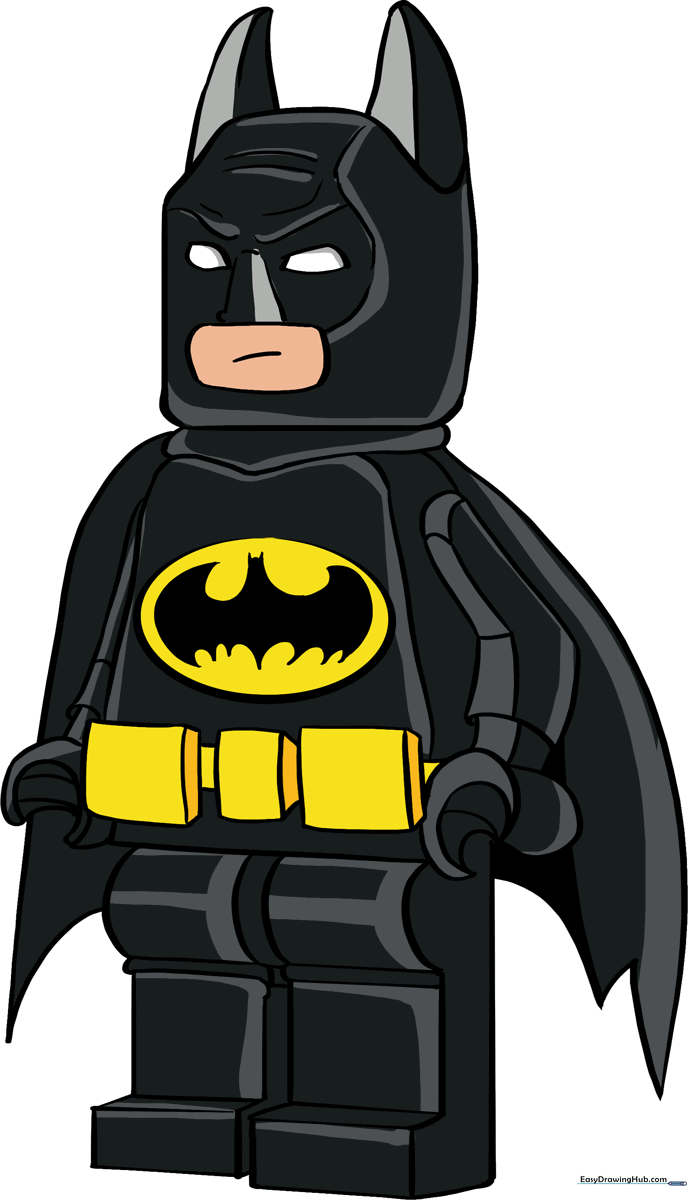
🎯 Final Result
Step-by-Step Instructions
Step 1: Sketching the Head
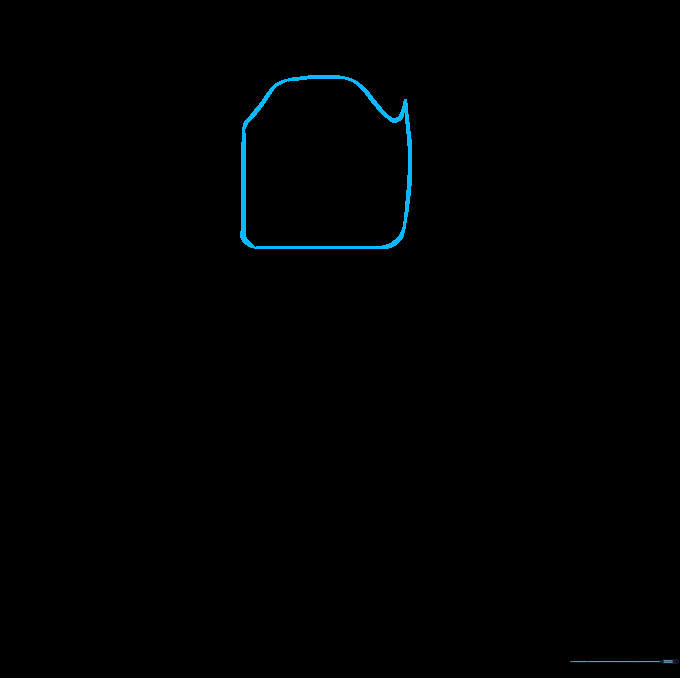
Draw three straight lines to form the sides and bottom of a square, connecting them with rounded corners. Cap it off with a curved line that peaks on one side. Teacher's Tip: Keep your pencil lines light so you can easily adjust the shape if it looks a bit wobbly.
Step 2: The First Bat-Ear
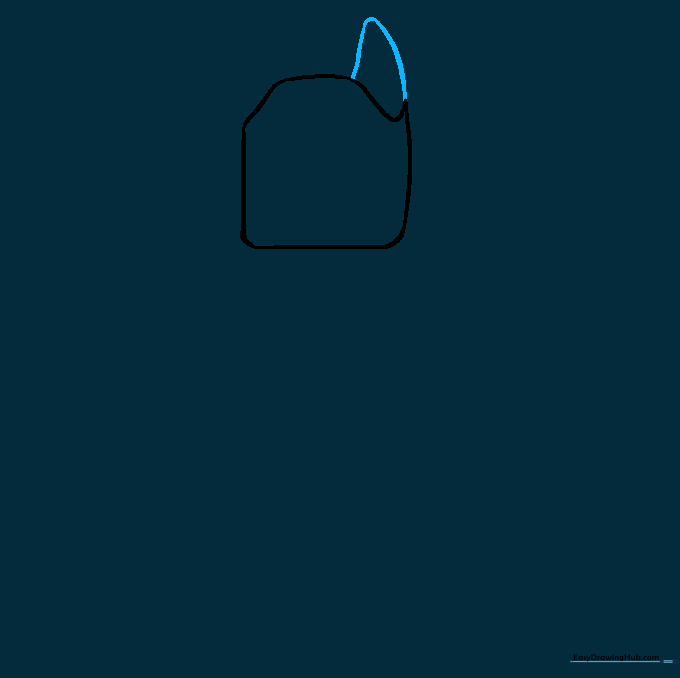
Add a rounded triangular shape above the pointed side of the head. This is the first ear of his mask. Tip: Lego parts are very symmetrical, so try to keep your ear shape consistent with the head's blocky style.
Step 3: Completing the Ears
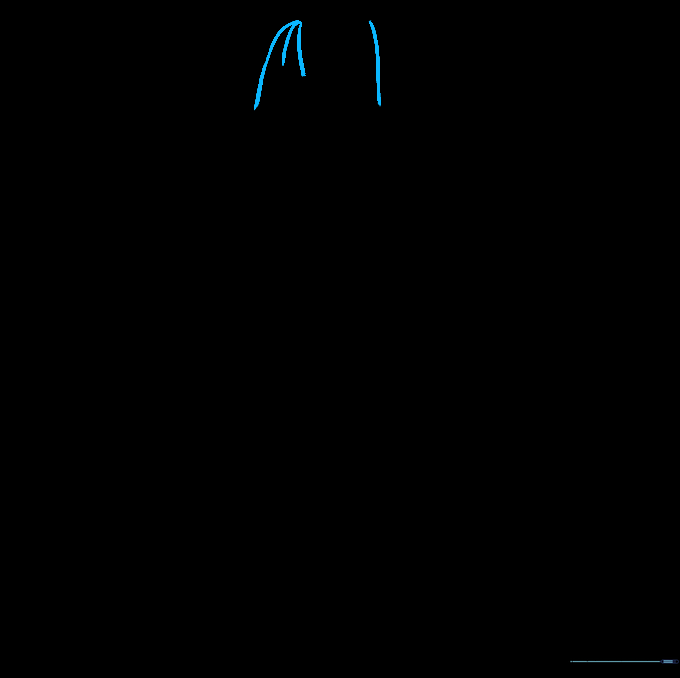
Draw the second ear on the opposite side using the same triangular technique. Add a small line down the center of each ear to give them a bit of depth. Tip: Use a steady hand to keep the lines crisp.
Step 4: The Neck and Torso
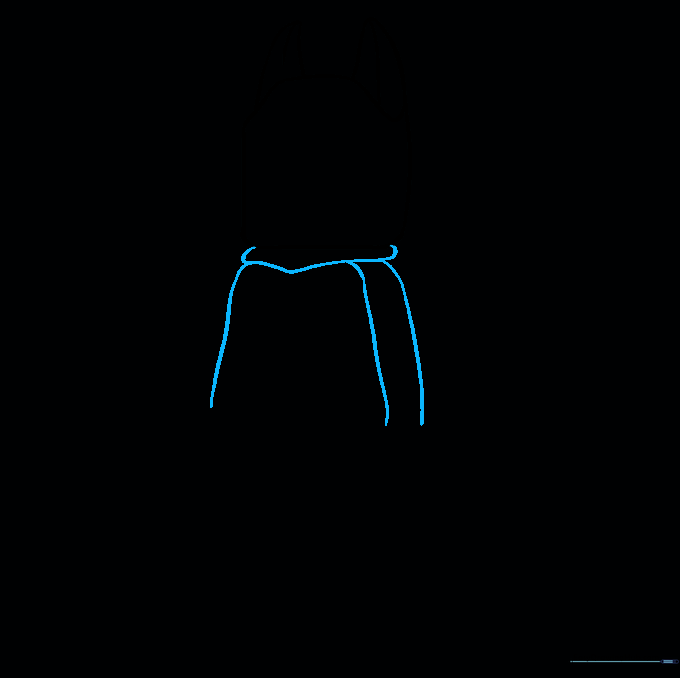
Draw a flat, irregular shape under the head for the neck, then extend three curved lines down to create the torso. Tip: Think of this as drawing a small block—keep your lines clean and straight.
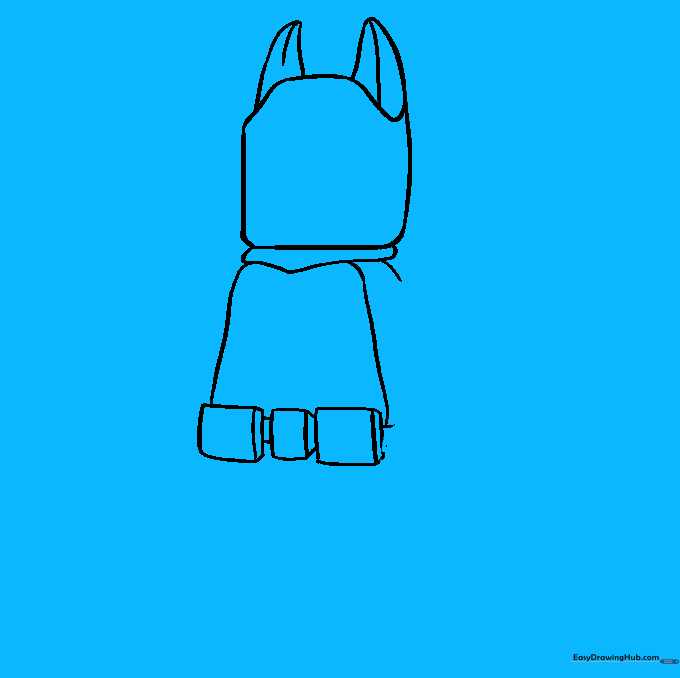
Step 5: The Utility Belt
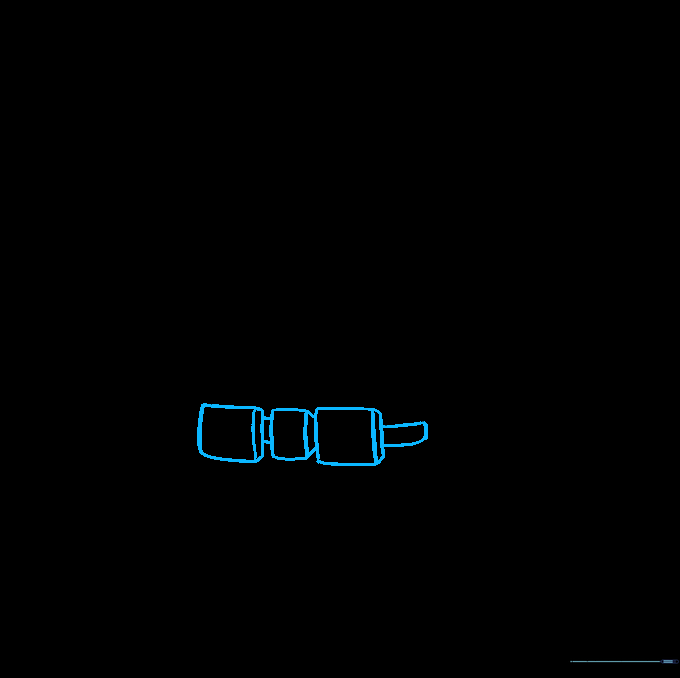
Draw three rectangles at the bottom of the torso. Add smaller rectangles on their sides to make them look 3D. Connect them with lines to form the belt. Tip: This is a great exercise in drawing 3D shapes on a 2D surface!
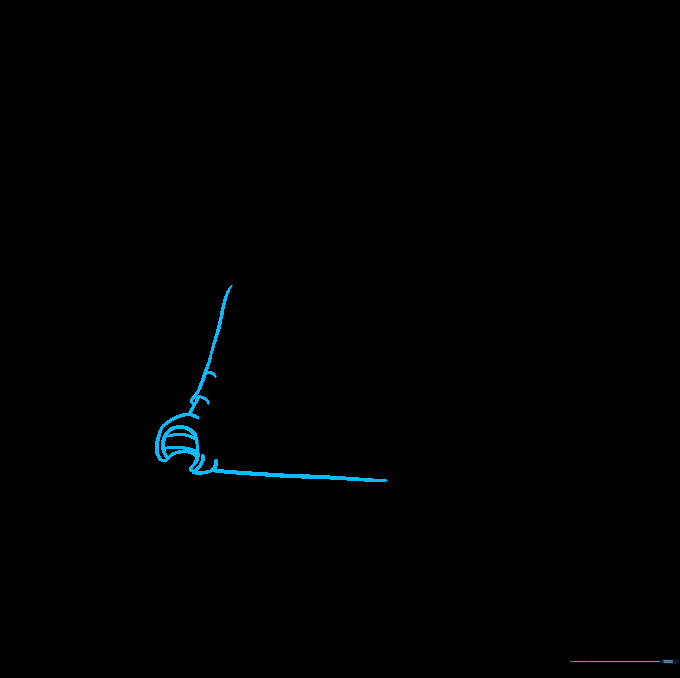
Step 6: Drawing the First Arm
Sketch an 'L' shape for the arm, then add a 'C' shape for the hand. Connect the hand to the arm with straight lines. Tip: Don't worry if the 'C' shape is tricky; just focus on making it look like a classic Lego claw hand.
Step 7: The Second Arm
Draw the other arm and hand on the opposite side, partially tucked behind the belt. Connect the hands with a straight line to show they are held together. Tip: Use your eraser to clean up any overlapping lines.
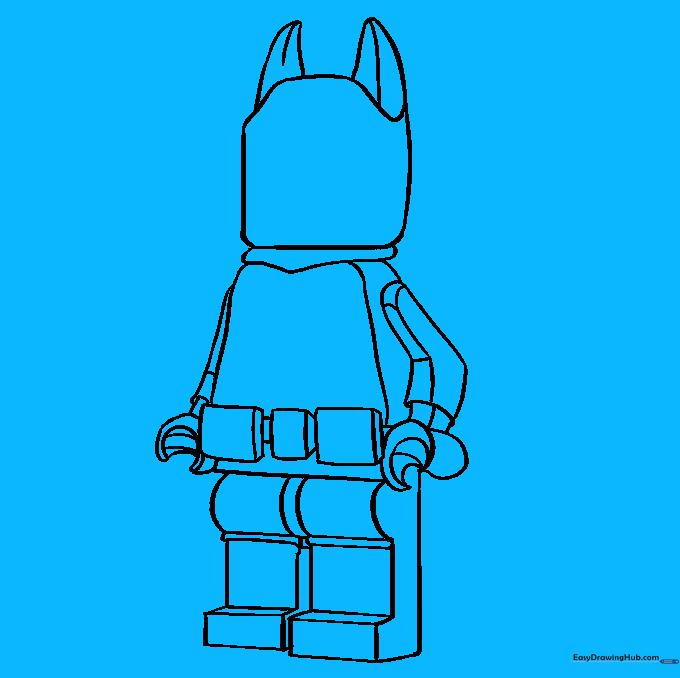
Step 8: Drawing the Legs
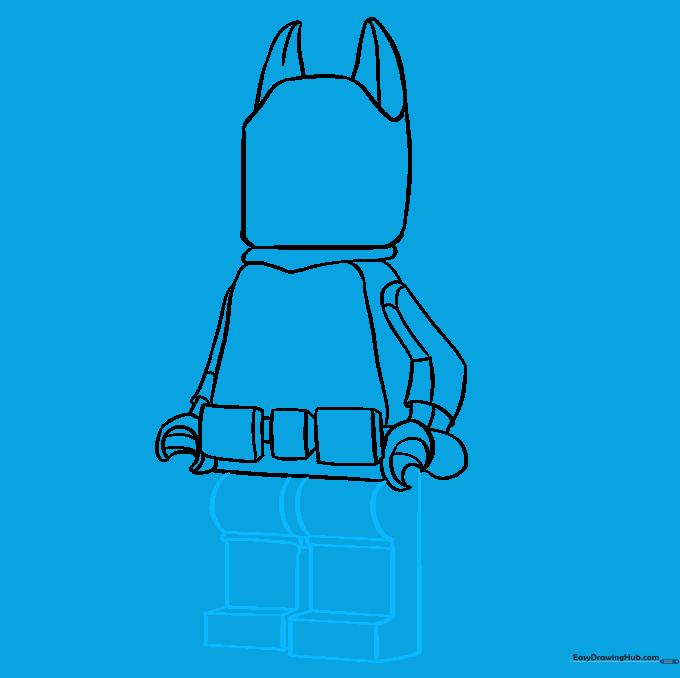
Use straight and curved lines to block out the legs. Keep them sturdy and rectangular to match the Lego aesthetic. Tip: Ensure the legs look balanced with the size of the torso.
Step 9: Face and Cape Details
Add the eyes, mouth, and furrowed brow for his serious expression. Draw the cape using long, flowing curves from the neck. Finally, add the bat logo on his chest. Tip: Use a fine-liner pen to trace your final lines before coloring.
Step 10: Adding Color
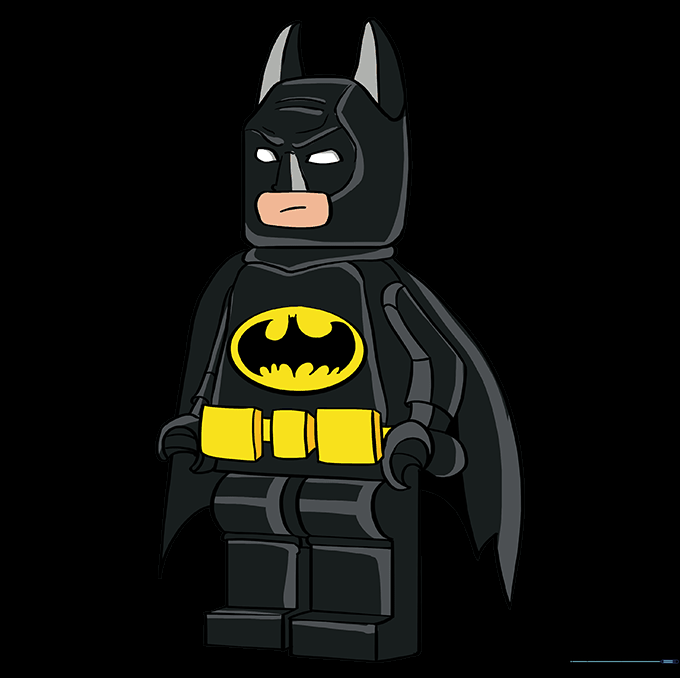
Time to bring him to life! Use black for the suit and mask, and bright yellow for the utility belt and chest logo. Tip: Use light, circular motions with your colored pencils for an even, smooth finish.
More Tutorials


