How to Draw Lavender: Easy 10-Step Guide for Beginners
Bring the calming beauty of nature to your sketchbook with this simple lavender drawing tutorial. Designed for artists ages 5 and up, you only need a pencil, paper, and an eraser to get started. Follow along to master the rhythmic, repetitive shapes that make lavender so recognizable.
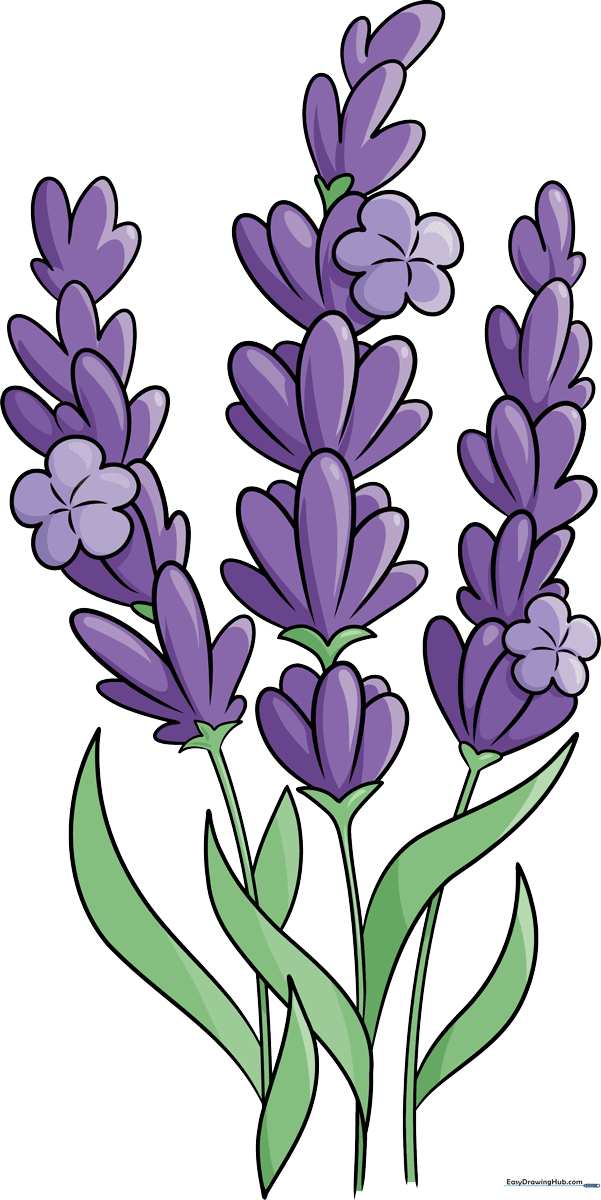
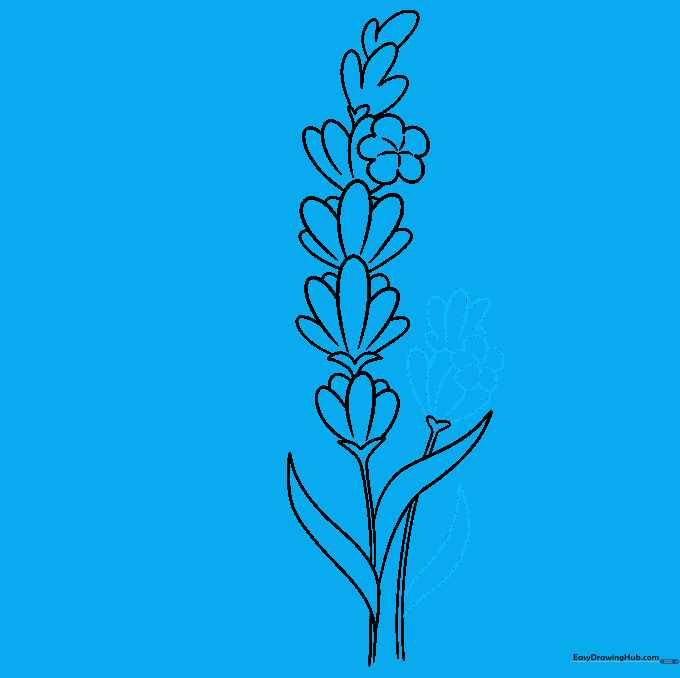
🎯 Final Result
Step-by-Step Instructions
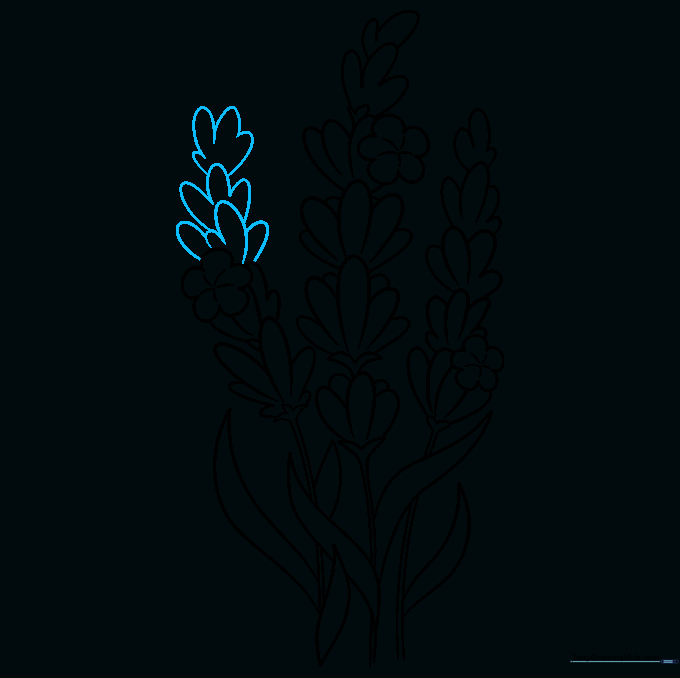
Step 1: Sketching the First Bloom

Start by drawing a series of overlapping 'U' shapes to form the petals. Connect them at the base with a small 'V' shape to create the sepal. Tip: Keep your pencil pressure light here so you can easily adjust the size of the flower head later.
Step 2: Adding Leaves and Stem
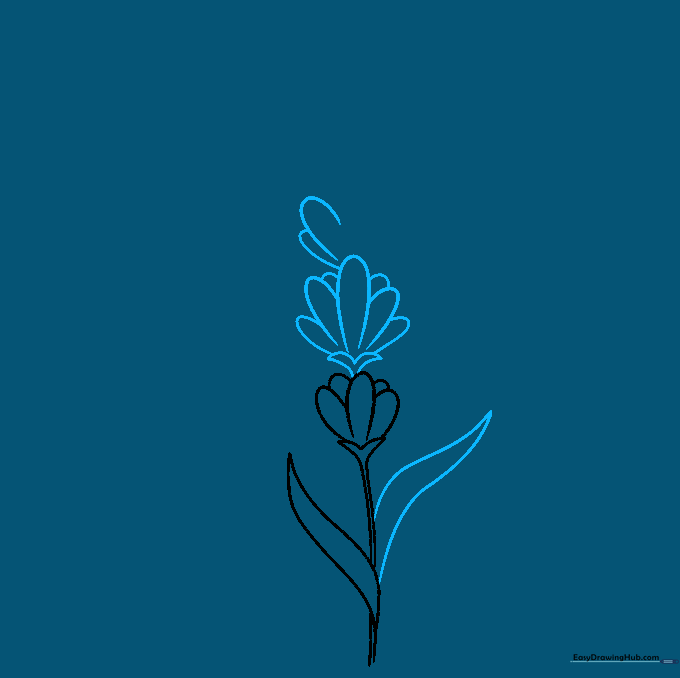
Draw a sharp, pointed leaf extending from the stem using two curved lines. Continue the stem downward. Tip: Lavender leaves are thin and blade-like; try to keep them narrow to maintain the plant's delicate look.
Step 3: Building the Flower Spike
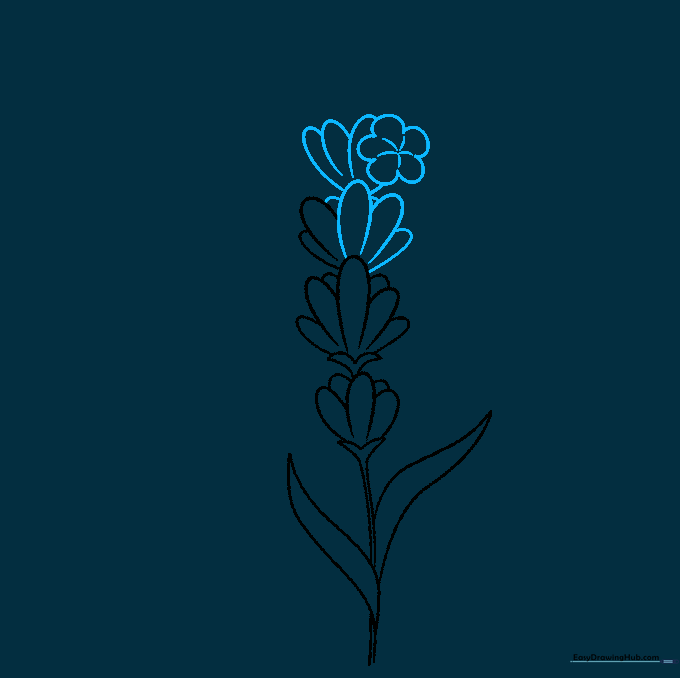
Add a second flower layer above the first using more 'U' shapes. Connect the two sections with a small 'V' shape. Tip: Think of this as stacking small cups on top of each other.
Step 4: Adding Detail to the Spike
Continue adding 'U' shaped petals to build height. Add a small, five-petaled blossom at the very top for variety. Tip: Vary the size of your 'U' shapes slightly to make the flower look more organic and less like a machine-made pattern.
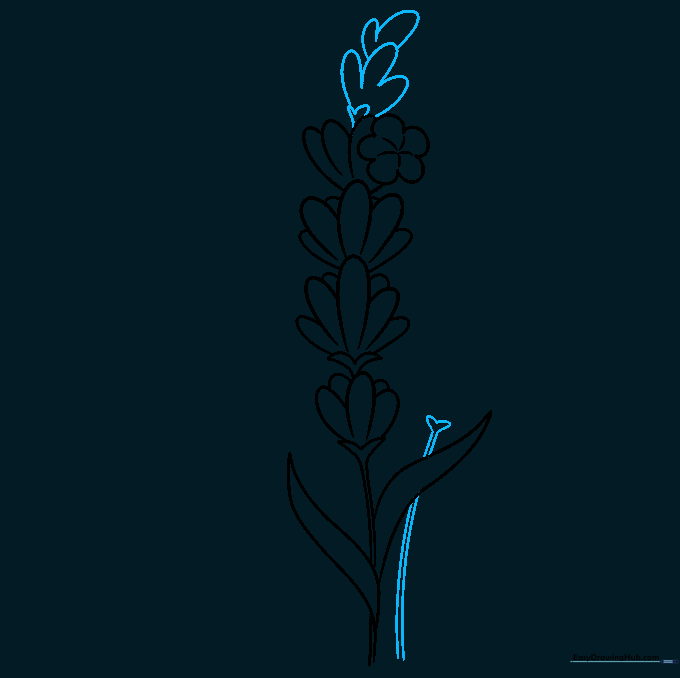
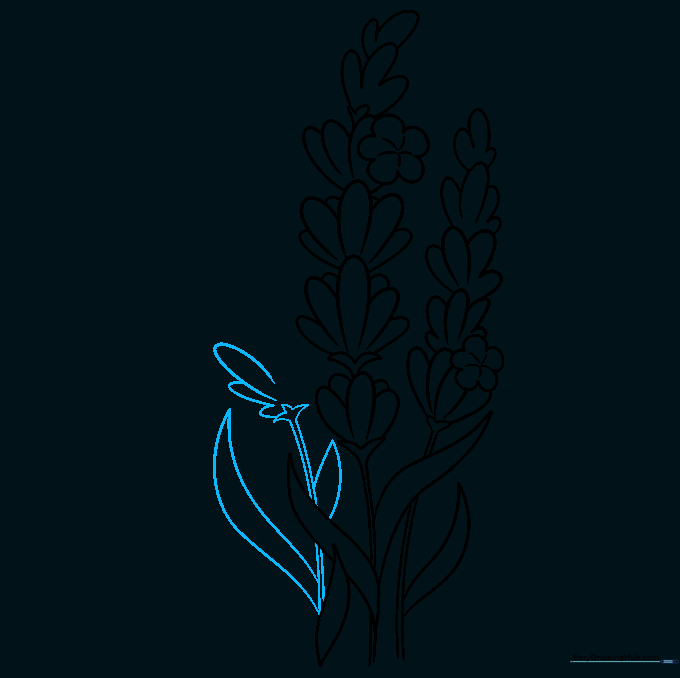
Step 5: Creating the Second Stem
Start a second stem alongside the first. Top it with a small heart-shaped sepal. Tip: Keep the stems parallel but slightly curved to give your drawing a sense of movement.
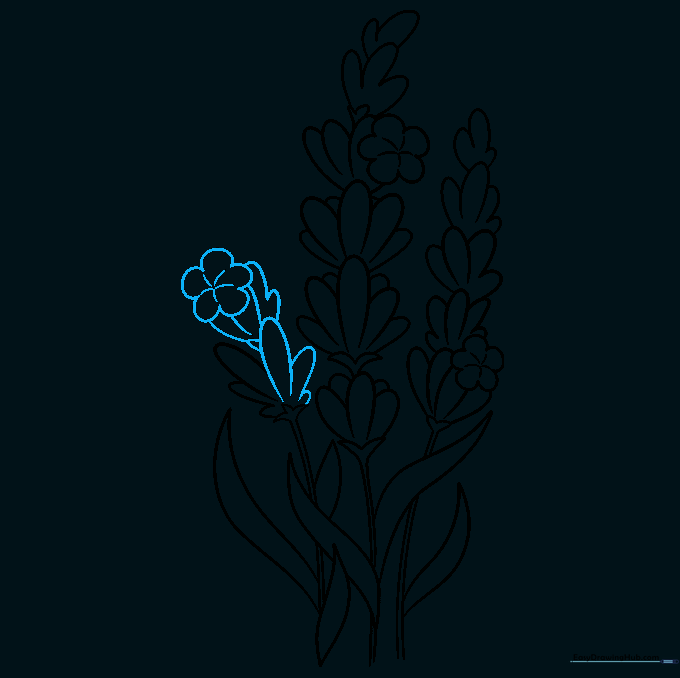
Step 6: Adding Leaves to the Second Stem
Draw another pointed leaf on the second stem. Begin adding 'U' shaped petals to the top of this new stem. Tip: If you make a mistake, use your eraser to gently lift the graphite before drawing over it again.
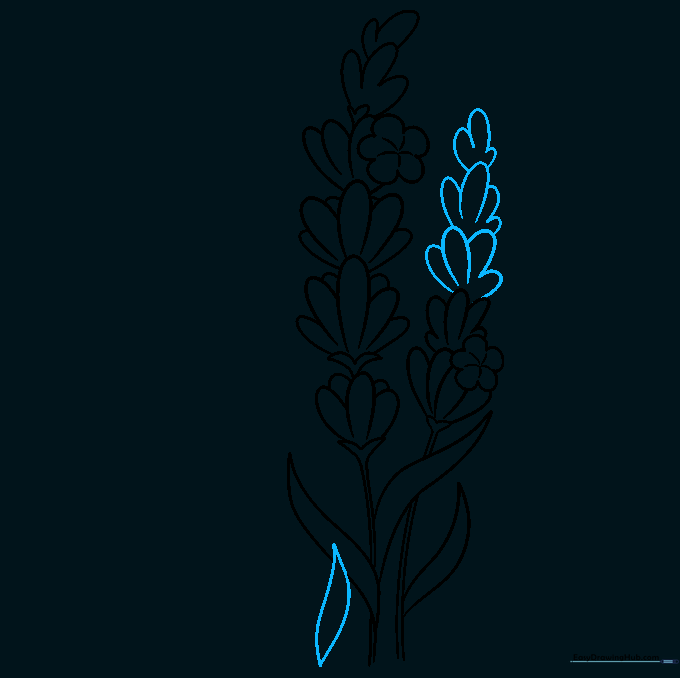
Step 7: Developing the Third Stem
Add a third stem to your composition. Use the same technique of pairs of curved lines for the stem and pointed shapes for the leaves. Tip: Try to vary the height of the three stems so they don't look like a perfectly straight row.
Step 8: Adding Final Flower Details
Fill in the third stem with 'U' shaped petals and a small star-shaped blossom at the top. Tip: Ensure your petals overlap slightly; this creates the 'bunch' effect that lavender is known for.
Step 9: Finalizing the Outline
Review your drawing and darken the lines you want to keep. Erase any stray guidelines. Tip: Use a fine-liner pen if you want to make your drawing look like a professional illustration.
Step 10: Bringing Your Lavender to Life with Color
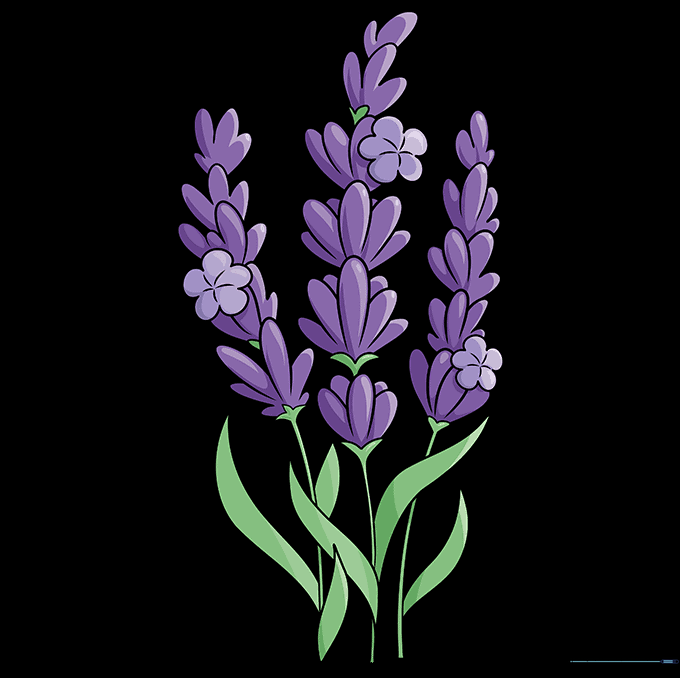
Color your lavender! Use soft purples for the flowers and a muted, greyish-green for the stems and leaves. Tip: Try coloring the base of each flower petal slightly darker to give it a 3D effect.
More Tutorials


