How to Draw Lace: Easy Step-by-Step Guide for Beginners
Ready to add delicate, decorative details to your drawings? This tutorial is perfect for artists ages 6+ looking to master floral lace patterns. Grab a pencil, an eraser, and a piece of paper to start building your own custom textile designs.
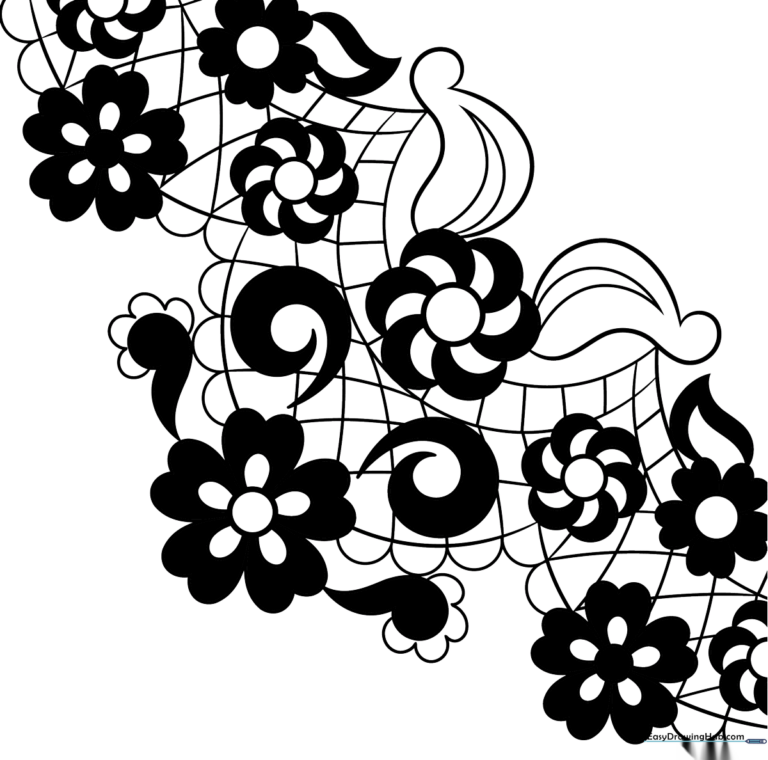
🎯 Final Result
Step-by-Step Instructions
Step 1: Sketching the Base Flowers
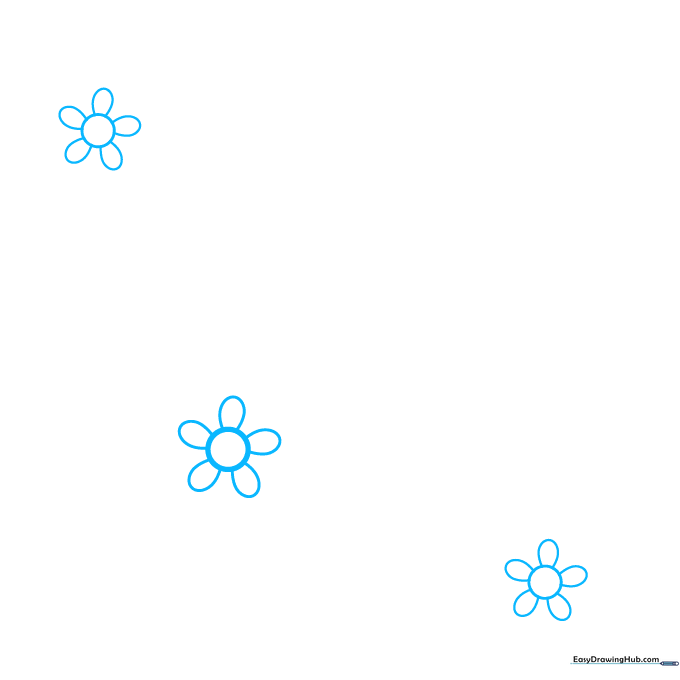
Start by drawing three small daisy-like flowers. Draw a small circle for the center, then add five oval petals around it. Teacher's Tip: Keep these circles small—about the size of a dime—to leave plenty of room for the rest of your pattern.
Step 2: Adding Petal Depth
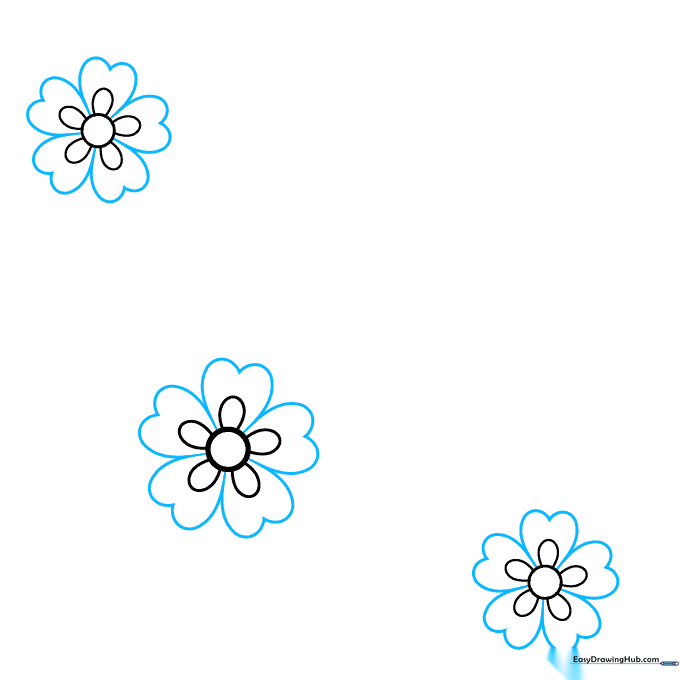
Draw a larger heart-shaped petal around each of the original oval petals. This creates a layered, professional look. Teacher's Tip: Try to keep your petal sizes consistent to make the lace look uniform.
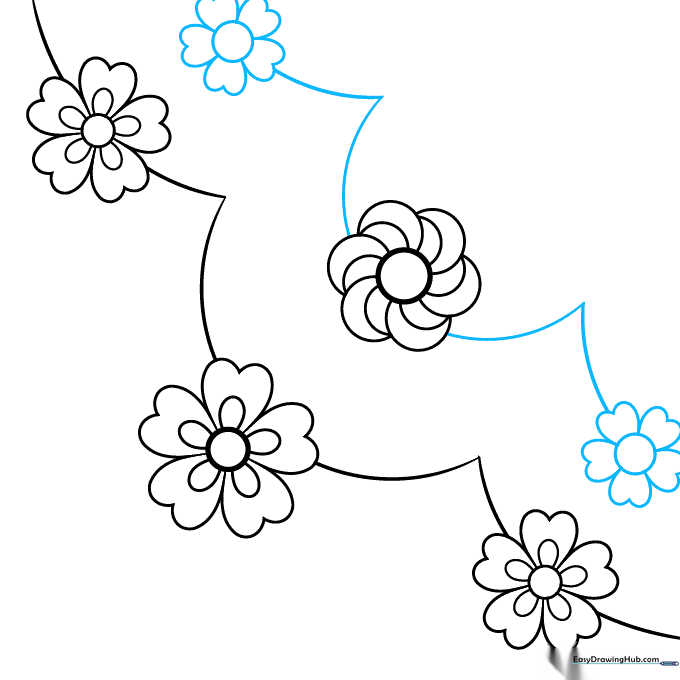
Step 3: Creating the Scalloped Edge
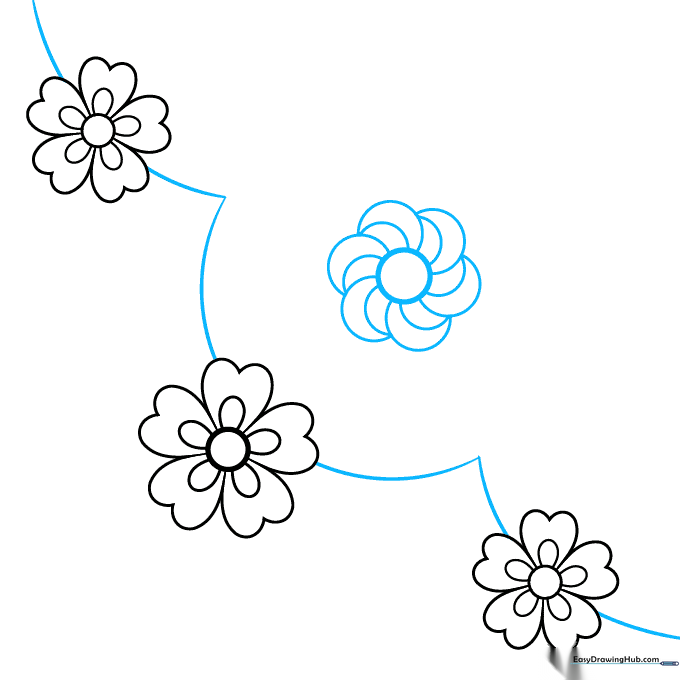
Connect your flowers with a series of curved, scalloped lines that meet at points. Add a new flower above this edge using a circle center and crescent-shaped petals. Teacher's Tip: Imagine the scalloped line is like a gentle ocean wave.
Step 4: Expanding the Floral Pattern
Add two more daisy flowers in line with your moonflower. Repeat the scalloped pattern underneath them. Teacher's Tip: Use a light touch; if you make a mistake, gently dab it with your eraser rather than scrubbing the paper.
Step 5: Adding Decorative Spirals and Leaves
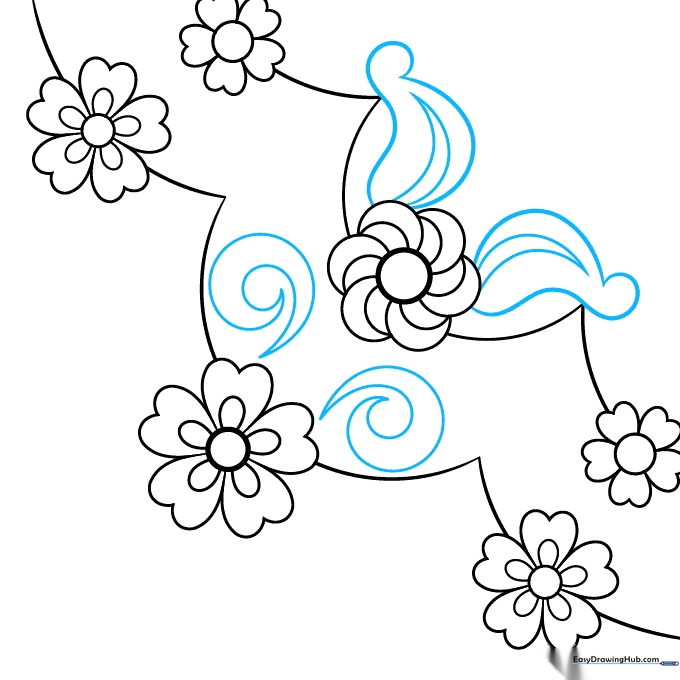
Draw two spiral shapes above the central daisy and add leaf-like patterns using a central vein line. Teacher's Tip: For the leaves, draw the center line first, then curve the edges around it to ensure they look symmetrical.
Step 6: Filling the Gaps
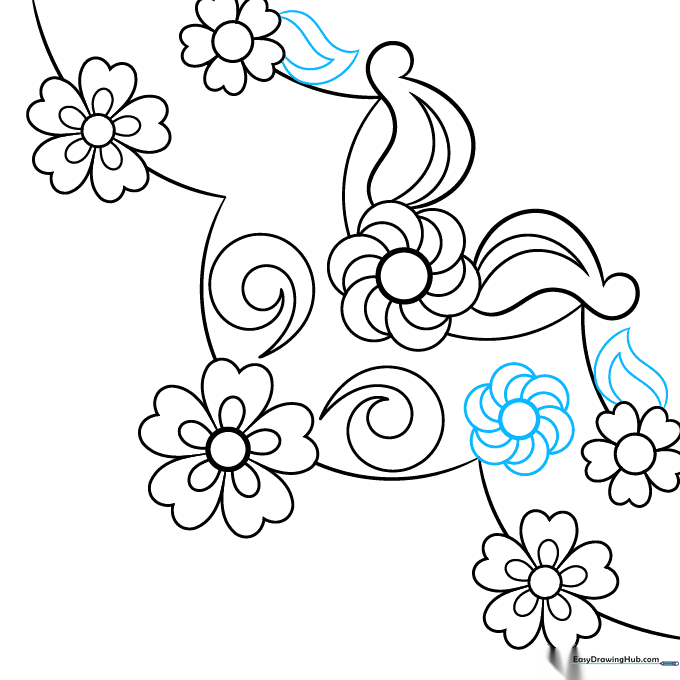
Add a smaller moonflower between the scalloped lines and extend more leaves from the upper flowers. Teacher's Tip: Varying the sizes of your flowers creates a more realistic, handmade lace effect.
Step 7: Creating Edge Details
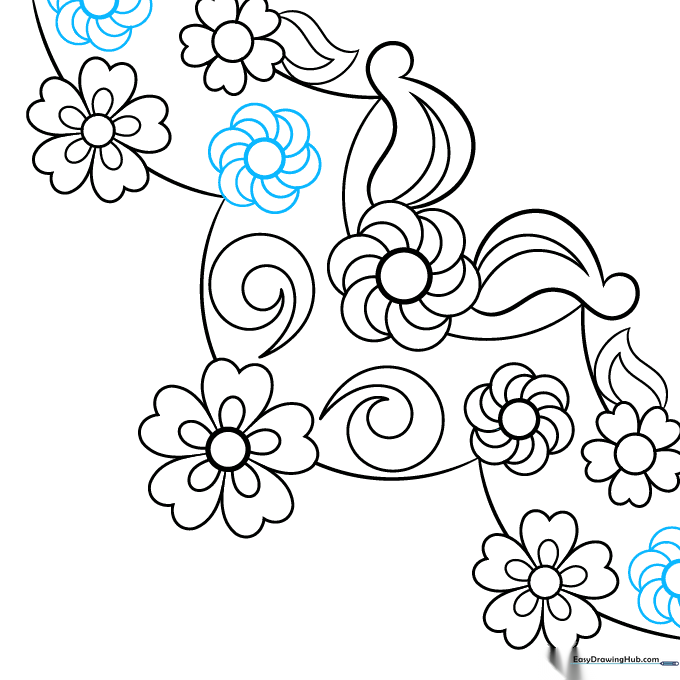
Fill the remaining space between scalloped lines with more moonflowers. Some can be partial shapes at the edge of your paper. Teacher's Tip: Partial shapes make the drawing look like a continuous piece of fabric.
Step 8: Adding Texture and Detail

Draw a second parallel scalloped line and add short vertical lines between them. Add small 'U' shapes along the bottom. Teacher's Tip: These small details are what give lace its 'netted' appearance.
Step 9: Finalizing the Net Pattern
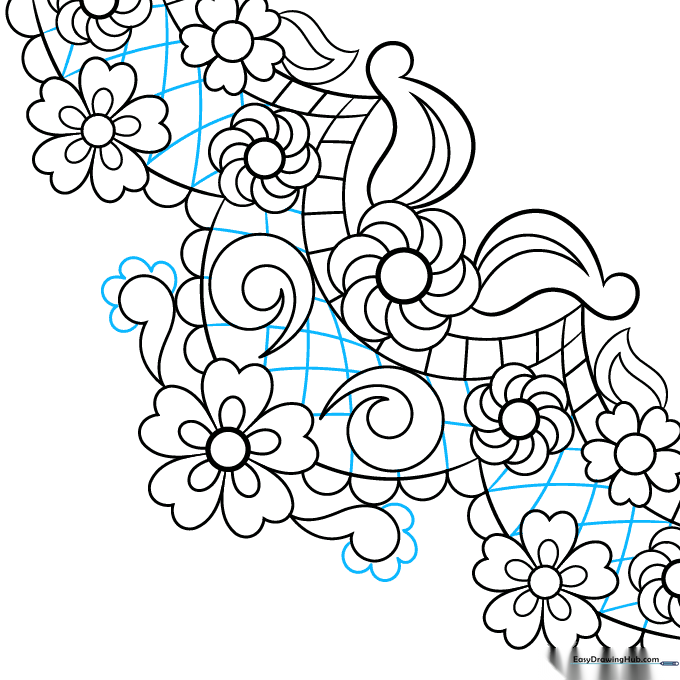
Draw diagonal lines between your scalloped layers to create a netlike grid. Add final 'U' shapes around your apostrophe-shaped accents. Teacher's Tip: Take your time here; a steady hand makes the grid look much cleaner.
Step 10: Color and Finish
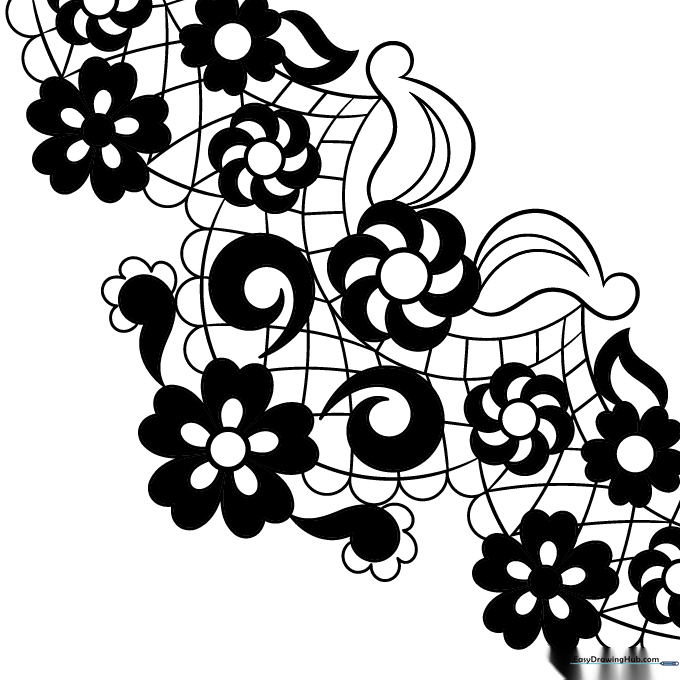
Your lace outline is complete! While traditional lace is often white or cream, feel free to use pastels or bright colors to make your design pop. Teacher's Tip: Use a very fine-tip pen to trace your pencil lines before coloring.
More Tutorials


