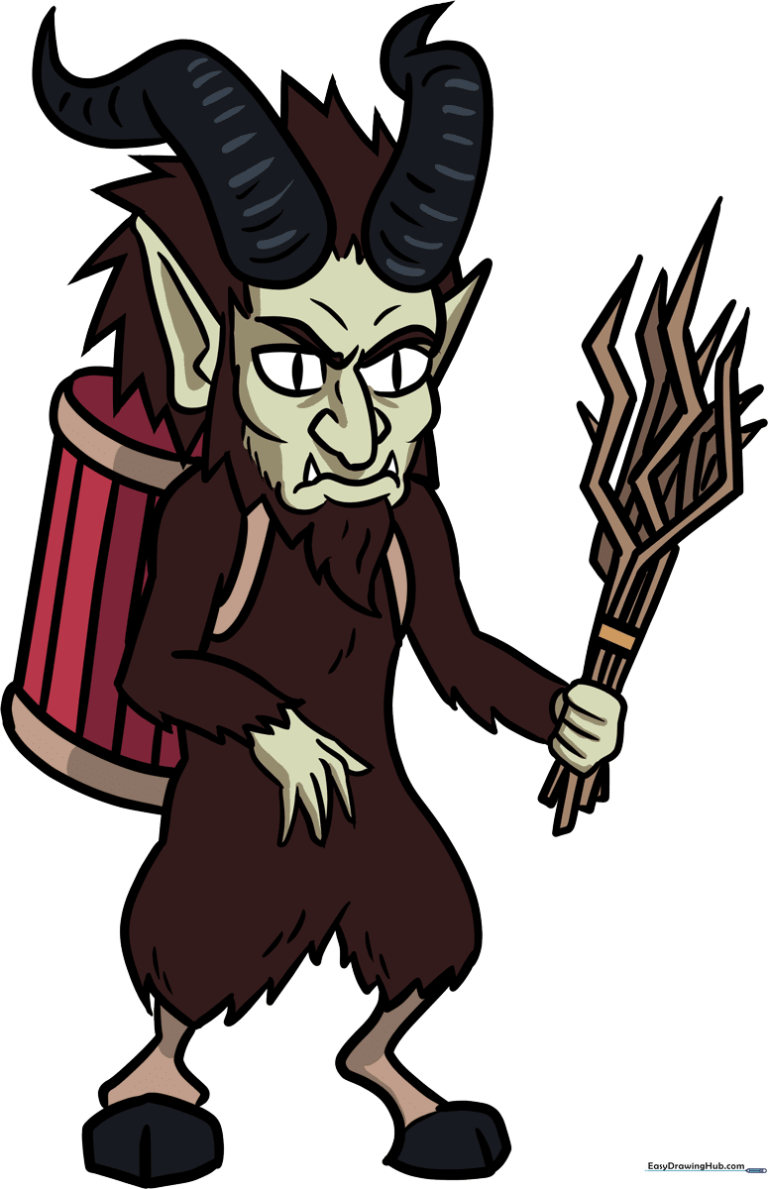
How to Draw Krampus: Easy Step-by-Step Guide for Beginners
Bring the legendary holiday folklore to life with this fun, intermediate-level drawing tutorial. Designed for young artists ages 8+, this guide requires only a pencil, eraser, and paper to master the iconic features of Krampus. Follow along to develop your character sketching skills and create your own mythical creature.
🎯 Final Result
Step-by-Step Instructions
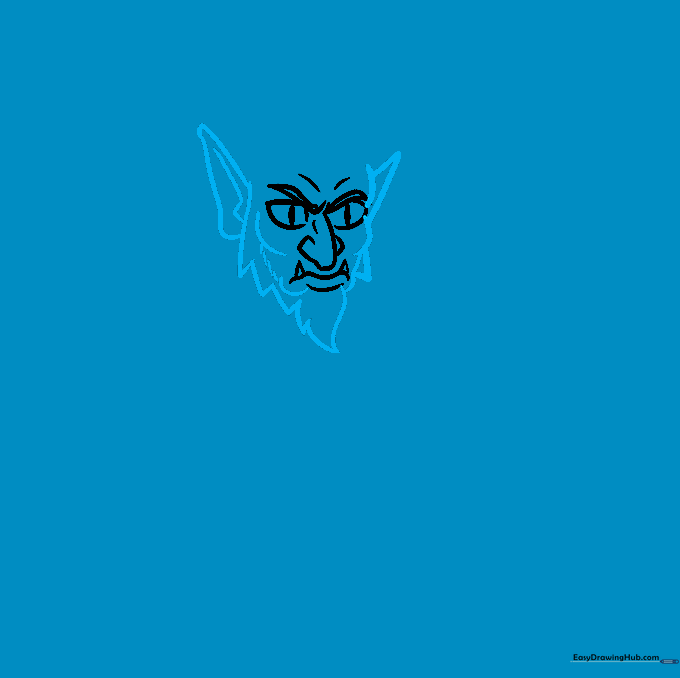
Step 1: Sketching the Facial Features

Draw the eyes, nose, and eyebrows. Use narrow slits for the pupils to give him a focused, grumpy expression. Teacher's Tip: Keep these features clustered tightly in the center of the head to emphasize his pinched, irritated personality.
Step 2: Defining the Head and Beard
Add pointed ears and a scruffy, jagged beard. Use the lower lip as an anchor point for the beard's start. Teacher's Tip: Use short, quick pencil strokes to create the texture of coarse fur rather than smooth lines.
Step 3: Adding Horns and Fur

Draw the curling horns and shaggy hair around the head. Keep the horns smooth for now. Teacher's Tip: Think of the horns as two 'C' shapes curving outward from the top of the head.
Step 4: Sketching the Arms and Shoulders
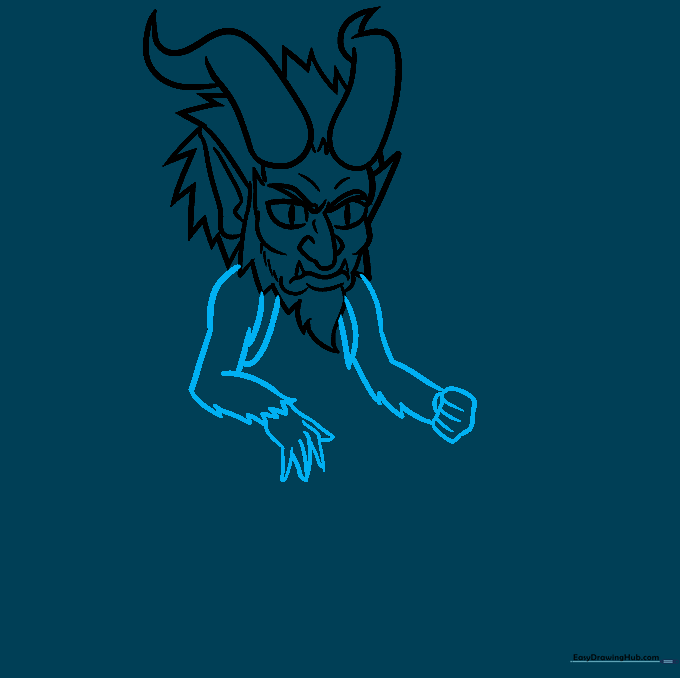
Draw the arms, shoulders, and hands. Use the straps of the barrel to define the chest area. Teacher's Tip: Hands are complex, so draw them as simple mittens first, then refine the fingers later.
Step 5: Drawing the Lower Body
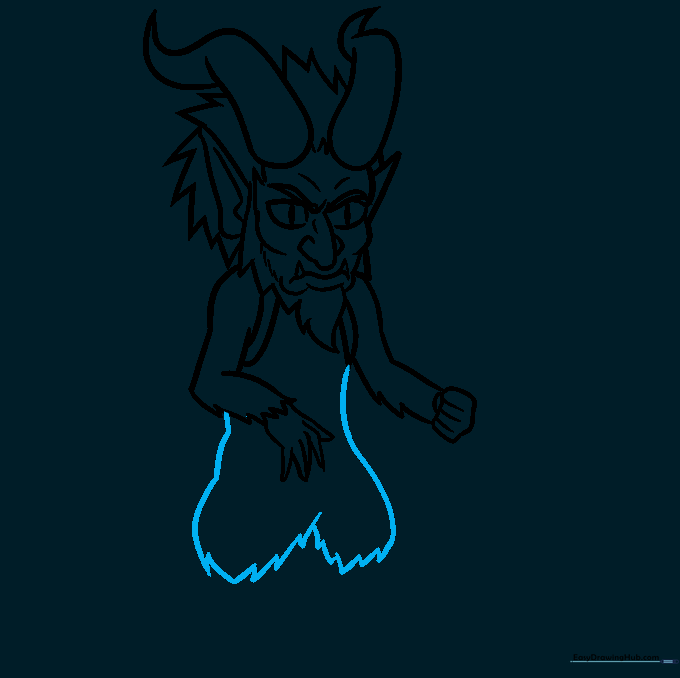
Extend the straps to draw the shaggy lower body, ending at the knees. Teacher's Tip: Make the fur look 'wild' by varying the length of your lines—some long, some short.
Step 6: Adding Goat Legs and Hooves
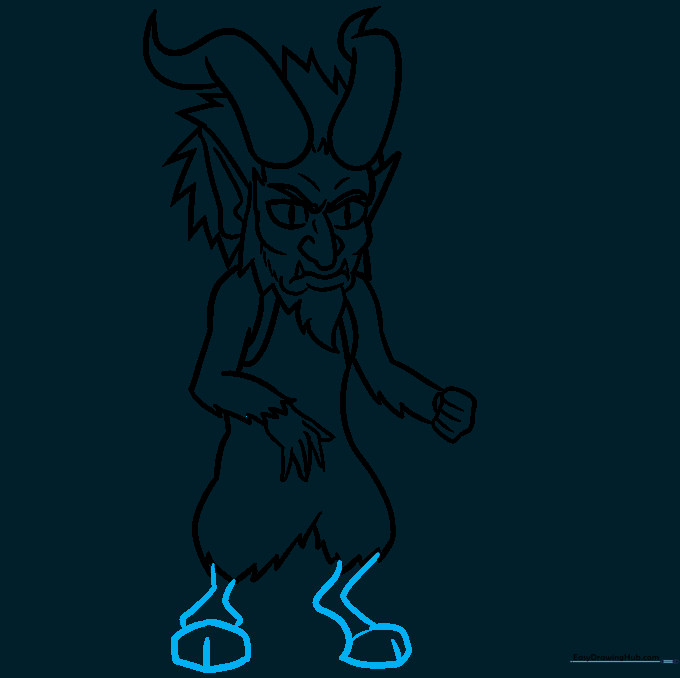
Draw the legs with a sharp, backward-bending angle typical of a goat, finishing with cloven hooves. Teacher's Tip: Exaggerate the bend in the knee to give the character a more dynamic, creature-like stance.
Step 7: Drawing the Barrel Sack

Draw the barrel-shaped sack. Use straight vertical lines for the wood and curved bands for the top and bottom. Teacher's Tip: Use a ruler for the vertical lines to keep the barrel looking sturdy.
Step 8: Adding the Bundle of Sticks
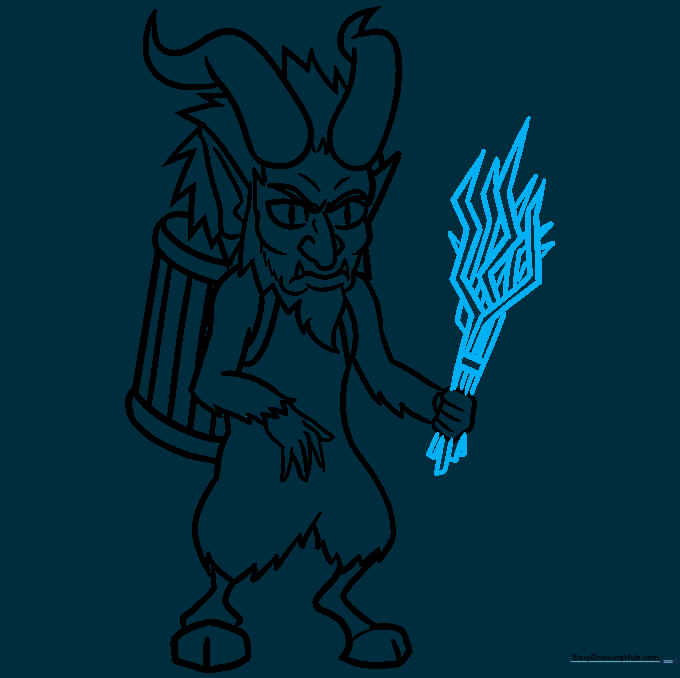
Draw the bundle of sticks held in his hand. Make them look gnarly and uneven. Teacher's Tip: Vary the thickness of each stick to make the bundle look more realistic.
Step 9: Adding Final Details
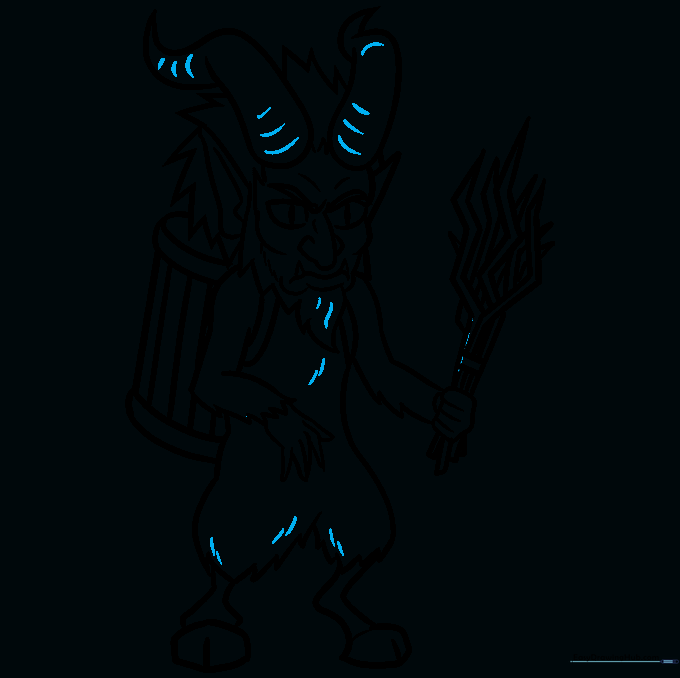
Add texture lines to the horns, fur, and beard. Teacher's Tip: Use cross-hatching or small 'v' shapes to create depth in the fur, making the character look more rugged.
Step 10: Final Polish and Color
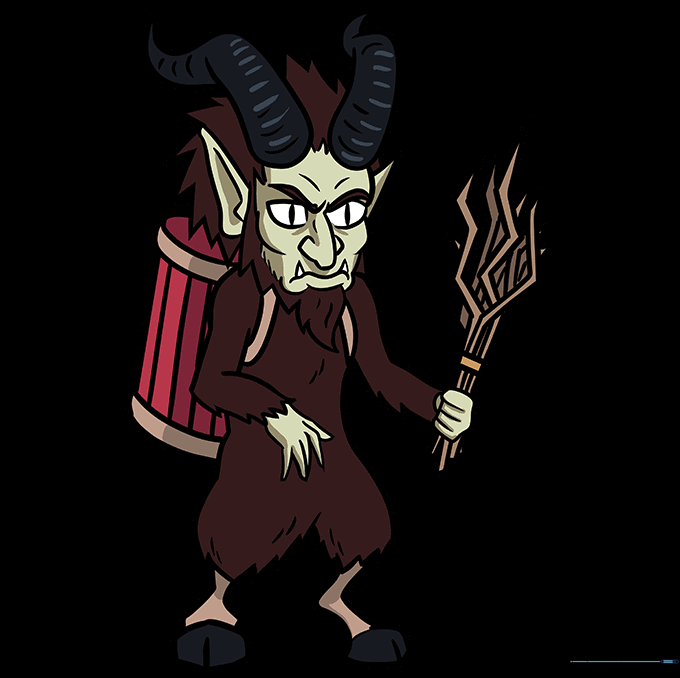
Review your drawing, erase any stray guide lines, and add your favorite colors. Teacher's Tip: Use dark, muted tones for the fur and bright, earthy colors for the wooden barrel to create contrast.
More Tutorials


