How to Draw Kissy Missy: Easy 10-Step Guide for Kids
Ready to bring this iconic character to life? This tutorial is perfect for young artists ages 6+ who want to practice their character sketching. Grab a pencil, an eraser, and some markers to follow along as we build Kissy Missy from simple shapes into a finished masterpiece.
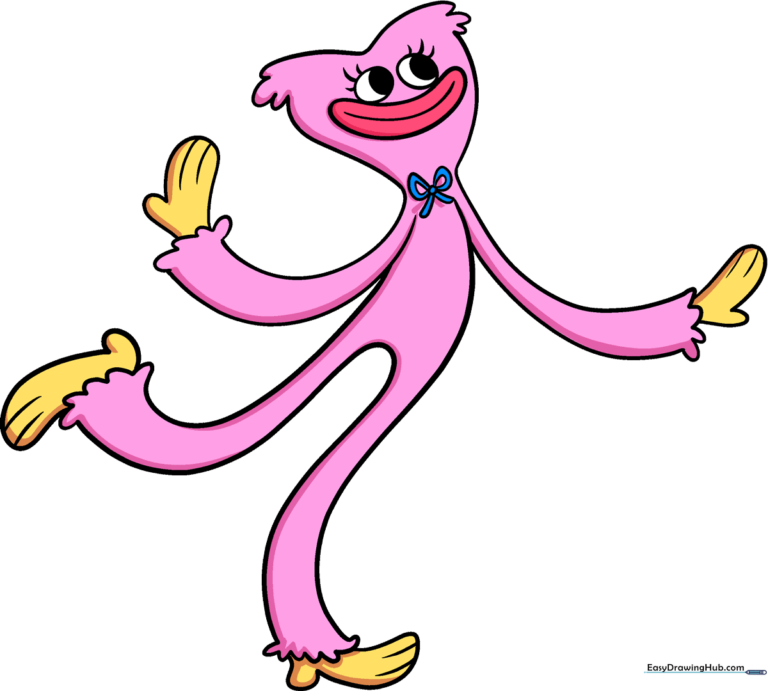
🎯 Final Result
Step-by-Step Instructions
Step 1: Sketching the Mouth and Eyes

Start by drawing a large, banana-shaped curve for the mouth, then add a smile line inside. Place two ovals above the mouth for the eyes. Teacher's Tip: Keep the eyes symmetrical by drawing them at the same time, and shade in smaller circles for the pupils to give her a friendly gaze.
Step 2: Defining the Head Shape
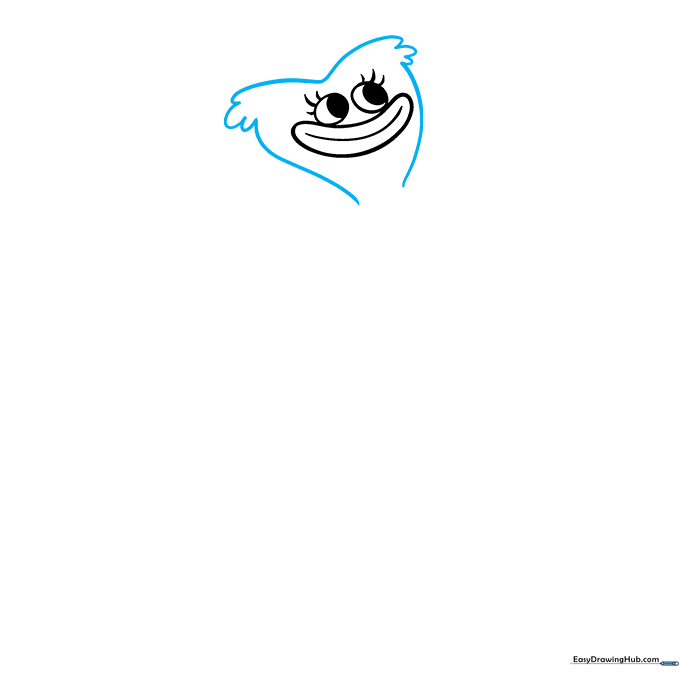
Outline the head using a series of long and short curved lines. Add 'U' shaped bumps on the sides to represent her fluffy texture. Teacher's Tip: Don't worry about making the fur perfectly even; a little variation makes the drawing look more organic and soft.
Step 3: Drawing the First Arm
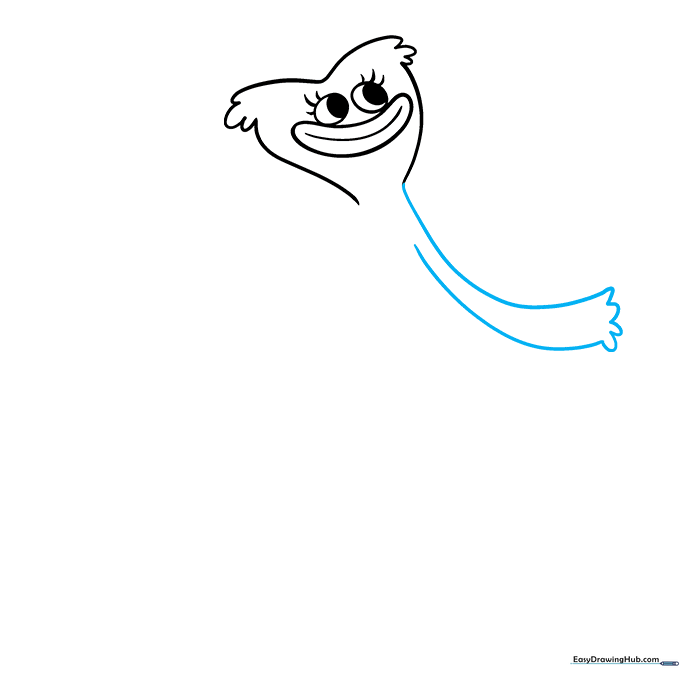
Draw two long, parallel curved lines extending from the body area to form the arm. Connect them at the bottom with short, jagged lines to show the furry wrist. Teacher's Tip: Use a fluid motion with your wrist to keep the lines smooth rather than choppy.
Step 4: Drawing the Second Arm

Repeat the process for the second arm, mirroring the length and curve of the first. Ensure the wrist matches the furry texture of the previous step. Teacher's Tip: Check that your arm placement leaves enough room in the center for the torso.
Step 5: Adding Hands and Fingers
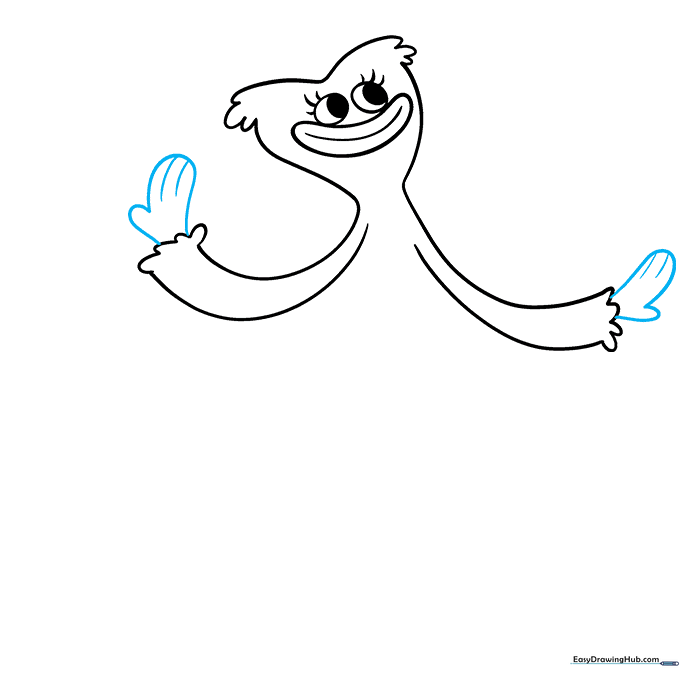
Use small, rounded curves to enclose the hands and thumbs, separating the fingers. Teacher's Tip: Keep the fingers rounded and soft to match the character's plush toy aesthetic.
Step 6: Sketching the First Leg
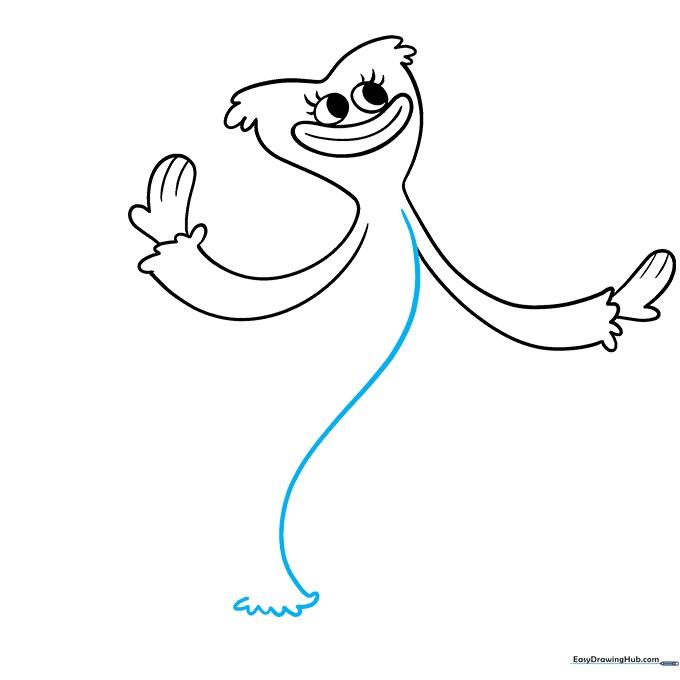
Extend a long, sweeping curve from the underarm to create the torso and leg. Add 'U' shapes at the bottom for the furry ankle. Teacher's Tip: Think of this as one continuous motion to keep the character's posture looking natural.
Step 7: Adding the Second Leg
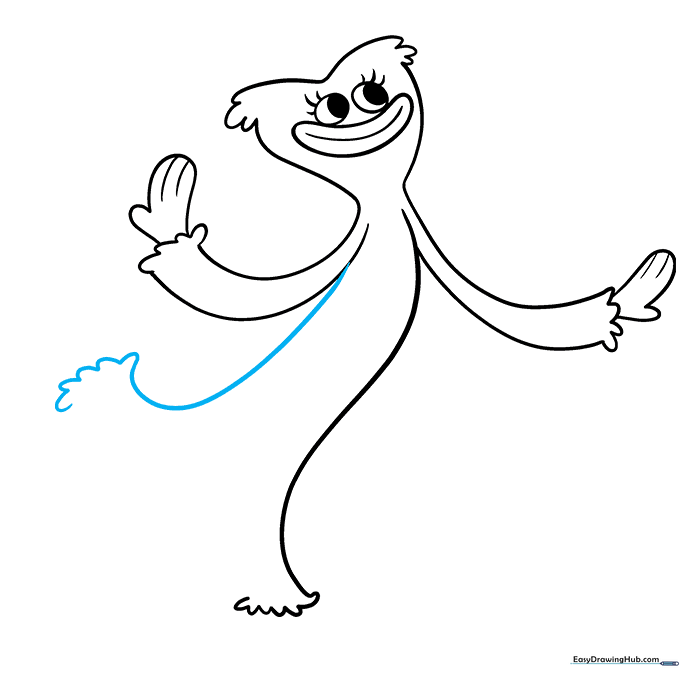
Draw the second leg in a raised position to give the character some movement. Add the same furry ankle detail as the first leg. Teacher's Tip: Raising one leg adds a sense of playfulness and energy to your drawing.
Step 8: Closing the Body
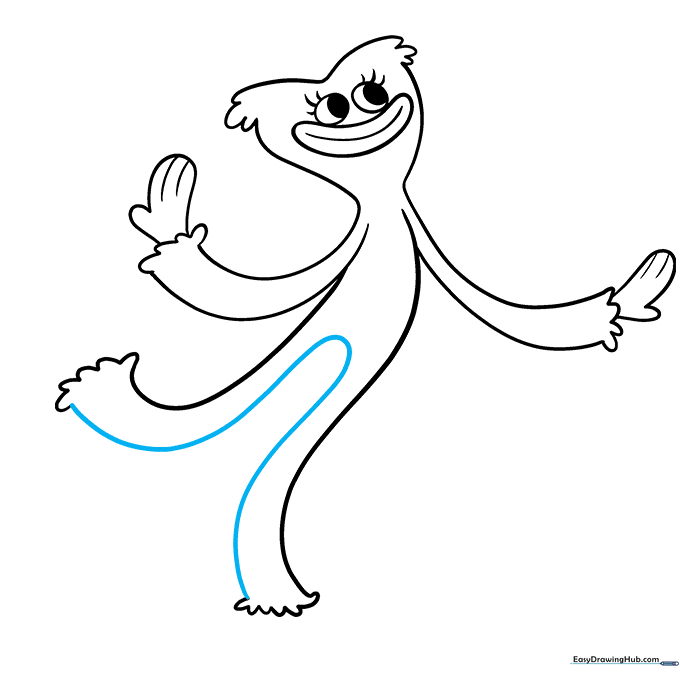
Connect the inner legs with long, curved lines to fully enclose the torso. Teacher's Tip: Ensure these lines flow smoothly into the legs to make the character look solid and connected.
Step 9: Final Details
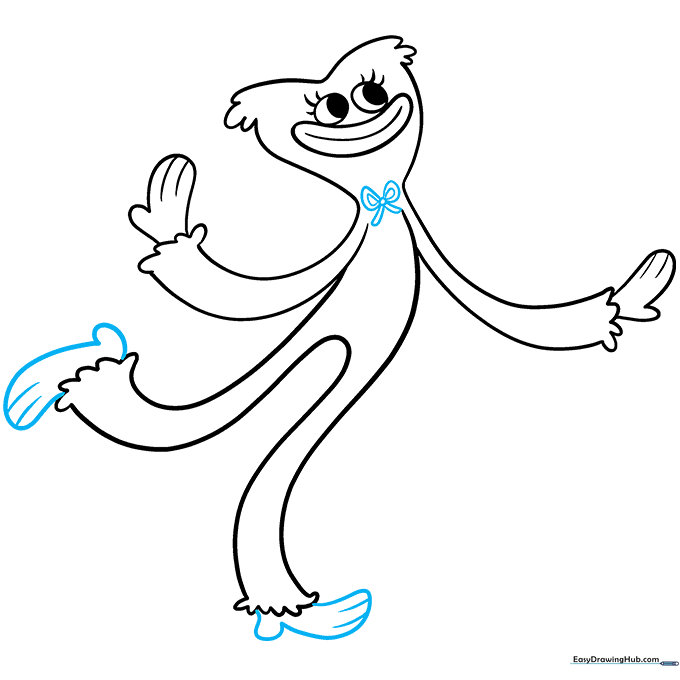
Draw the feet with rounded toes and add a bow tie at the neck using a small circle and two triangles. Teacher's Tip: The bow tie is a key feature, so make sure it sits right at the base of the head.
Step 10: Bringing it to Life with Color
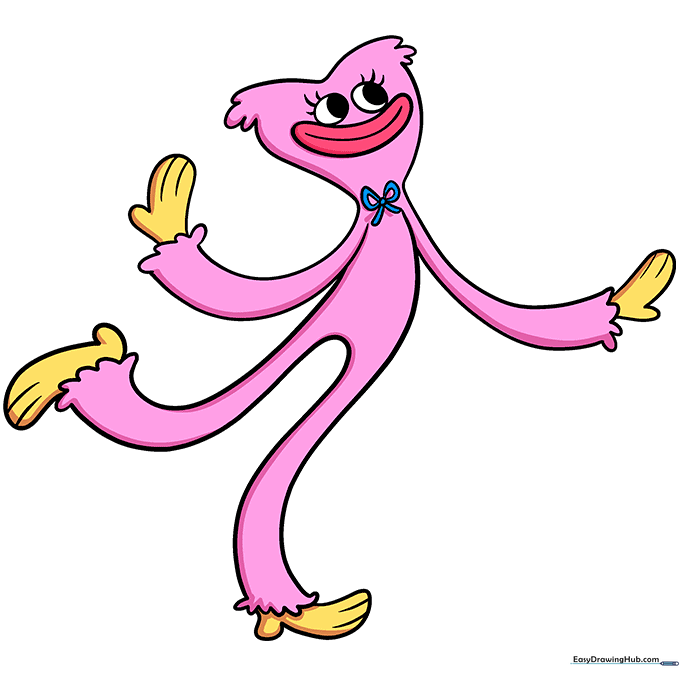
Time to color! Use bright pink for the fur, a darker pink for the mouth, a vibrant blue for the bow, and sunny yellow for the hands and feet. Teacher's Tip: Use light, circular strokes when coloring to keep the texture looking soft and even.
More Tutorials


