How to Draw Kirby: Easy 9-Step Guide for Kids
Ready to bring Dream Land's hero to life? This tutorial is perfect for young artists ages 5 and up. All you need is a pencil, an eraser, and some paper to start building your own Kirby character.
🎯 Final Result

Step-by-Step Instructions
Step 1: Sketching the Eyes
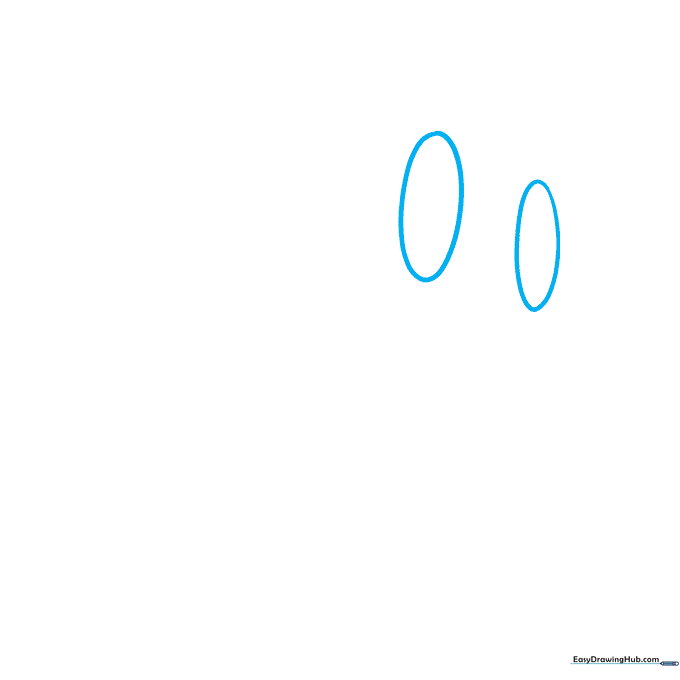
Start by drawing two narrow horizontal ovals for the eyes. Tip: Keep them slightly offset—one a bit lower than the other—to give Kirby his signature curious expression.
Step 2: Adding Eye Detail
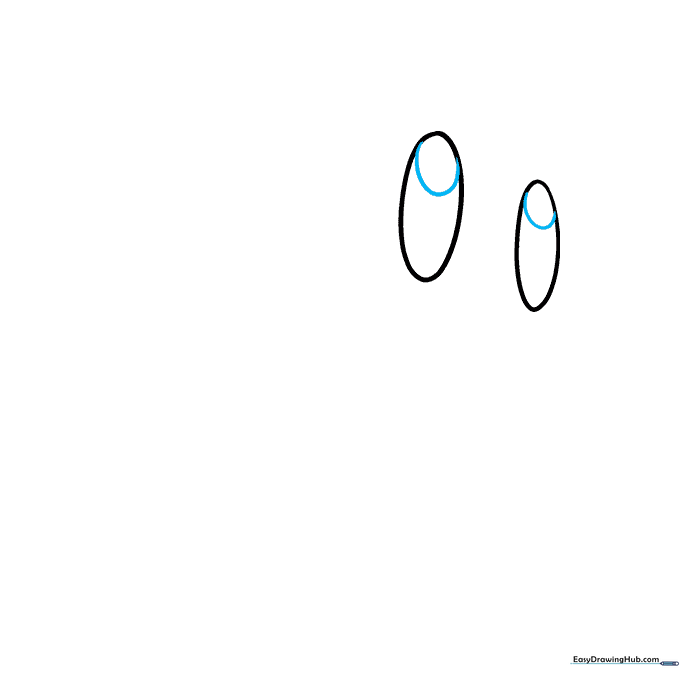
Draw a small circle inside the top of each oval. Tip: Leave a tiny sliver of white space inside the circle to represent the light reflection, which makes the eyes look bright and lively.
Step 3: Drawing the Happy Mouth
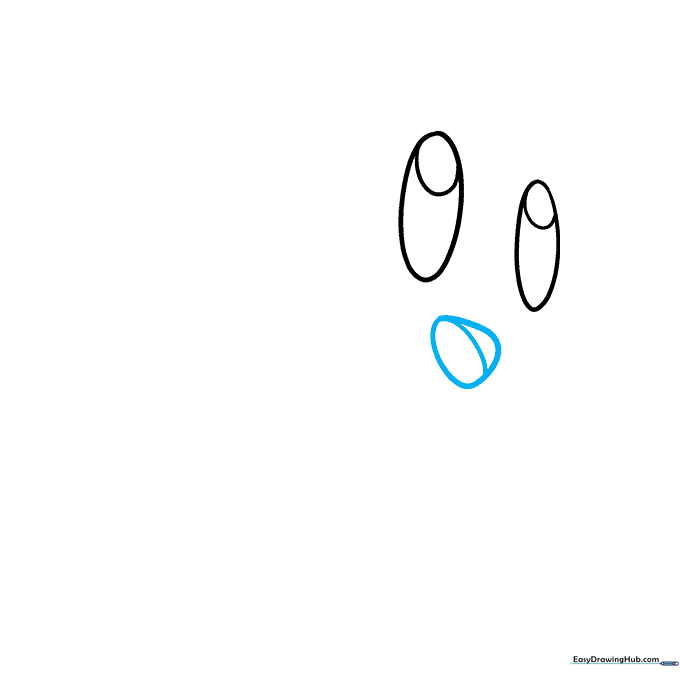
Below the eyes, draw a small, inverted triangle with rounded corners. Add a horizontal line inside to show the tongue. Tip: Keep your pencil pressure light so you can easily adjust the shape if it looks a bit crooked.
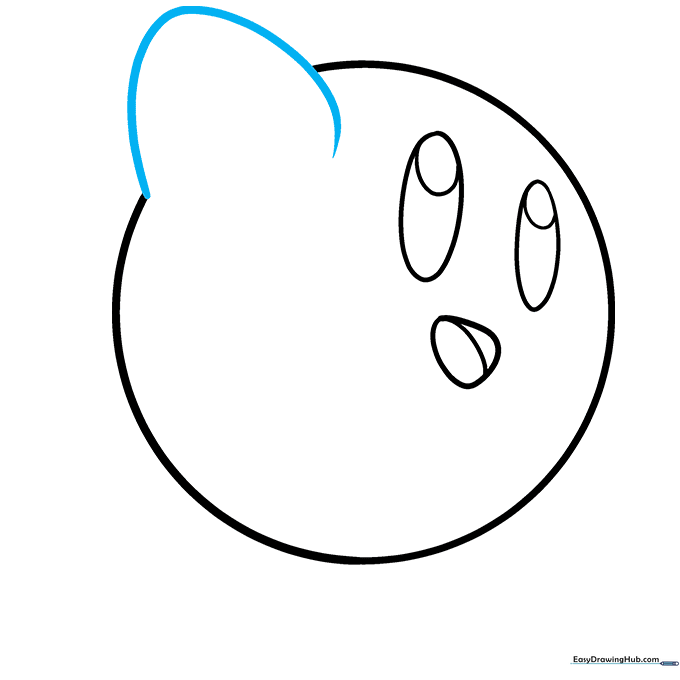
Step 4: Starting the Body

Draw a long, curved line in a half-circle shape. Tip: Imagine you are drawing a large, soft ball. Don't worry about making it perfect; Kirby is naturally round and squishy!
Step 5: Closing the Body Shape
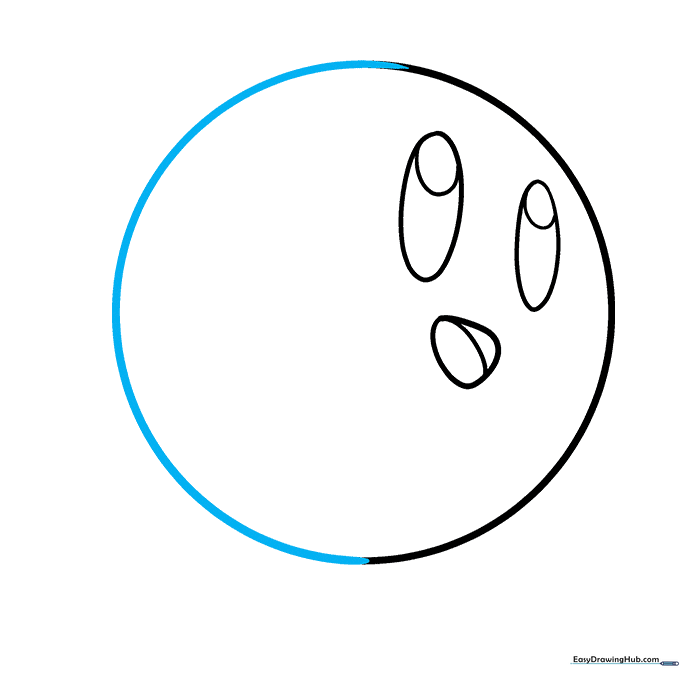
Complete the circle by drawing the bottom half of the body. Tip: Ensure the eyes and mouth are positioned slightly to one side to give Kirby a sense of perspective.
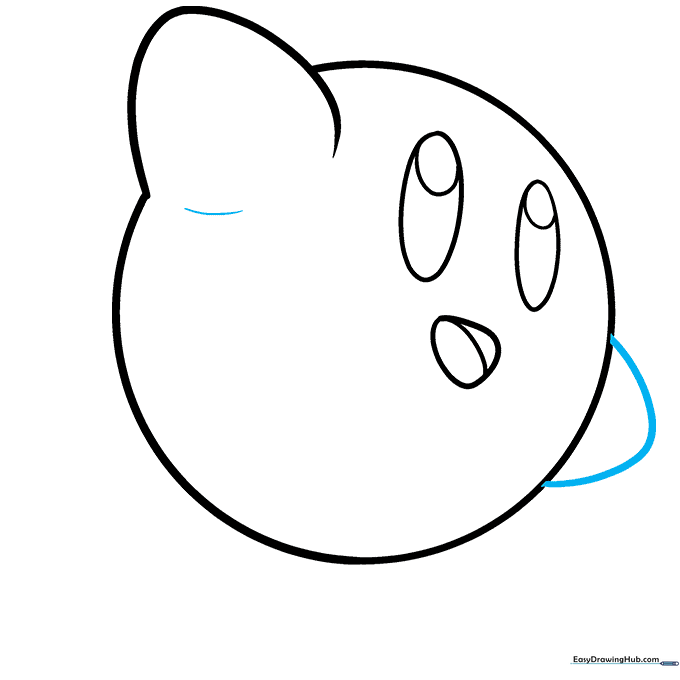
Step 6: Drawing the First Arm
Draw a partial rounded triangle shape for the arm, erasing the body line where they overlap. Tip: Think of this as a little mitten shape attached to his side.
Step 7: Adding the Second Arm
Add a small contour line at the base of the first arm, then draw the second arm on the opposite side. Tip: Keep the arms symmetrical in size so Kirby looks balanced.
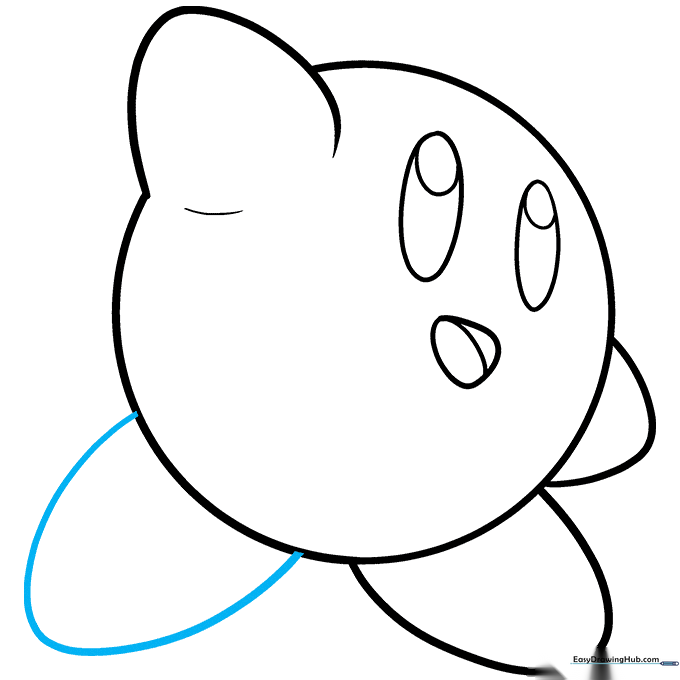
Step 8: Drawing the First Foot

Use a large 'U' shaped line to create a partial oval at the bottom for the foot. Tip: Make the foot slightly wider than the arms to give him a sturdy base.
Step 9: Completing the Second Foot
Draw the final foot using another long, curved 'U' shape. Tip: Ensure the feet are pointing in slightly to give him a cute, friendly stance.
Step 10: Adding Color
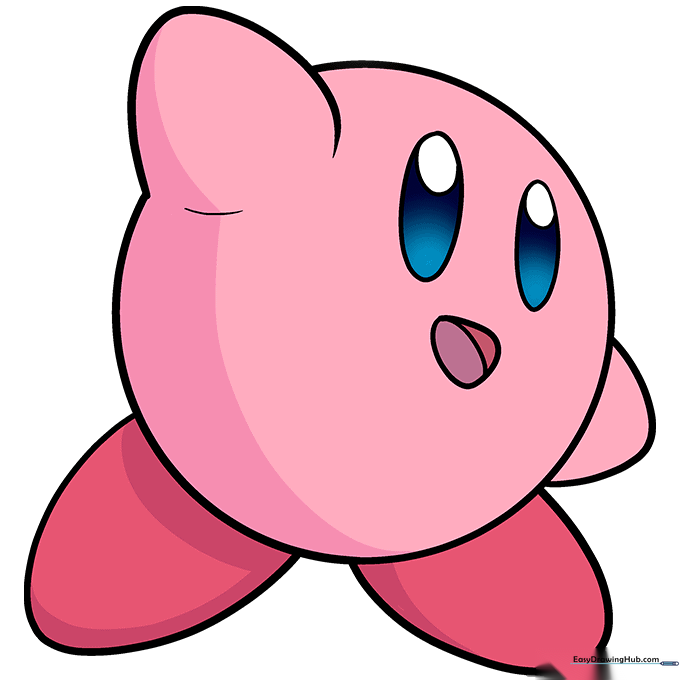
Now for the fun part! Use blue for the eyes, and bubblegum pink for the body and feet. Tip: Use a light touch with your pink crayon or marker to keep the color smooth and even.
More Tutorials


