How to Draw King Kong: Easy Step-by-Step Guide
Ready to bring the King of the Jungle to life? This tutorial is perfect for young artists ages 8+ who want to practice drawing powerful, muscular characters. Grab a pencil, an eraser, and a piece of paper to start building your own cinematic masterpiece.
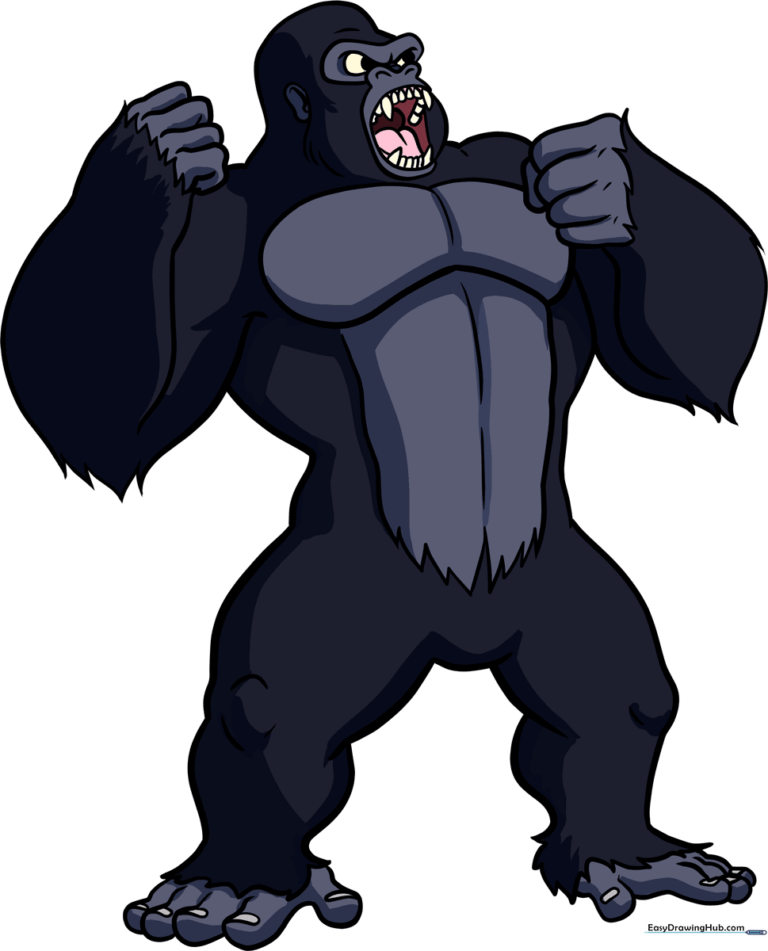
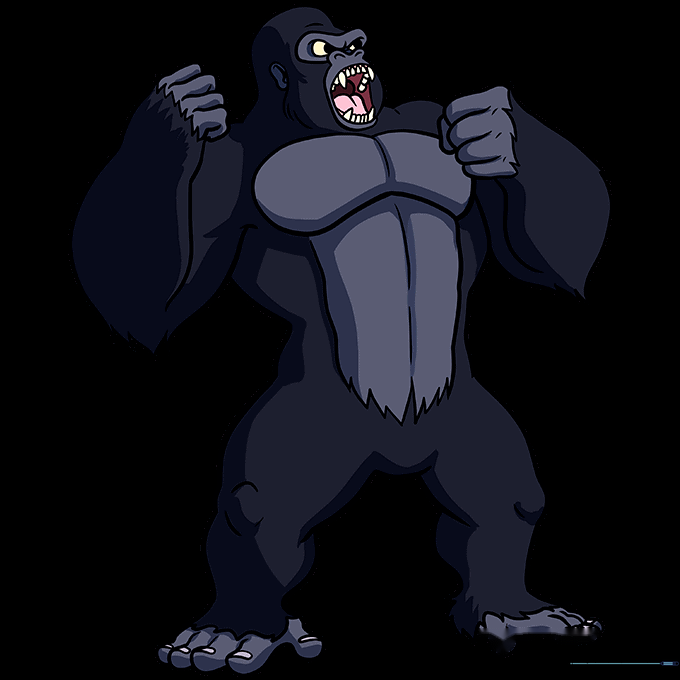
🎯 Final Result
Step-by-Step Instructions
Step 1: Sketching the Face

Start by drawing the ape's face. Use curved lines to trace the rounded brow, nostrils, and open mouth. Teacher's Tip: Keep your pencil strokes light here; you'll want to erase the internal guidelines once the face shape is finalized.
Step 2: Defining the Head

Outline the head and shoulder, adding the tongue and the furry jawline. Teacher's Tip: Use short, jagged strokes along the jaw to suggest thick, coarse ape fur.
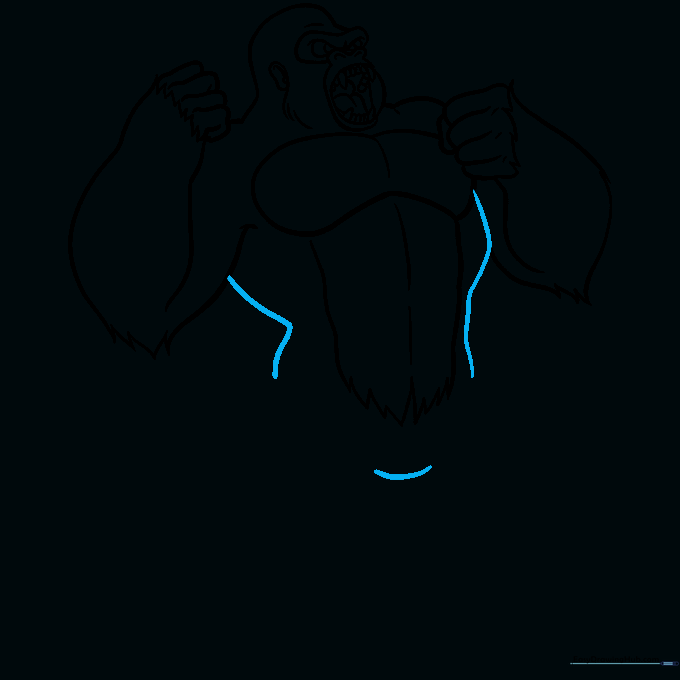
Step 3: Building the Torso
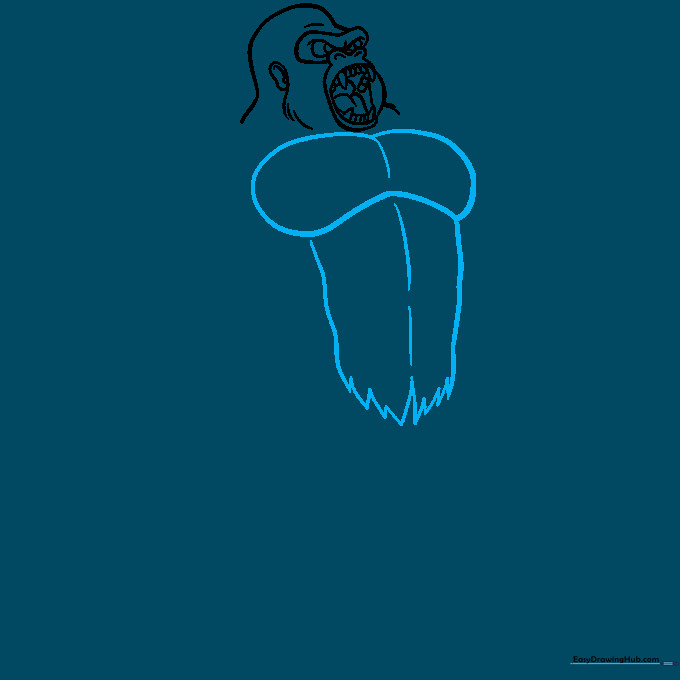
Draw the muscular chest and abdomen using curved lines for the pectorals and abs. Teacher's Tip: Think of these as rounded shapes; don't make them too rigid or square.
Step 4: The First Arm
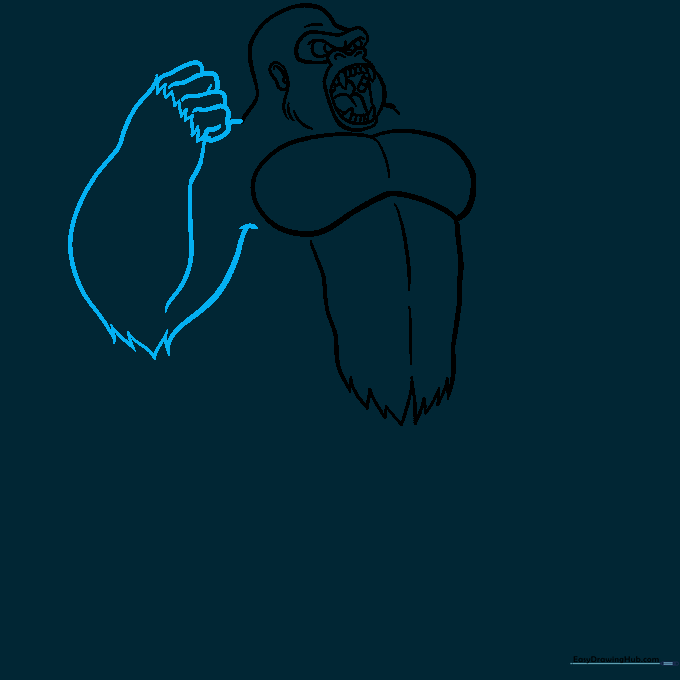
Sketch the large arm, including the curled fingers. Teacher's Tip: Use 'V' shaped lines at the elbows and wrists to create the illusion of fur texture.
Step 5: The Second Arm
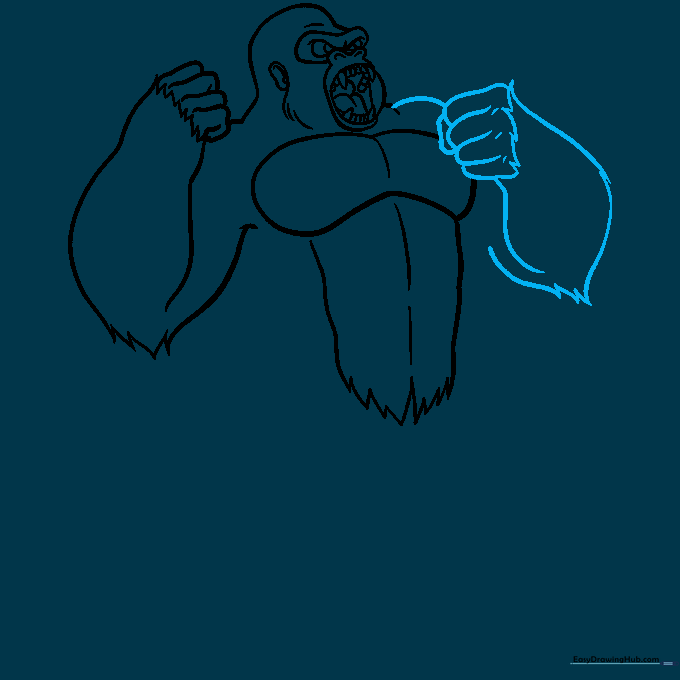
Draw the remaining arm on the other side. Teacher's Tip: Ensure the arm is proportional to the first one by checking the height of the elbow relative to the chest.
Step 6: Finalizing the Torso
Connect the sides and bottom of the torso using long, sweeping curved lines. Teacher's Tip: Make sure the transition from the chest to the waist looks natural.
Step 7: The First Leg
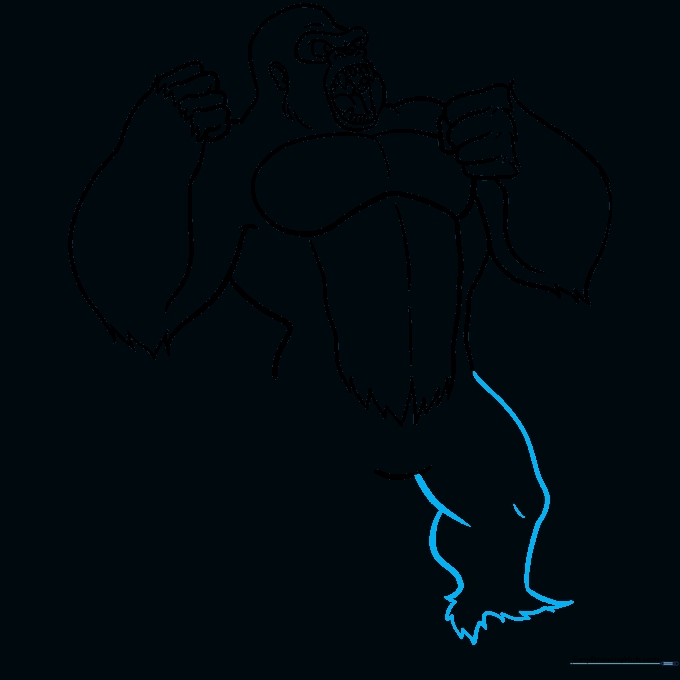
Sketch the first leg using overlapping curved lines. Teacher's Tip: Use jagged lines at the ankle to show where the fur meets the foot.
Step 8: The Second Leg
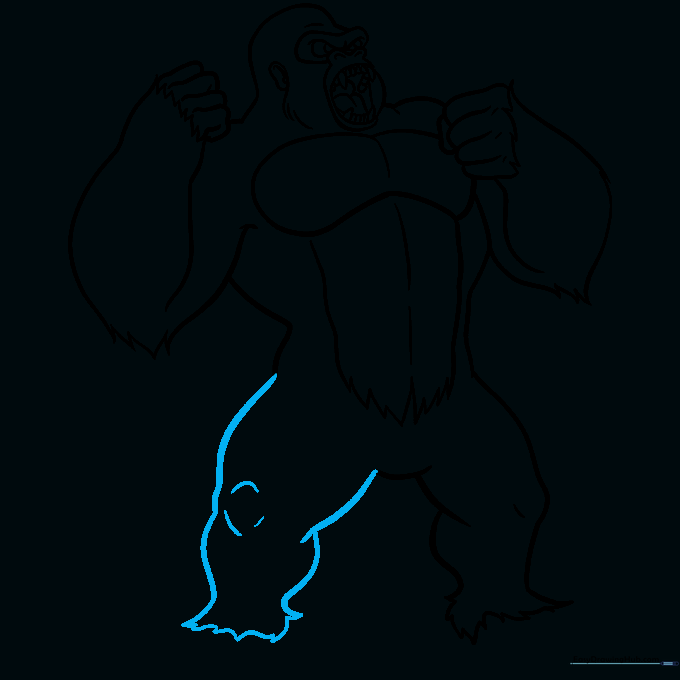
Draw the second leg to match the first. Teacher's Tip: Add a small open circle at the knee to suggest the joint structure.
Step 9: Feet and Toes
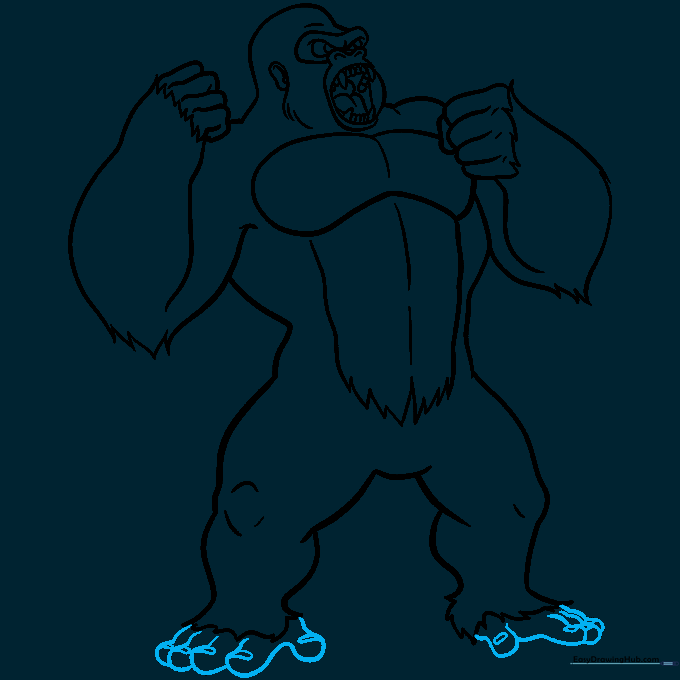
Complete the outline by drawing the feet and toes. Teacher's Tip: Don't forget to add a small curved line for the toenail on each toe to make it look realistic.
Step 10: Coloring
Color your King Kong! Use shades of black and grey to mimic a silverback gorilla. Teacher's Tip: Use lighter grey on the chest and face to create depth and highlight the muscles.
More Tutorials


