How to Draw Killua Zoldyck: Easy Anime Guide for Beginners
Bring your favorite Hunter x Hunter character to life with this beginner-friendly tutorial. Designed for ages 7+, this guide requires only a pencil, paper, and an eraser to capture Killua's signature spiky hair and sharp look. Follow these steps to build confidence in your anime sketching skills.
🎯 Final Result

Step-by-Step Instructions
Step 1: Sketching the Eyes

Draw two curved lines with small points at the ends to frame the eyes. Add circles inside for the pupils. Teacher's Tip: Keep your pencil pressure light here so you can easily adjust the symmetry before committing to darker lines.
Step 2: Defining the Face and Nose
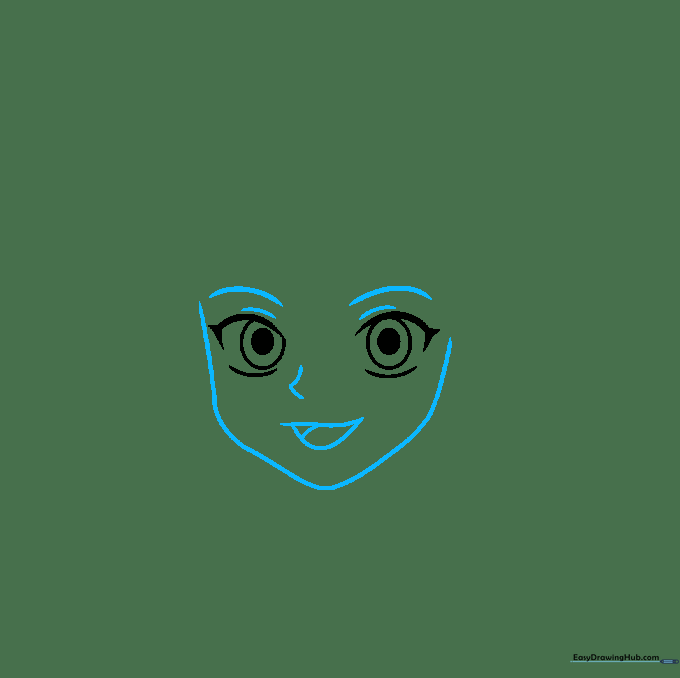
Sketch lines above the eyes, then draw the jawline starting from the left, moving down into a soft triangle shape. Add a small arrow-like mark for the nose and a curved line for the mouth. Teacher's Tip: If the jaw feels too sharp, use your eraser to round the chin slightly.
Step 3: Creating the Spiky Hair
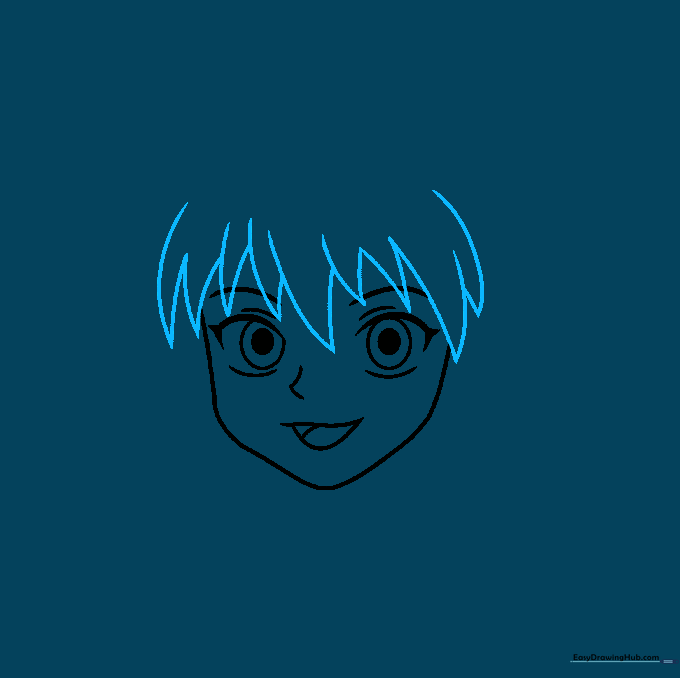
Draw loose, uneven triangles around the head to represent his messy hair. Don't worry about perfect symmetry; anime hair looks best when it's a bit wild. Teacher's Tip: Overlapping your triangles creates depth and makes the hair look more voluminous.
Step 4: Adding Ears and Side Hair
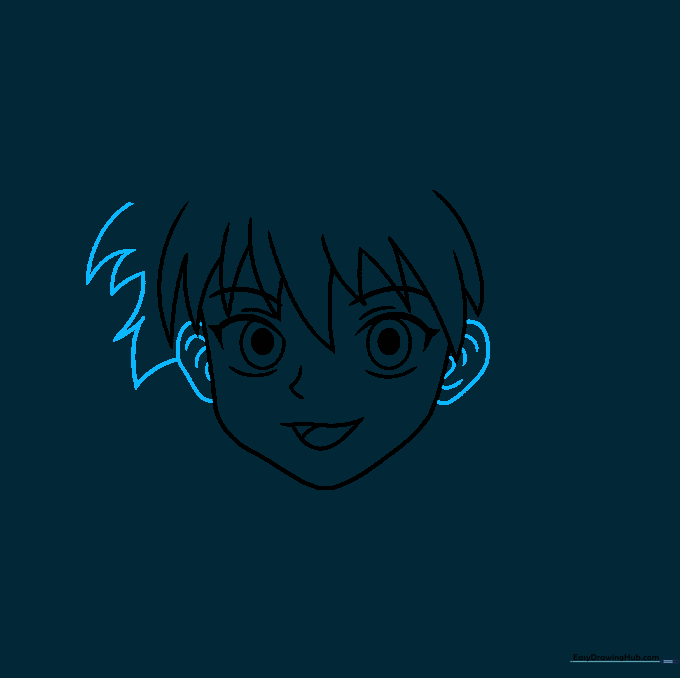
Draw small ovals for the ears with curved lines inside for detail. Add more curved triangles on the left side of the head to frame the face. Teacher's Tip: Keep these shapes loose—Killua's style is all about movement, not rigid lines.
Step 5: Finishing the Top Hair
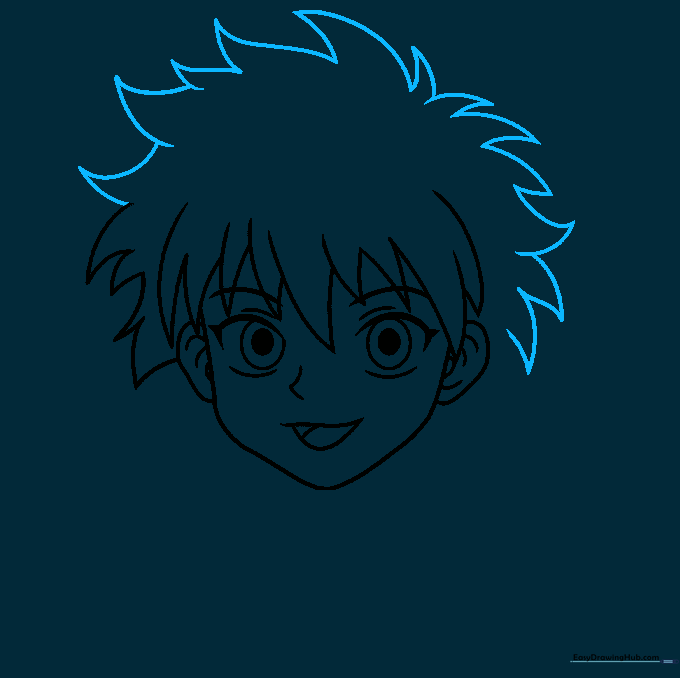
Add more wavy, spiky triangles to the top of the head. Have fun with the shapes—the more variety in size, the more realistic the hair will look. Teacher's Tip: Imagine the hair is blowing in the wind to help you decide where to place the spikes.
Step 6: Completing the Hairline
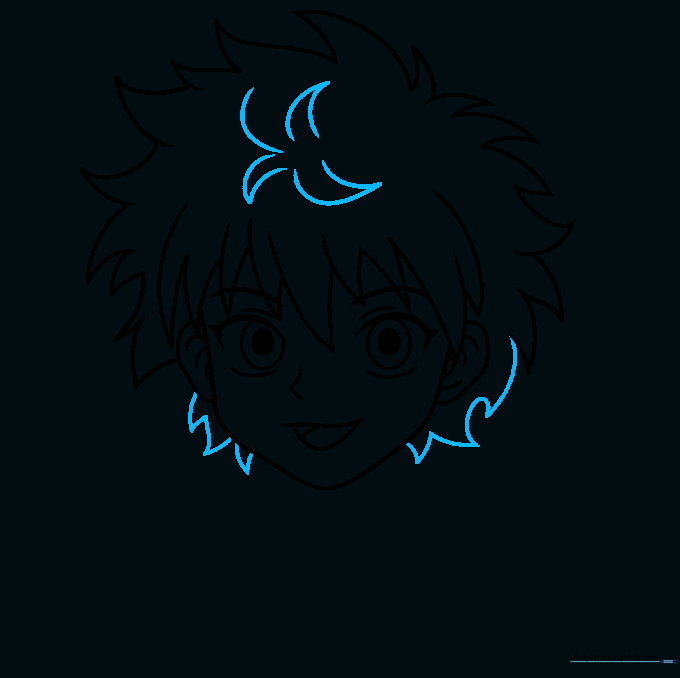
Fill in the center of the hair with more triangles and add a few behind the ears to balance the head. Teacher's Tip: Check that your hair spikes don't look too uniform; variety is the key to a professional anime look.
Step 7: Drawing the Neck and Collar
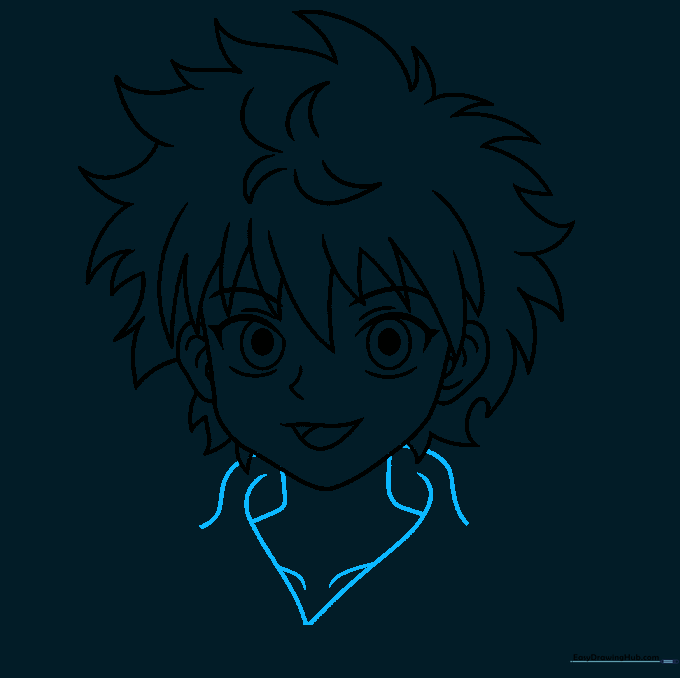
Draw a loose heart shape under the head, then add curved L-shapes for the neck. Frame this with curved lines to create the collar. Teacher's Tip: Use a steady hand for the collar lines to make the fabric look structured.
Step 8: Adding Clothing Details
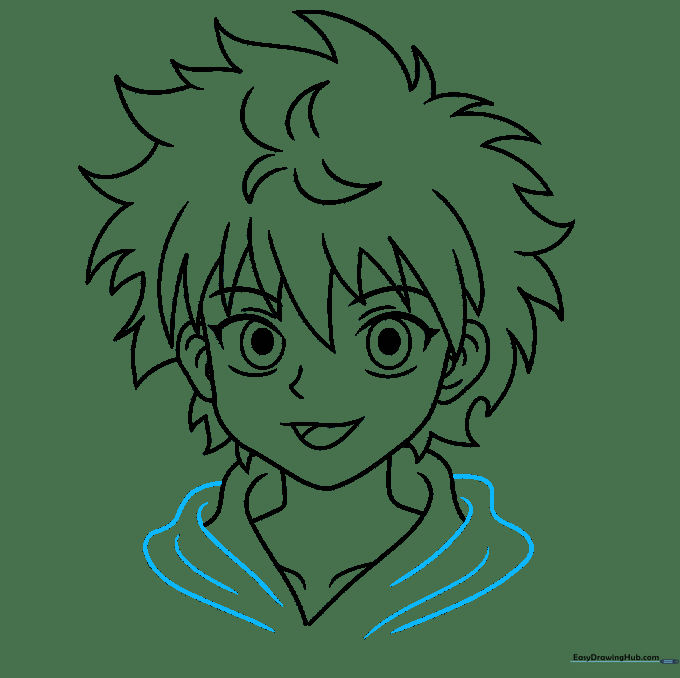
Surround the neck with wavy lines that curve downward like ribbons, ensuring they overlap the collar. Teacher's Tip: These overlapping lines add a sense of depth and texture to his hoodie.
Step 9: Finalizing the Outline
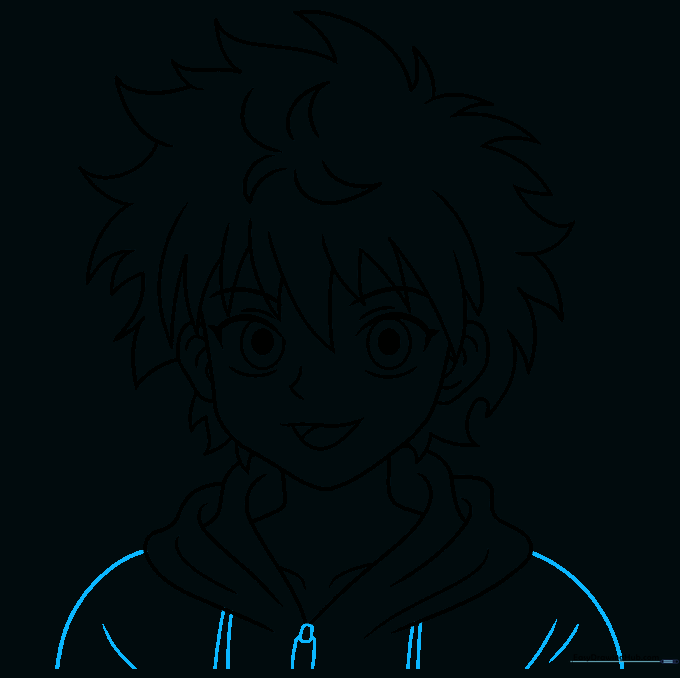
Draw curves for the shoulders and add final lines to the clothes. Now, use a black marker to outline your drawing. Teacher's Tip: Go slowly with the marker to keep your lines clean and bold.
Step 10: Bringing Killua to Life with Color
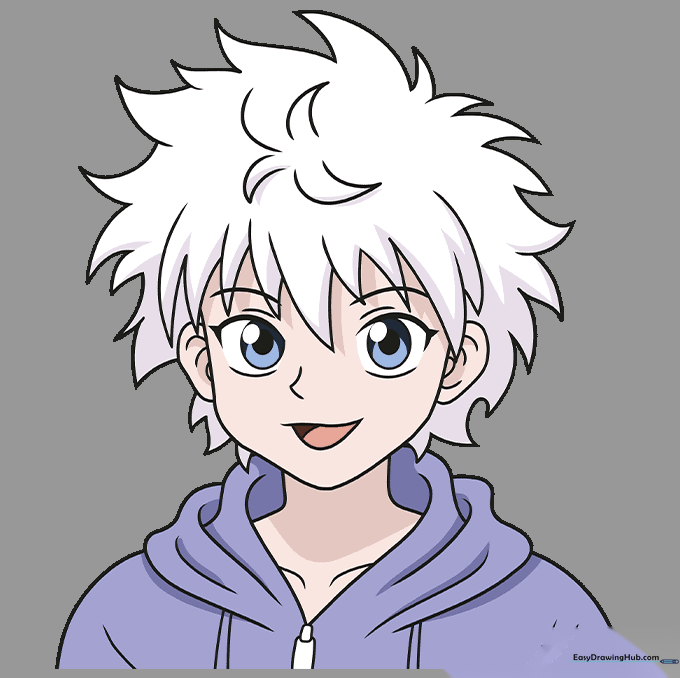
Use blue for the eyes and hoodie, light tan for the skin, and light grey to shade the white hair. Add a touch of muted pink for the mouth. Teacher's Tip: Use light, circular motions when coloring to keep the pigment smooth and even.
More Tutorials


