How to Draw a Classroom Scene: Easy Step-by-Step Guide
Bring your school day to life with this engaging cartoon drawing tutorial. Designed for young artists ages 7+, this project uses simple geometric shapes to build a bustling classroom scene. All you need is a pencil, an eraser, and a sheet of paper to get started.
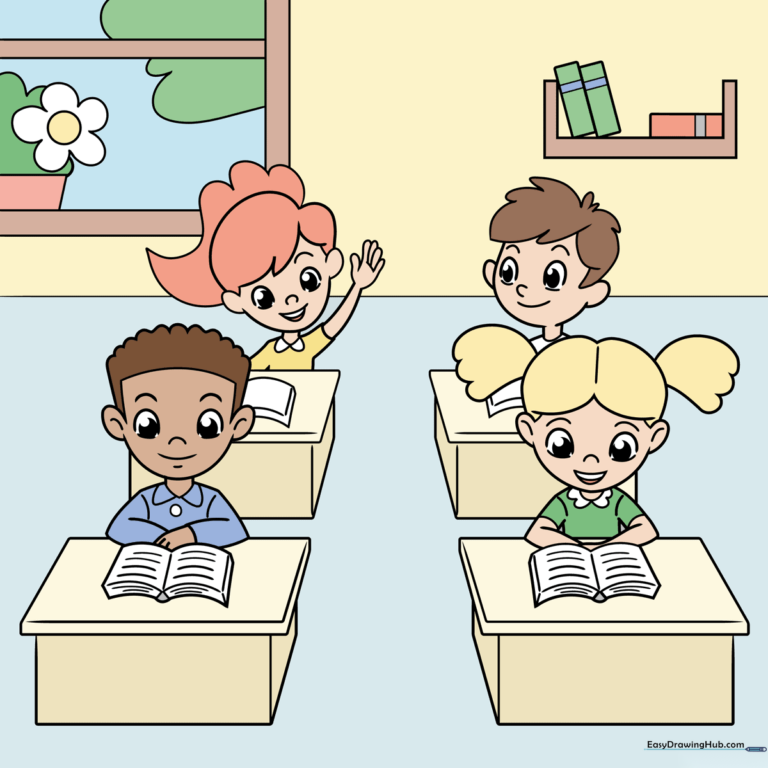
🎯 Final Result
Step-by-Step Instructions
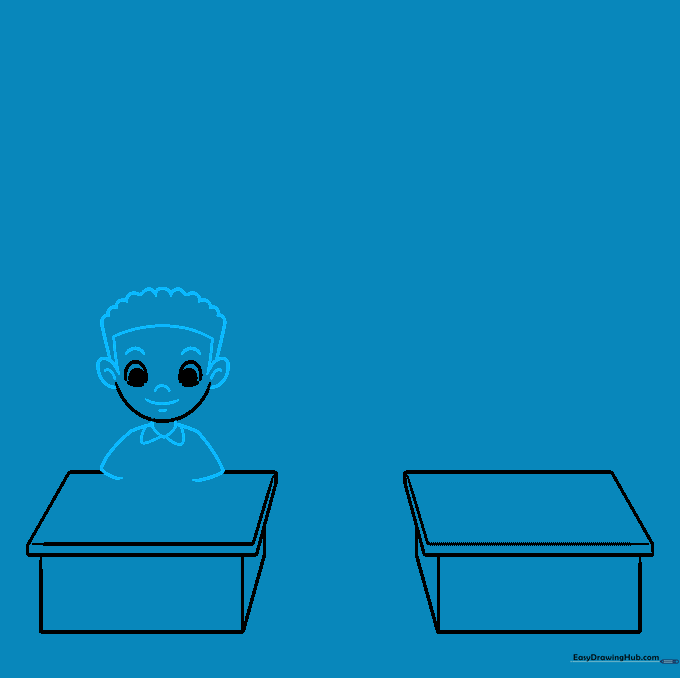
Step 1: Sketching the Desks and First Face

Start by drawing two squares for the desks. Add an 'L' shape inside each to create a 3D tabletop, then add a rectangle underneath for the legs. For the student's face, draw a wide 'U' shape. Teacher's Tip: Keep your pencil lines light—you'll be overlapping these shapes, so you'll need to erase some later!
Step 2: Defining the First Student
Refine the face by adding hair, ears, and facial features. Use curved lines for the neck and shoulders. Teacher's Tip: When drawing the neck, make sure it connects naturally to the shoulders so the character doesn't look like they are floating.
Step 3: Adding Arms and Books

Draw the arms resting on the desk and sketch an open book using simple curved lines. Then, repeat the face-drawing process for your second student. Teacher's Tip: To make the book look open, draw a 'V' shape in the center to represent the spine.
Step 4: Drawing the Second Student
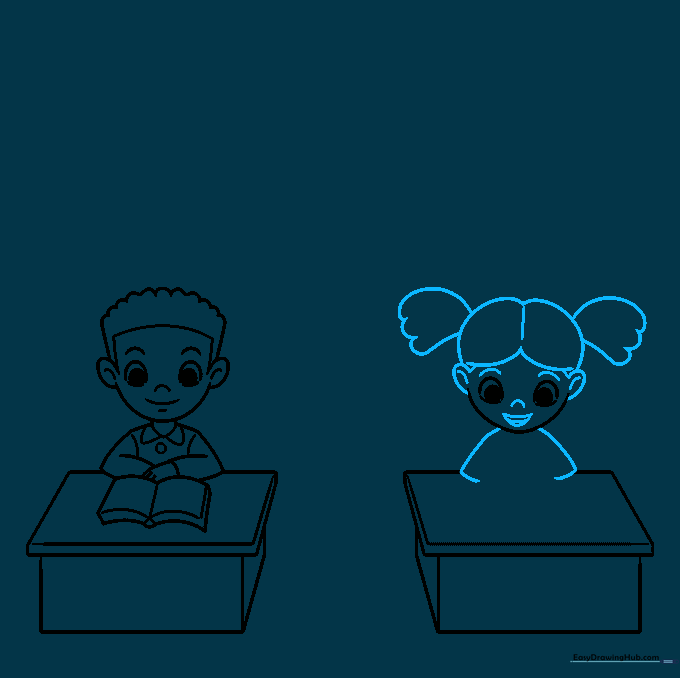
Continue the second student by adding pigtails, facial features, and arms. Teacher's Tip: Use short, quick strokes for the hair to give it a bouncy, cartoonish texture.
Step 5: Detailing the Dress and Book
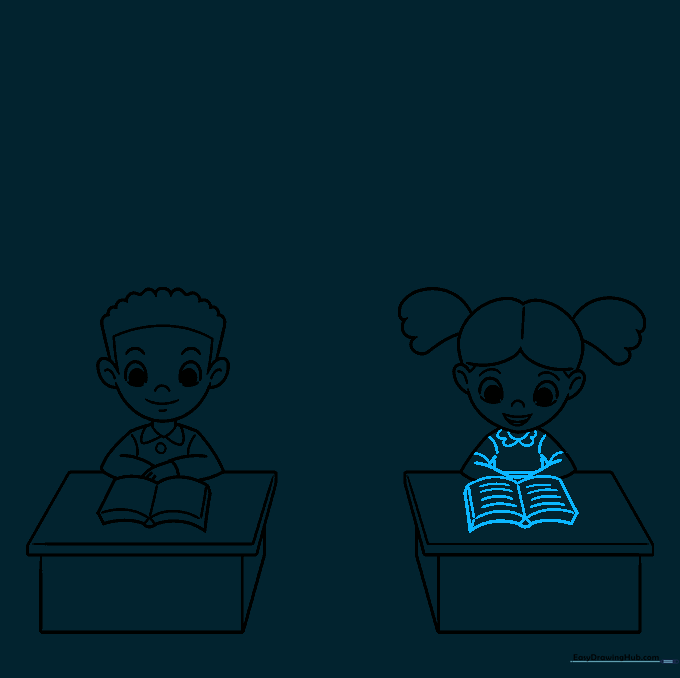
Add a frilly collar to the girl's dress and draw an open book on her desk with small lines to represent text. Teacher's Tip: Don't worry about writing actual words; simple horizontal dashes are perfect for a cartoon style.
Step 6: Adding Background Desks

Sketch two more desks behind the front row to create depth. Add a third student's face. Teacher's Tip: Draw these desks slightly higher on the page to make them look further away.
Step 7: The Third Student
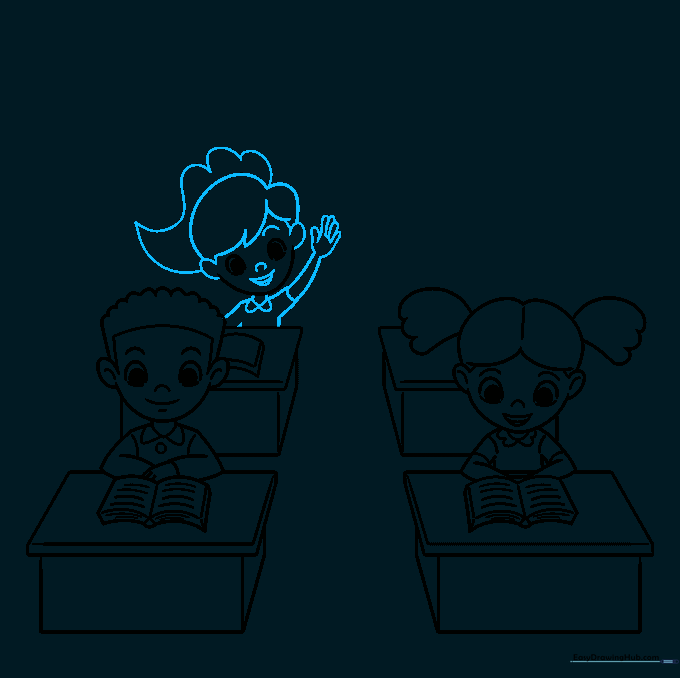
Complete the third student with a raised hand. Teacher's Tip: A raised hand adds action and tells a story—it makes the classroom feel active and alive!
Step 8: Final Student Details
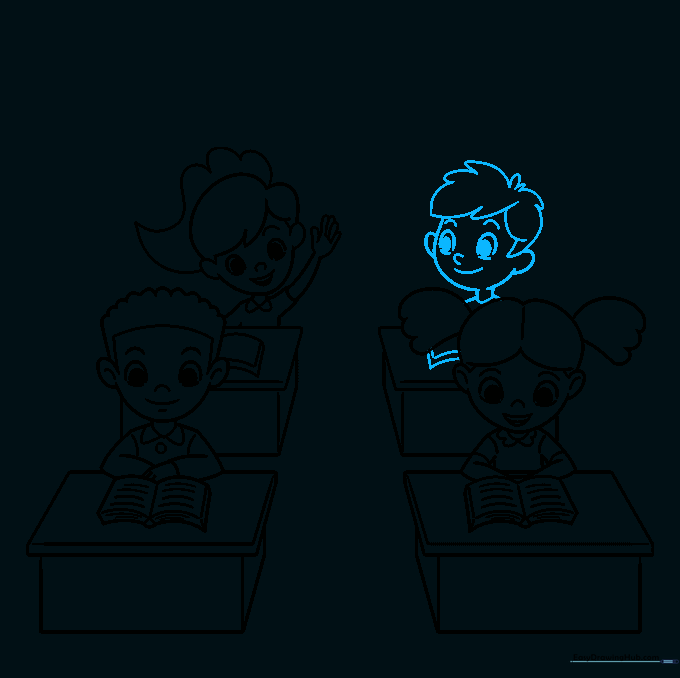
Add the final student in the back row with manga-style hair. Teacher's Tip: Use sharp, angular lines for the hair to give it a modern, stylized look.
Step 9: Classroom Background
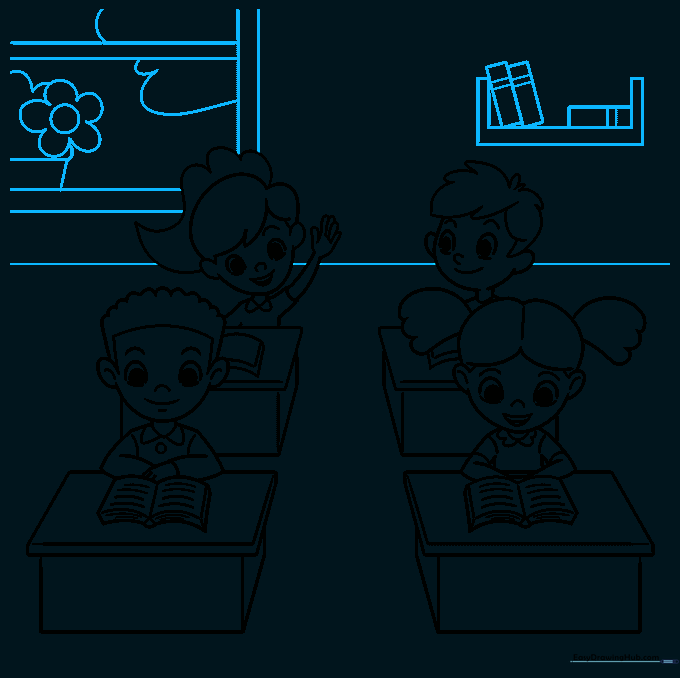
Draw a horizon line to separate the wall from the floor. Add a bookshelf, a window, and a potted plant. Teacher's Tip: Adding small details like a plant or books makes your drawing look like a real, cozy classroom.
Step 10: Adding Color
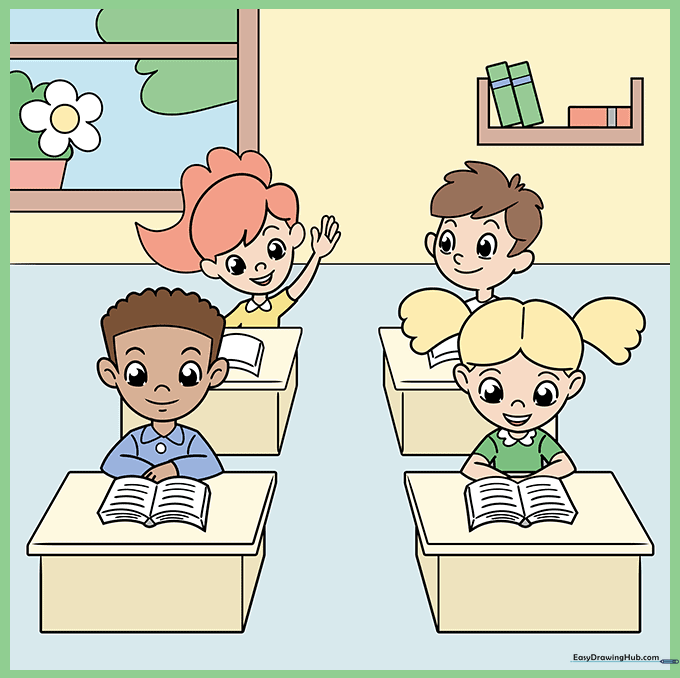
Bring your classroom to life with bright, cheerful colors. Use warm tones for the students and cool tones for the walls to create a balanced look.
More Tutorials


