How to Draw Ken Kaneki: Easy Anime Portrait Guide
Ready to capture Ken Kaneki’s iconic look? This tutorial is designed for intermediate artists looking to practice anime facial structures and dramatic expressions. Grab your graphite pencil, a kneaded eraser, and a fine-liner pen to follow along as we break down his complex features into manageable, professional-looking shapes.
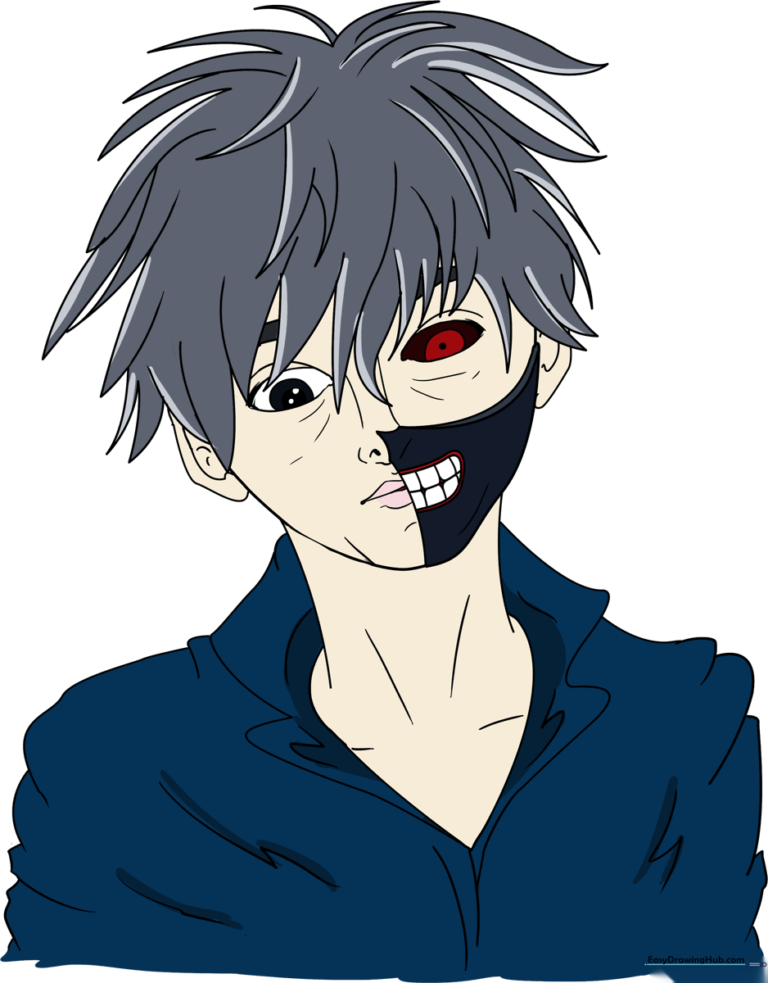
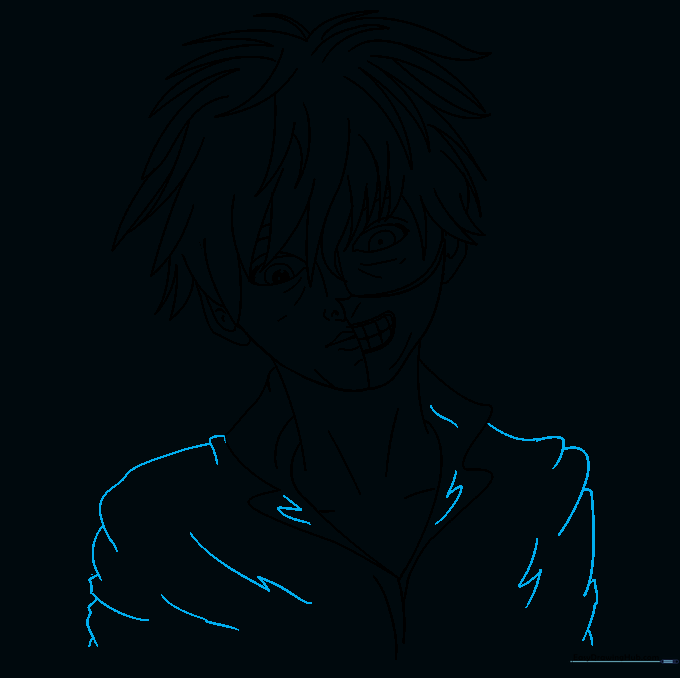
🎯 Final Result
Step-by-Step Instructions
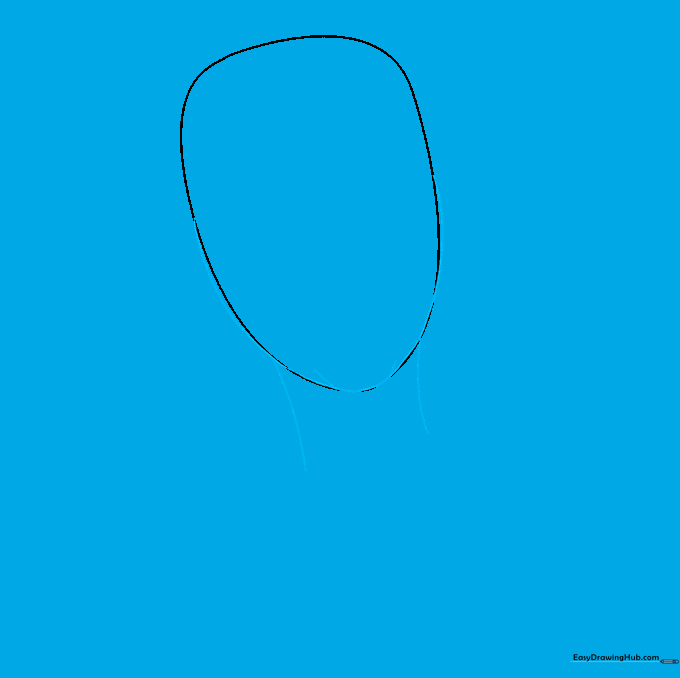
Step 1: Establishing the Head Shape

Draw a rounded oval with a slightly flattened top. Teacher's Tip: Keep your lines very faint; this is just a construction guide for the skull, and you'll be refining the jawline in the next step.
Step 2: Defining the Jaw and Neck
Contour the bottom of the oval to create a sharp, anime-style chin. Extend two vertical lines downward to form the neck. Teacher's Tip: Ensure the neck isn't too thin; it needs to look sturdy enough to support the head.
Step 3: Sketching the Eyes
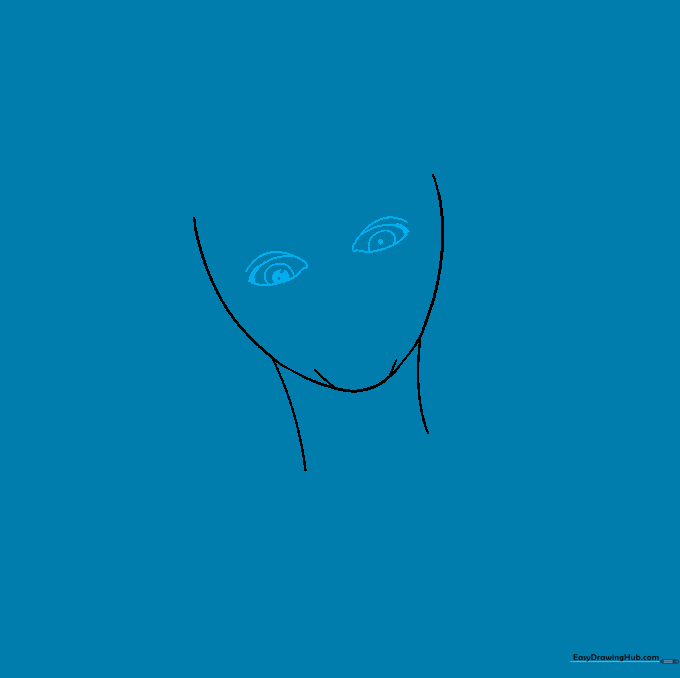
Draw two almond-shaped eyes with pointed ends. Add an oval inside each for the iris, and shade in the pupils—one small, one larger for that signature Kaneki look. Teacher's Tip: Use a light touch for the eyelids to keep the expression intense but clean.
Step 4: Adding the Nose and Mask Base
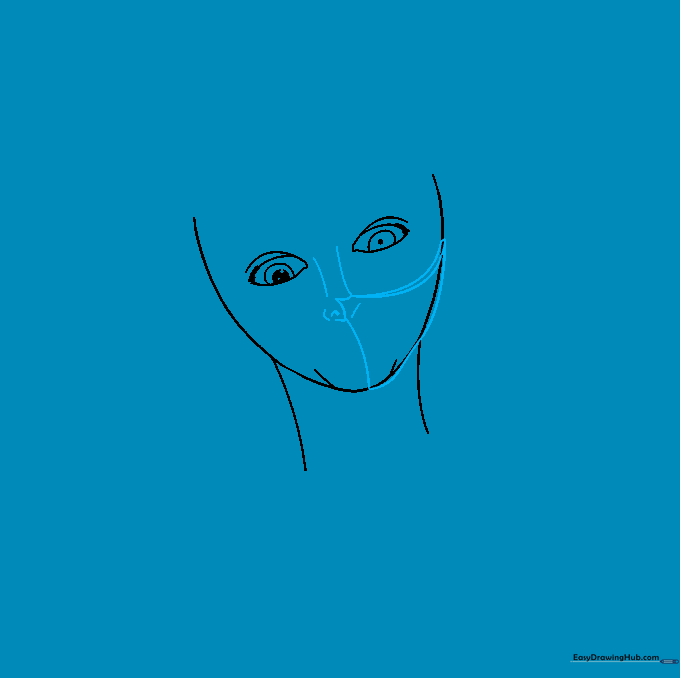
Sketch a small, simple nose and shade the nostril. Draw a curved triangle shape over the lower face to mark the position of his mask. Teacher's Tip: The triangle should follow the curve of the cheekbone for a natural fit.
Step 5: Drawing the Mouth
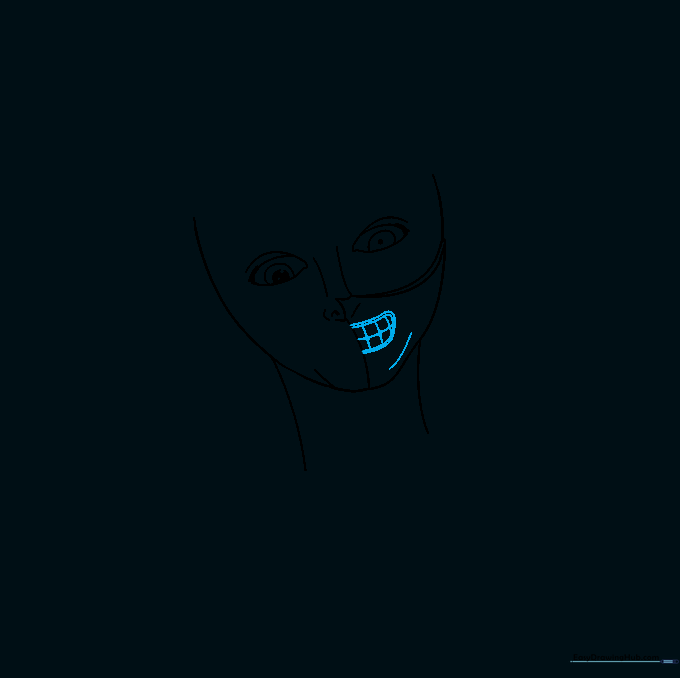
Inside the mask area, draw a grimacing mouth using curved lines. Add vertical and horizontal strokes to suggest the teeth. Teacher's Tip: Keep the teeth lines thin so they don't look too heavy or cartoonish.
Step 6: Ears and Facial Details
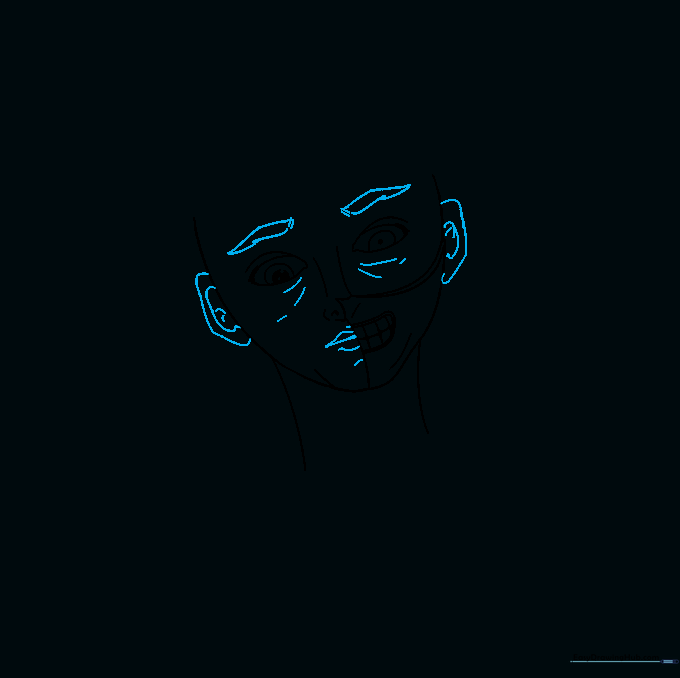
Add ears on both sides of the head with inner-ear detailing. Add subtle lines for eyebrows and wrinkles under the eyes to show emotion. Teacher's Tip: Don't over-detail the ears; simple 'C' shapes with a small inner hook are enough.
Step 7: Sketching the Hair
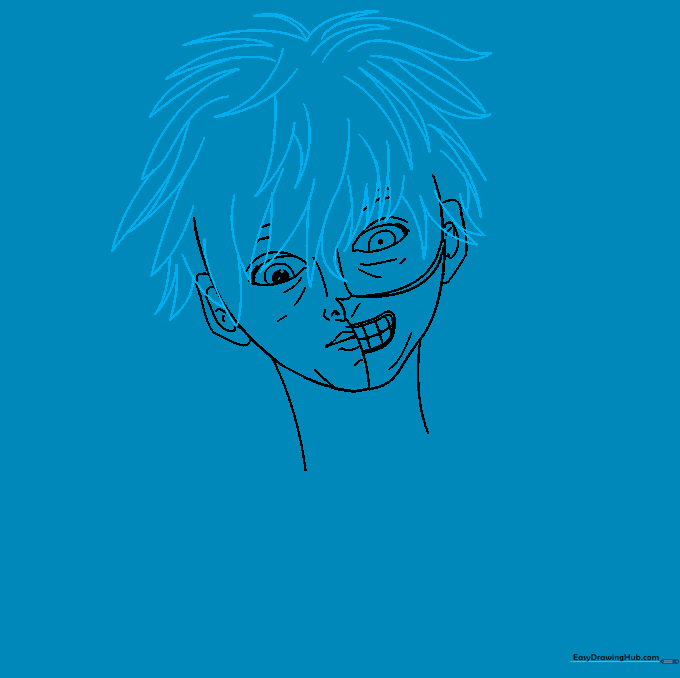
Use long, sweeping curved lines that meet at sharp points to create his messy hair. Erase any overlapping lines from the head shape. Teacher's Tip: Think of the hair in 'clumps' rather than individual strands to get that authentic anime style.
Step 8: Adding the Collar
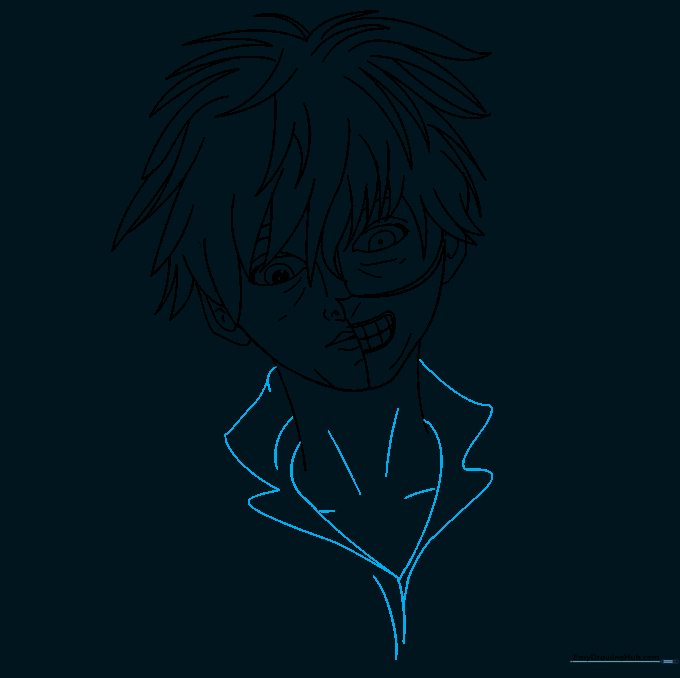
Draw the shirt collar using double-triangle shapes on either side of the neck. Add a few lines to suggest the collarbone. Teacher's Tip: Keep the collar lines bold to anchor the head to the body.
Step 9: Finalizing the Outline
Use overlapping curved lines to define the shoulders and the structure of the garment. Teacher's Tip: Darken your final lines with a pen, then erase all the light construction marks for a clean, professional finish.
Step 10: Coloring Your Masterpiece

Time to bring Kaneki to life! Use cool grays for the mask and black for the hair. Teacher's Tip: Leave a few white highlights in the hair to give it a shiny, realistic anime texture.
More Tutorials


