How to Draw Katherine Johnson: Easy 10-Step Portrait Guide
Celebrate the legacy of NASA mathematician Katherine Johnson with this step-by-step portrait tutorial. Designed for students and aspiring artists, this lesson requires only a pencil, paper, and an eraser. Follow along to build your portrait-drawing skills while honoring a true pioneer of space exploration.
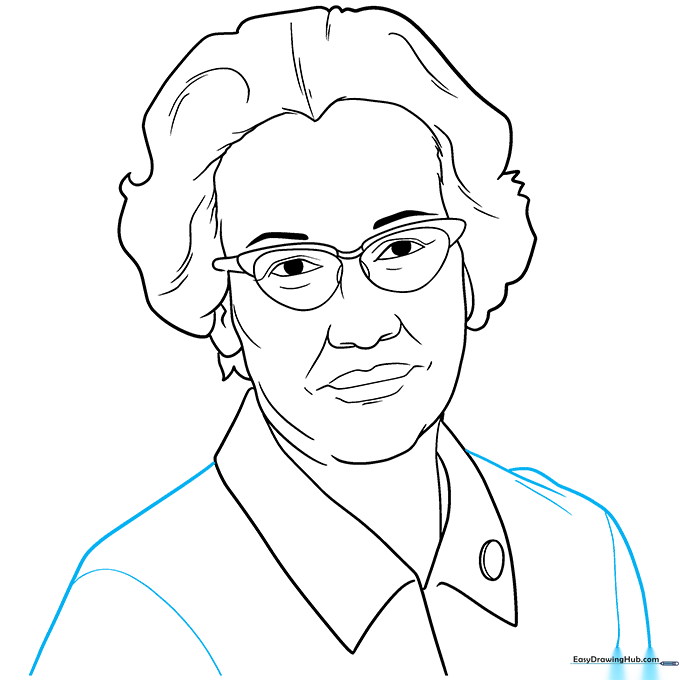
🎯 Final Result

Step-by-Step Instructions
Step 1: Sketching the Glasses
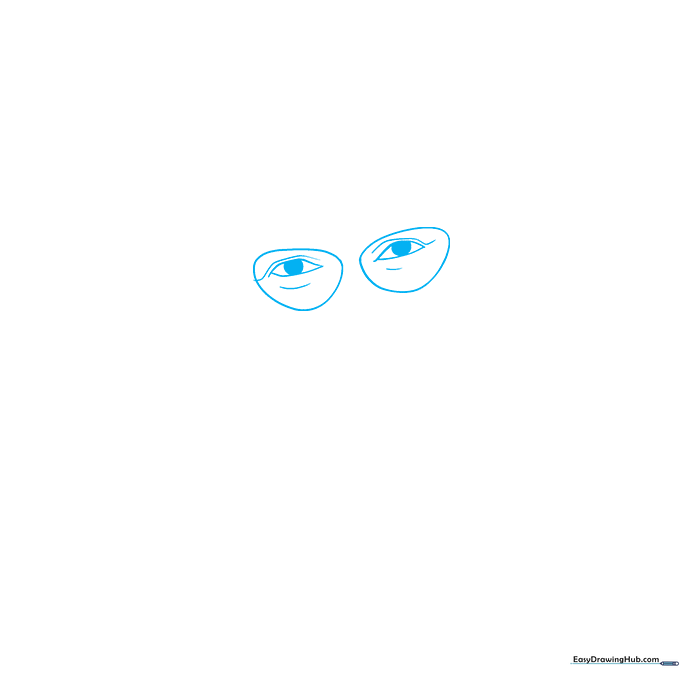
Start by drawing the frames of her signature glasses. Use curved lines that meet at points to outline the eyes and lids. Tip: Keep your pencil pressure light so you can easily adjust the shape of the lenses if they look uneven.
Step 2: Defining the Frames and Brows
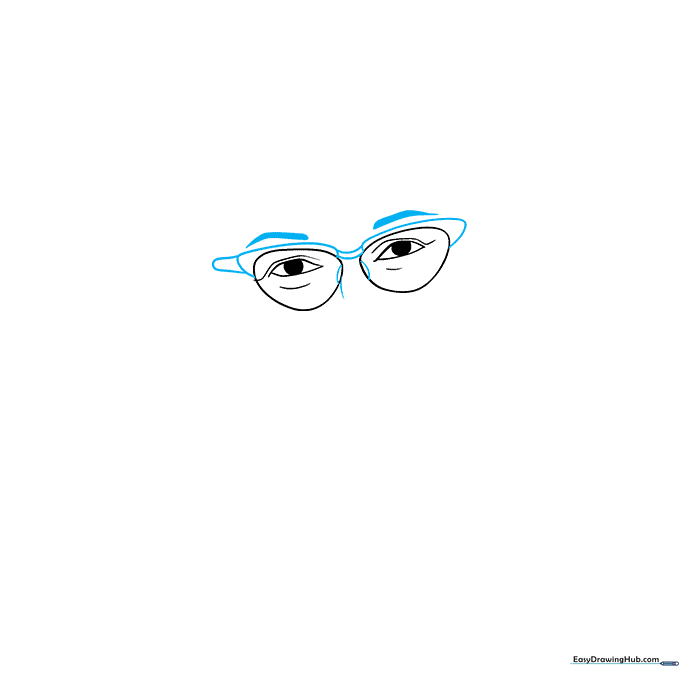
Connect the lenses with a bridge and add the earpieces. Draw a curved line for the nose and add the eyebrows above the eyes. Tip: Use short, quick strokes for the eyebrows to give them a natural, expressive look.
Step 3: Adding Facial Features
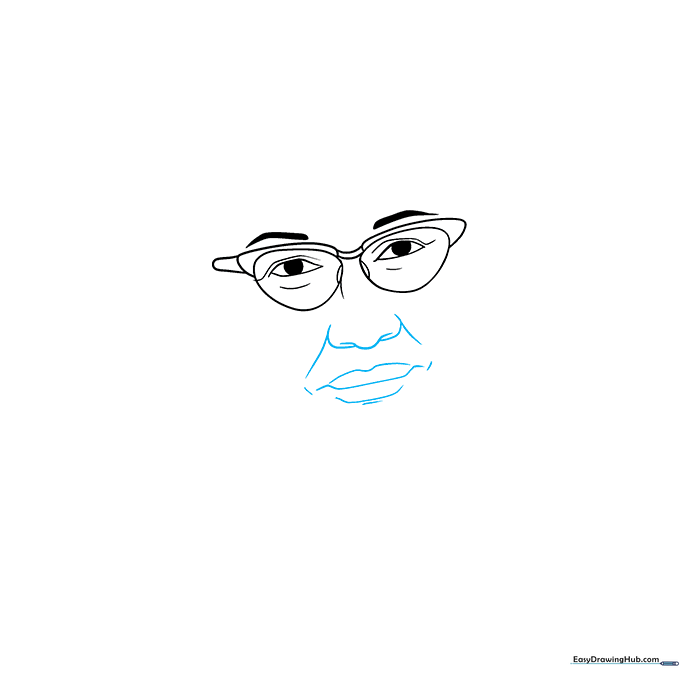
Sketch the nose, lips, and dimples using soft, connected curved lines. Tip: Focus on the corners of the mouth; keeping them slightly upturned gives the portrait a warm, friendly expression.
Step 4: Outlining the Face
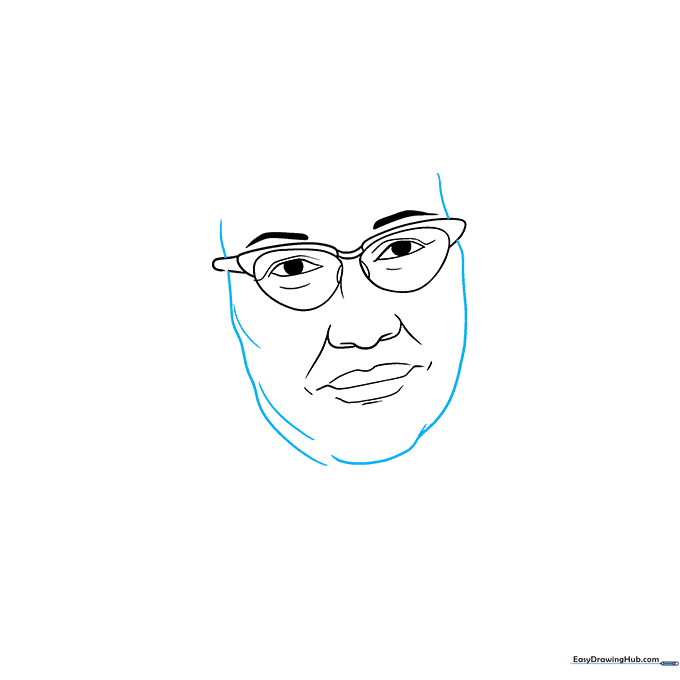
Use overlapping curved lines to define the chin, neck, and cheekbones. Tip: Think of the face as a rounded shape—don't make the chin too pointy; keep it soft and rounded.
Step 5: Sketching the Hairline
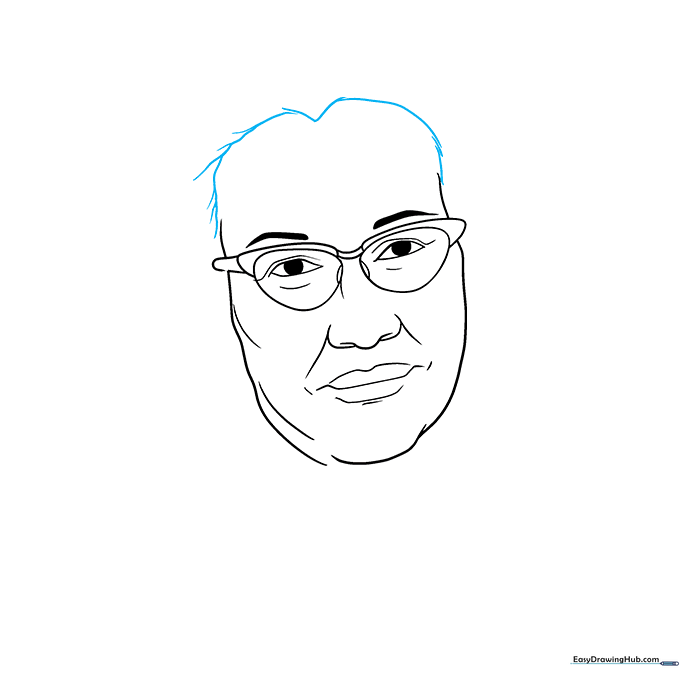
Draw the hairline, including the distinct 'V' shaped widow's peak in the center of the forehead. Tip: Use light, feathery strokes to make the hair look more natural rather than like a solid block.
Step 6: Adding Ears and Hair
Use wavy lines to draw the ears and the side sections of her hair. Tip: Ensure the ears align roughly with the space between the eyes and the nose.
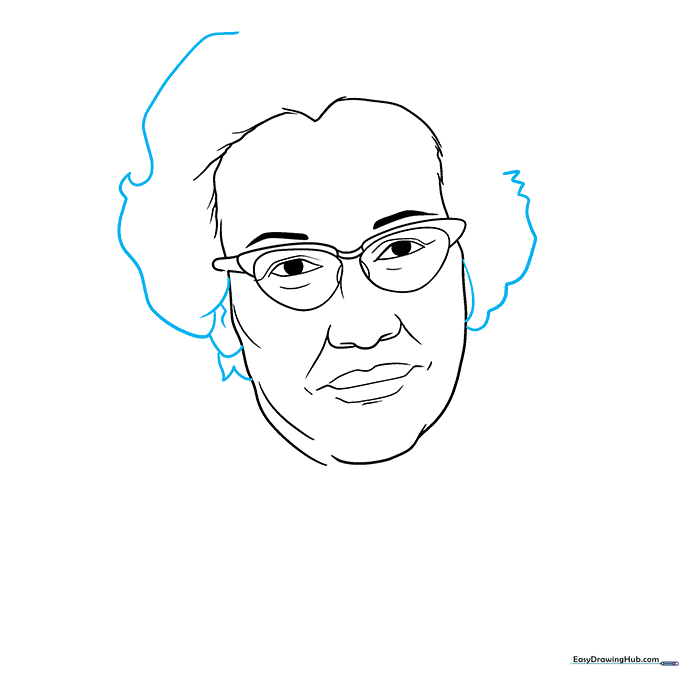
Step 7: Finalizing the Hairstyle
Close the hair shape with a long, sweeping curved line and add texture with shorter, internal lines. Tip: Vary the length of your lines to create the illusion of depth and volume.
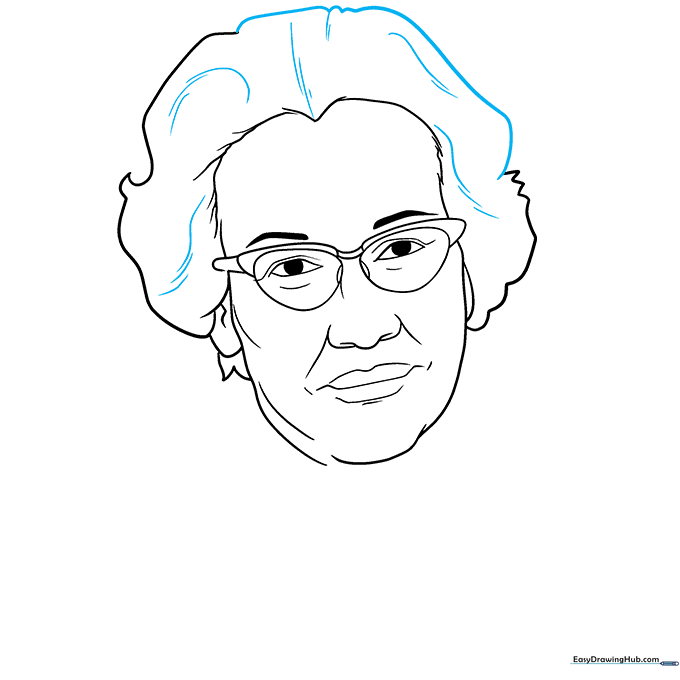
Step 8: Drawing the Collar
Draw the neck and the structured collar of her shirt. Add an oval button with a small curved line to give it a 3D effect. Tip: A clean collar adds a professional look to your portrait.
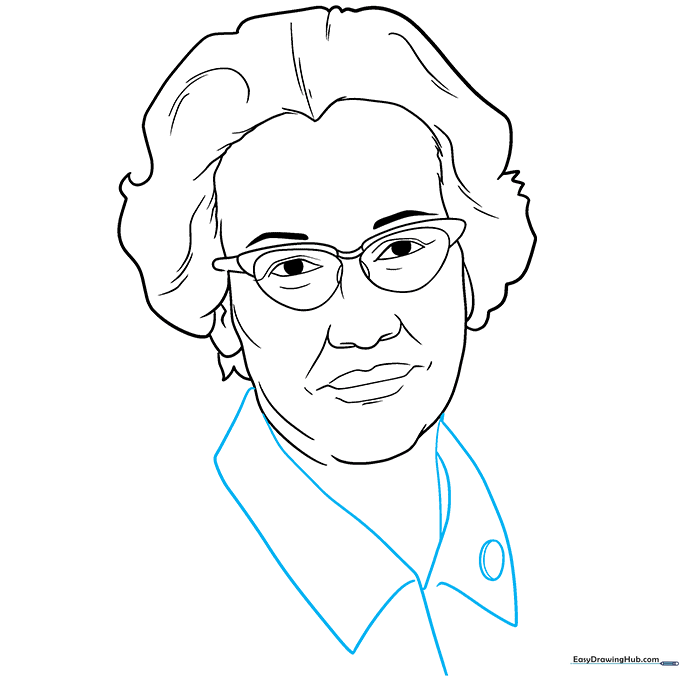
Step 9: Shoulders and Sleeves
Complete the figure by drawing the shoulders and the tops of the sleeves. Tip: Keep these lines smooth and flowing to match the rest of the drawing.
Step 10: Adding Color

Your outline is ready! Use dark brown for her hair and your favorite colors for her clothing. Tip: Use a light tan or peach for the skin, and don't forget to shade the lenses of her glasses with a very light blue to represent the glass.
More Tutorials


