How to Draw Kakashi Hatake: Easy Step-by-Step Anime Guide
Ready to bring the Copy Ninja to life? This tutorial is designed for intermediate artists looking to capture Kakashi’s iconic look. Grab your graphite pencil, an eraser, and a fine-liner to follow along as we break down his complex features into manageable, professional-looking shapes.
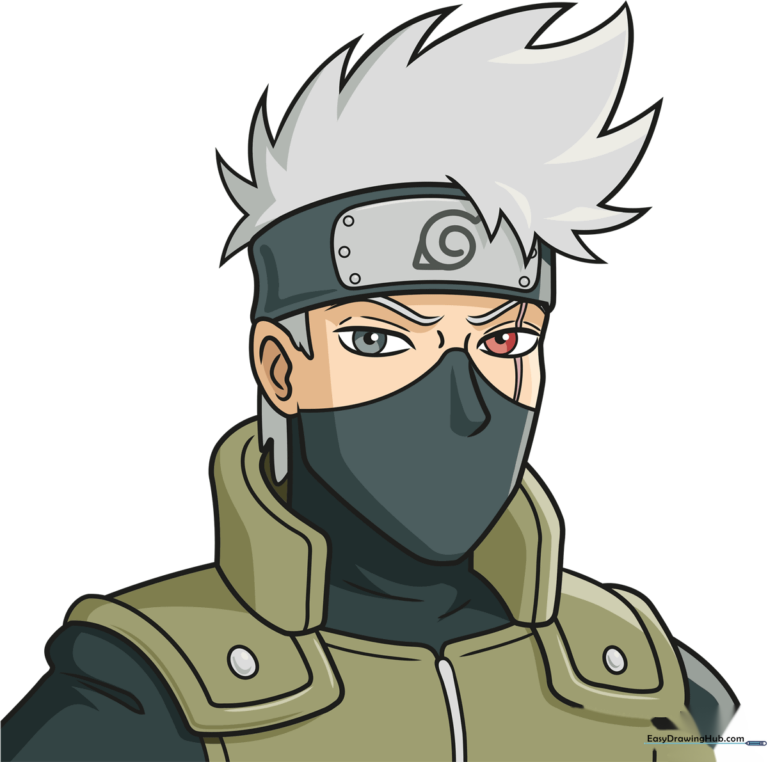
🎯 Final Result
Step-by-Step Instructions
Step 1: Sketching the Face Shape

Start with a soft, curved line to define the jaw and chin. Keep the lines light! Tip: Imagine the face as a rounded shield shape; this helps maintain the classic anime proportions before you add the eyes.
Step 2: Defining Features and Scar
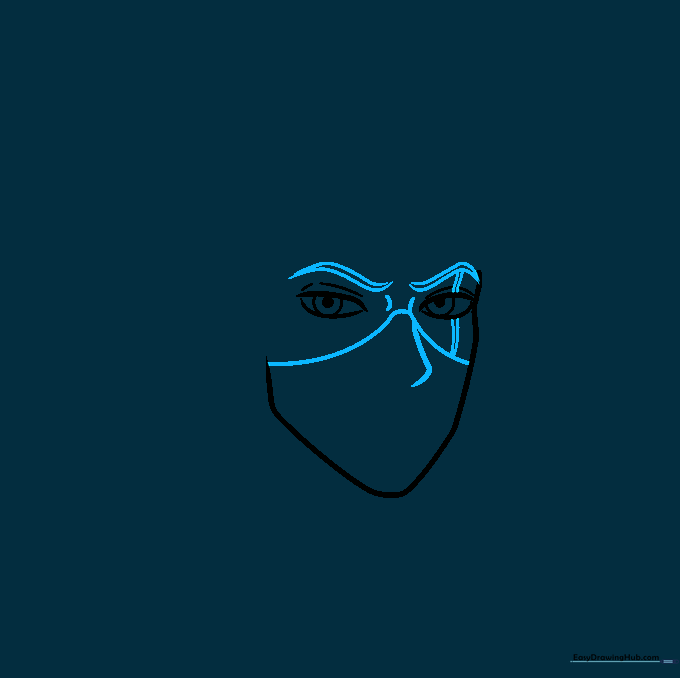
Draw the eyebrows at a slight angle to capture his serious expression. Add the signature scar over the left eye using two delicate, parallel curved lines. Tip: Use a sharp pencil to keep the scar lines thin—they should look like a subtle detail, not a heavy mark.
Step 3: Adding Hair and Ear Details
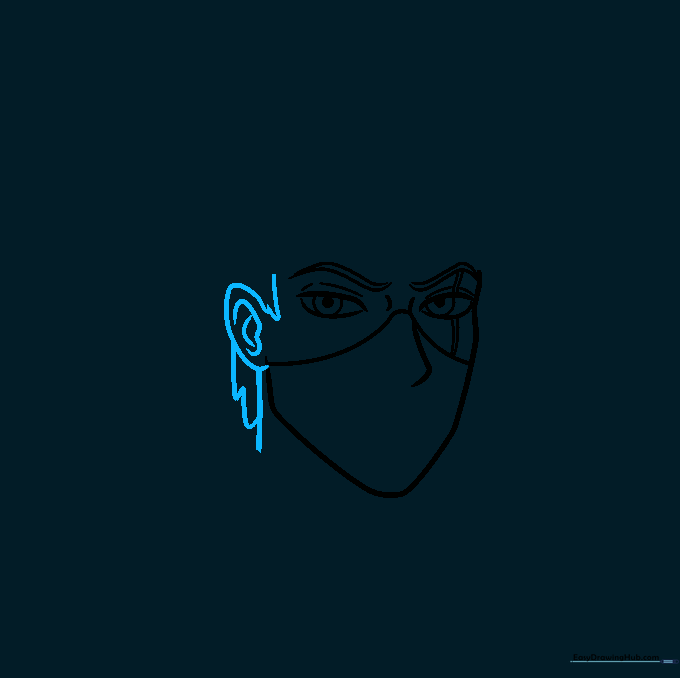
Sketch the sideburns and the visible ear. Use quick, flicking motions with your pencil to suggest the spiky texture of his hair. Tip: Don't press too hard; hair should look soft and layered, not like a solid block.
Step 4: The Leaf Village Headband
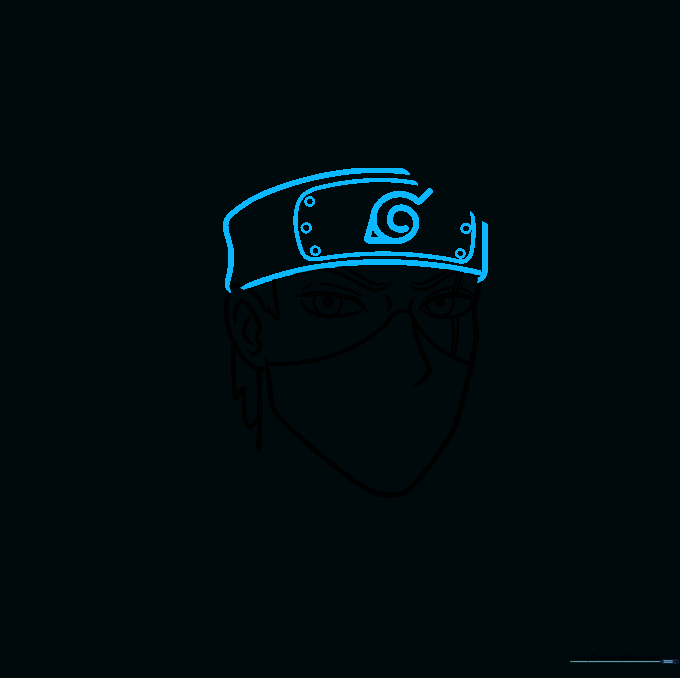
Draw the rectangular metal plate across his forehead. Add small circles for the rivets and the iconic spiral symbol in the center. Tip: Use a ruler if you struggle with straight lines, but keep the corners slightly rounded to match the anime style.
Step 5: Completing the Spiky Hair
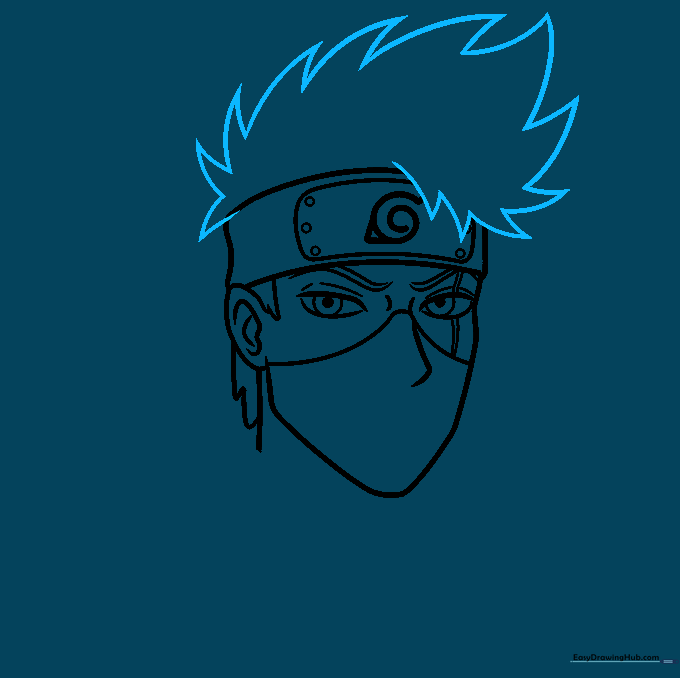
Draw the iconic gravity-defying hair using jagged, triangular shapes. Ensure some spikes overlap the headband for a natural look. Tip: Vary the size of the spikes to make the hair look voluminous and realistic.
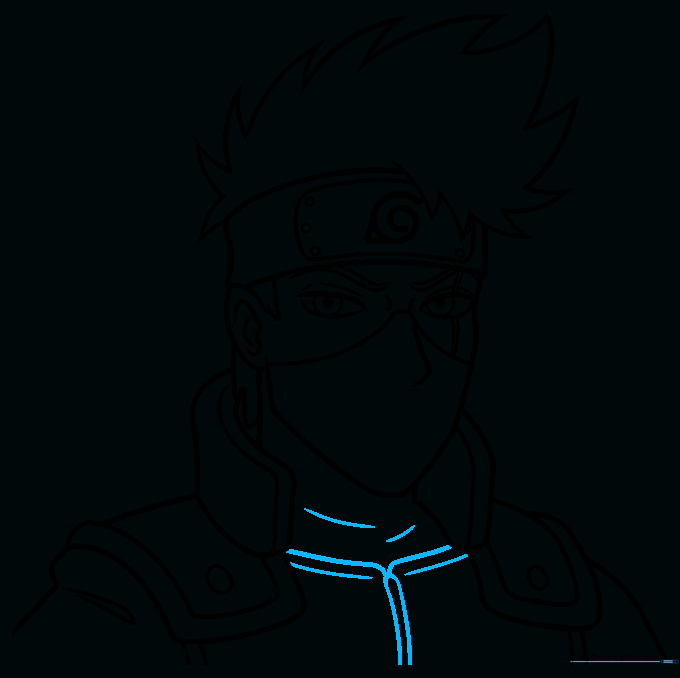
Step 6: Drawing the Collar
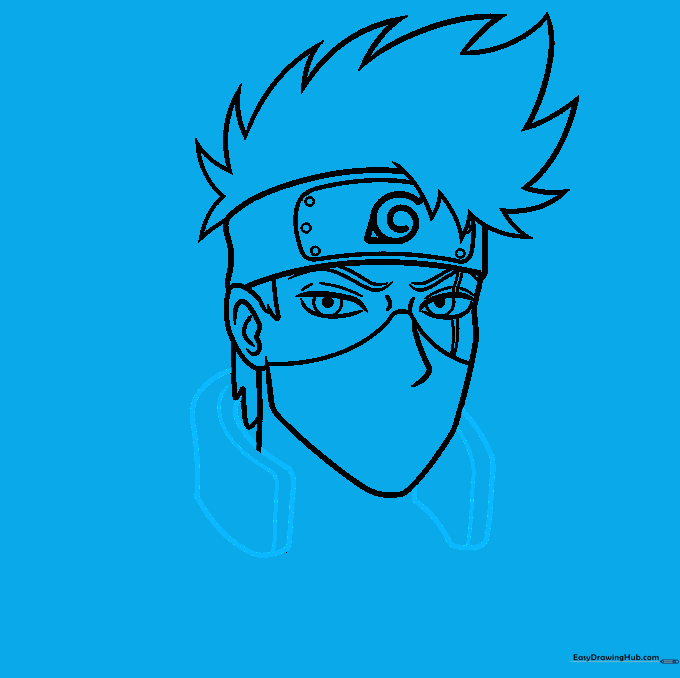
Sketch the high collar of his uniform using curved rectangles. Add a slight shadow line at the top to indicate depth. Tip: This collar is a signature part of his silhouette, so make sure it looks thick and sturdy.
Step 7: Adding Shoulder Armor
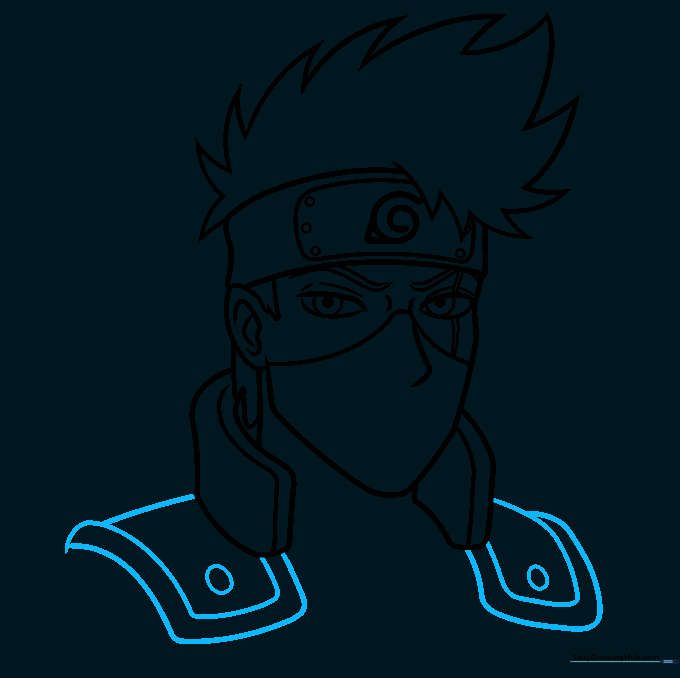
Draw the shoulder pads with rounded edges. Add a small circle on each to represent the attachment points. Tip: Keep these symmetrical to ensure the character looks balanced.
Step 8: Detailing the Tunic
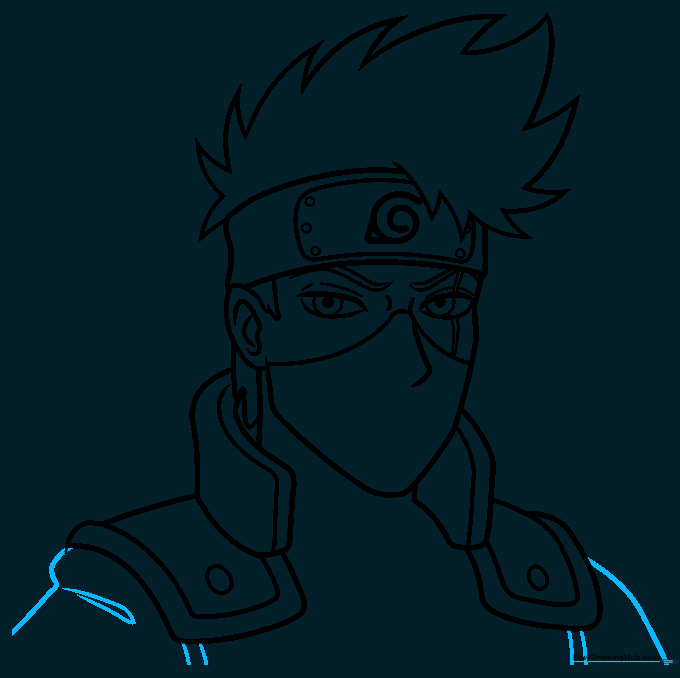
Sketch the arms and the front of the tunic. Use small, folded lines to show where the fabric bunches up. Tip: These small wrinkles add a sense of movement and realism to your drawing.
Step 9: Finalizing the Outline
Refine the neck and garment closure with clean, confident strokes. Erase any stray guidelines from your initial sketch. Tip: Now is the time to go over your pencil lines with a fine-liner pen for a crisp, finished look.
Step 10: Bringing Kakashi to Life with Color
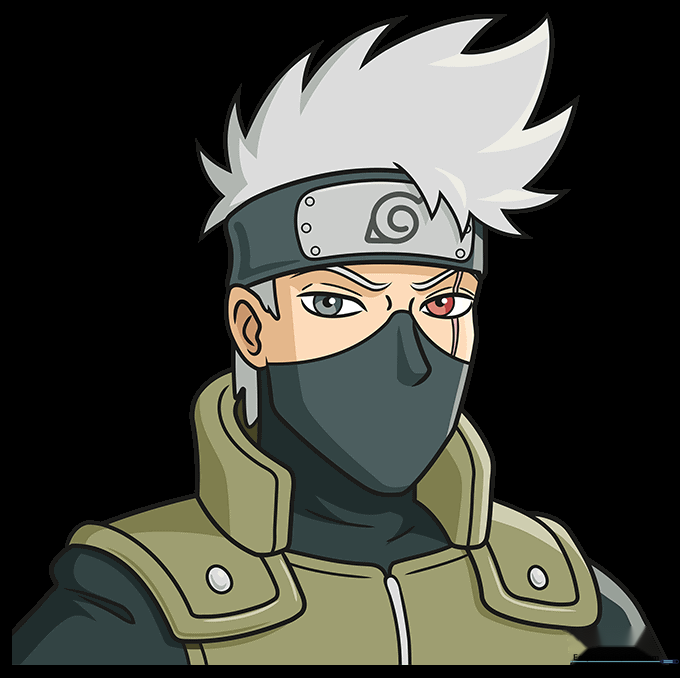
Fill in your drawing! Use silver for his hair, dark green for the vest, and black for the undershirt. Don't forget the red eye and grey iris for his Sharingan. Tip: Use light pressure when coloring to build up smooth, even layers.
More Tutorials


