How to Draw Jupiter: Easy 9-Step Space Art Guide
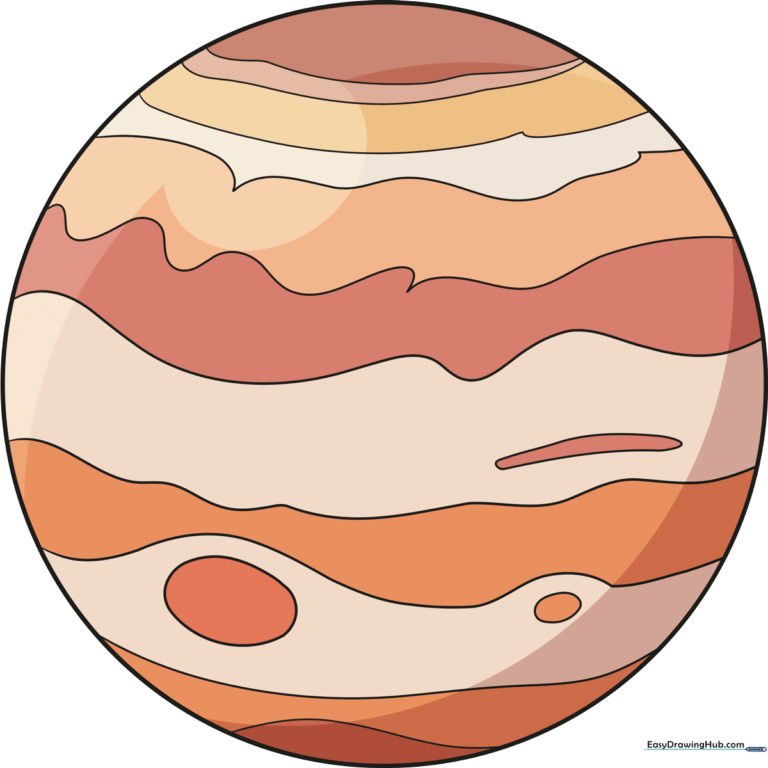
Blast off into art with this simple guide to drawing Jupiter, the solar system's largest planet. Designed for ages 5+, this activity requires only a pencil, paper, and your favorite coloring tools. By following these steps, you will master the art of drawing planetary bands and the iconic Great Red Spot.
🎯 Final Result
Step-by-Step Instructions
Step 1: Sketching the Planetary Base
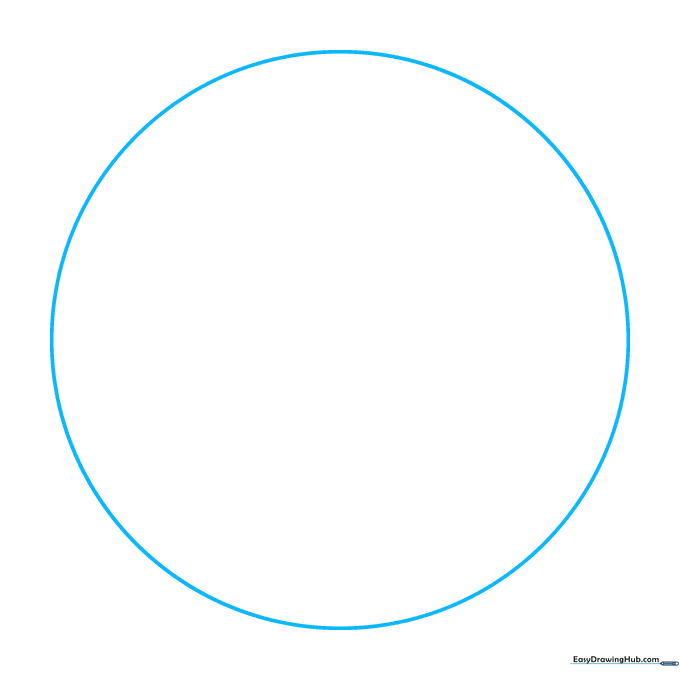
Draw a large, clean circle to represent the body of Jupiter. Teacher's Tip: If you struggle with freehand circles, trace the bottom of a small cup to get a perfect round shape.
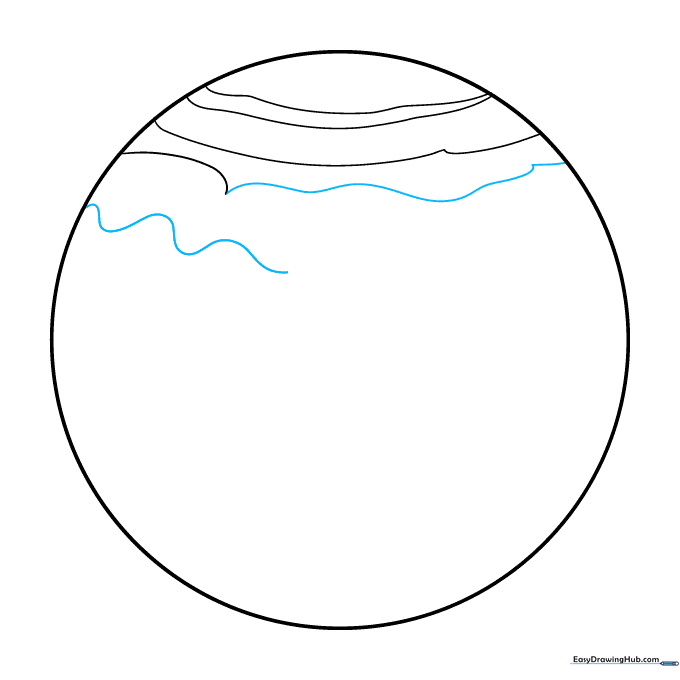
Step 2: Adding Northern Cloud Bands
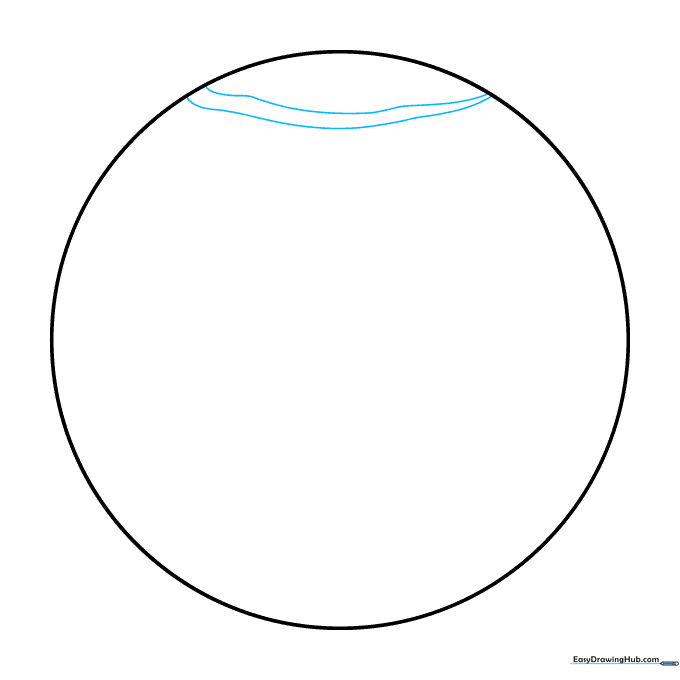
Draw two parallel wavy lines across the upper portion of the circle. Teacher's Tip: Think of these as flowing ribbons of wind; keep your hand relaxed to make the lines look fluid rather than stiff.
Step 3: Creating Cloud Texture
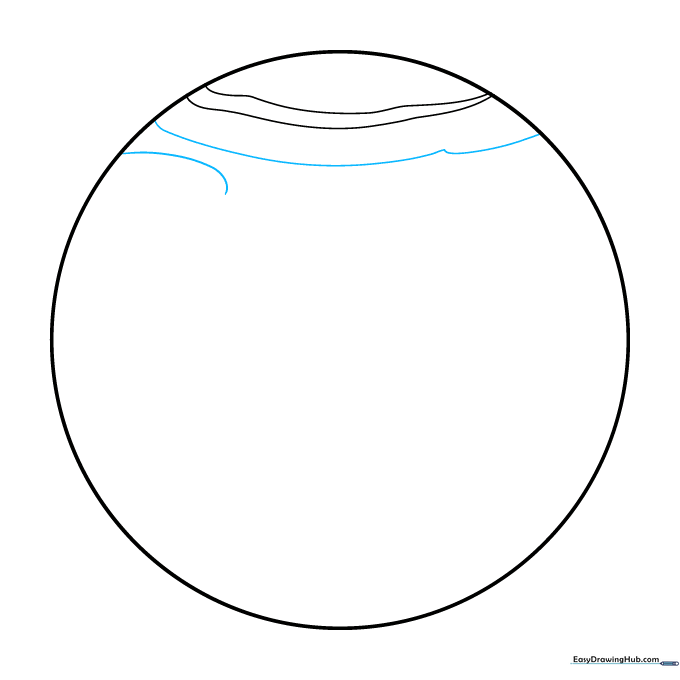
Add more wavy lines that connect at jagged points. Teacher's Tip: Vary the curves to mimic the look of real gas clouds swirling in space.
Step 4: Swirling the Atmosphere
Continue adding wavy, swirling lines across the surface. Teacher's Tip: Don't worry about symmetry; Jupiter's clouds are constantly moving and changing shape.
Step 5: Spacing the Bands
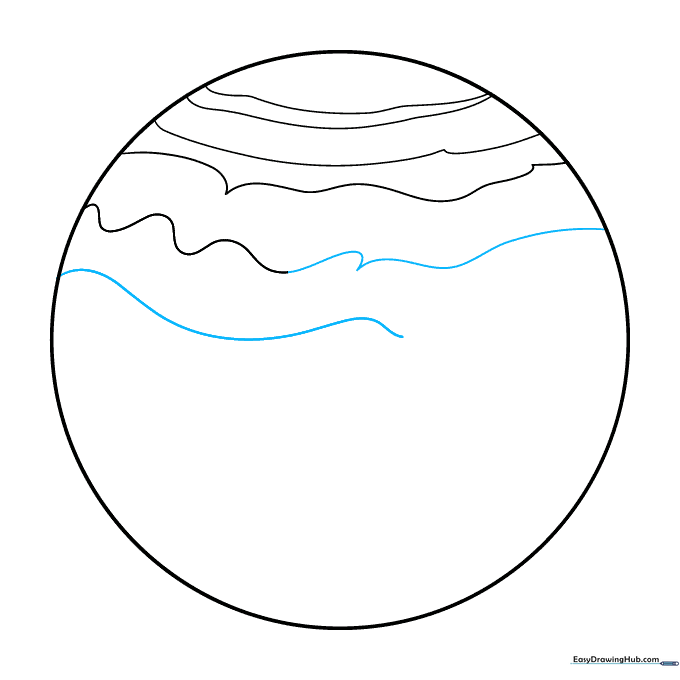
Draw additional lines toward the center of the planet, leaving slightly more space between them. Teacher's Tip: This helps create the illusion of depth and scale.
Step 6: Centering the Clouds
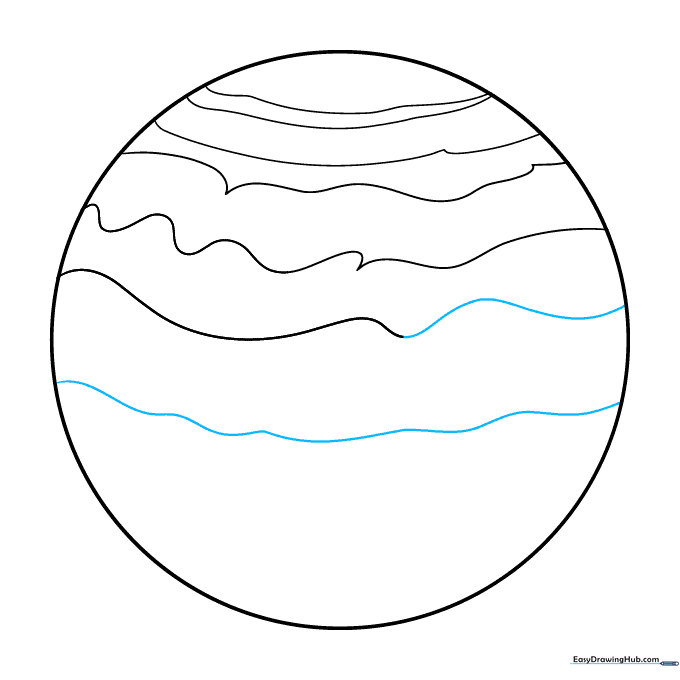
Complete your previous lines and add a new one across the exact center of the planet. Teacher's Tip: Use a light touch so you can easily erase any overlapping lines later.
Step 7: Banding the Southern Pole
Draw two more wavy lines near the bottom of the planet. Teacher's Tip: These bands should curve slightly to follow the round shape of the planet.
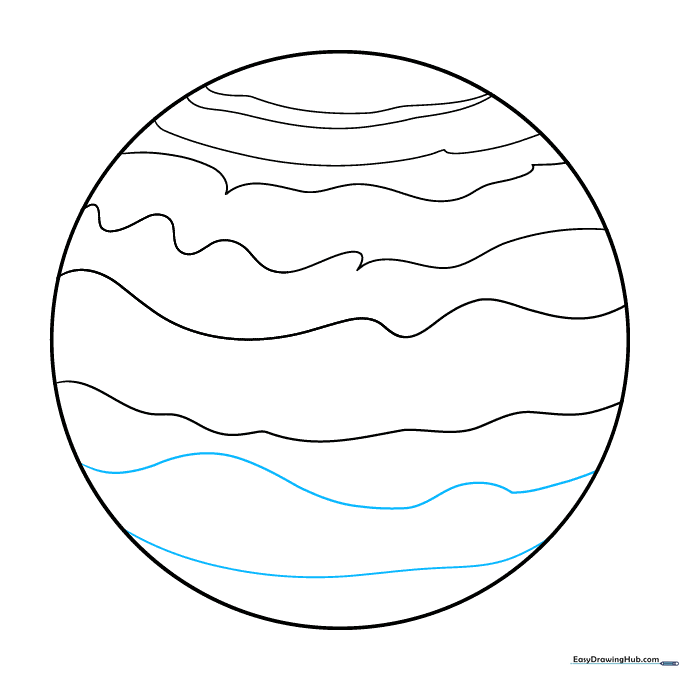
Step 8: The Great Red Spot
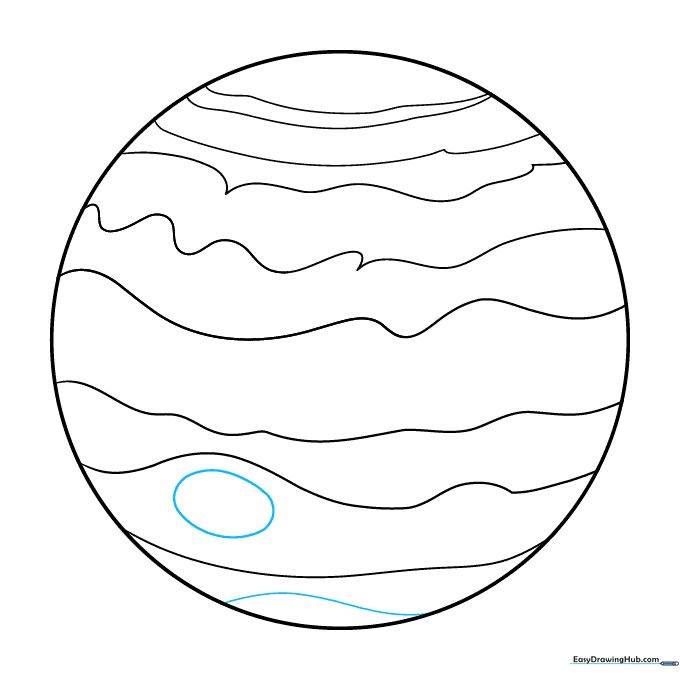
Draw a small oval between the bottom two lines to create the Great Red Spot. Add one more wavy line at the very bottom. Teacher's Tip: The Great Red Spot is actually a massive storm, so make it look like a little swirl.
Step 9: Final Details and Coloring
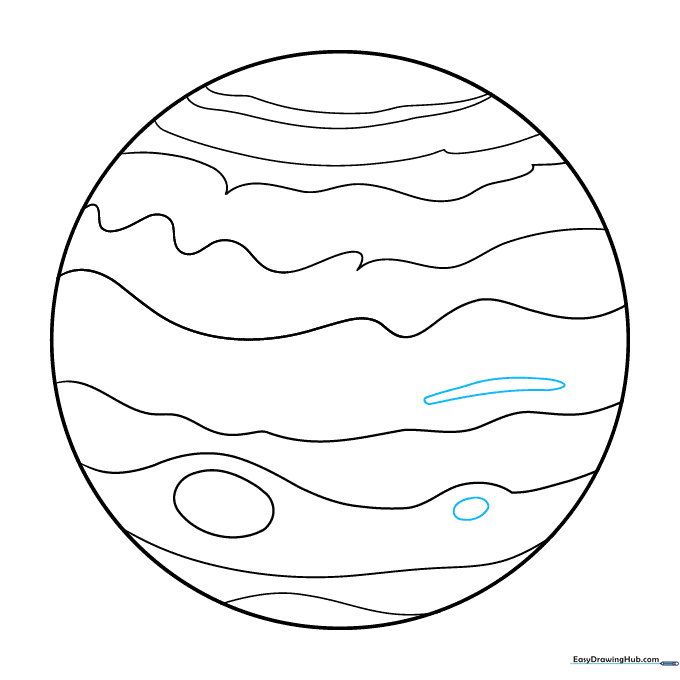
Add a smaller oval inside the Great Red Spot and an elongated shape above it to represent other storms. Teacher's Tip: Use warm colors like orange, red, and yellow to bring your planet to life!
Step 10: Bringing Jupiter to Life
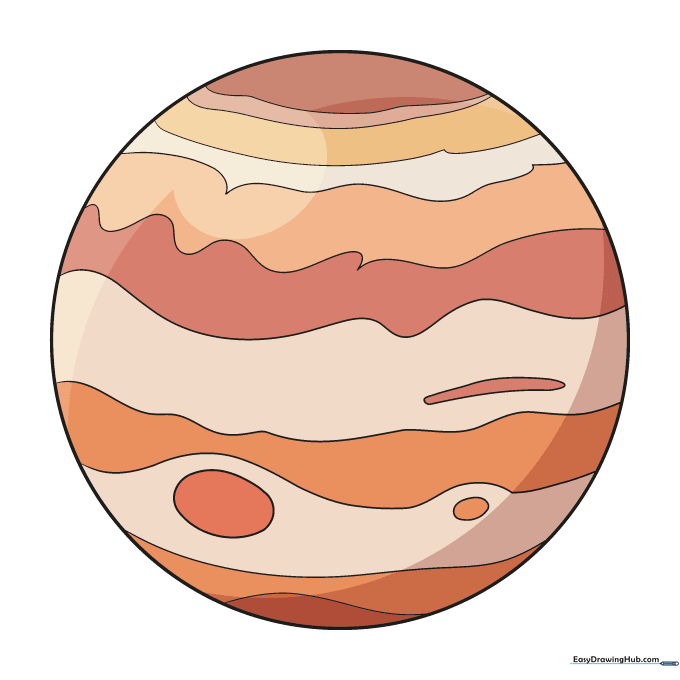
Color your drawing! Did you know? Scientists believe the red color comes from chemicals like sulfur and phosphorus reacting with sunlight. Use your brightest oranges and reds for the Great Red Spot.
More Tutorials


