How to Draw Julius Caesar: Easy 10-Step History Lesson
Bring Roman history to life with this engaging portrait tutorial, perfect for students ages 8 and up. You will need a pencil, an eraser, and a piece of paper to capture the likeness of this famous leader. By following these structured steps, you'll master facial proportions and historical costume details.
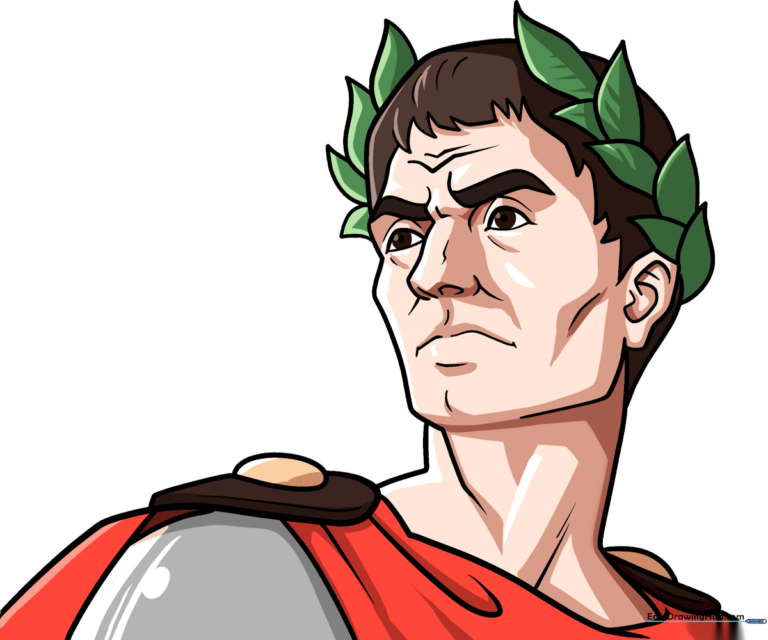
🎯 Final Result
Step-by-Step Instructions
Step 1: Sketching the Eyes and Brows
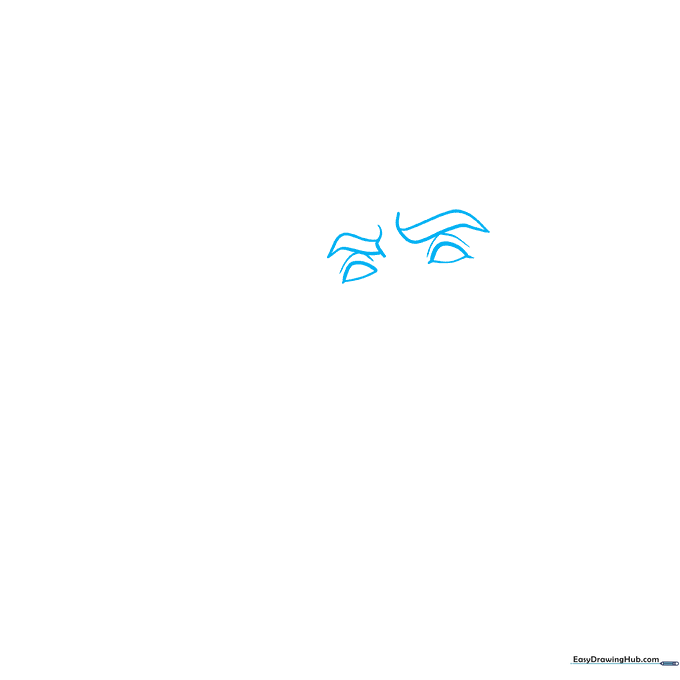
Draw two almond-shaped eyes using curved lines. Add furrowed eyebrows above them using sharp, angled lines to give Caesar his serious, commanding expression. Tip: Keep the eyes symmetrical by drawing them at the same time.
Step 2: Defining the Nose and Mouth

Use short, delicate curved lines to form the bridge of the nose, the nostrils, and the upper lip. Tip: Use a light touch here; the nose is the focal point of the face, so keep your lines clean.
Step 3: Shaping the Jawline

Outline the jaw, chin, and lower lip using smooth, continuous curved lines. Add a small dimple on the chin for character. Tip: Imagine the shape of a rounded square to help guide your jawline placement.
Step 4: Adding Hair and Ear
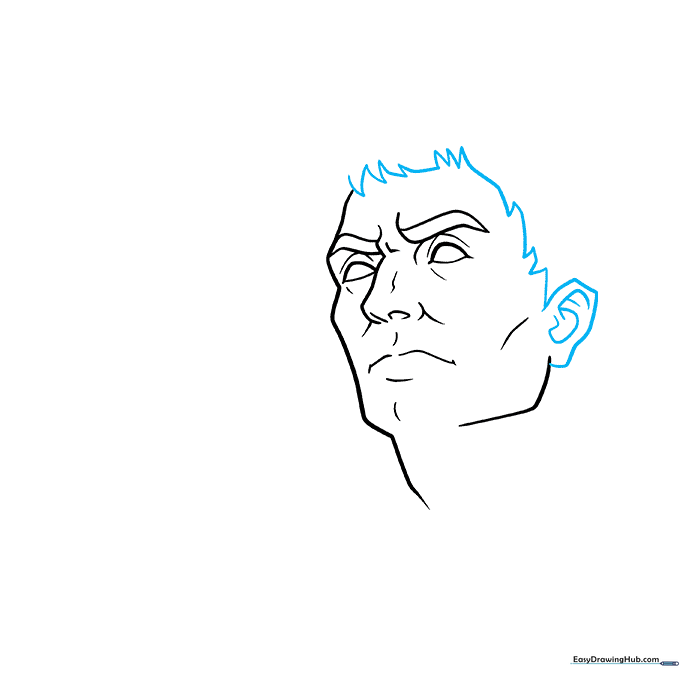
Sketch the hairline using short, jagged strokes to mimic natural hair growth. Draw the ear on the side of the head with internal curved lines for the cartilage. Tip: Don't make the hair too perfect; Caesar's hair was often depicted as short and textured.
Step 5: Completing the Head Shape
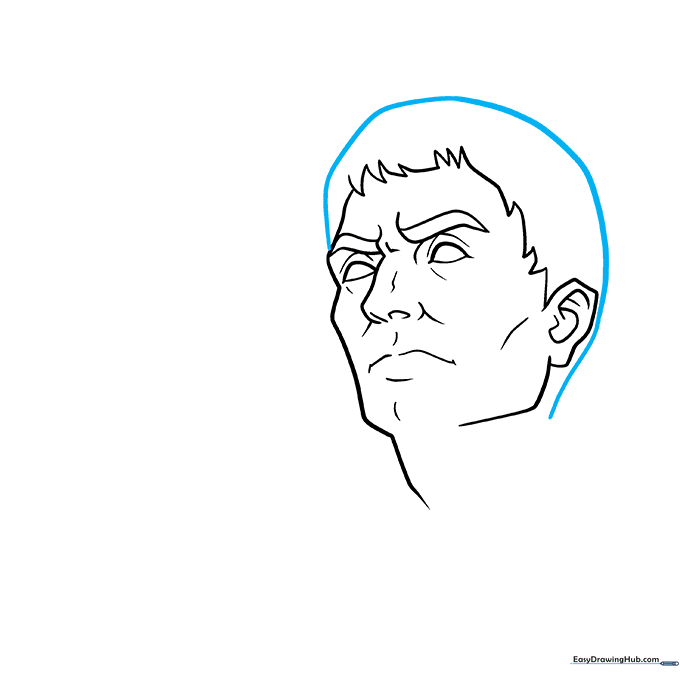
Connect the hairline and the back of the neck with a long, sweeping curved line to finish the top of the head. Tip: Check your proportions—the top of the head should be roughly the same height as the face area.
Step 6: Drawing the Laurel Wreath
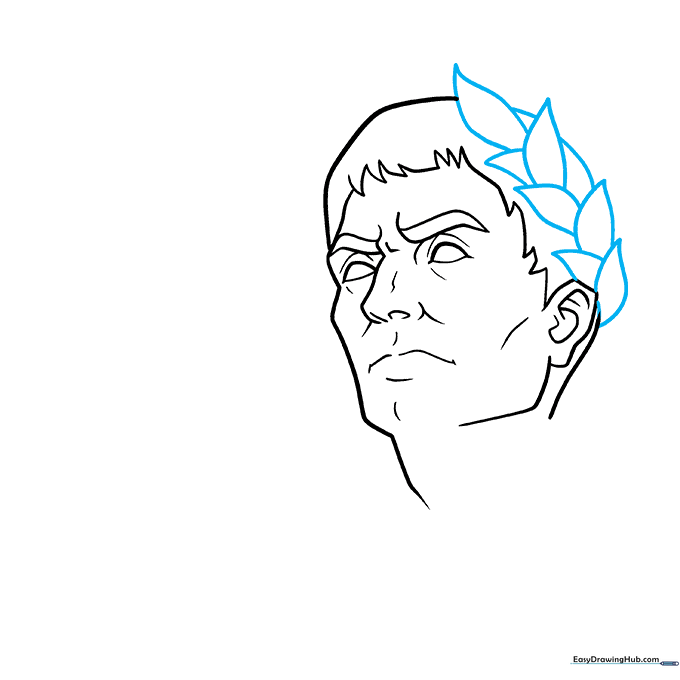
Draw the iconic laurel wreath by adding teardrop-shaped leaves around the crown of the head. Erase any overlapping lines inside the leaves. Tip: Vary the angle of the leaves slightly to make the wreath look organic.
Step 7: Finalizing the Neck and Details
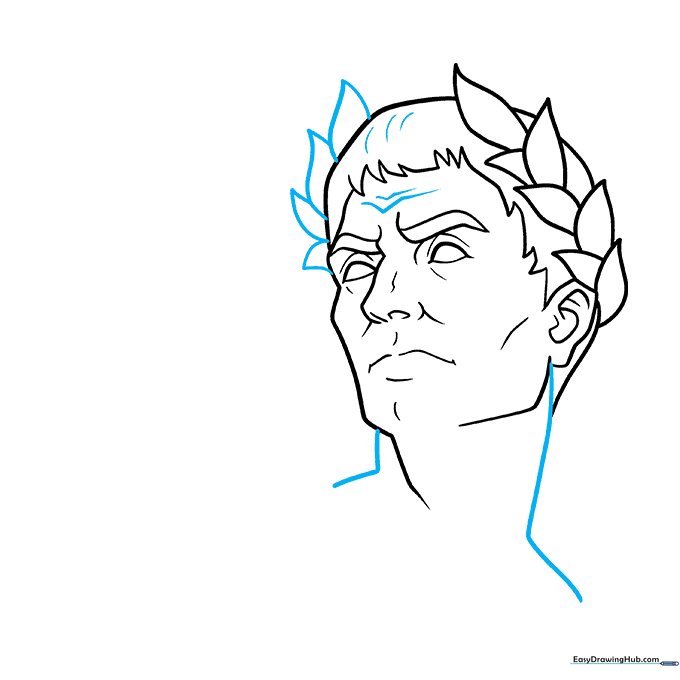
Add leaves to the other side of the wreath. Draw the neck using two long, graceful curves and add subtle lines to indicate the forehead wrinkles. Tip: Use light pressure for the wrinkles to keep him looking distinguished, not old.
Step 8: Adding Toga and Cape Details
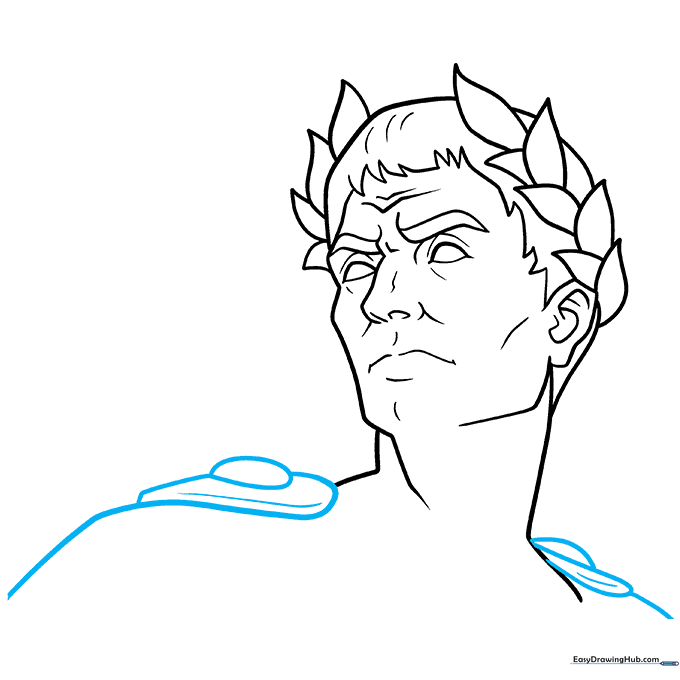
Draw the rounded shapes of the shoulder clasps that hold his cape in place. Extend the lines downward to form the shoulders. Tip: These clasps were often made of metal, so keep the shapes firm and geometric.
Step 9: Completing the Toga Outline
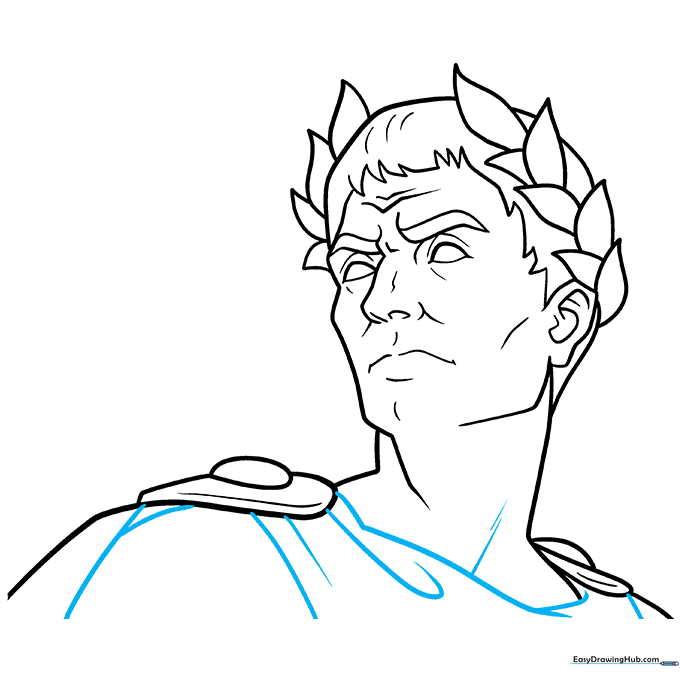
Use overlapping curved lines to draw the folds of the toga and the cape around the neck. This adds depth and realism to the clothing. Tip: Focus on the 'S' curves to make the fabric look like it is draping naturally.
Step 10: Adding Color

Bring your portrait to life! Color the laurel leaves a vibrant green. Use white for the toga, and add deep red or royal purple for the cape to signify his status as a leader. Tip: Use light shading under the chin to create a 3D effect.
More Tutorials


