How to Draw John F. Kennedy: Easy Step-by-Step Portrait Guide
Capture the likeness of the 35th U.S. President with this approachable portrait tutorial. Designed for students and budding artists, this lesson breaks down facial proportions into manageable shapes. Grab a pencil and eraser to begin building your historical figure drawing.
🎯 Final Result

Step-by-Step Instructions
Step 1: Sketching the Eyes

Start by drawing two almond-shaped outlines for the eyes. Teacher's Tip: Keep your pencil pressure light so you can adjust the spacing later. Add a small circle inside each for the pupil and shade them in to give your portrait focus.
Step 2: Adding Eyebrows and Nose

Draw the eyebrows using short, jagged strokes to mimic the texture of hair. Then, add a curved line above each eye for the eyelid and a small, simple curve between the eyes to suggest the bridge of the nose.
Step 3: Defining the Face and Mouth
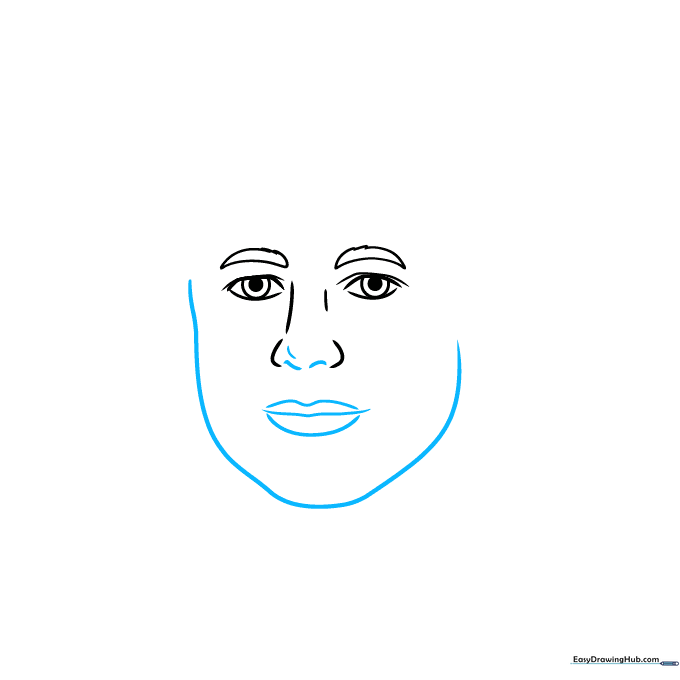
Outline the jawline with a smooth, continuous curve. Teacher's Tip: Think of the face as an oval that narrows slightly at the chin. Add the nostrils with two small curves and use three horizontal lines to define the lips.
Step 4: Sketching the Hairline
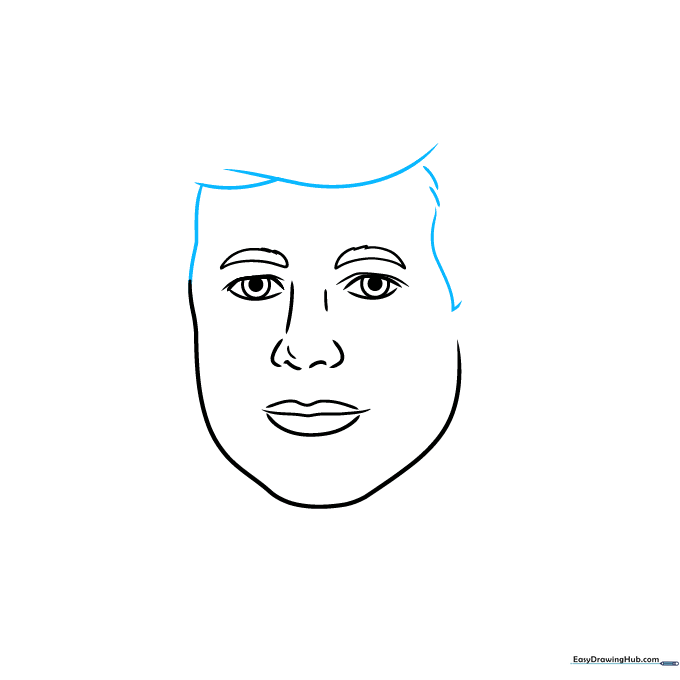
Use overlapping curved lines to create the signature shape of the hair on the forehead. Keep the lines fluid to make the hair look natural rather than stiff.
Step 5: Adding Ears and Hair Volume
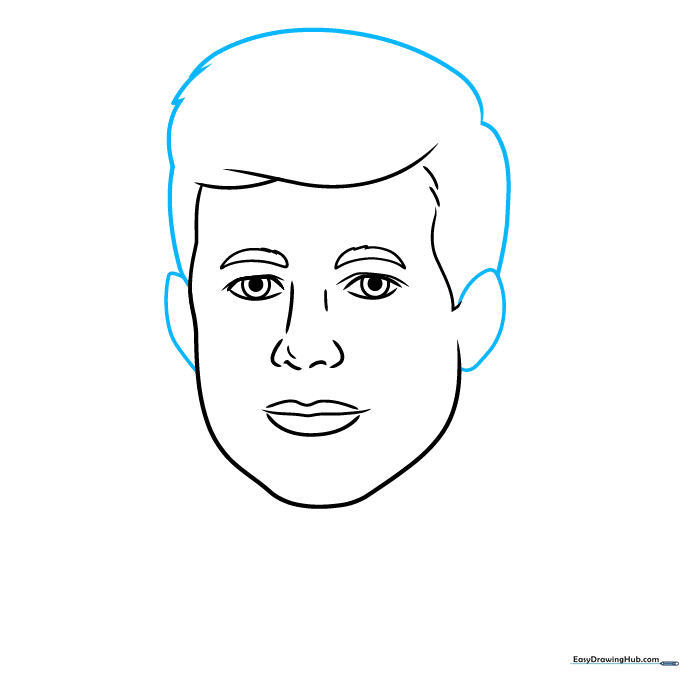
Draw the ears on either side of the head using simple 'C' shapes. Extend the hair lines downward to connect with the ears, giving the head its full shape.
Step 6: Refining Facial Features
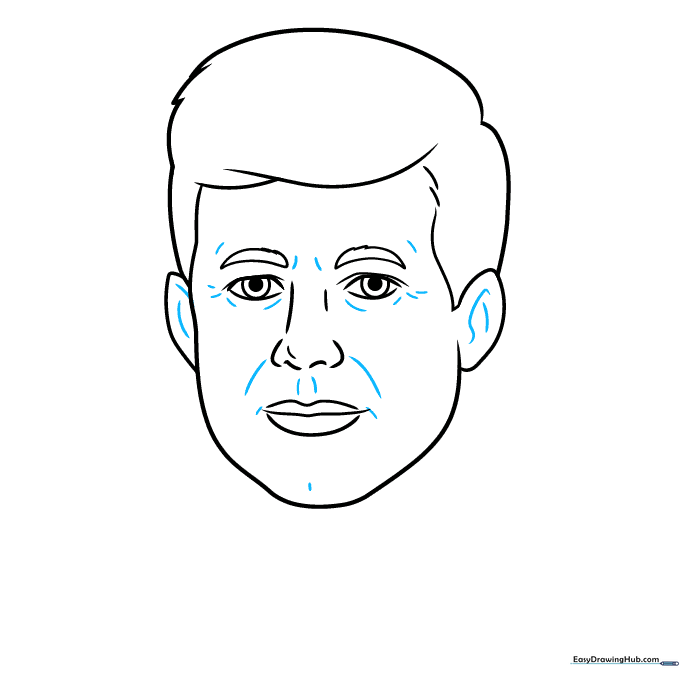
Add subtle details inside the ears and around the eyes and mouth. These small lines add depth and character to the portrait.
Step 7: Drawing the Suit and Tie
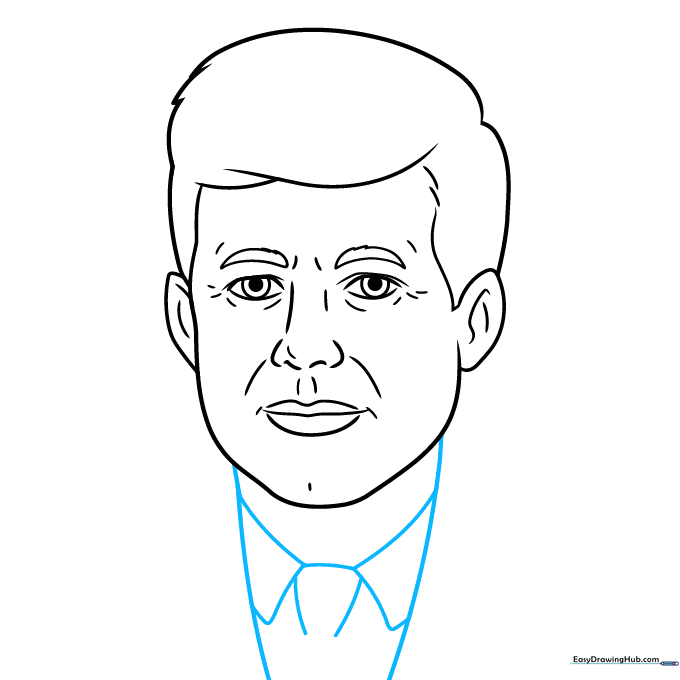
Draw the neck and the collar of the shirt. Add the knot of the necktie in the center. Teacher's Tip: Use straight, clean lines for the collar to contrast with the softer curves of the face.
Step 8: Adding Suit Lapels
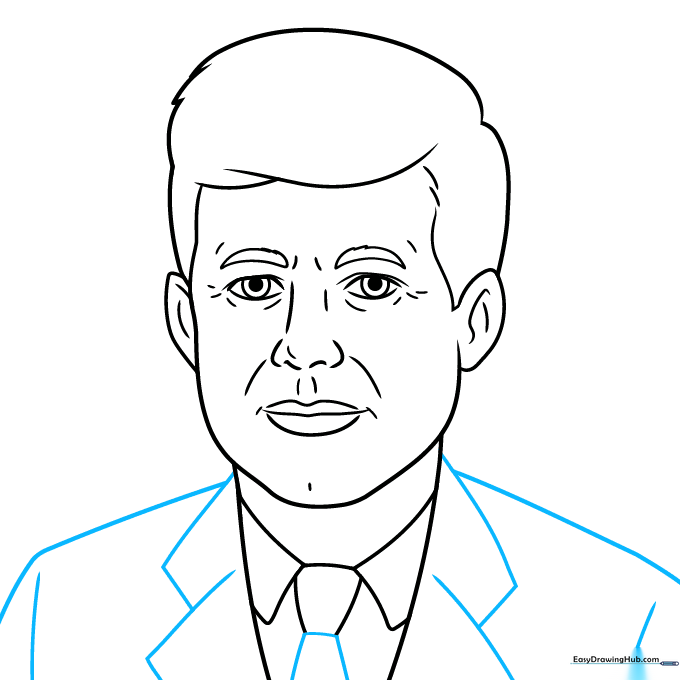
Complete the suit jacket by drawing the lapels and shoulders. Use overlapping lines to create the structure of the fabric.
Step 9: Final Hair Texturing
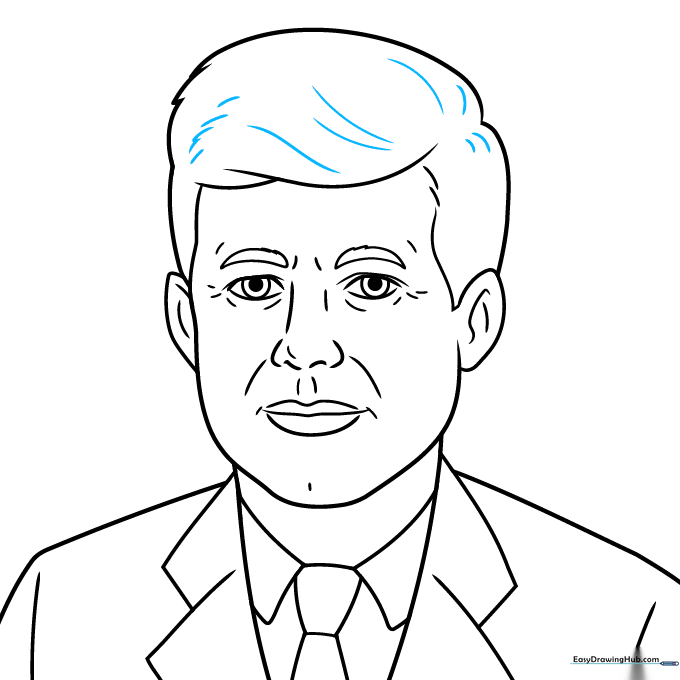
Add a few final curved lines to the hair to give it texture and volume. This helps the hair look less like a solid shape and more like individual strands.
Step 10: Bringing it to Life with Color

Your portrait is ready for color! Use brown for the hair and eyes to capture JFK's likeness. Teacher's Tip: Use light, circular motions with your colored pencils for a smooth, even finish.
More Tutorials


