How to Draw Jiraiya: Easy 10-Step Anime Guide
Ready to bring the legendary Sannin to life? This tutorial is designed for anime fans ages 8+ who want to capture Jiraiya's iconic look. Grab a pencil, an eraser, and a sheet of paper to follow along as we break down his complex features into manageable, fun shapes.
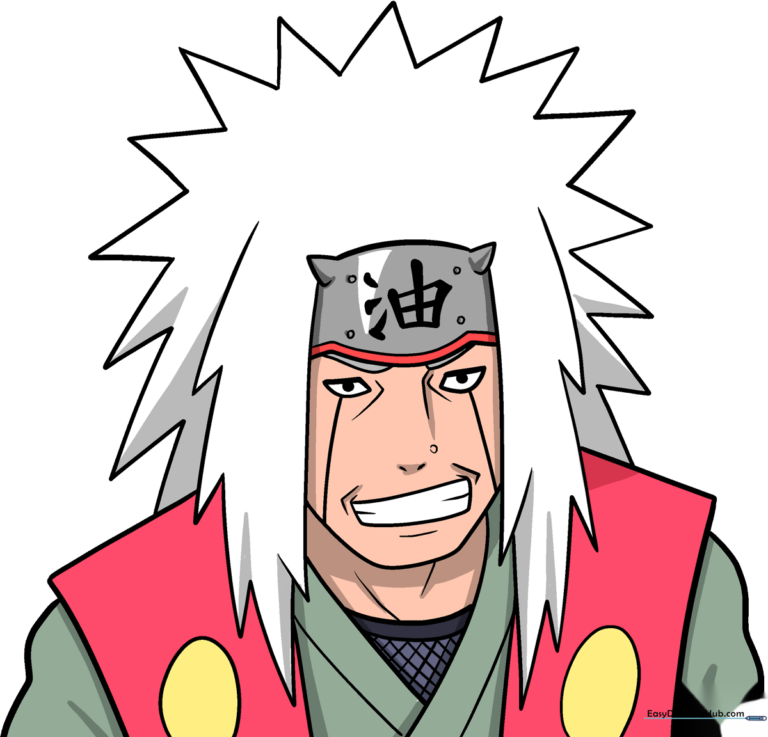
🎯 Final Result
Step-by-Step Instructions
Step 1: Sketching the Eyes
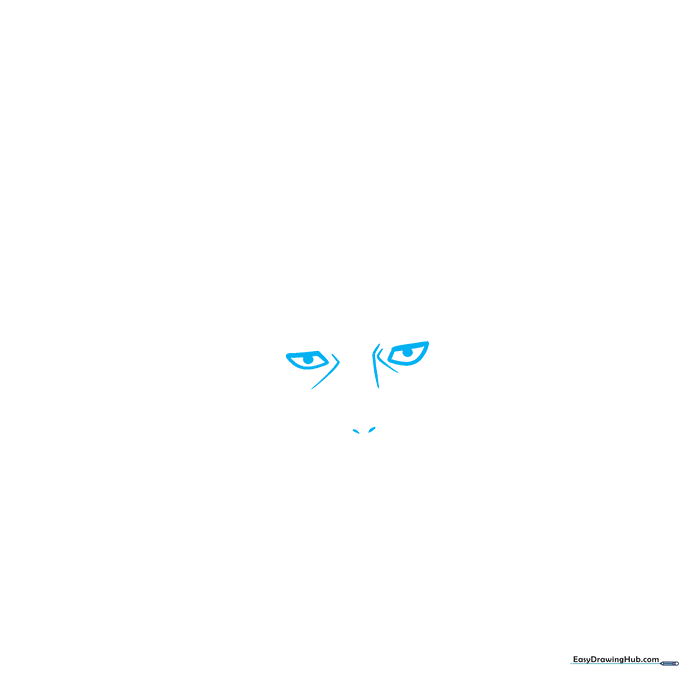
Start by drawing the eyes. Use thick, bold lines for the rectangular anime-style shape. Tip: Keep your pencil pressure light on the bridge of the nose and nostrils so you can easily adjust the symmetry later.
Step 2: Defining the Mouth and Face
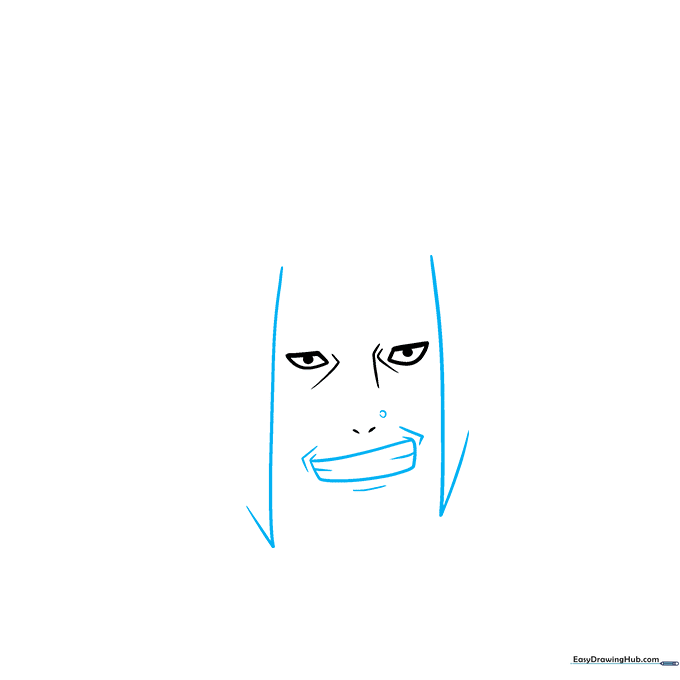
Enclose the rectangular mouth using curved lines and add the small mole near the nose. Tip: Use quick, flicking motions for the hair strands at the sides of the face to give them a natural, spiky texture.
Step 3: Adding the Headband
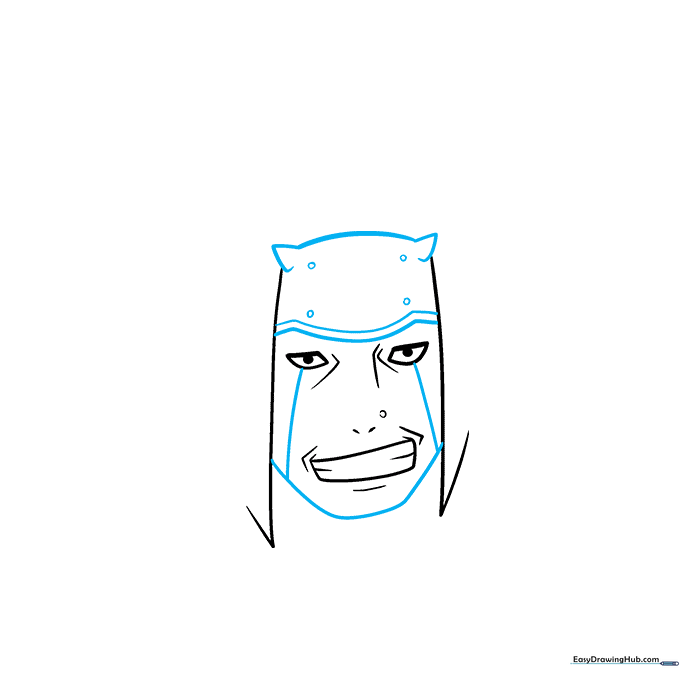
Draw the headband across the forehead and define the chin shape. Tip: Draw the small circles for the headband fasteners first—they act as anchors for the rest of your line work.
Step 4: Hair and Headband Details
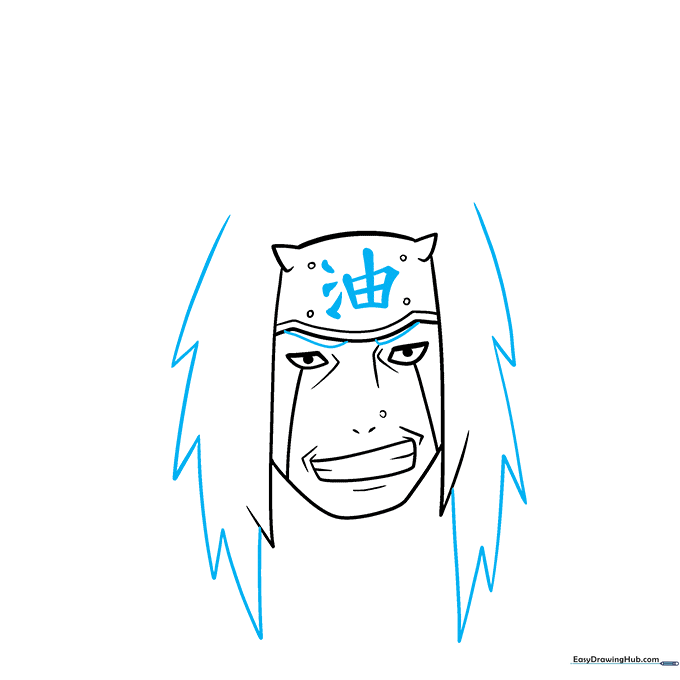
Add the Japanese character to the headband and draw the eyebrows peeking out. Tip: For the hair, use long, sweeping strokes that meet at sharp points to capture his wild, iconic style.
Step 5: Sunburst Hair and Shoulders
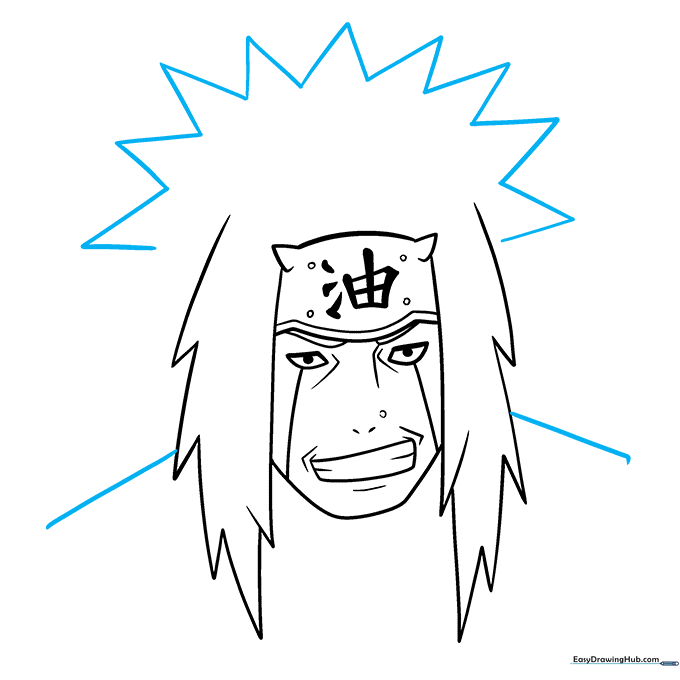
Draw the sunburst pattern on top of his head. Tip: Extend the lines from the hair down to the shoulders to create a balanced frame for your character's upper body.
Step 6: Extending the Hair and Vest
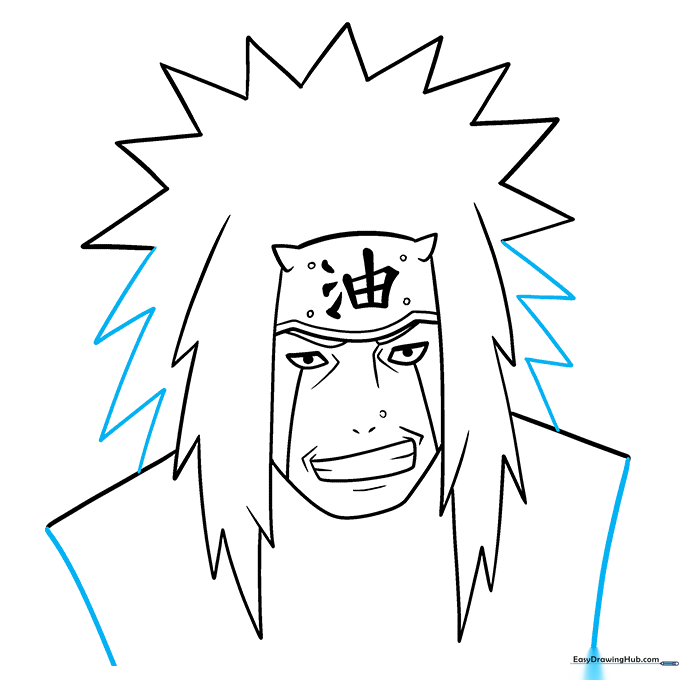
Continue the jagged hair down to the shoulders and add the vest edges. Tip: Keep your lines fluid; Jiraiya's clothing should look like it has movement, not stiff, straight edges.
Step 7: Tunic Details
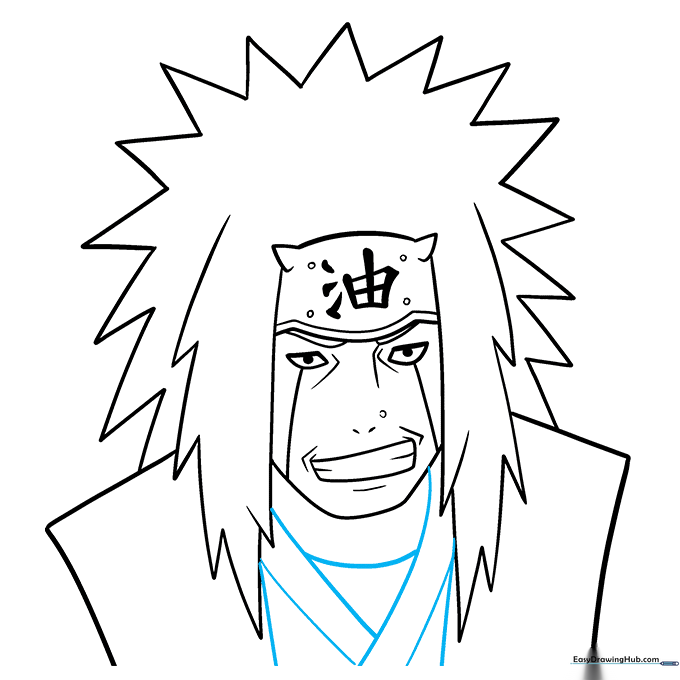
Use overlapping curved lines to form the 'Y' and 'V' shapes of the tunic. Tip: Focus on the overlapping lines to create depth, making the fabric look layered.
Step 8: Adding Garment Texture
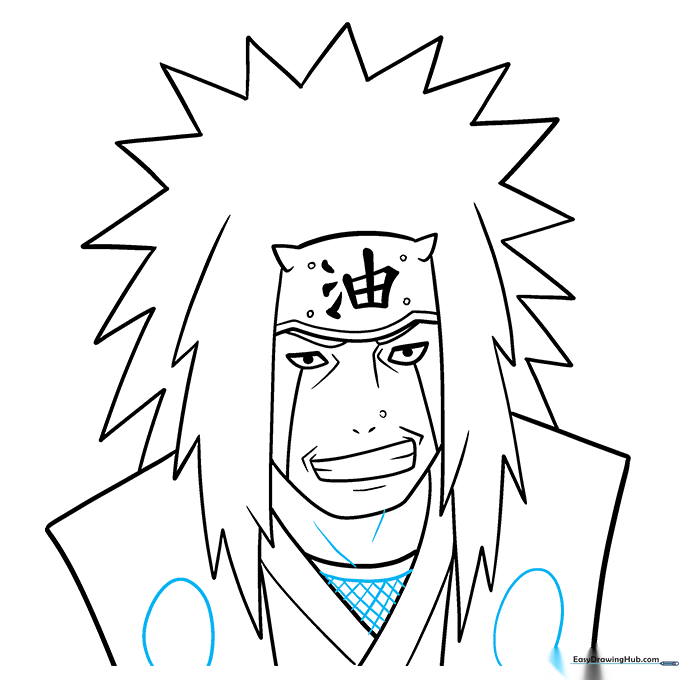
Draw the ovals on the vest and add a checkerboard pattern. Tip: Take your time with the checkerboard; it adds a professional, detailed look to the garment.
Step 9: Finalizing the Outline
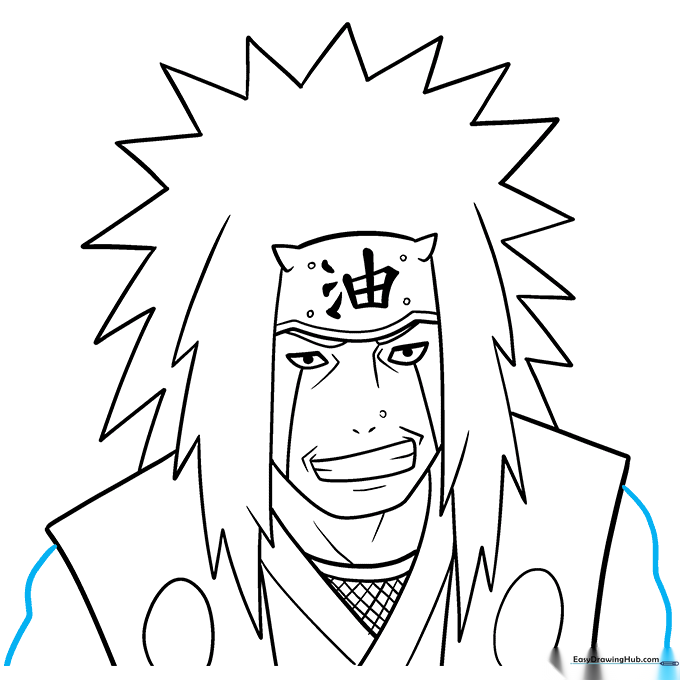
Enclose the arms on both sides of the vest to complete the silhouette. Tip: Check your proportions here—make sure the arms look proportional to the head size.
Step 10: Bringing Jiraiya to Life with Color
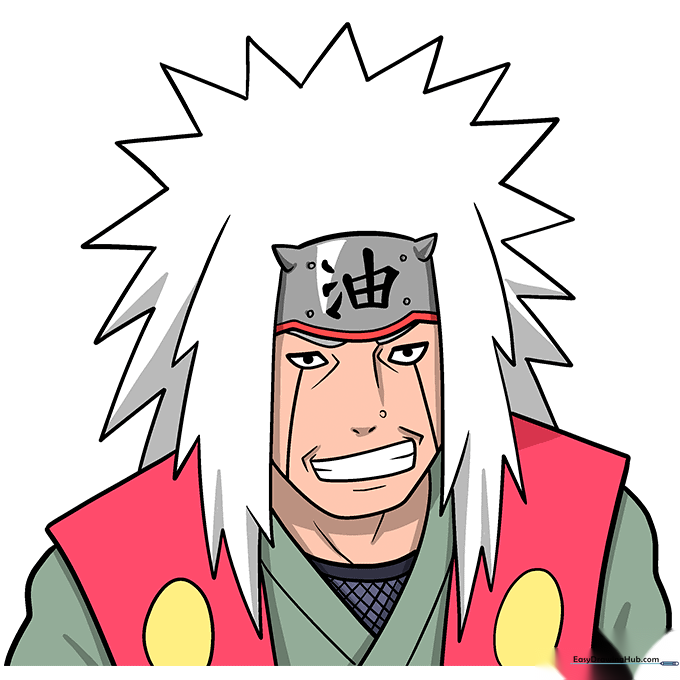
Time to color! Use white for his hair, metallic grey for the headband, and vibrant red, yellow, and green for his outfit. Tip: Use colored pencils to layer your colors for a more dynamic, professional finish.
More Tutorials


