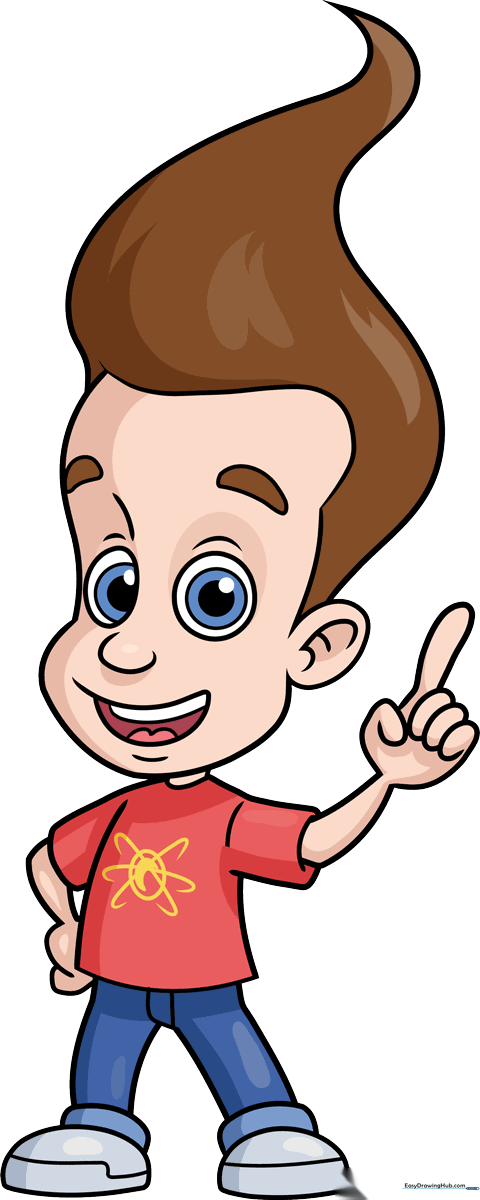
How to Draw Jimmy Neutron: Easy 10-Step Guide
Ready to draw the boy genius? This tutorial is perfect for young artists ages 6+ who love science and cartoons. You will only need a pencil, an eraser, and some paper to bring Jimmy to life. Follow these steps to master his iconic hair and signature atom shirt!
🎯 Final Result
Step-by-Step Instructions
Step 1: Sketching the Eyes and Nose

Draw the eyes by nesting three circles, shading the smallest one for the pupil. Add an oval for the second eye with two partial circles inside. Tip: Keep your pencil pressure light so you can easily adjust the expression later.
Step 2: Defining the Face and Mouth
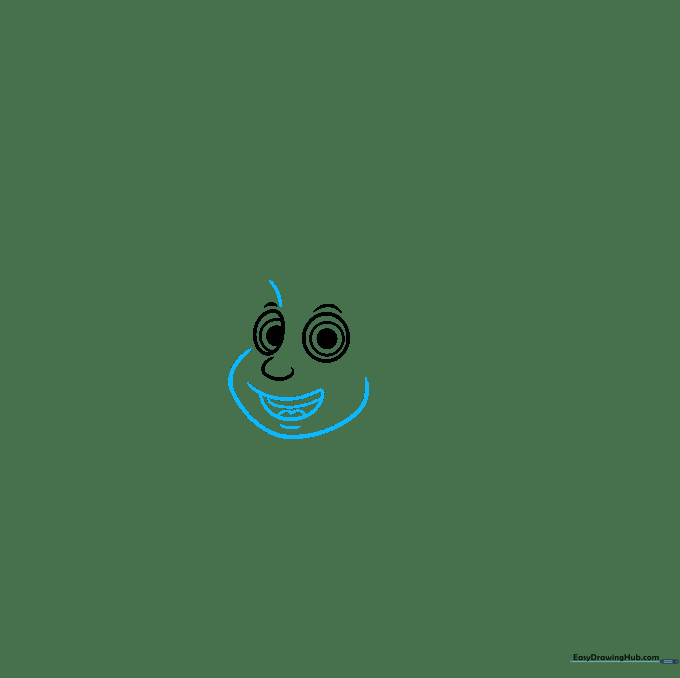
Outline the lower face with a long, smooth curve. Draw the mouth as a half-circle, adding small curved lines inside for the tongue and teeth. Tip: A gentle curve for the chin makes him look friendly and approachable.
Step 3: Creating the Iconic Hair
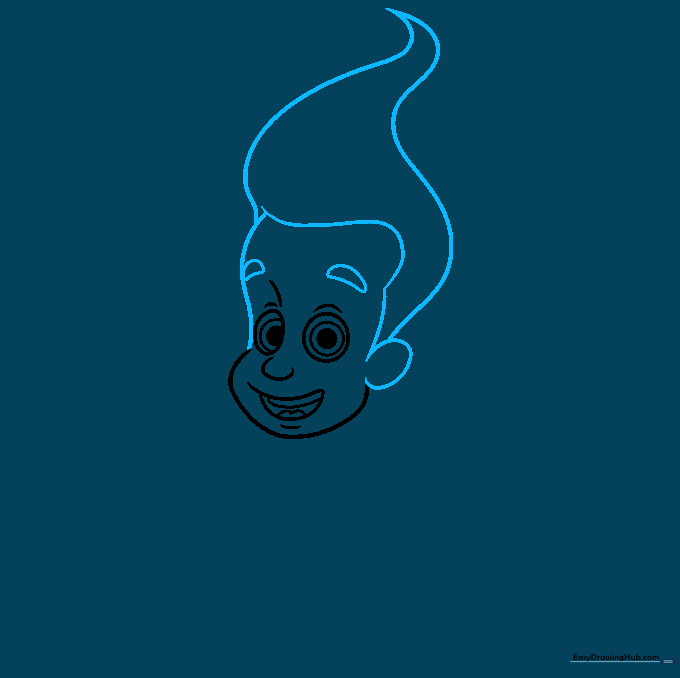
Draw a 'C' shape for the ear and sketch the eyebrows. Extend long, sweeping lines upward from the forehead to meet at a sharp point, creating his signature ice cream cone-shaped hair. Tip: Don't worry if the hair isn't perfect; Jimmy's hair is meant to look gravity-defying!
Step 4: Adding the Neck and Shirt
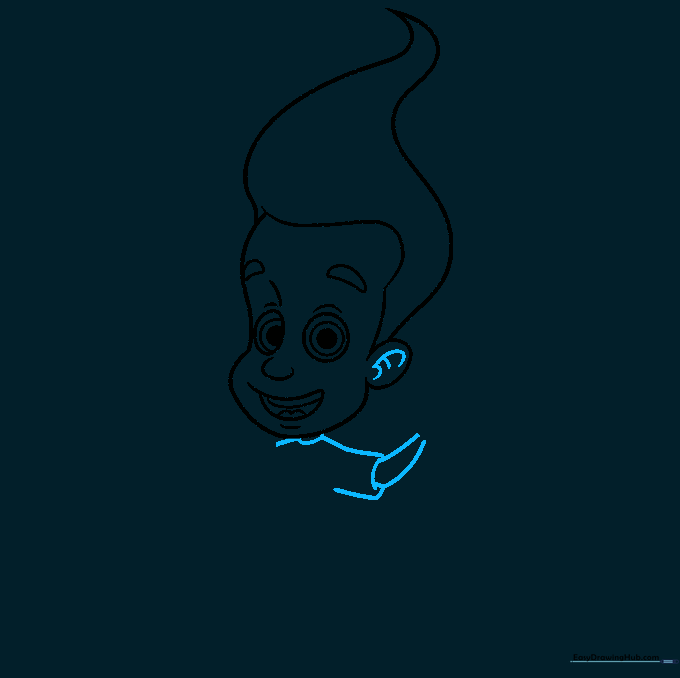
Add detail to the ear with small curved lines. Sketch the neck and the start of his t-shirt sleeves. Tip: Keep the lines for the neck short to ensure the head looks proportional to the body.
Step 5: Drawing the Hand
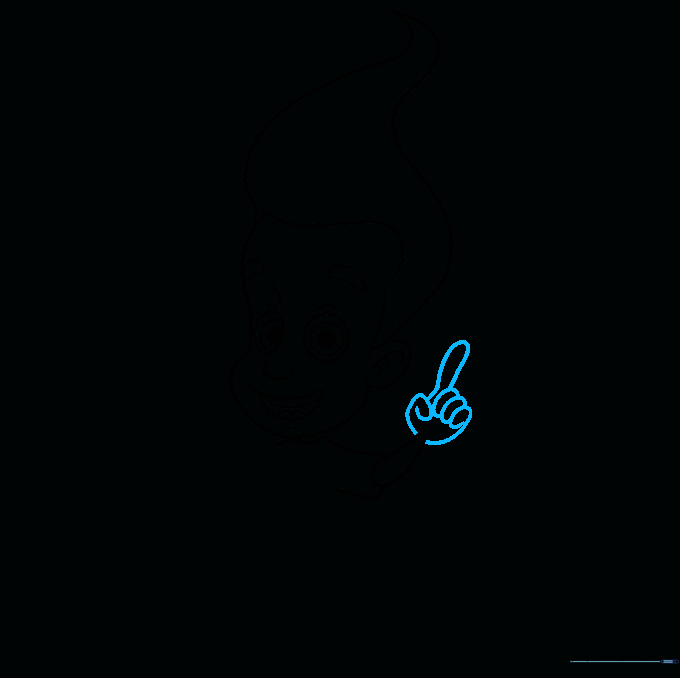
Use overlapping curves to form the fingers. He is pointing, so make one finger extend further than the others. Tip: Use your own hand as a reference to see how fingers overlap when pointing.
Step 6: Finishing the Shirt
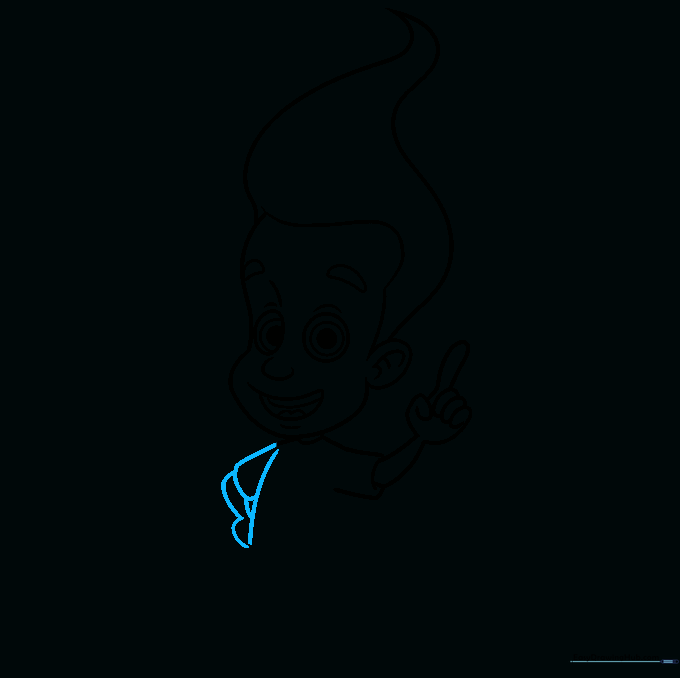
Complete the sleeves and the main body of the shirt using smooth, connected lines. Tip: Ensure the shirt lines flow naturally from the neck to create a realistic drape.
Step 7: Sketching the Pants
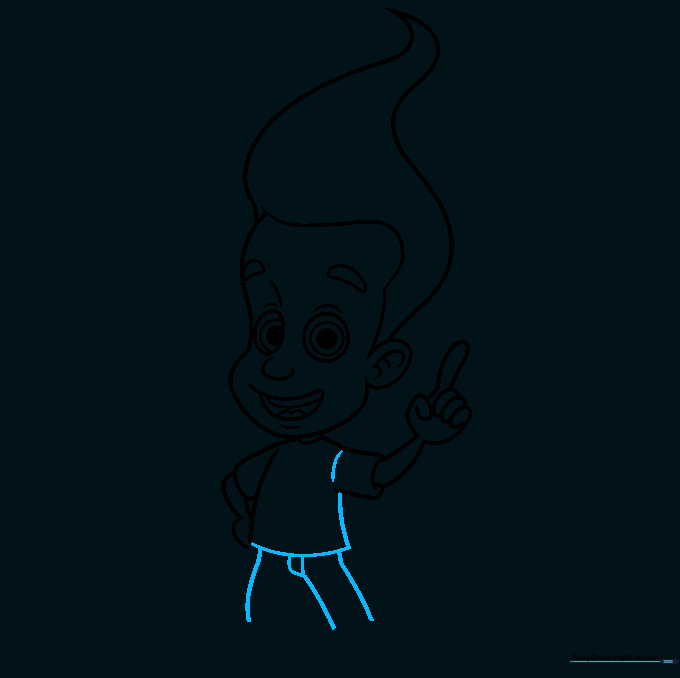
Add the seams to the sleeves, then draw the legs of his pants using long, vertical curved lines. Tip: Keep the pant legs slightly wider at the bottom to match his cartoon style.
Step 8: Adding Shoes
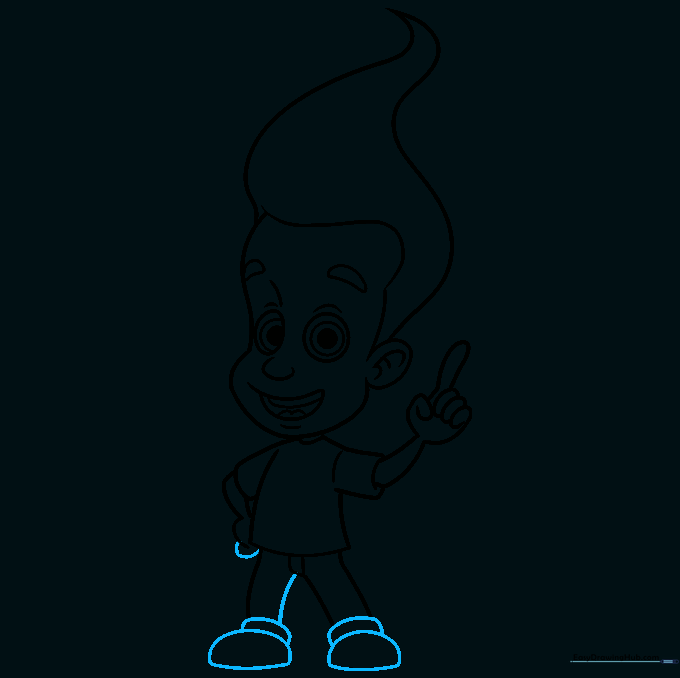
Finish the pant legs and draw a curved rectangle at the bottom of each to represent the shoe tops. Add rounded shapes for the feet. Tip: Make the shoes look chunky to give him a sturdy, cartoonish look.
Step 9: The Atom Symbol
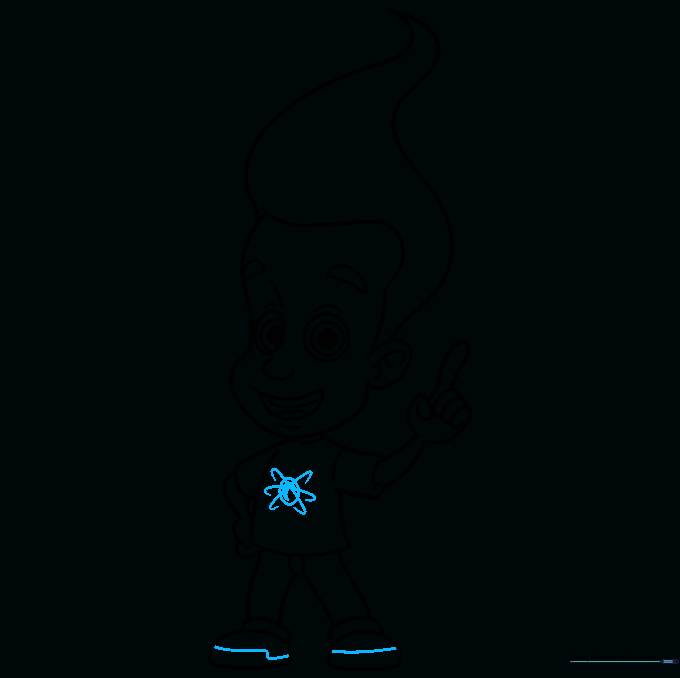
Draw the atom symbol on his shirt: a circle with a half-moon shape inside, plus curved lines for the electron orbits. Tip: Use a steady hand for the orbits; they don't need to be perfect circles, just smooth curves.
Step 10: Adding Color

Bring Jimmy to life with color! Use brown for his hair, a bright red for his shirt, and blue for his jeans. Tip: Use light, even strokes with your colored pencils to keep the colors vibrant.
More Tutorials


