How to Draw Jesus: Simple 10-Step Guide for Beginners
Looking for a gentle, creative way to explore historical figures? This tutorial is perfect for artists ages 5 and up. All you need is a pencil, an eraser, and a piece of paper to bring this character to life through simple, guided shapes.
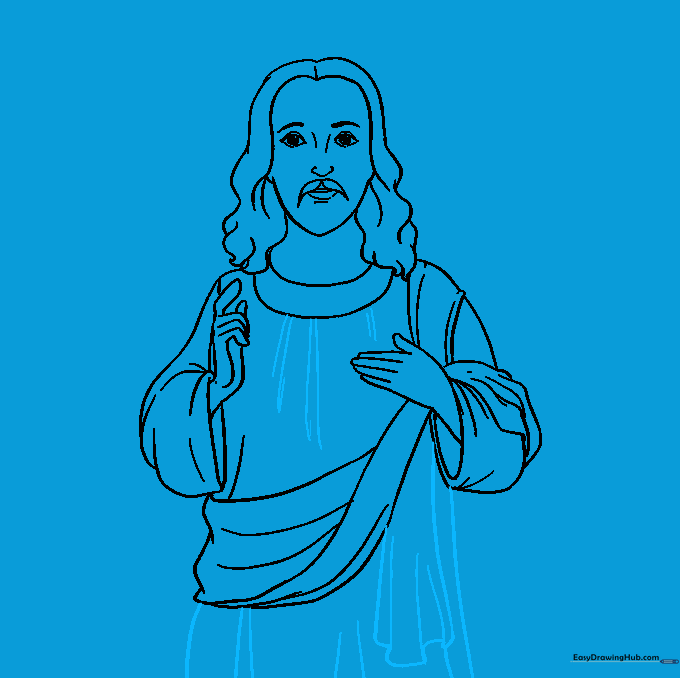
🎯 Final Result

Step-by-Step Instructions
Step 1: Sketching the Face Shape

Begin by sketching a soft, rounded shape for the face. Teacher's Tip: Keep your lines loose and light; this is just a guide for the head's placement.
Step 2: Adding Facial Features
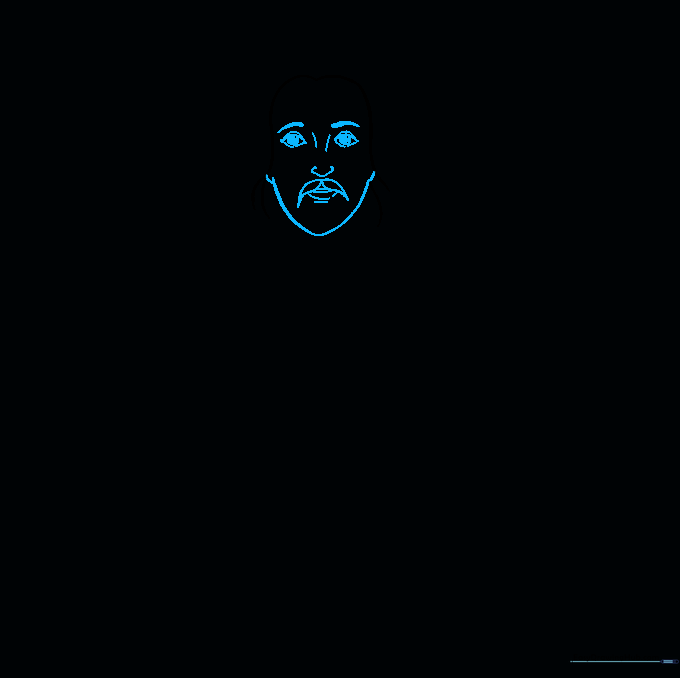
Draw two almond-shaped eyes and a simple nose and mouth. Teacher's Tip: Use small, curved lines for the mustache to give the face a friendly, gentle expression.
Step 3: Sketching the Hair

Add long, flowing curved lines around the head to create the hair. Teacher's Tip: Use overlapping strokes to make the hair look thick and textured.
Step 4: Drawing the Collar and Hand
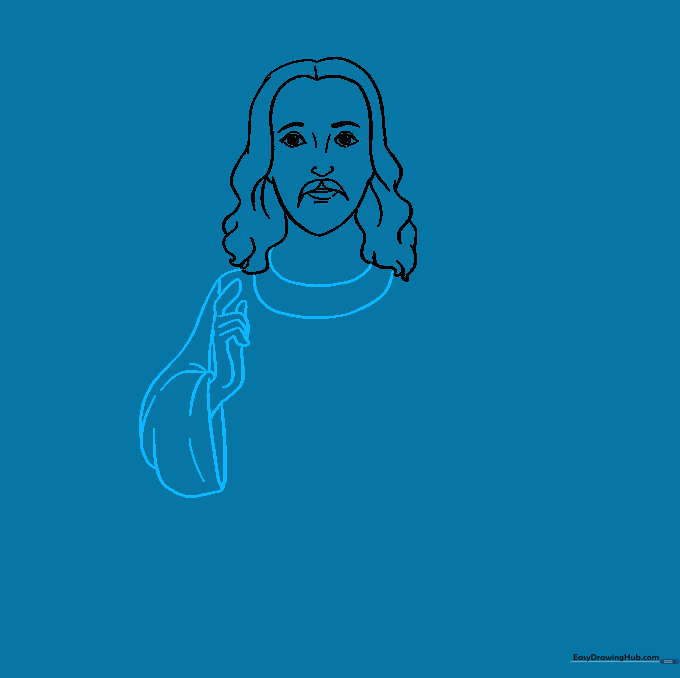
Draw a U-shaped collar and one hand reaching out. Teacher's Tip: Use short, jagged lines to represent folds in the fabric sleeve.
Step 5: Adding the Second Sleeve

Sketch the opposite sleeve and hand. Teacher's Tip: Practice drawing the fingers by doubling your pencil lines back on themselves for a natural look.
Step 6: Creating Fabric Folds
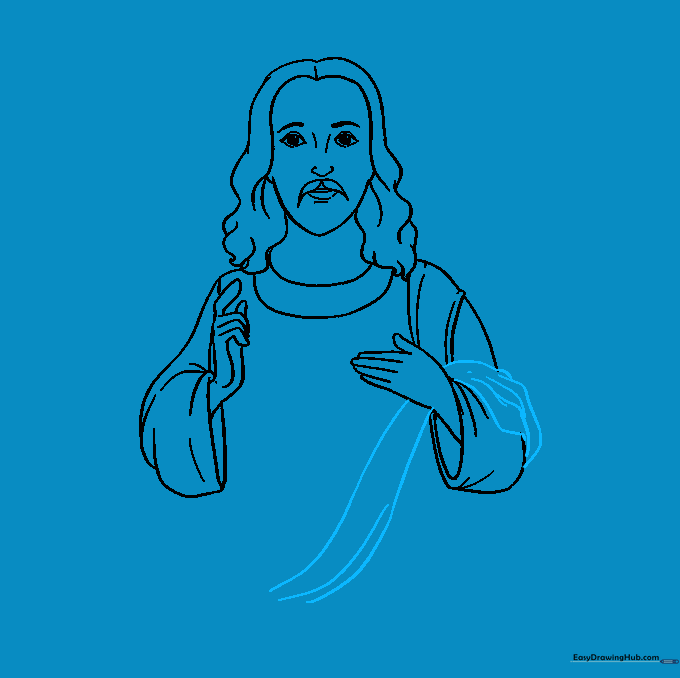
Add curved lines across the torso to show the drape of the robe. Teacher's Tip: Erase any overlapping lines that don't belong to keep the drawing clean.
Step 7: Shaping the Robe
Extend the lines to wrap the robe around the torso. Teacher's Tip: Think of the robe as a flowing piece of cloth; let your lines curve with the body.
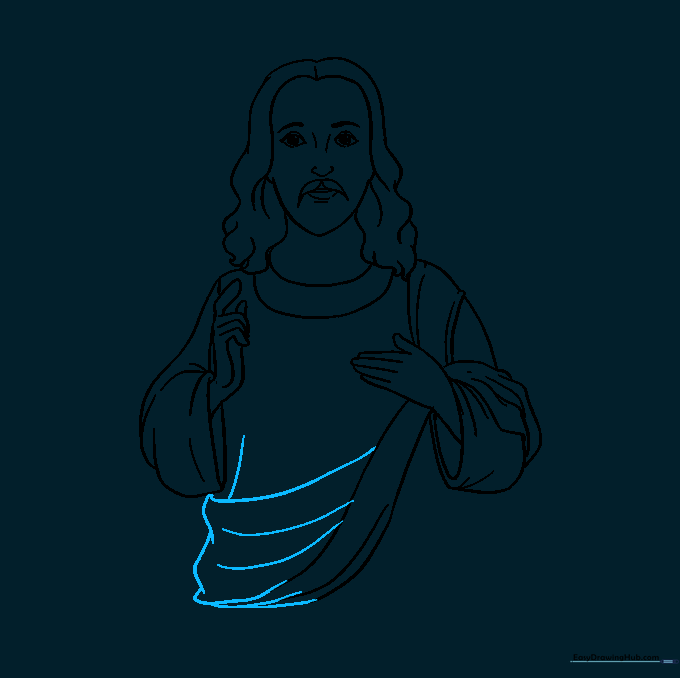
Step 8: Adding Garment Details
Add vertical lines to the robe to show texture and a hanging sash. Teacher's Tip: Vary the length of your lines to make the fabric look more realistic.
Step 9: Drawing the Halo

Draw a large circle behind the head to represent the halo. Teacher's Tip: Use a light touch so the halo doesn't overpower the face.
Step 10: Final Coloring

Add color to your drawing. Teacher's Tip: Use warm earth tones for the robe and a soft yellow for the halo to make it stand out.
More Tutorials


