How to Draw Jessica Rabbit: Easy 10-Step Character Guide
Ready to bring this iconic cartoon character to life? This tutorial is designed for artists of all levels, requiring only a pencil, paper, and an eraser. Follow along to develop your character sketching skills and capture her signature style with confidence.
🎯 Final Result
Step-by-Step Instructions
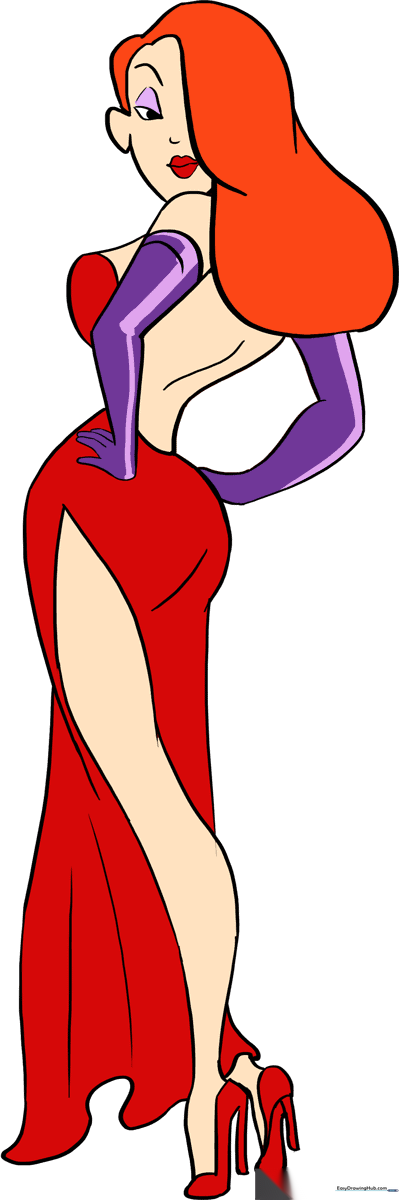
Step 1: Sketching the Facial Structure

Start by sketching the face. Use a backward 'S' shaped line for the hair and curved lines for the forehead and chin. Teacher's Tip: Keep your pencil pressure light so you can easily adjust the proportions of the chin later.
Step 2: Forming the Arm and Hand

Draw the arm using pairs of curved lines, bending it at the elbow. Use a curved line for the palm and narrow 'U' shapes for the fingers. Teacher's Tip: Focus on the taper of the arm near the wrist to make the pose look more natural.
Step 3: Outlining the Flowing Hair
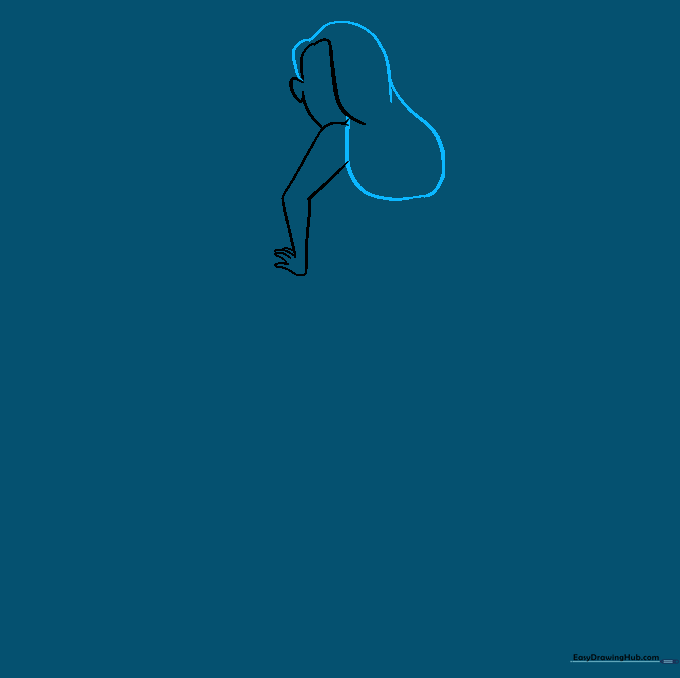
Use long, sweeping curved lines starting above the ear and ending at the shoulder to define the hair. Teacher's Tip: Use long, continuous strokes to give the hair a smooth, voluminous appearance.
Step 4: Defining the Torso and Glove

Add the glove top with curved lines and outline the back and chest. Teacher's Tip: Ensure the chest line is rounded to maintain the character's iconic silhouette.
Step 5: Completing the Arm
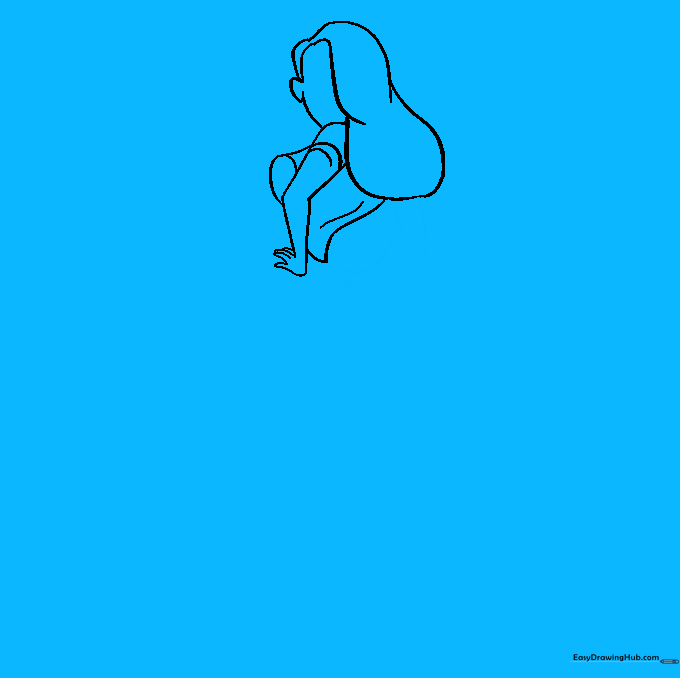
Sketch the lower arm using pairs of curved lines, connecting them at the wrist. Teacher's Tip: Keep the lines parallel to maintain a consistent thickness for the arm.
Step 6: Outlining the Dress
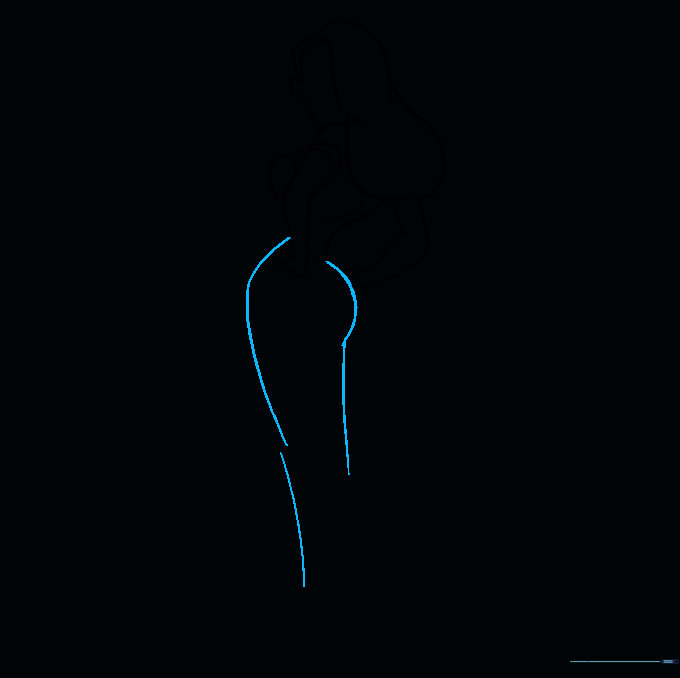
Extend curved lines from the waist to define the shape of the dress. Teacher's Tip: Think of the dress as a flowing fabric; keep your lines fluid and graceful.
Step 7: Adding the Leg and Shoe
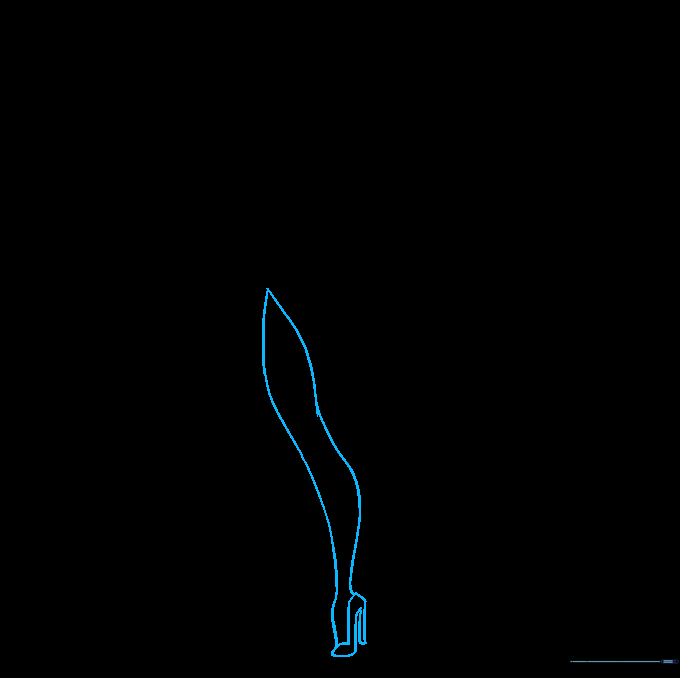
Sketch the leg with a slit in the dress and add the high-heeled shoe. Teacher's Tip: Use sharp, angular lines for the heel to contrast with the soft curves of the dress.
Step 8: Adding Fabric Creases
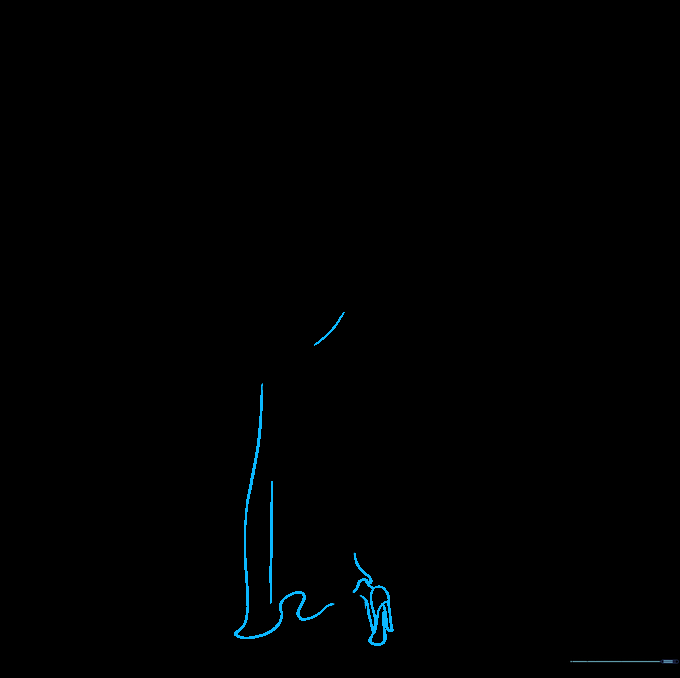
Enclose the skirt and add curved lines to show fabric folds. Teacher's Tip: Place your creases near the bottom and sides to suggest movement.
Step 9: Facial Details
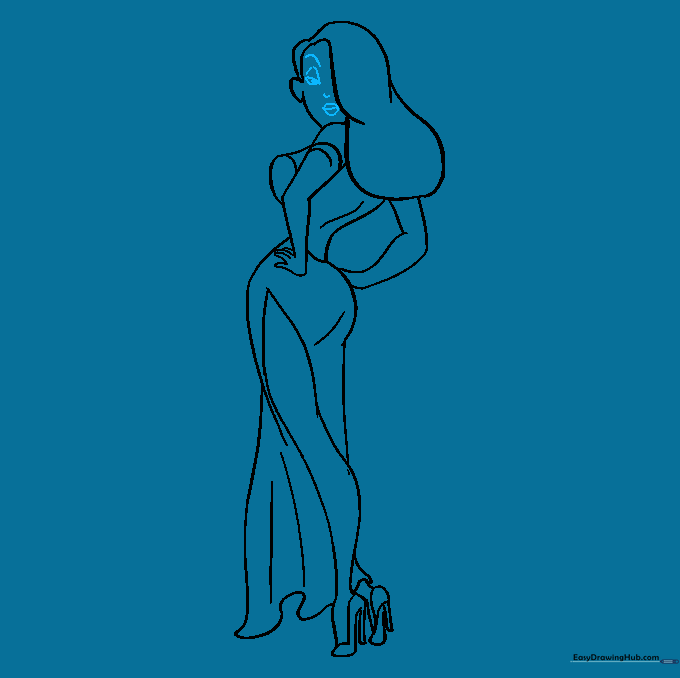
Draw the eyes, eyelids, nose, and mouth using delicate curved lines. Teacher's Tip: Take your time with the eyes; they are the focal point of the character's expression.
Step 10: Adding Color
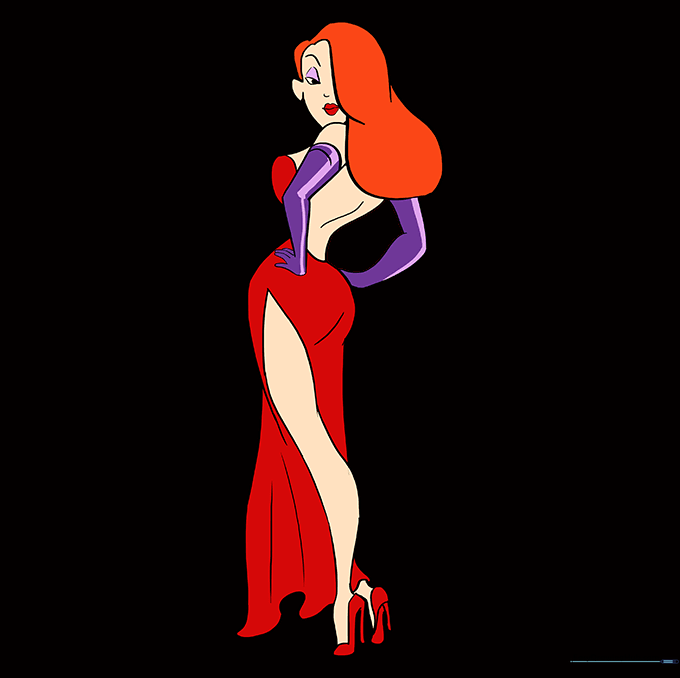
Bring your drawing to life with color! Use vibrant red for the dress and hair, and purple for the gloves. Teacher's Tip: Use a light touch with your colored pencils to build up the intensity gradually.
More Tutorials


