How to Draw Jack Skellington: Easy 10-Step Guide
Bring the Pumpkin King to life with this beginner-friendly drawing tutorial. Designed for artists ages 6 and up, this activity requires only a pencil, paper, and an eraser to practice symmetry and character proportions. Follow along to capture Jack's iconic, spooky expression in just a few simple strokes.
🎯 Final Result

Step-by-Step Instructions
Step 1: Sketching the First Eye Socket

Draw a vertical oval with a slight curve at the bottom. Fill it in with black. Teacher's Tip: Keep your pencil lines light so you can adjust the shape if it looks a bit too wide.
Step 2: Adding the Second Eye

Draw a second oval next to the first one, making it slightly longer. Teacher's Tip: Try to keep the space between the eyes consistent to ensure Jack’s face looks balanced.
Step 3: Drawing the Nose Cavity

Sketch small curves under each eye, then add two teardrop shapes between them for the nostrils. Teacher's Tip: Keep the teardrops small; they act as the anchor for the center of the face.
Step 4: Outlining the Mouth

Draw a wide, deep curve for the mouth, ending with a small dash on each side. Teacher's Tip: Think of this as a wide, mischievous grin—don't worry about perfection, Jack's smile is naturally a bit crooked!
Step 5: Adding Upper Stitches

Draw short, vertical lines across the top half of the mouth line. Teacher's Tip: Space them out evenly to make the stitches look intentional and clean.
Step 6: Adding Lower Stitches

Add matching vertical lines on the bottom half of the mouth. Teacher's Tip: Try to align these with the top stitches to create a realistic 'sewn' look.
Step 7: Shaping the Left Side of the Head
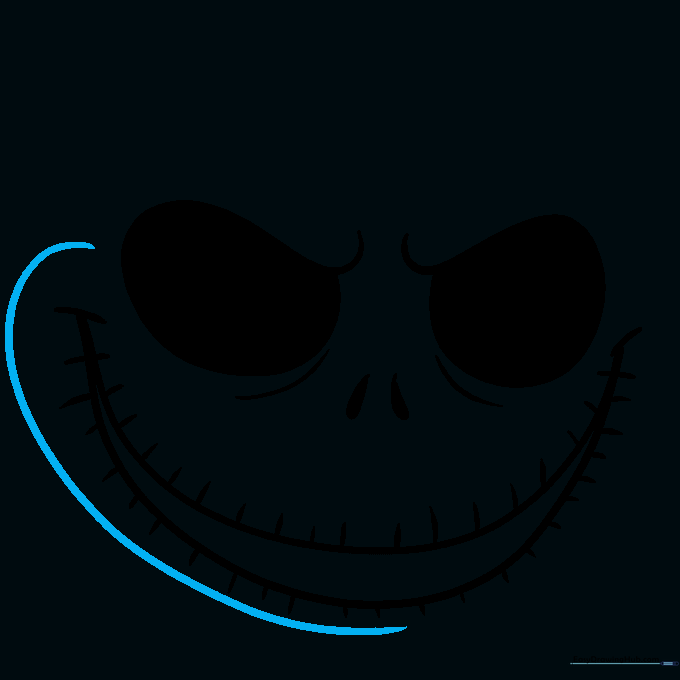
Draw a wide, sweeping curve from the top down to the side of the mouth. Teacher's Tip: Use a fluid motion with your wrist to get a smooth, rounded skull shape.
Step 8: Shaping the Right Side of the Head
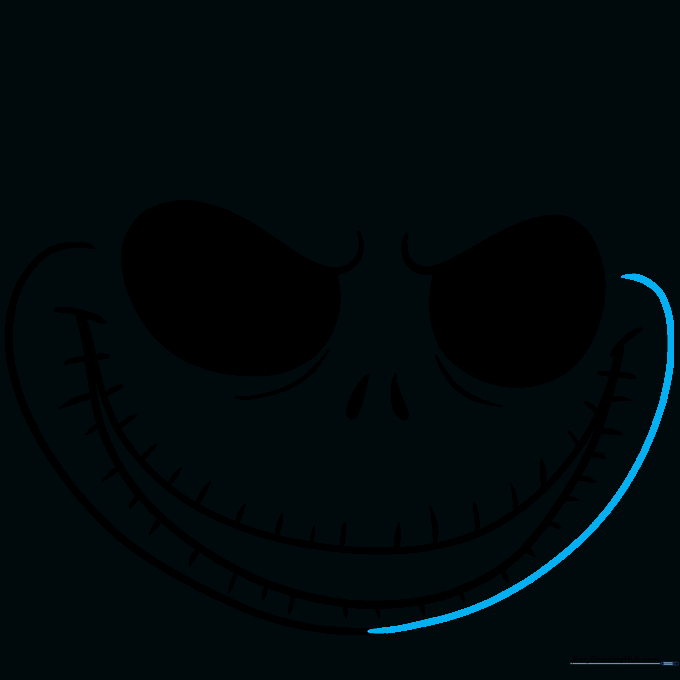
Repeat the curve on the opposite side to mirror the shape. Teacher's Tip: If the sides don't match perfectly, that's okay! Skulls are organic shapes, not perfect geometry.
Step 9: Completing the Skull Outline

Connect the top of the head with a smooth, rounded curve. Teacher's Tip: Ensure the top of the head is large enough to give Jack his signature tall, oval-shaped skull.
Step 10: Final Inking and Shading

Go over your lines with a black marker. Use light grey or tan shading along the edges of the skull to add depth. Teacher's Tip: Keep the shading subtle to maintain that classic, clean cartoon look.
More Tutorials


