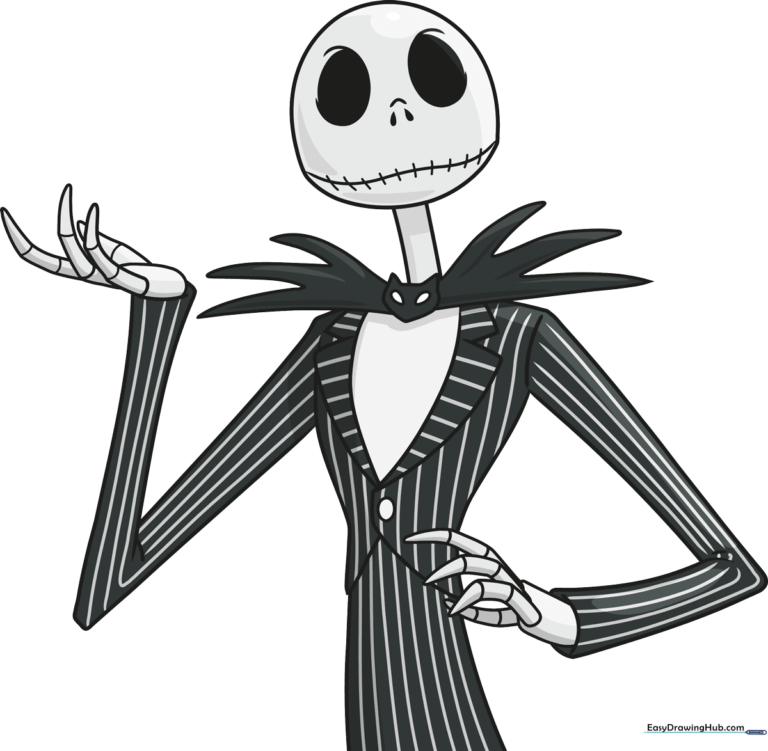
How to Draw Jack Skellington: Easy 10-Step Guide
Bring the Pumpkin King to life with this beginner-friendly drawing tutorial. Designed for ages 6 and up, this activity requires only a pencil, eraser, and paper to practice essential line-work and symmetry. Follow along to capture Jack's iconic, spooky charm in just a few simple steps.
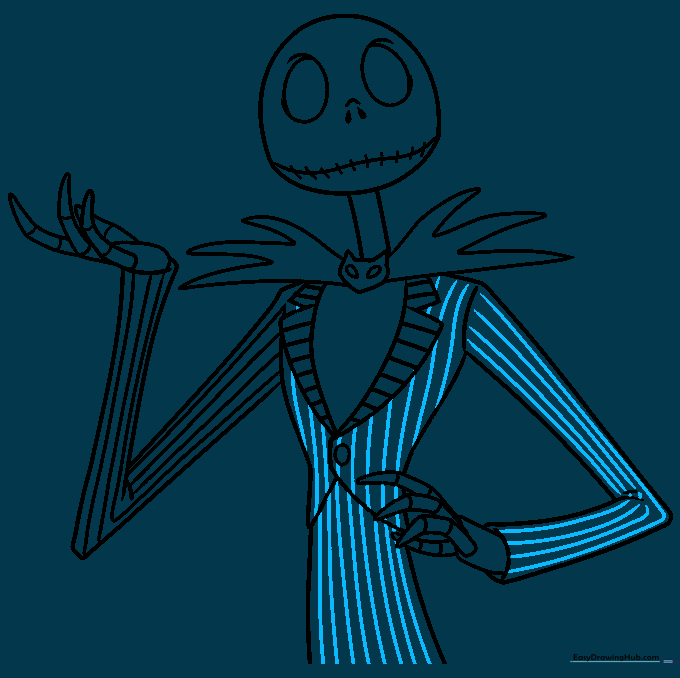
🎯 Final Result
Step-by-Step Instructions
Step 1: Sketching the Head Shape

Draw a large semicircle for the top of the head and a flatter curve for the jawline. Add two ovals for the eye sockets. Teacher's Tip: Keep the eyes large and slightly sunken to get that classic spooky look.
Step 2: Adding Facial Features
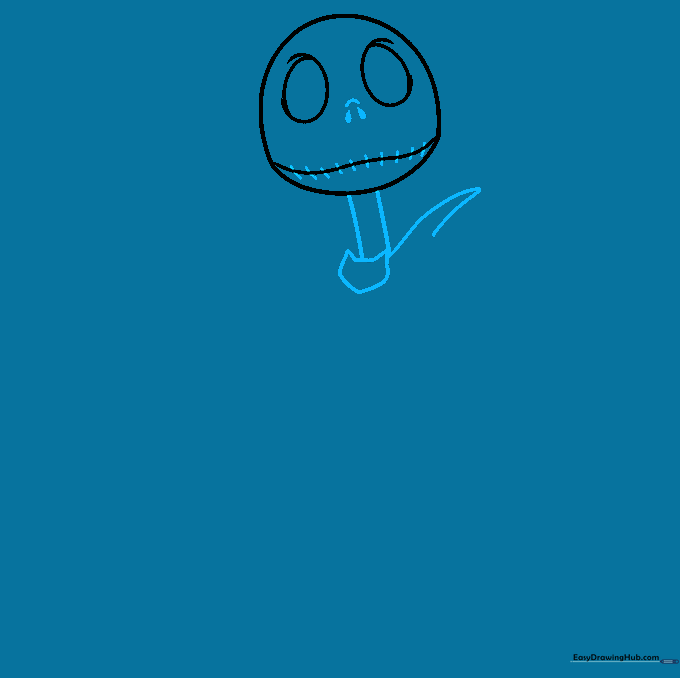
Sketch the iconic stitched mouth using a wavy line and add two small teardrop shapes for the nose. Draw two vertical lines for the neck. Teacher's Tip: Use short, quick strokes for the mouth stitches to make them look like real thread.
Step 3: Defining the Neck and Shoulders
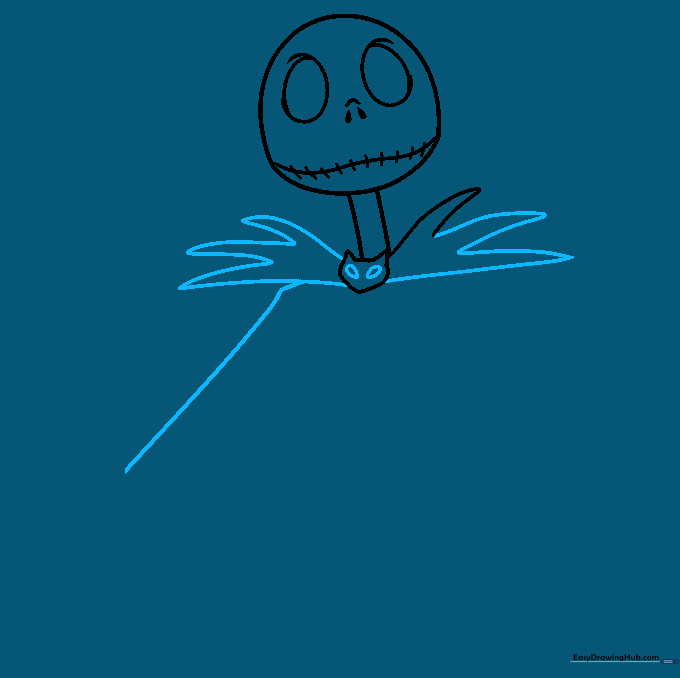
Add elongated triangle shapes on either side of the neck to begin the collar. Teacher's Tip: Keep these triangles sharp to contrast with the roundness of the head.
Step 4: Sketching the Arms
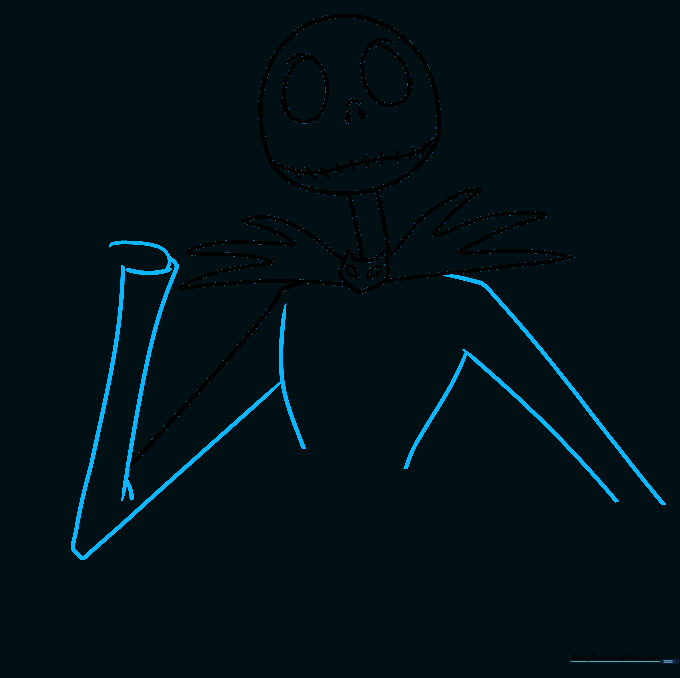
Draw parallel lines to form the arms, ending with a curve for the hands. Teacher's Tip: Use a ruler if you struggle with straight lines, but freehand is better for Jack's slightly spindly aesthetic.
Step 5: Forming the Hands
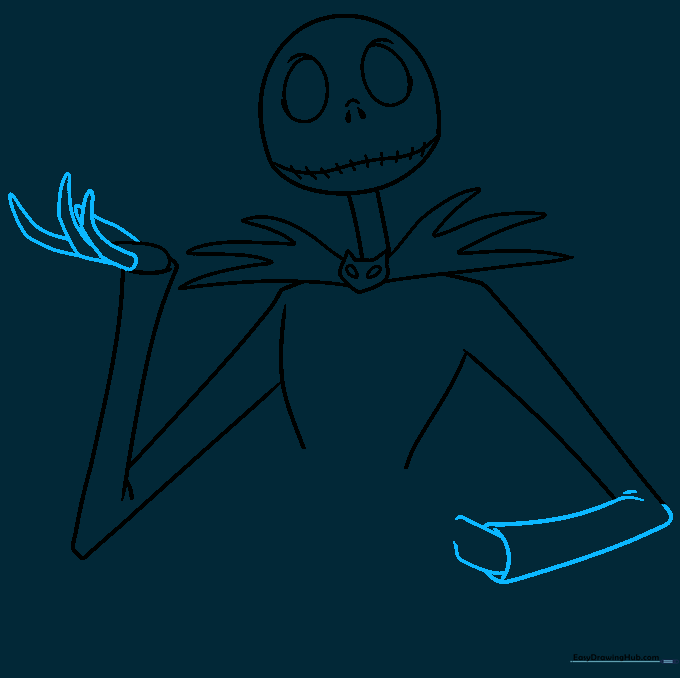
Add elongated, noodle-like shapes for the fingers. Ensure they overlap slightly to create depth. Teacher's Tip: Don't worry if they look a bit messy; Jack's hands are naturally long and spindly!
Step 6: Adding Finger Joints
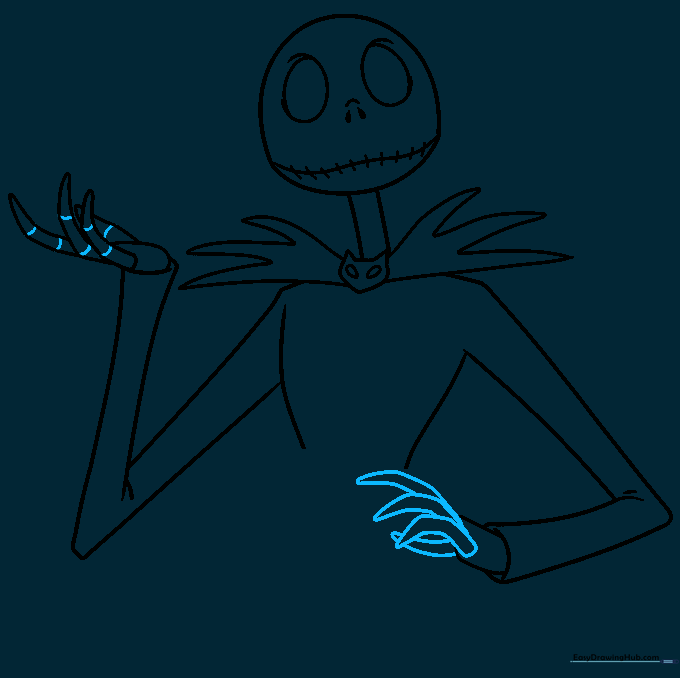
Add small curved lines across the fingers to represent joints. Teacher's Tip: This simple detail makes the hands look much more realistic and expressive.
Step 7: Drawing the Jacket
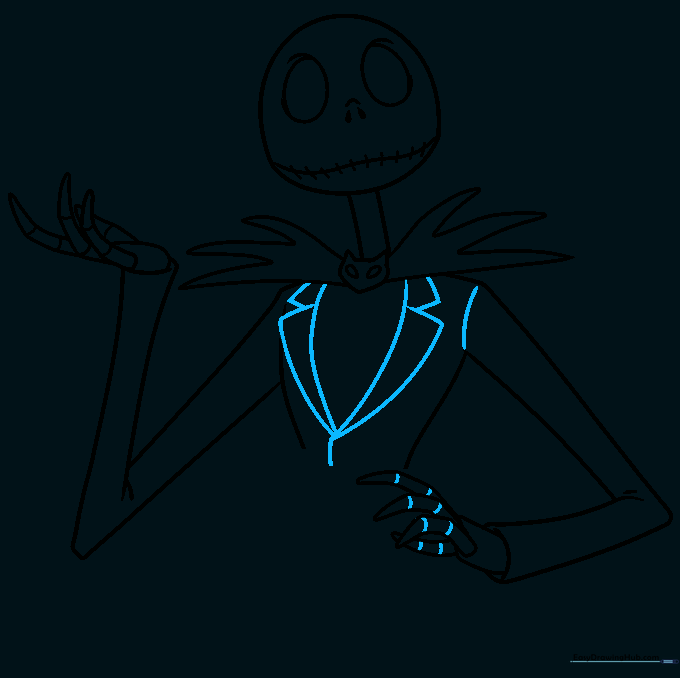
Draw a series of triangles in the center of the body to form the jacket flaps. Teacher's Tip: Keep the triangles symmetrical to maintain the character's clean, formal look.
Step 8: Adding Jacket Details
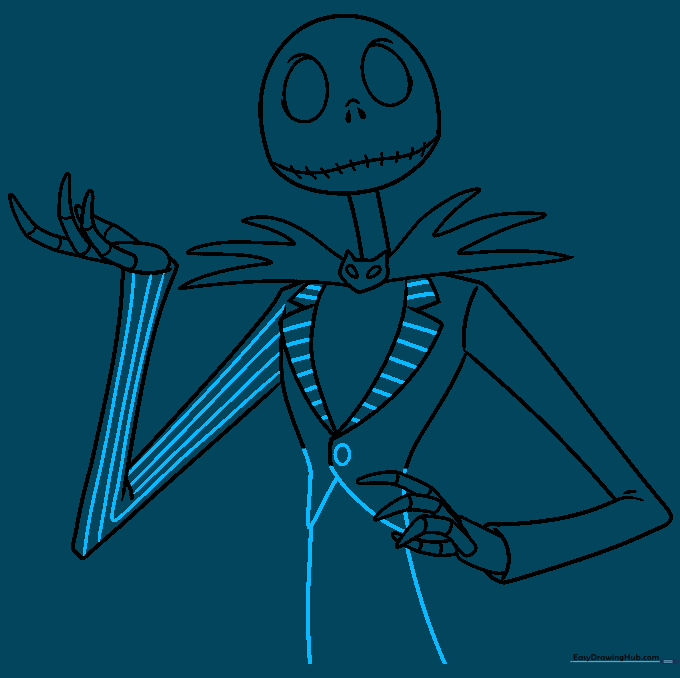
Draw a circle for the button and finish the jacket hem with more triangles. Teacher's Tip: Ensure the button is centered to keep the character balanced.
Step 9: Finalizing the Outline
Refine the lines of the outfit. Teacher's Tip: Use a steady hand to make your final lines crisp and clean.
Step 10: Coloring and Finishing

Outline with a black marker and erase your pencil marks. Color the eyes and suit black, leaving white stripes for the jacket. Teacher's Tip: A white gel pen is perfect for adding highlights to the black areas!
More Tutorials


