How to Draw Jack and Sally: Easy Step-by-Step Guide
Bring the Pumpkin King and his ragdoll love to life with this fun, step-by-step drawing activity. Designed for young artists and fans of the film, this guide uses basic shapes to build complex characters. Grab a pencil, an eraser, and a piece of paper to start your spooky-sweet masterpiece.
🎯 Final Result

Step-by-Step Instructions
Step 1: Framing the Composition

Start by drawing a large heart to frame your drawing. Inside, sketch the irregular, rounded shape of Jack’s head. Teacher's Tip: Keep your pencil pressure light here—you'll be erasing the heart later, so don't press too hard!
Step 2: Defining Jack's Features

Draw Jack’s large, hollow eyes using irregular ovals. Add his nose and a wide, stitched mouth. Teacher's Tip: Use short, quick strokes for the mouth stitches to give them that 'sewn-on' look.
Step 3: The Bat Bow Tie
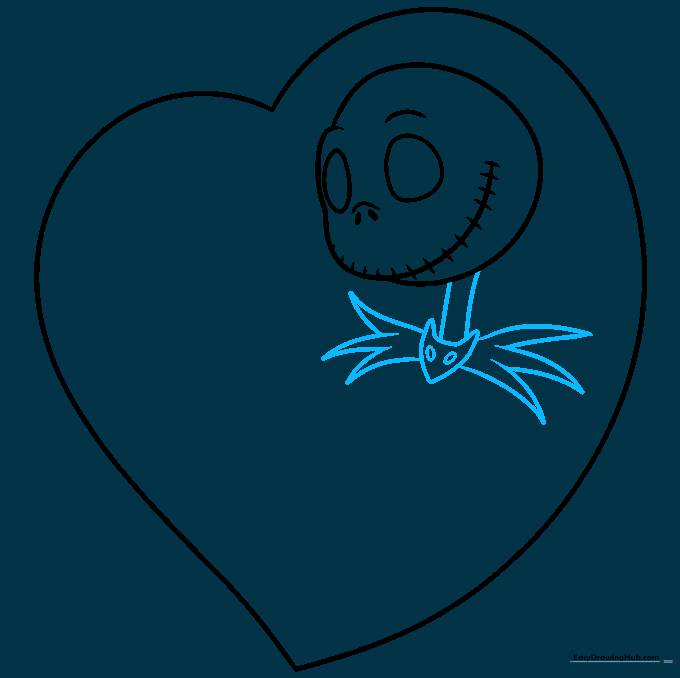
Draw the neck and the iconic bat-shaped bow tie. Teacher's Tip: Focus on making the bat wings look sharp and symmetrical to give Jack his signature spooky style.
Step 4: Sketching Jack's Suit

Add the lapels and the torso of his pinstriped suit, along with one arm bent at the elbow. Teacher's Tip: Keep the lines for the arm slightly curved to show natural movement.
Step 5: Starting Sally's Face
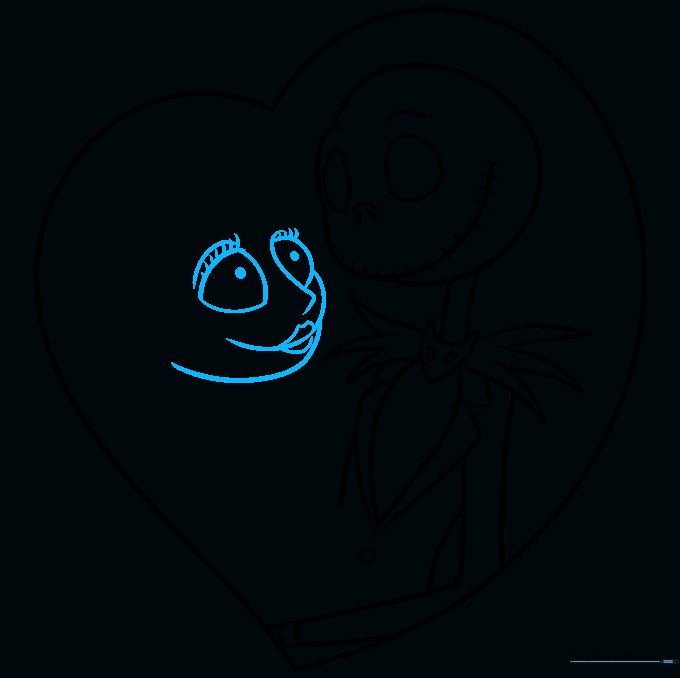
Now, sketch Sally’s face next to Jack. Use soft, curved lines for her large eyes and gentle mouth. Teacher's Tip: Give her eyelashes a slight flick upward to capture her sweet, expressive nature.
Step 6: Sally's Hair and Stitches
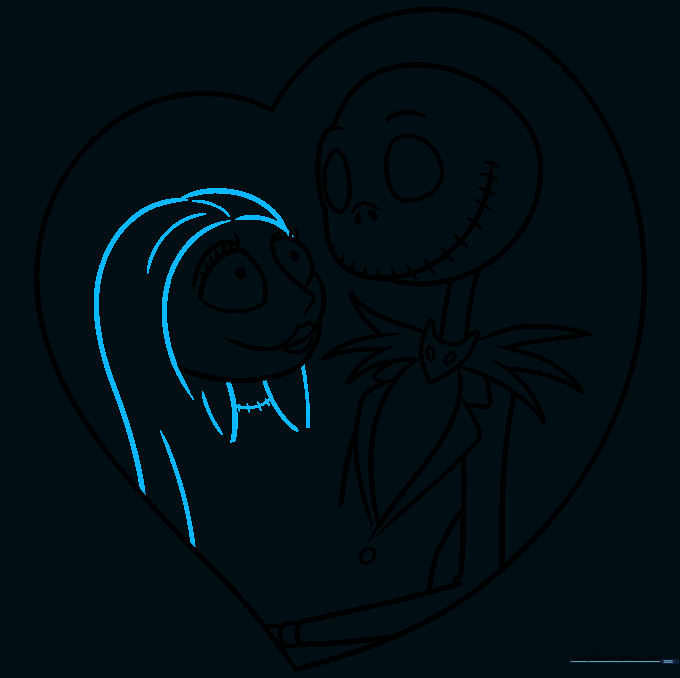
Outline Sally's hair and add the stitch marks across her neck. Teacher's Tip: Vary the length of your stitch lines to make them look more organic and hand-sewn.
Step 7: Drawing Sally's Dress
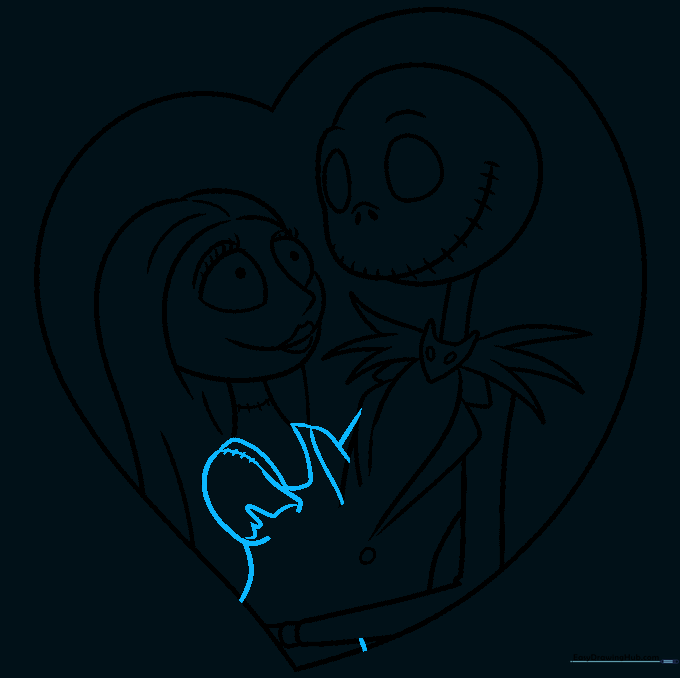
Draw the neckline and sleeves of Sally's patchwork dress. Use a wavy line for the sleeve edge. Teacher's Tip: Don't worry about making the dress perfectly symmetrical—it's a patchwork ragdoll dress!
Step 8: Adding Sally's Arms
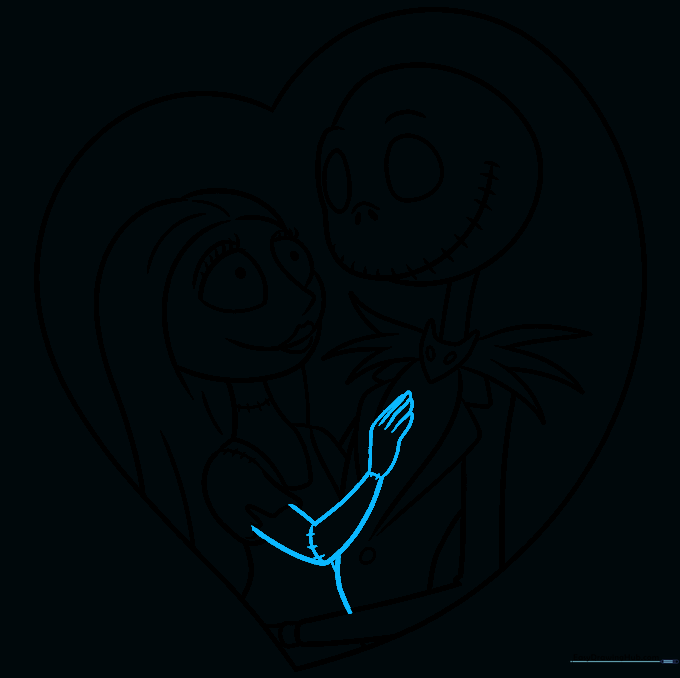
Sketch her arms and hands, adding more stitch details along the joints. Teacher's Tip: Use small, simple shapes for the fingers to keep it easy for beginners.
Step 9: Finalizing the Details

Add final stitch patterns across her face and dress to complete the ragdoll look. Teacher's Tip: Use a fine-liner pen to go over your pencil lines for a clean, professional finish.
Step 10: Bring Them to Life with Color

Time to color! Use black and white for Jack, and muted, earthy tones for Sally's patchwork dress. Teacher's Tip: Use a light blue or grey for the shadows on Jack's suit to give him depth.
More Tutorials


