How to Draw Itachi: Easy Step-by-Step Anime Guide
Ready to bring the legendary Itachi Uchiha to life? This tutorial is designed for intermediate artists looking to master sharp anime features and expressive eyes. You will need a pencil, an eraser, and a fine-liner pen to capture his iconic look.
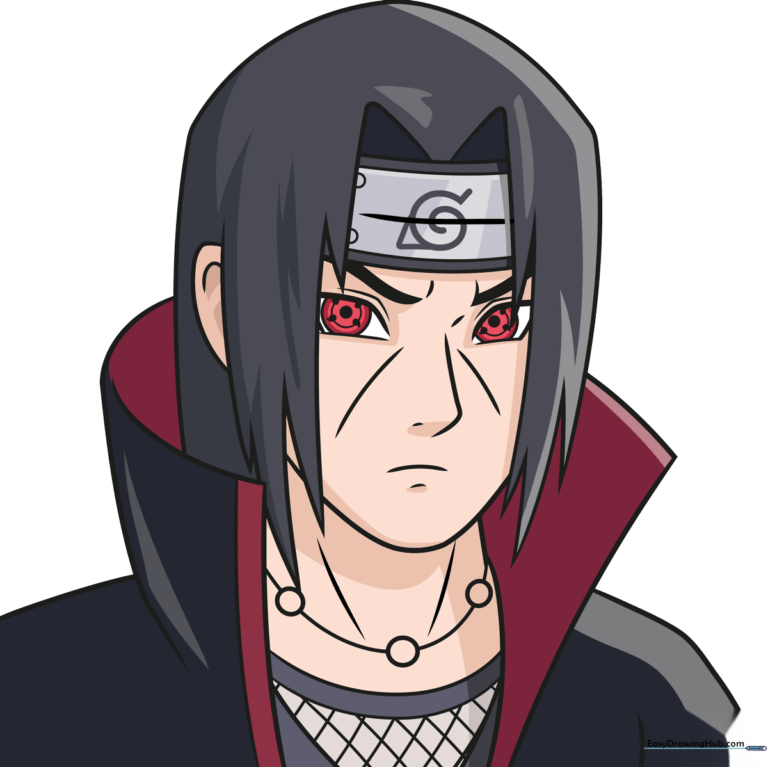
🎯 Final Result
Step-by-Step Instructions
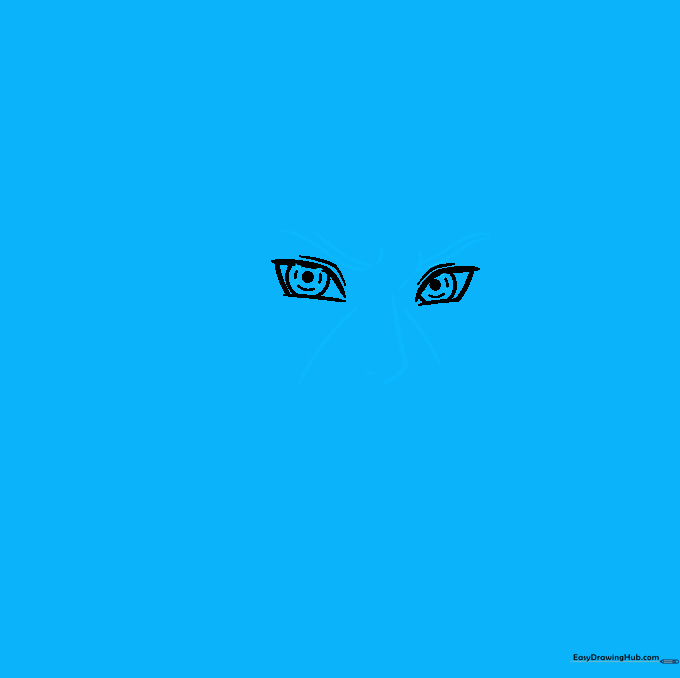
Step 1: Sketching the Eyes

Draw two parallelogram shapes for the eyes using thick, curved lines. Inside, add three circles, shading the smallest one for the pupil. Teacher's Tip: Keep your pencil pressure light here so you can easily adjust the shape if the eyes look uneven.
Step 2: Defining the Expression
Add small ovals to the irises and draw sharp, angled lines above the eyes to create his signature furrowed brow. Sketch the nose with a simple curved line and a small mark for the nostril. Tip: A slight downward angle on the brows makes him look more serious.
Step 3: Mouth and Headband Base
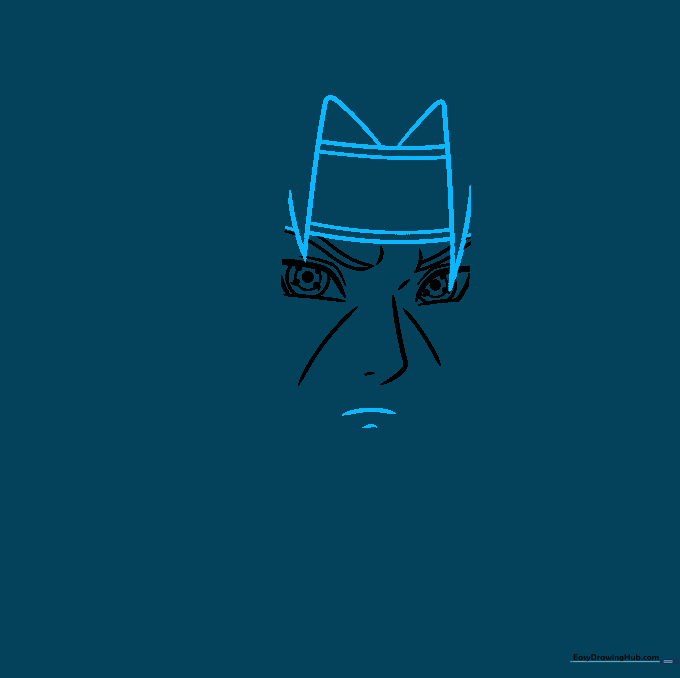
Draw a small, straight line for the mouth and a tiny curve for the chin. Start the hair with jagged, spiky lines and add two parallel lines across the forehead for the headband. Tip: Keep the headband lines parallel to ensure the metal plate looks flat.
Step 4: Framing the Face
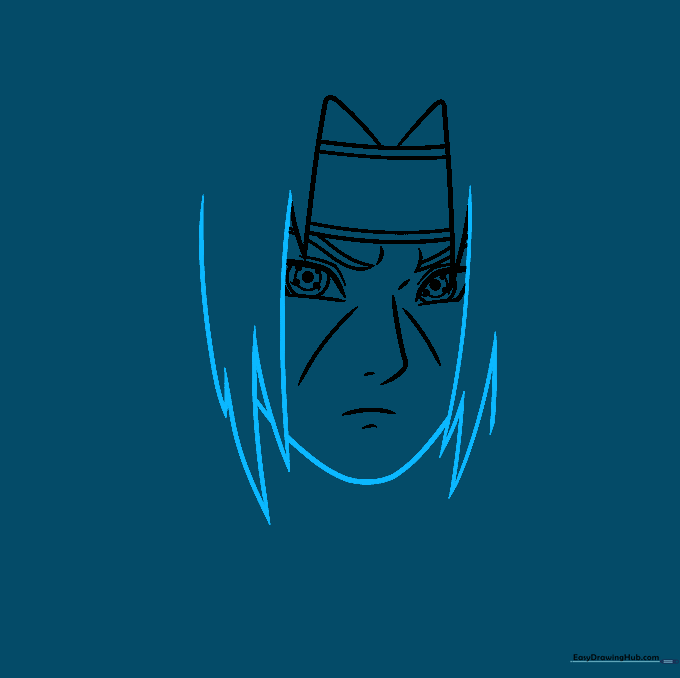
Continue the spiky hair pattern using long and short strokes that meet at sharp points. Enclose the face by drawing a curved line from the hair down to the chin. Tip: Vary the length of your hair spikes to make the hair look more natural and less uniform.
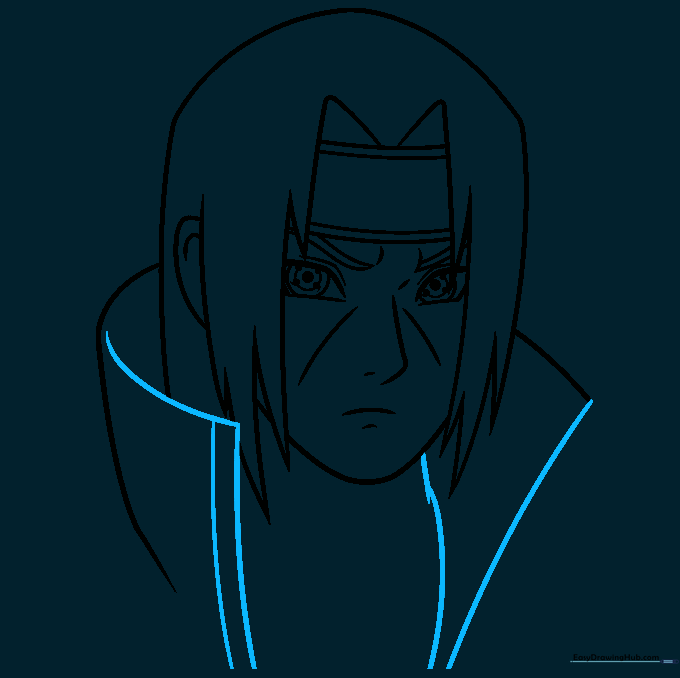
Step 5: Adding the Collar
Draw the top of the head and the ear. Then, extend two long, curved lines from the neck area to create the high collar of his cloak. Tip: The collar should be wide to give him that iconic, imposing silhouette.
Step 6: Refining the Collar
Add an 'L' shaped line to the collar to show the fold of the fabric. Draw the neck muscles using subtle curved lines to add depth. Tip: Use a lighter touch for the neck lines so they don't overpower the face.
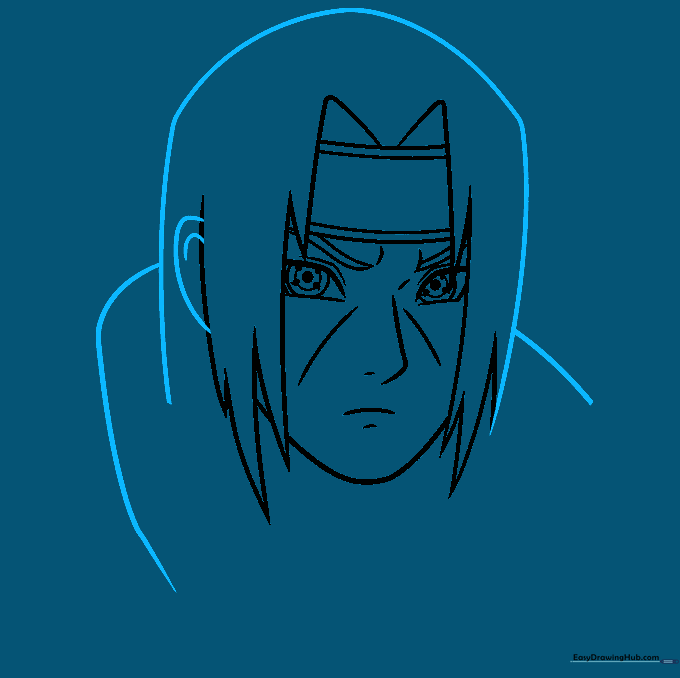
Step 7: Shoulders and Neck
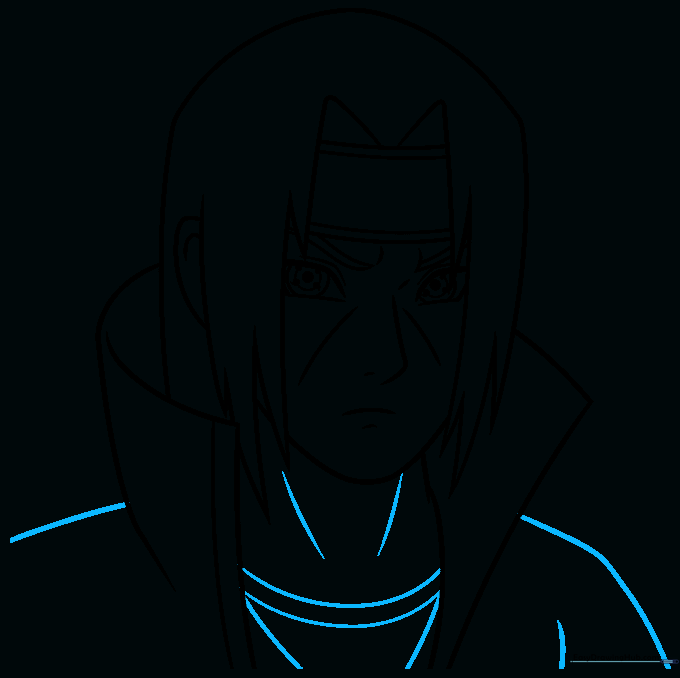
Connect the collar to the shoulders with smooth, sweeping lines. Add a few more lines to the neck to define the tendons. Tip: Ensure the shoulders look broad to match the character's powerful presence.
Step 8: Adding Accessories
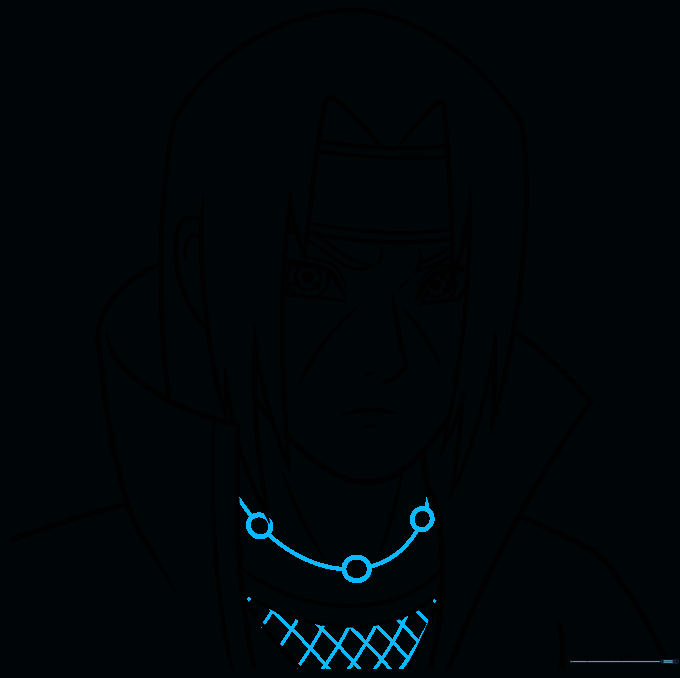
Draw the necklace using small circles and curved lines. Add a checkerboard pattern to the shirt area to represent the fabric texture. Tip: Use a ruler if you struggle to keep the checkerboard lines straight.
Step 9: The Headband Symbol
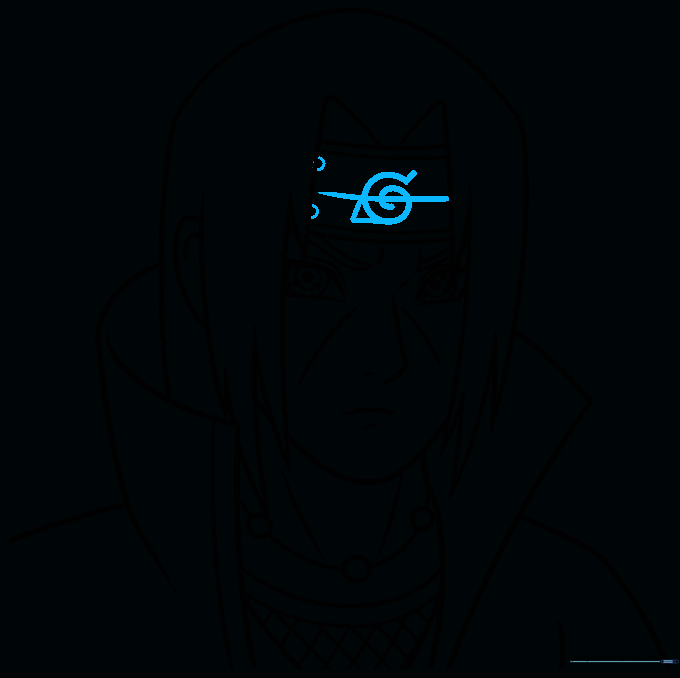
Draw the Leaf Village symbol on the metal plate using a spiral, a triangle, and a curved line. Add two small circles on the ends for the rivets. Tip: Keep the symbol centered on the headband for a professional look.
Step 10: Bringing It to Life with Color
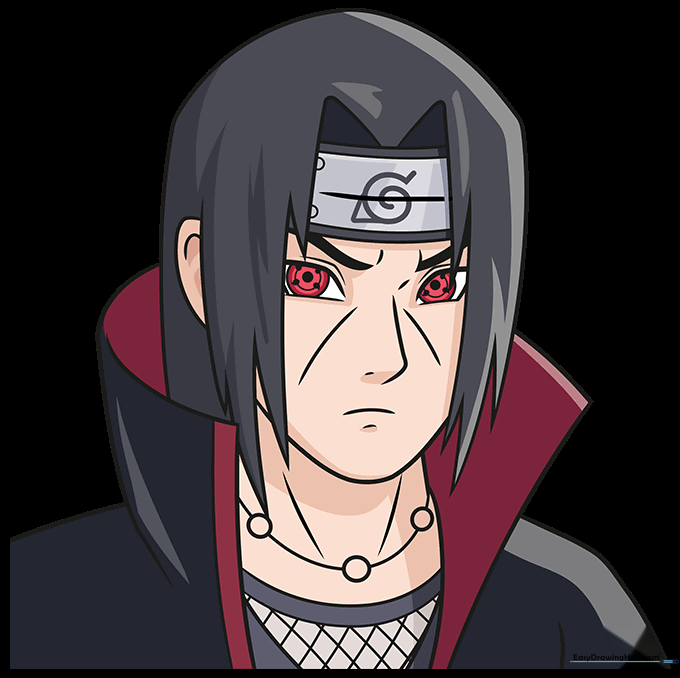
Color your drawing! Use deep black for the hair and cloak, and add red accents for the trim. If you want to show his Sharingan, use bright red for the irises. Tip: Use a black fine-liner to go over your pencil lines before coloring to make the drawing pop.
More Tutorials


