How to Draw Iron Spider: Easy Step-by-Step Guide
Ready to bring the Iron Spider to life? This tutorial is designed for young Marvel fans and budding artists looking to level up their character drawing skills. Grab your pencil, eraser, and a black fine-liner to create this iconic hero using our simple, guided shapes.
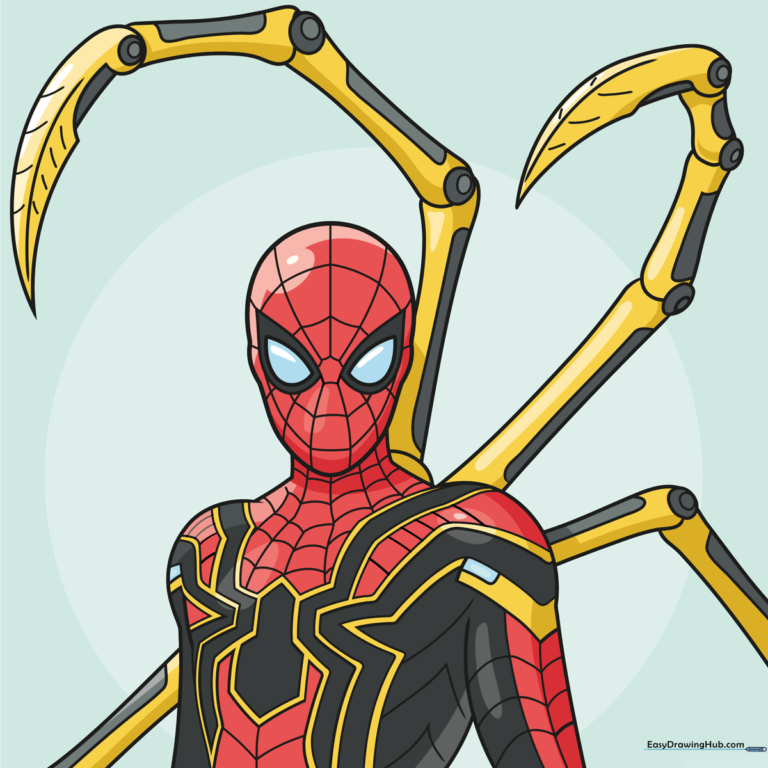
🎯 Final Result
Step-by-Step Instructions
Step 1: Sketching the Head and Mask

Start by lightly sketching the head, neck, and shoulder silhouette using smooth, curved lines. For the eyes, draw two large, double-pointed teardrop shapes. Teacher's Tip: Keep your pencil pressure light here so you can easily erase any overlapping lines later.
Step 2: Drawing the Chest Spider
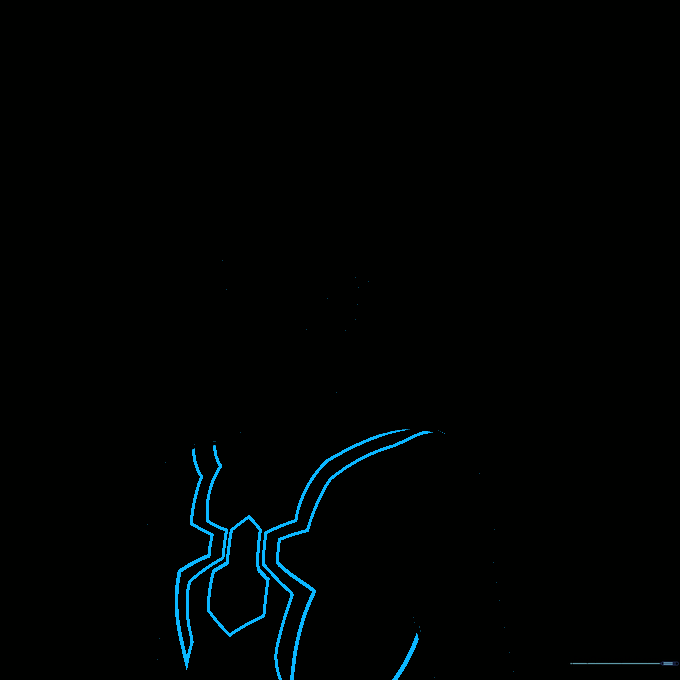
Draw the central spider logo on the chest. Use straight lines to form a hexagon connected to a pentagon. Add wavy, flowing lines on either side to represent the spider's legs. Tip: Focus on keeping the spider symmetrical to make the armor look balanced.
Step 3: Detailing the Logo Legs

Refine the spider logo by adding more legs using pairs of curved lines. This gives the logo a dynamic, moving appearance. Tip: Use quick, confident strokes to make the legs look sharp and energetic.
Step 4: Adding Depth and Webbing
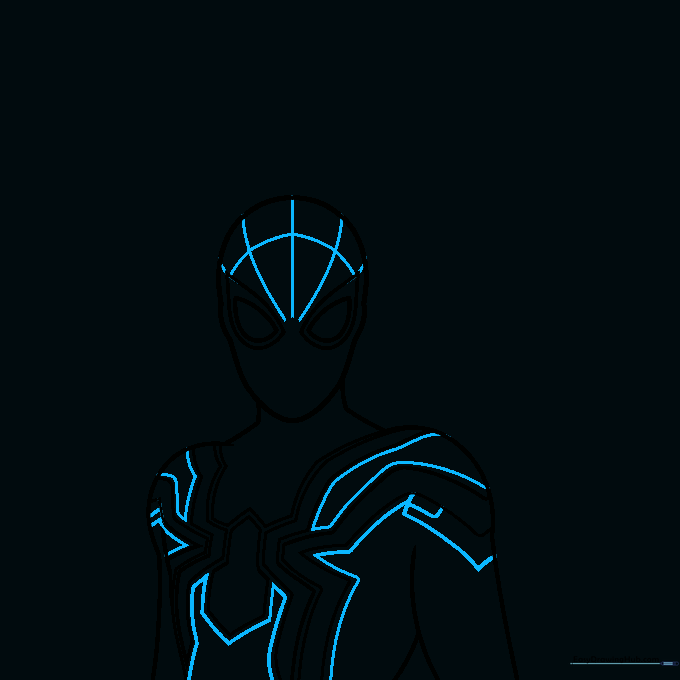
Outline the logo by drawing parallel lines along the edges to create a 3D effect. Then, begin sketching the web pattern on the mask. Tip: Start from the center of the face and work your way outward for better spacing.
Step 5: Completing the Web Pattern
Continue the web pattern across the face, neck, and chest using curved lines that intersect at right angles. Tip: Don't worry if the lines aren't perfect; webs in nature are organic and slightly irregular!
Step 6: Drawing the First Pincer
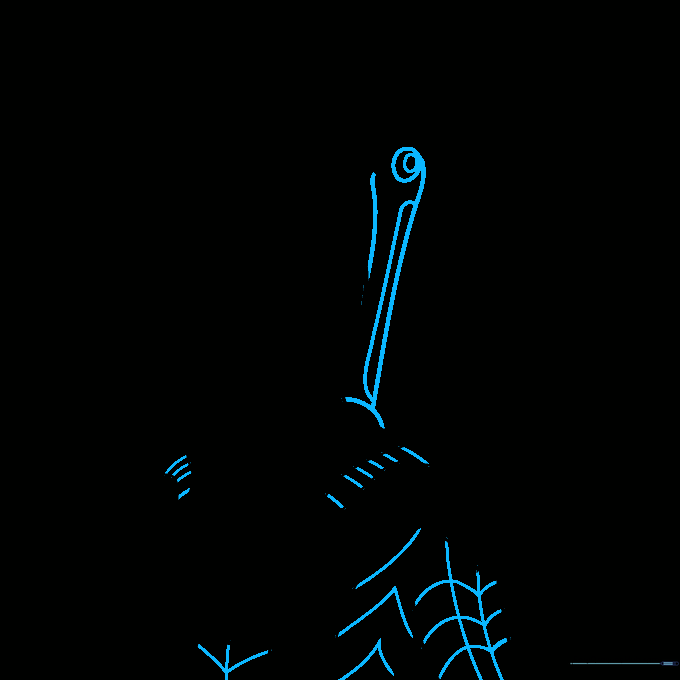
Now for the cool part—the mechanical spider arms! Use curved lines to outline the base of the pincer. Add a circle-within-a-circle detail to represent the mechanical joint. Tip: Think of this as a robotic tentacle; keep the curves smooth.
Step 7: Adding Pincer Segments
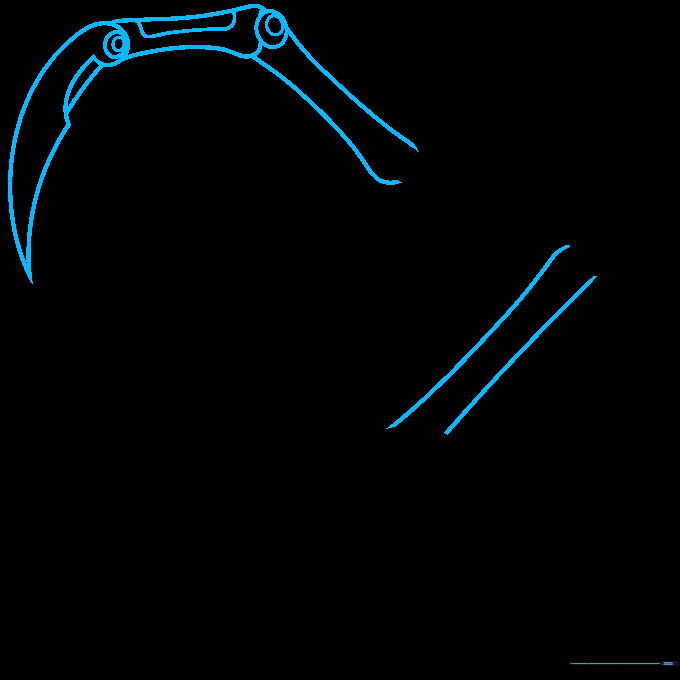
Extend the pincer by adding three more segments. Use circles for the joints and ensure the final tip is sharp and pointed. Start sketching the base of a second pincer. Tip: Vary the length of each segment to make the arm look more realistic.
Step 8: Building More Pincers
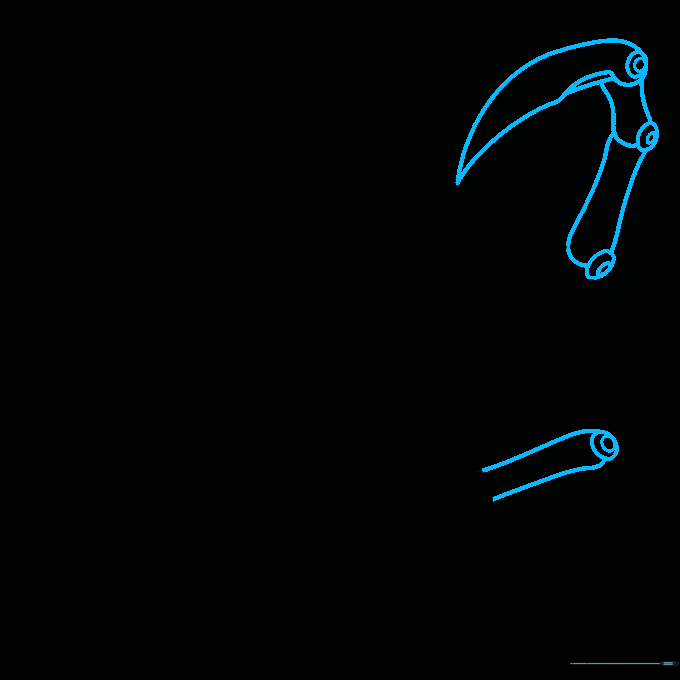
Repeat the process to add more pincers extending from the back. Maintain consistent joint sizes for a professional look. Tip: If you run out of space on your paper, adjust the angle of the pincers to fit the composition.
Step 9: Final Mechanical Details
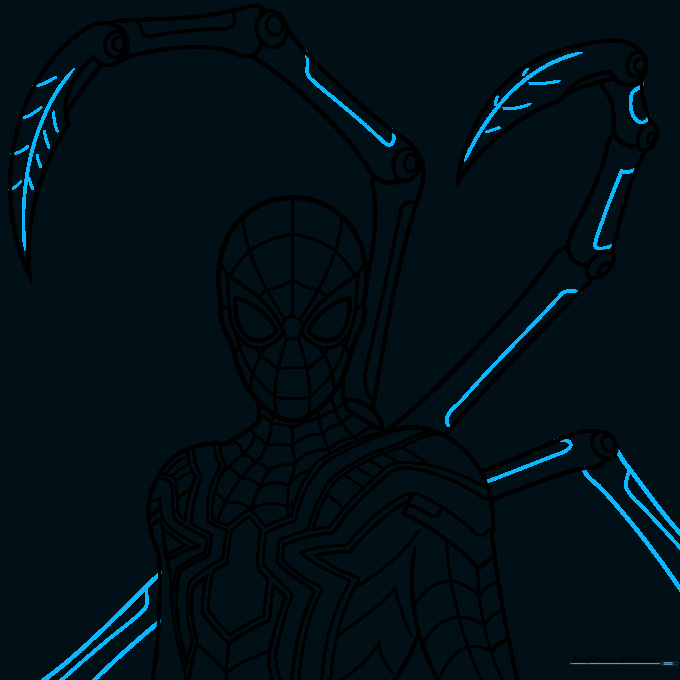
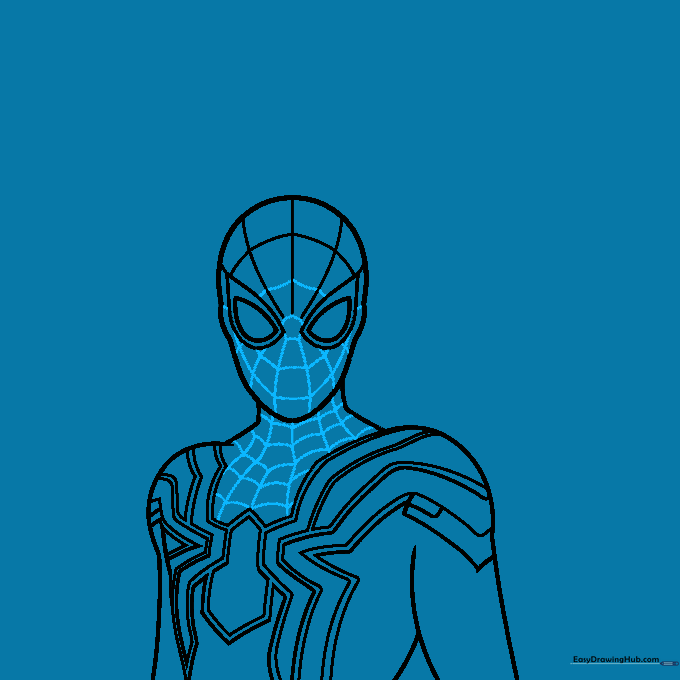
Finish the pincers by adding small decorative rectangles and leaf-like vein patterns near the tips. This adds that high-tech 'Iron' armor feel. Tip: Use a fine-liner pen to go over your pencil lines for a clean, comic-book finish.
Step 10: Bringing Him to Life with Color
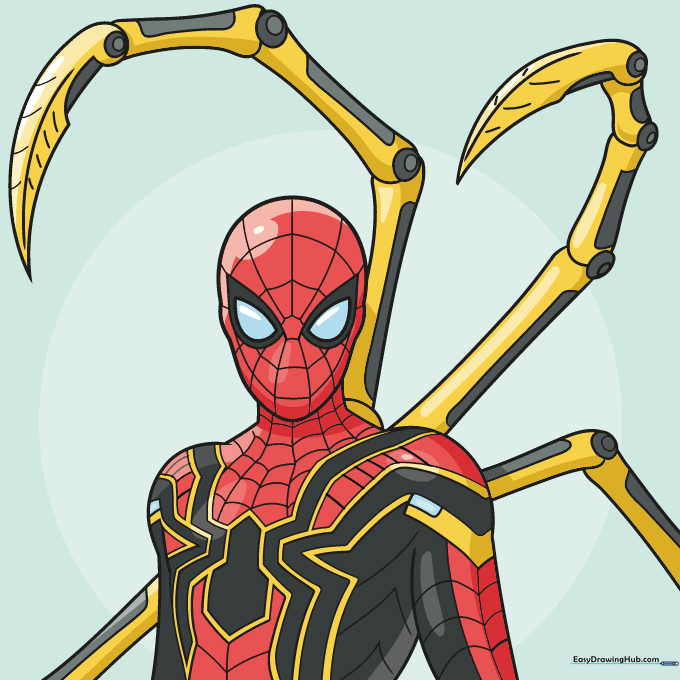
Time to color! Use vibrant red and deep black for the suit, and a bright, metallic gold for the pincers. Tip: Use a white gel pen to add small highlights on the gold parts to make them look shiny and metallic.
More Tutorials


