How to Draw the Sign for ‘Draw’: Easy Step-by-Step Guide
Ready to combine art with American Sign Language? This tutorial is perfect for students ages 7+ who want to learn the sign for 'draw.' You will only need a pencil, eraser, and paper to master this expressive gesture.
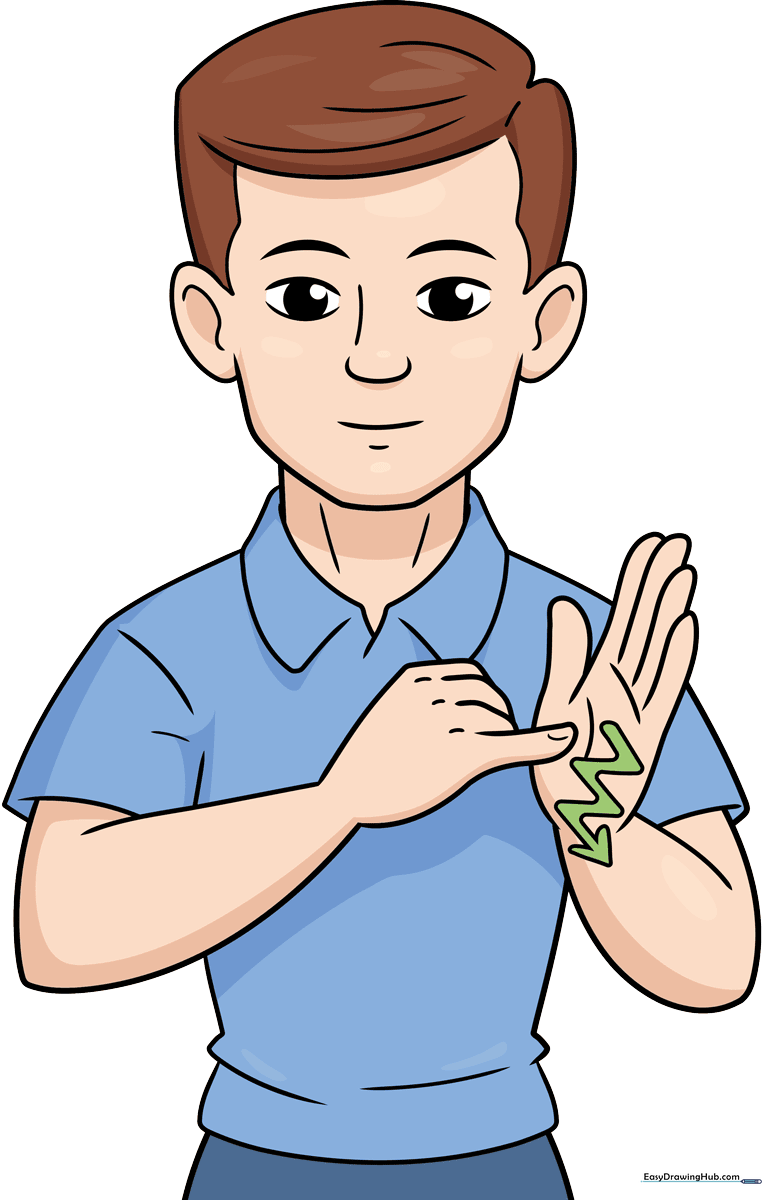
🎯 Final Result
Step-by-Step Instructions
Step 1: Sketching the Facial Features

Start by drawing two curved lines for the eyes and adding small, round pupils. Add two sharp, angled lines above for eyebrows and a simple curve for the nose. Teacher's Tip: Keep your pencil pressure light here so you can easily adjust the expression later.
Step 2: Defining the Head Shape

Connect curved lines to form the top of the head, ears, and chin. Add a small line for the mouth and a dimple on the chin. Teacher's Tip: Use a smooth, continuous motion for the jawline to make the character look friendly.
Step 3: Adding Hair and Neck
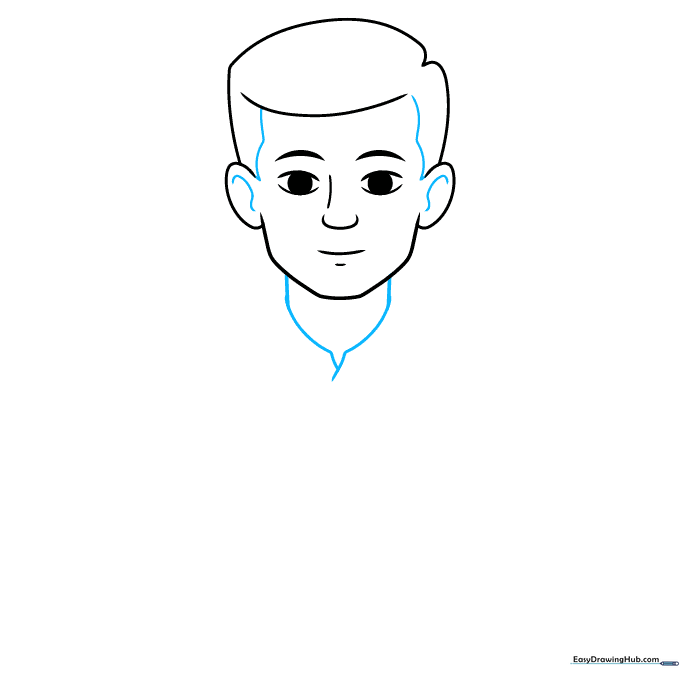
Add detail inside the ears and use wavy lines for sideburns. Extend two lines down for the neck and draw a 'Y' shape to start the shirt collar. Teacher's Tip: Make sure the neck isn't too thin, or the head will look unbalanced.
Step 4: Sketching the Shoulders and Sleeves
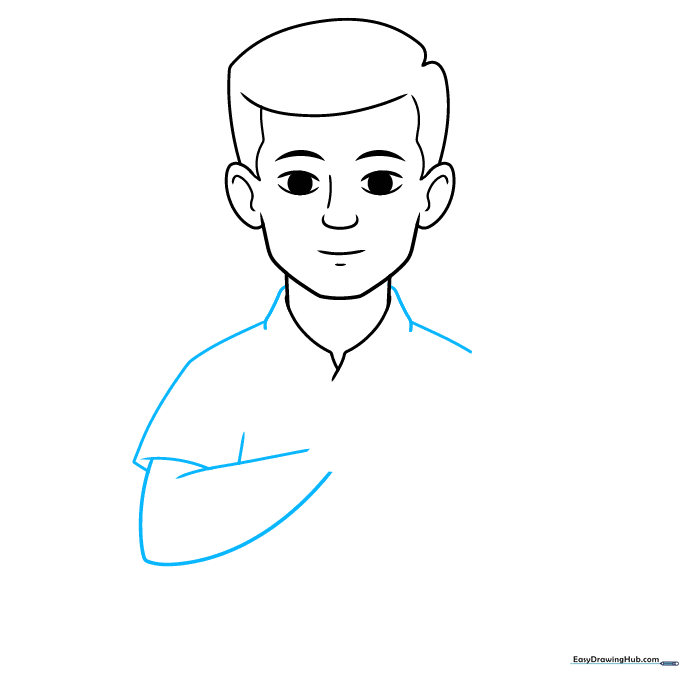
Draw the collar, then extend lines outward for the shoulders. Use overlapping curves to define the sleeve opening and the bend of the elbow. Teacher's Tip: Think of the arm as two simple cylinders connected at the elbow.
Step 5: Drawing the First Hand

Draw the hand with the pinky finger extended. Curl the other fingers into a fist. Teacher's Tip: Hands are tricky! Focus on the shape of the fist first, then add the extended pinky as a separate curved shape.
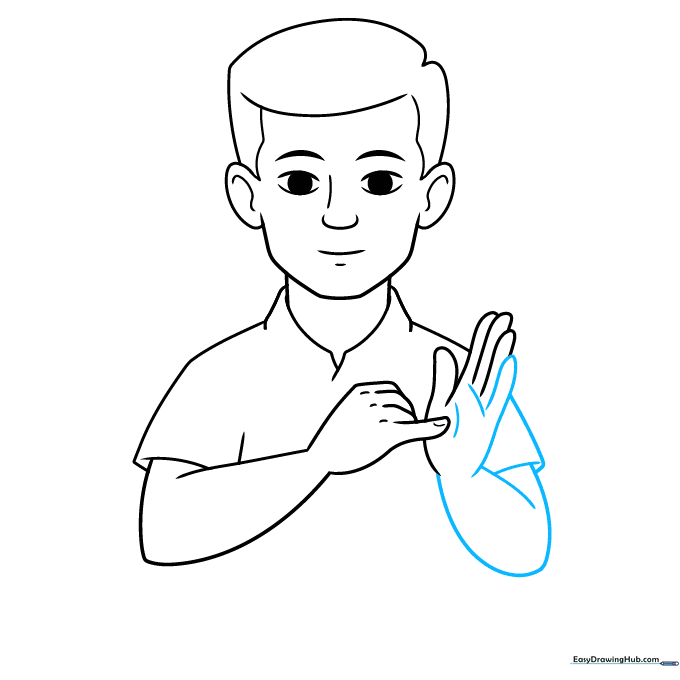
Step 6: Adding the Second Hand
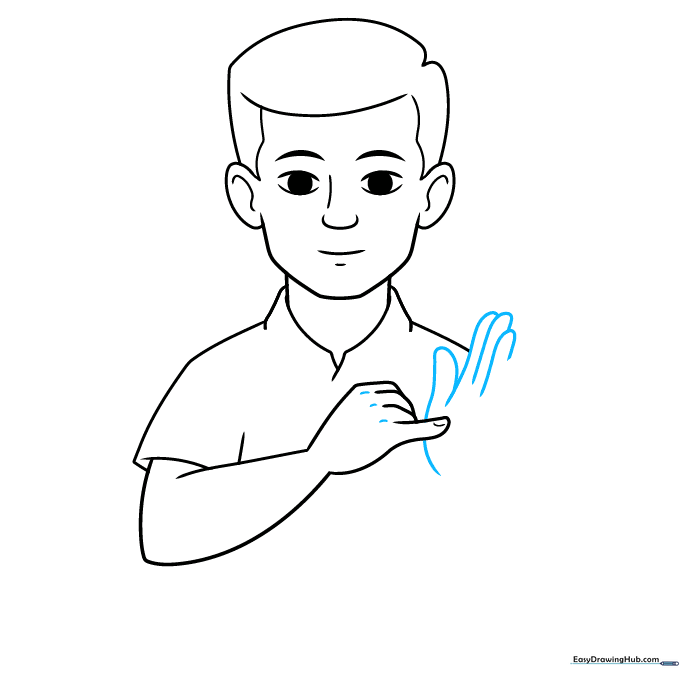
Draw the second hand with fingers outstretched, palm facing the viewer. The pinky of the first hand should touch this palm. Teacher's Tip: This contact point is key to the sign, so ensure the lines overlap clearly.
Step 7: Refining the Hands and Arms
Finish the fingers and add contour lines to the palm. Complete the lower arm and sleeve details. Teacher's Tip: Use short, curved strokes to show the knuckles, which adds realism to the hand gesture.
Step 8: Drawing the Torso
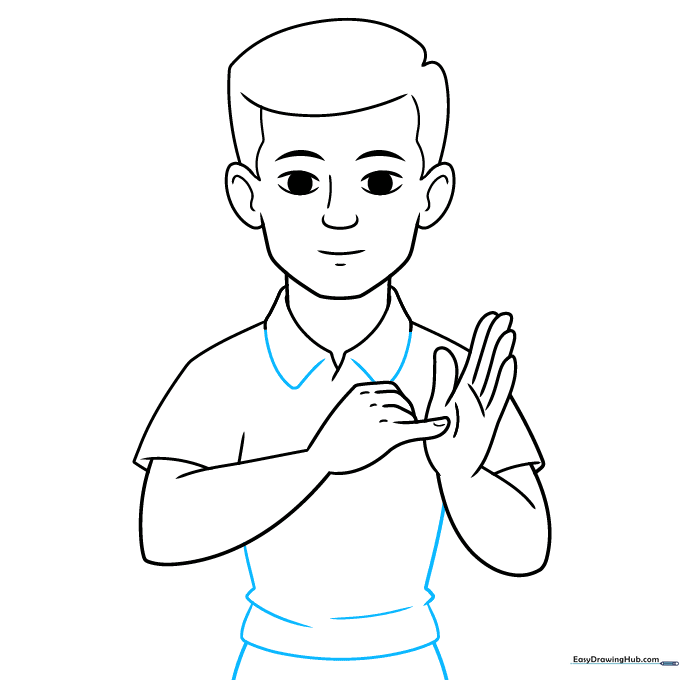
Finish the shirt collar and draw the torso lines extending down from the arms. Add a line for the waistband of the trousers. Teacher's Tip: Keep these lines simple to avoid cluttering the focus on the hands.
Step 9: Adding Motion Lines
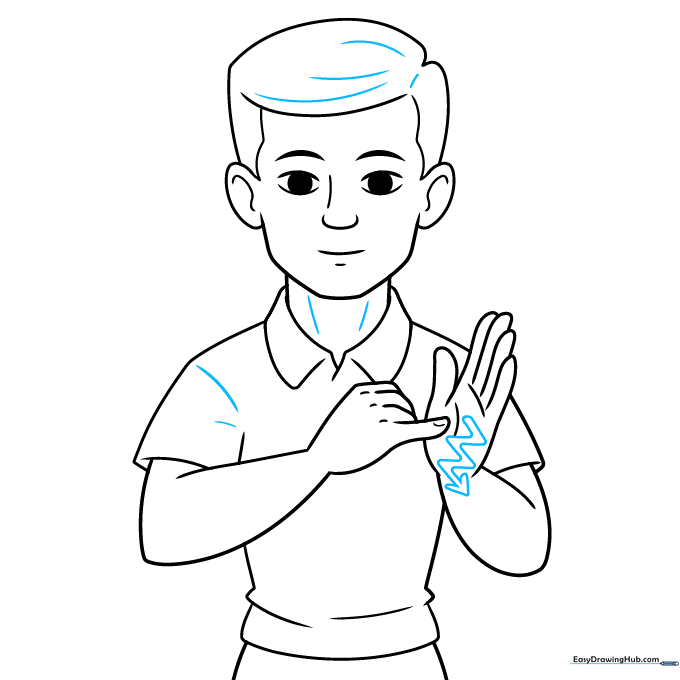
Add a zigzag line with an arrow across the hand. This is a standard drawing convention to show the pinky finger moving across the palm. Teacher's Tip: Use a slightly darker pencil for this to distinguish it from the character's skin.
Step 10: Final Touches and Coloring
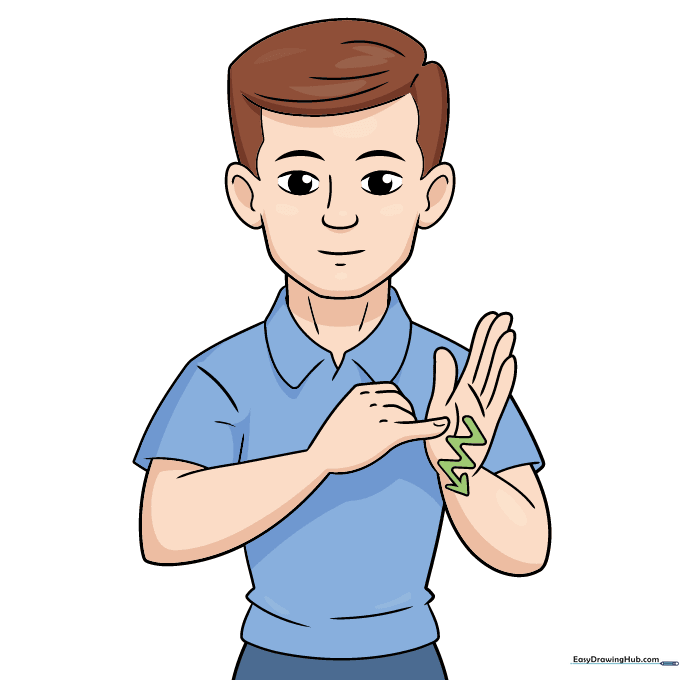
Erase your guide lines and add color to your drawing. Use skin tones and your favorite shirt colors to bring the character to life. Teacher's Tip: Use colored pencils to gently shade the areas where the fingers overlap for extra depth.
More Tutorials


