How to Draw Impossible Stairs: Easy Optical Illusion Guide
Ready to trick the eye? This impossible stairs tutorial is a fantastic way for artists ages 8+ to explore 3D perspective and geometric shapes. All you need is a pencil, an eraser, and a steady hand to create this classic Penrose-inspired illusion.
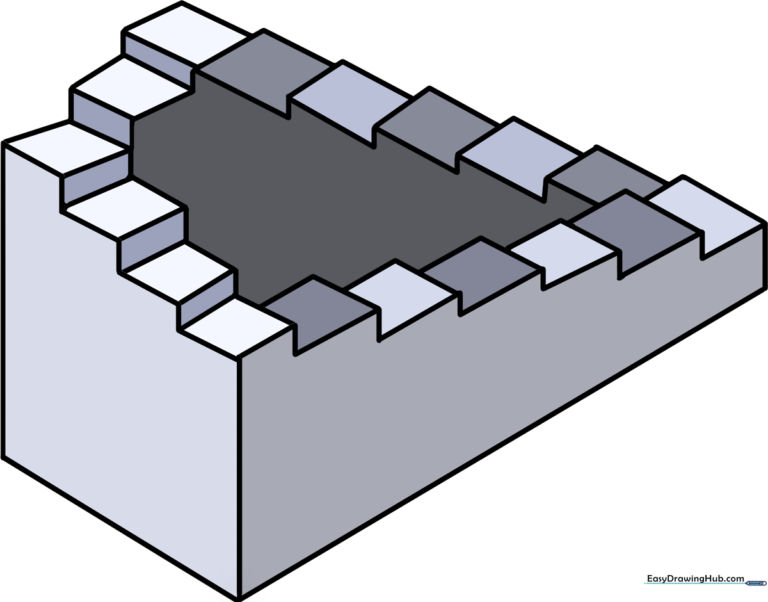
🎯 Final Result
Step-by-Step Instructions
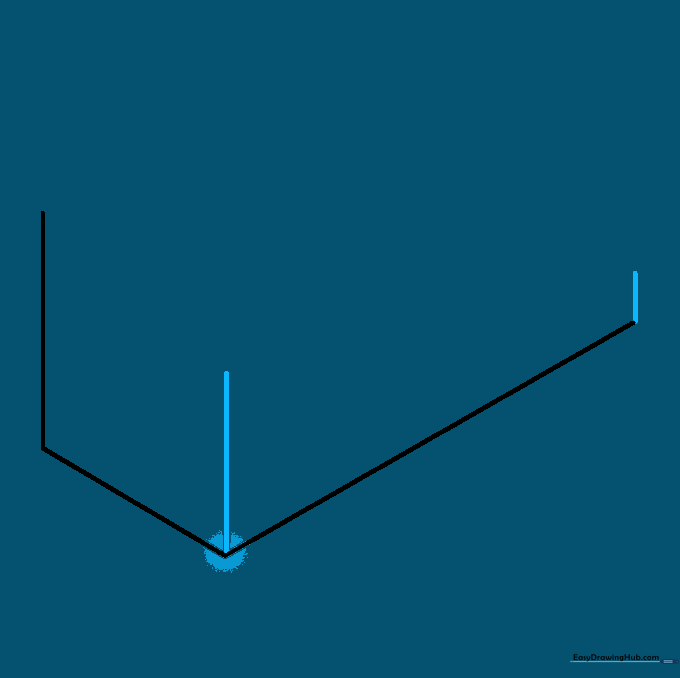
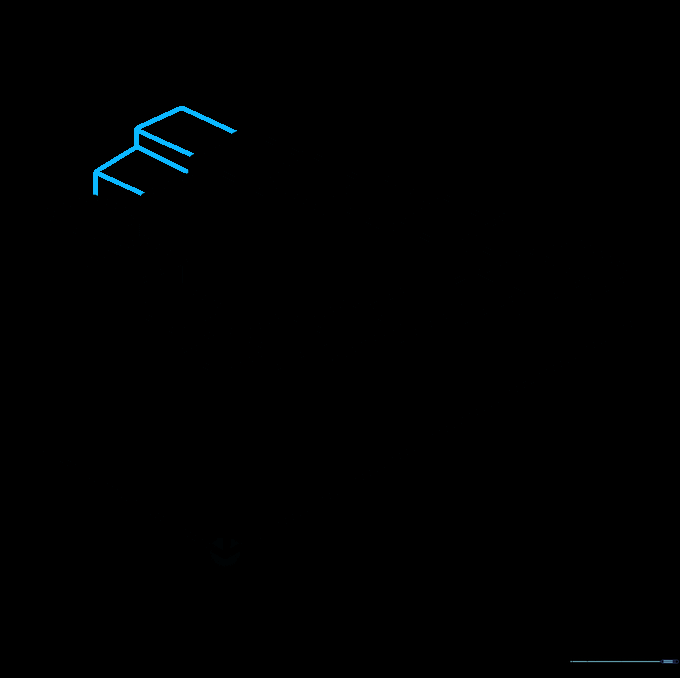
Step 1: Establishing the Base

Draw three connected lines: one vertical and two diagonal. Teacher's Tip: Keep these lines light! These act as your scaffolding, so you'll want to erase them later once the structure is defined.
Step 2: Defining the Walls
Draw vertical lines of varying lengths from your corner points. These represent the side walls of your staircase. Tip: Ensure your vertical lines are perfectly parallel to the edge of your paper to keep the perspective consistent.
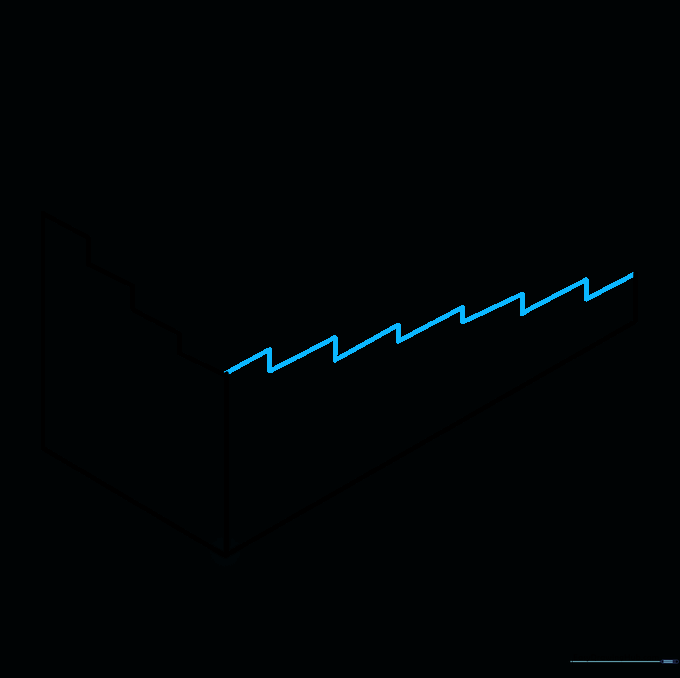
Step 3: Creating the First Zigzag

Connect your vertical lines with a series of short, straight lines in a zigzag pattern. This forms the top edge of your stairs. Tip: Use a ruler if you struggle with straight lines—precision is what makes the illusion work!
Step 4: Mirroring the Zigzag
Draw a second zigzag pattern to connect the remaining vertical lines. This creates the opposite side of your staircase. Tip: Try to match the angle of the first zigzag to keep the stairs looking uniform.
Step 5: Adding 3D Depth

Extend short diagonal lines from the points of your first zigzag. Connect these to form the 'risers' of the stairs. Tip: Think of these as little boxes—each step needs a top and a side to look 3D.
Step 6: Building the Second Side
Repeat the process on the opposite side. Notice how each step attaches to the midpoint of the previous one? That's the 'impossible' part coming to life!
Step 7: Connecting the Interior
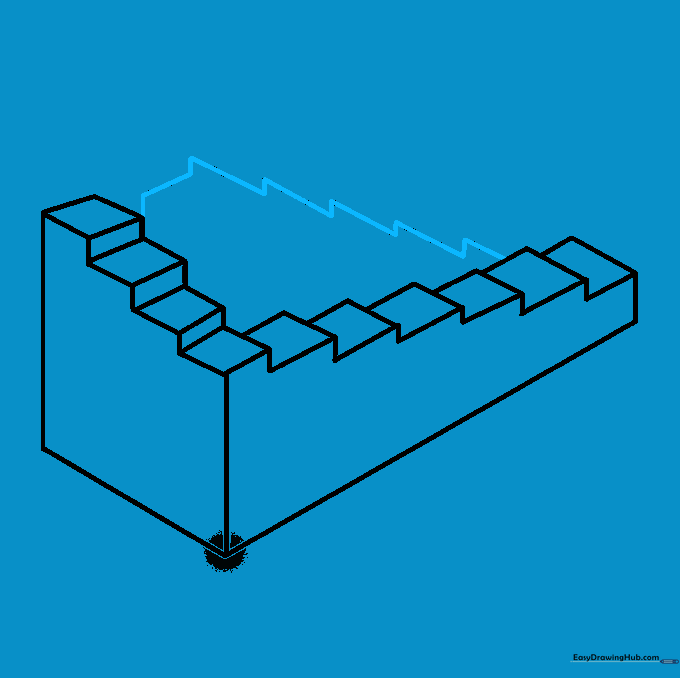
Extend a zigzag line upward and connect it to the top of the first set of stairs. This creates the interior corner. Tip: Take your time here; this is where the perspective can get tricky.
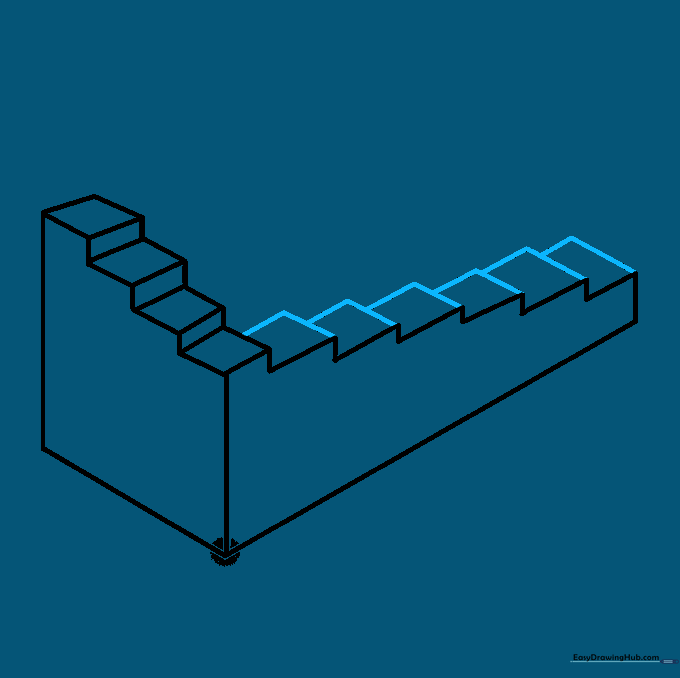
Step 8: Adding the Third Set
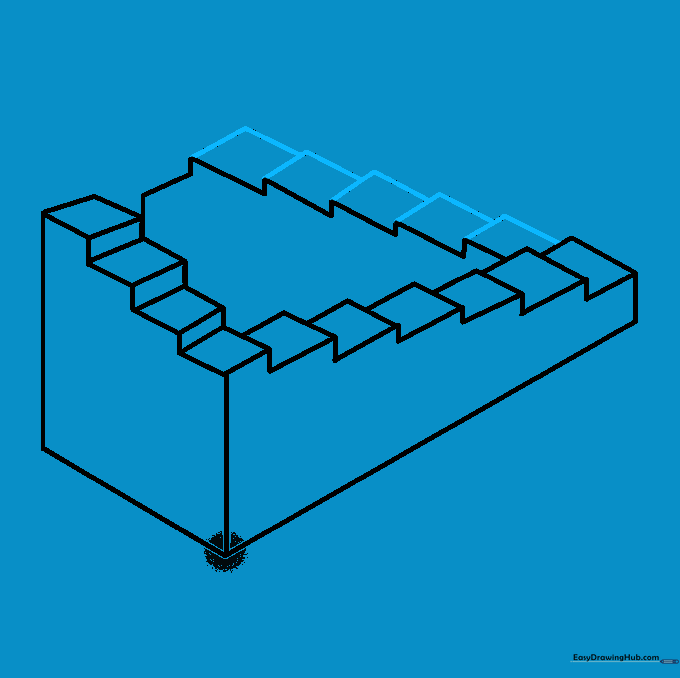
Draw short diagonal lines from the third zigzag line and connect them. You are now building the final section of the loop. Tip: Keep your pencil pressure consistent so all lines look like they belong to the same structure.
Step 9: Finalizing the Outline
Connect the remaining points to close the loop. Now is the time to go over your main lines with a darker pencil and erase any stray construction marks.
Step 10: Adding Shading
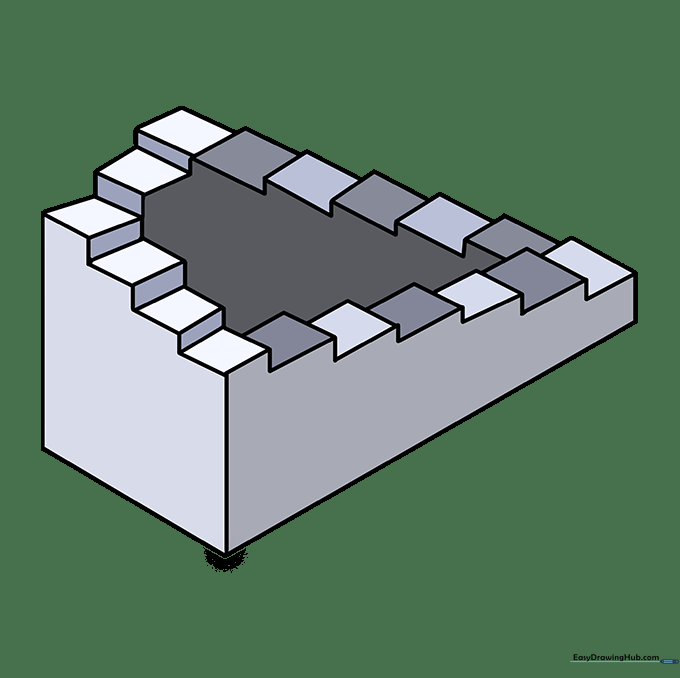
Add shading to the vertical sides of the stairs. This creates the contrast needed to make the 3D effect pop. Tip: Shade the 'risers' darker than the 'treads' to give it a realistic depth.
More Tutorials


