How to Draw Ice King from Fortnite: Easy Step-by-Step Guide
Ready to bring the legendary Ice King to life? This tutorial is perfect for young artists and Fortnite fans looking to level up their character drawing skills. Grab your pencil and eraser, and let’s break down this complex armor into simple, manageable shapes.
🎯 Final Result
Step-by-Step Instructions
Step 1: Sketching the Hood

Begin by drawing the Ice King’s hood using a series of curved lines to create an irregular, pointed shape. Teacher's Tip: Keep your pencil lines light and loose; this is just the foundation, and you'll want to erase these guide marks later.
Step 2: Establishing the Armor Base

Sketch two irregular shapes beneath the hood to start the armor. Teacher's Tip: Focus on symmetry here—try to keep the shapes balanced on either side of the center notch to give the character a solid, grounded look.
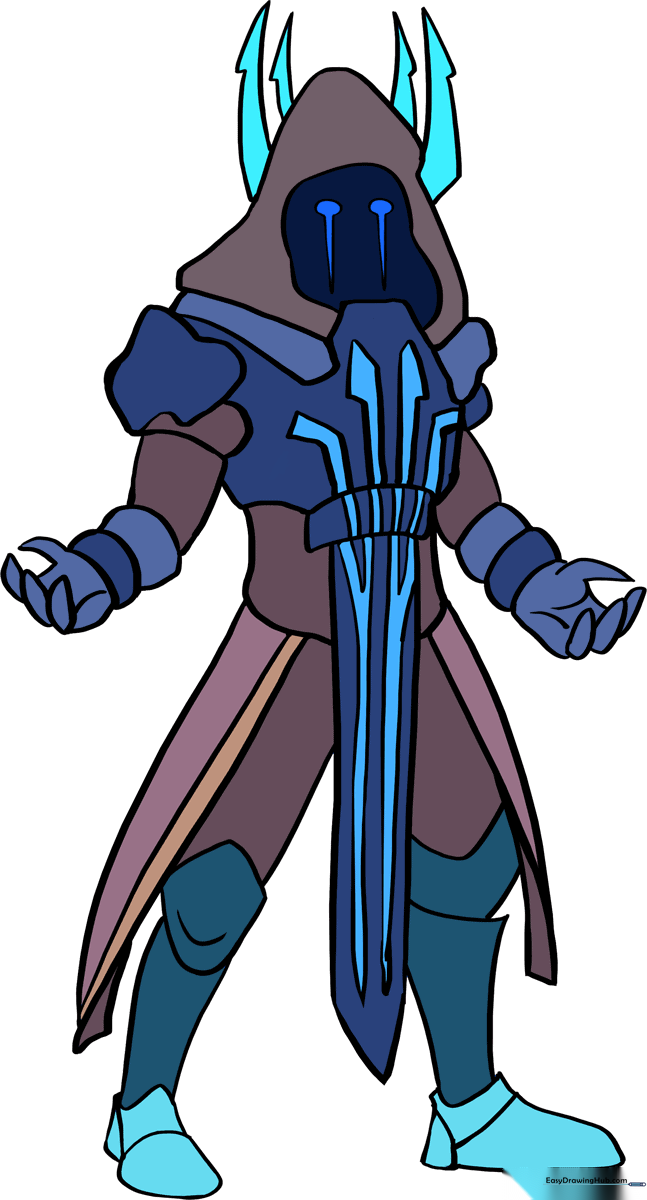
Step 3: Shoulders and Arms
Draw a lumpy shape for the shoulder plate, then add rounded shapes for the arm. Use double teardrop shapes for the fingers. Teacher's Tip: When drawing fingers, start with the thumb first to ensure the hand looks like it's gripping something.
Step 4: Designing the Breastplate

Connect the arm to the opposite shoulder with curved lines to form the chest piece. Add parallel lines for texture. Teacher's Tip: Vary the thickness of your lines here to make the armor look heavy and metallic.
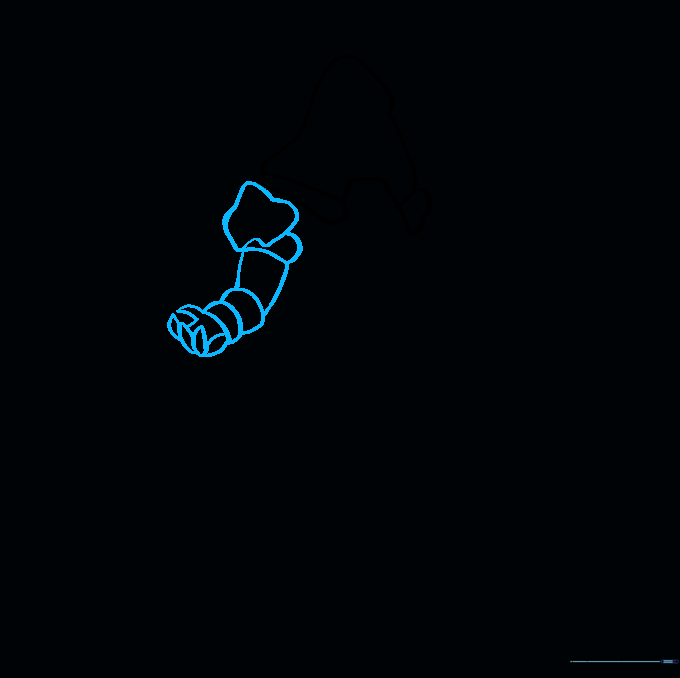
Step 5: Refining the Torso
Use straight and curved lines to define the lower armor sections. Extend the breastplate lines down to sharp points. Teacher's Tip: Sharp angles are key to the Ice King's intimidating look—don't be afraid to make those points really pointy!
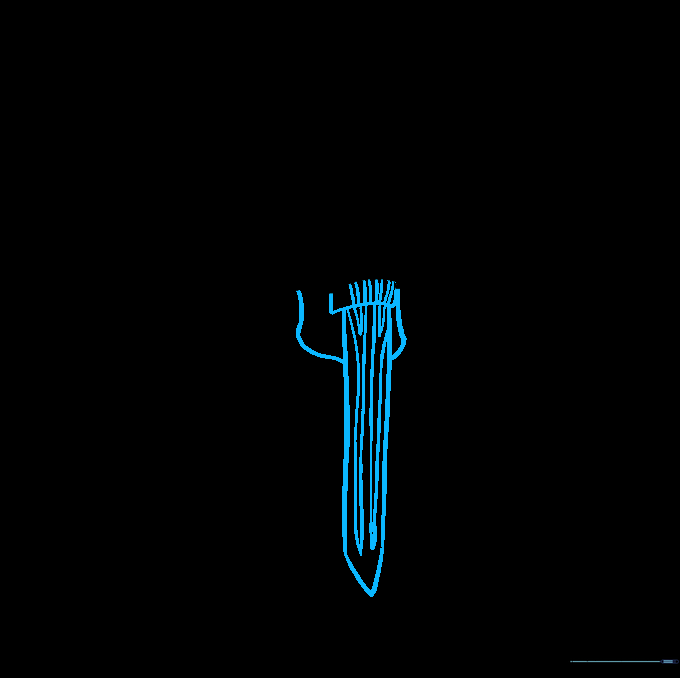
Step 6: Adding the Robes
Extend long, curved lines from the torso to create the flowing fabric of his robes. Teacher's Tip: Use 'S' curves to show how the fabric folds and twists; this adds a sense of movement to your drawing.
Step 7: Legs and Boots
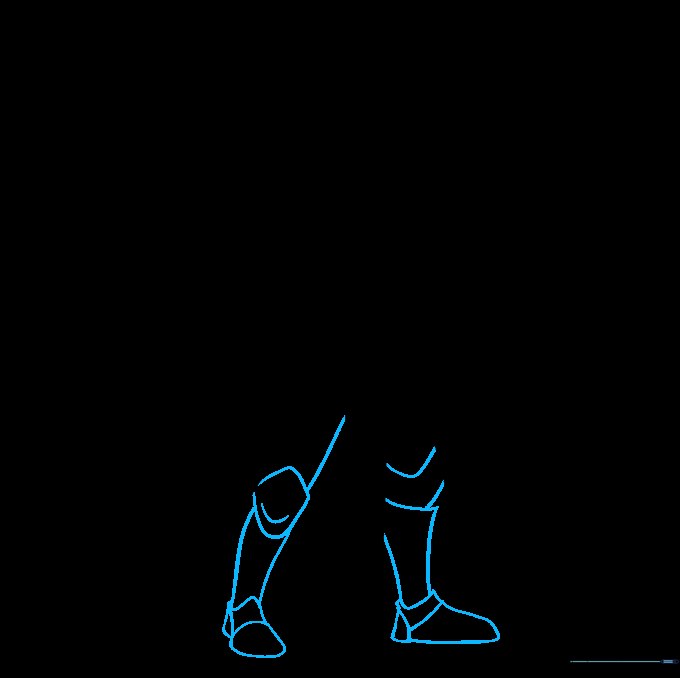
Sketch the legs and boots, adding diamond-shaped armor on the knees. Teacher's Tip: Keep the boots bulky to match the heavy armor aesthetic of the character.
Step 8: The Second Arm

Repeat the process from Step 3 to draw the remaining arm and hand. Teacher's Tip: Check your proportions—make sure this arm is roughly the same size as the first one you drew.
Step 9: Face and Horns
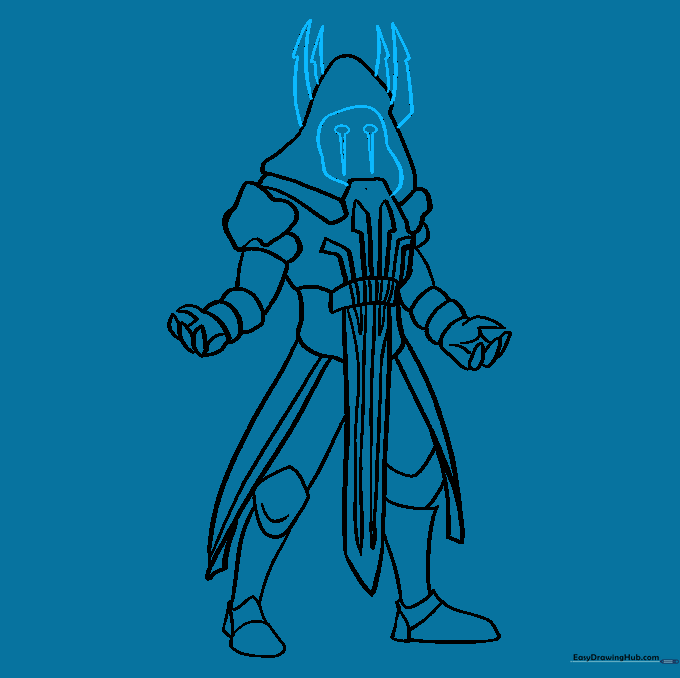
Draw the eyes and the iconic horns on the hood. Teacher's Tip: The eyes should look narrow and sharp to convey the Ice King's cold, mysterious personality.
Step 10: Bring Him to Life with Color
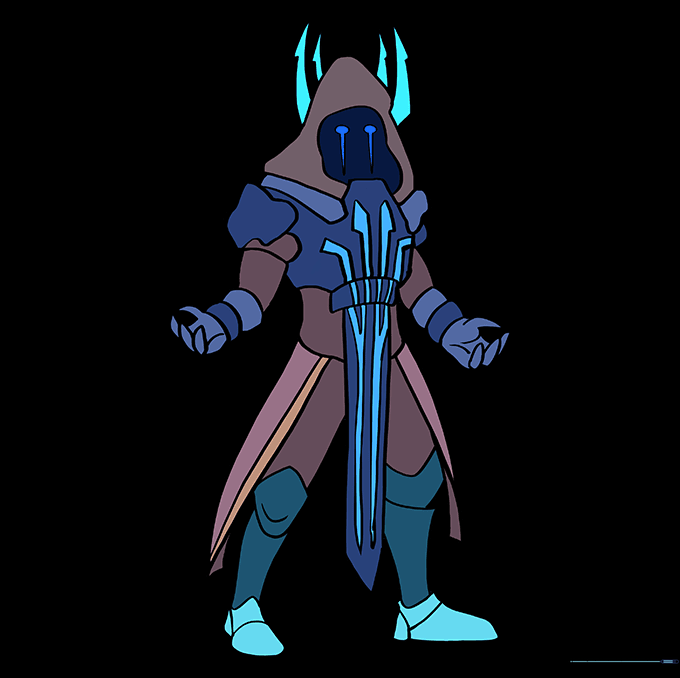
Time to color! Use icy blues, whites, and dark greys to capture his chilling look. Teacher's Tip: Use a darker blue for the shadows in the armor folds to make your drawing pop off the page!
More Tutorials


