How to Draw a Hot Air Balloon: Easy 10-Step Guide
This step-by-step tutorial is perfect for young artists ages 5+ looking to master basic shapes and symmetry. You will only need a pencil, eraser, and some markers or crayons to bring your sky-high adventure to life. Follow along to build confidence and develop your artistic hand-eye coordination.
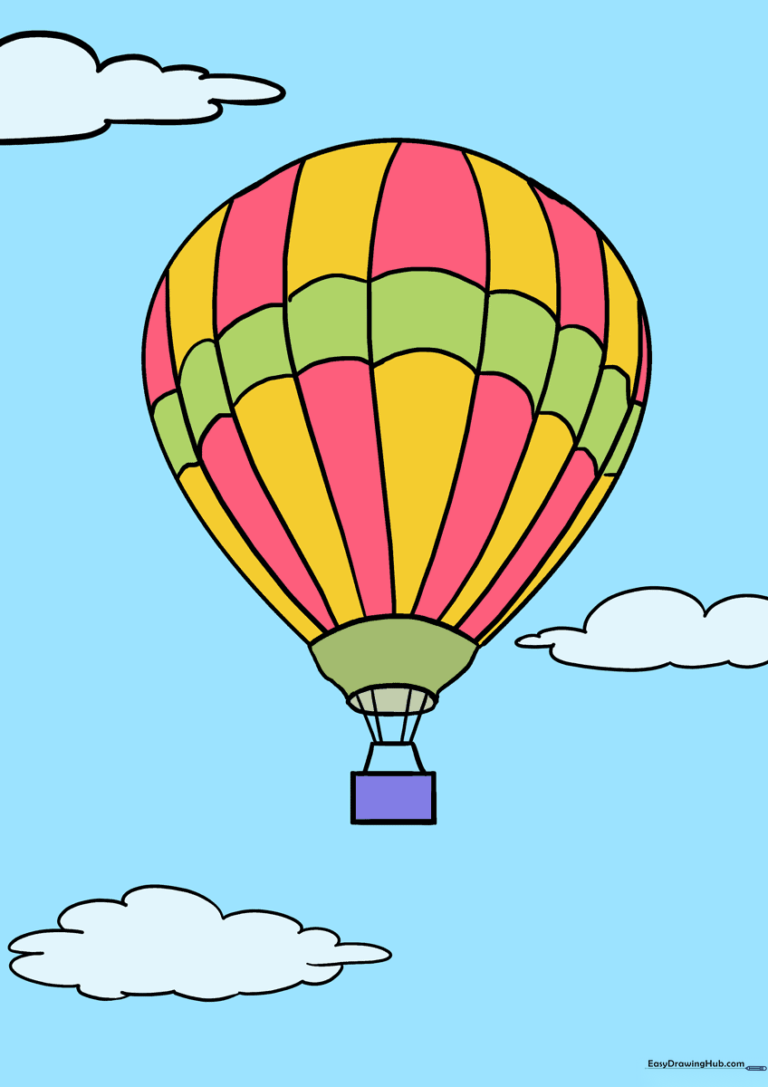
🎯 Final Result
Step-by-Step Instructions
Step 1: Sketching the Main Envelope
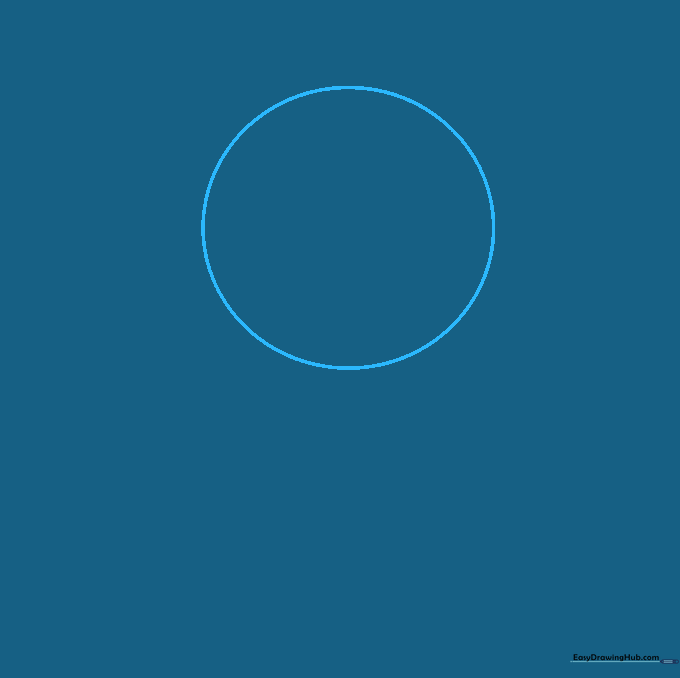
Begin by drawing a light circle in the center of your page. Teacher's Tip: Keep your pencil strokes very faint so you can easily erase this guideline later once the balloon shape is finished.
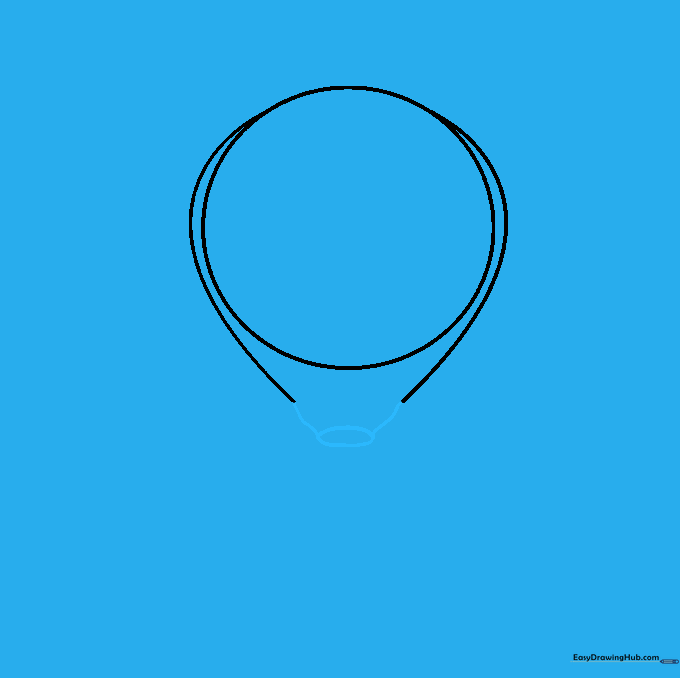
Step 2: Defining the Balloon Side
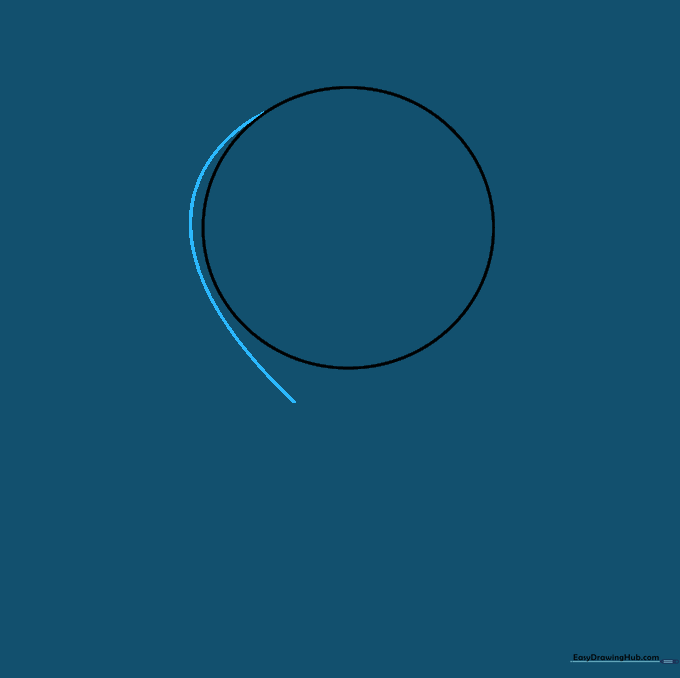
Draw a curved line starting near the top of your circle, following the curve, and extending slightly downward. Teacher's Tip: Think of this as the 'bulge' of the balloon; keep the line smooth and fluid.
Step 3: Creating Symmetry
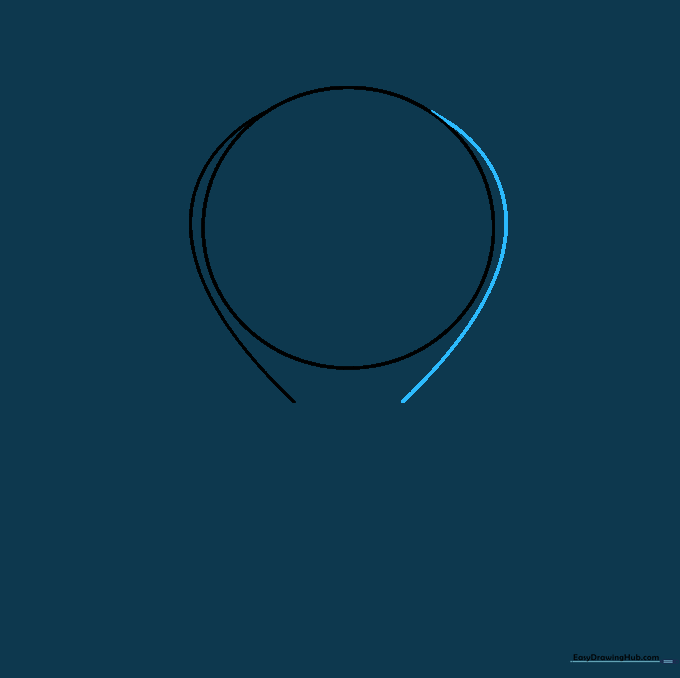
Repeat the curved line on the opposite side to create a mirror image. Teacher's Tip: If the sides don't look perfectly even, don't worry! Real balloons come in many shapes, and a little variation adds character.
Step 4: Drawing the Balloon Skirt
Draw a flattened, horizontal oval beneath the balloon and connect it with two short, angled lines. This is the 'skirt' where the hot air enters the envelope. Teacher's Tip: Keep the connection lines short so the basket doesn't look too far away.
Step 5: Adding Detail to the Skirt
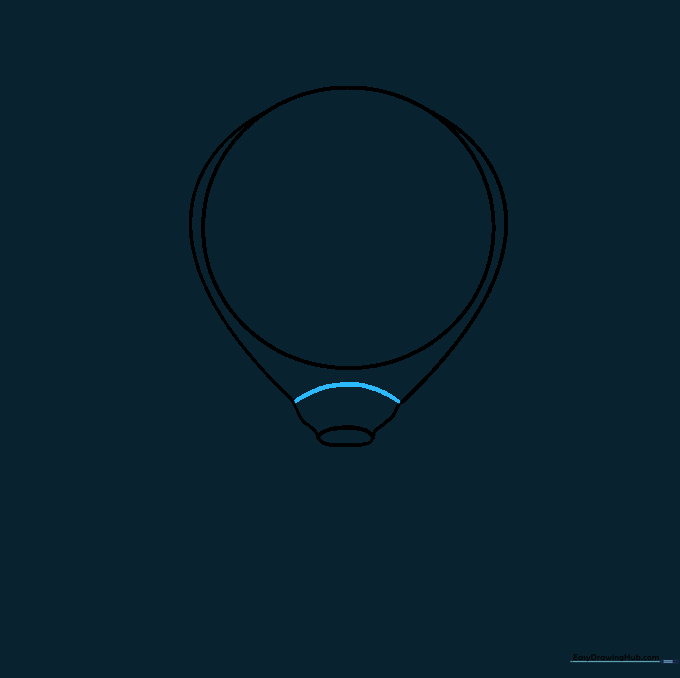
Draw a gentle curved line across the top of the skirt. Teacher's Tip: This small detail helps define the opening of the balloon, making it look more realistic.
Step 6: Cleaning Up Your Sketch
Carefully erase the original circle guideline inside the balloon. Teacher's Tip: Use a soft eraser and hold the paper down firmly so you don't accidentally crinkle it while cleaning up your lines.
Step 7: Drawing the Burner
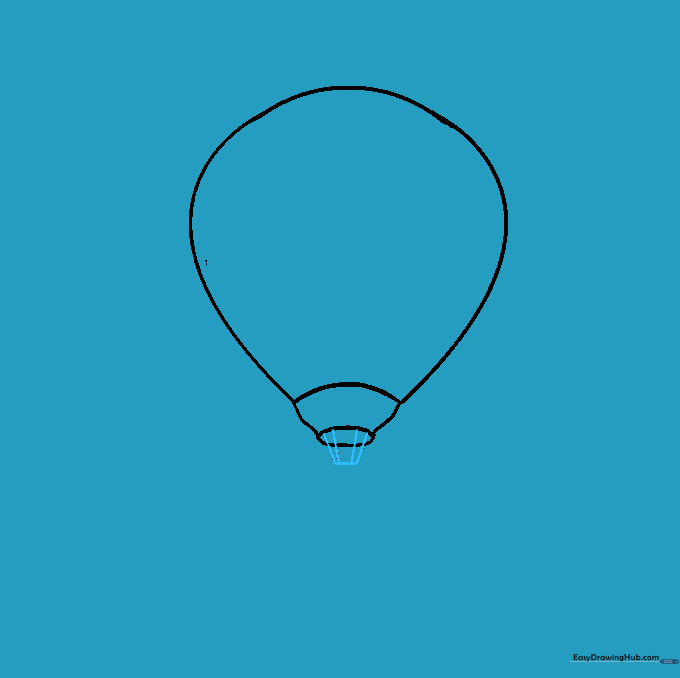
Draw four short, downward-sloping lines from the skirt and connect them with a horizontal line. This represents the burner frame. Teacher's Tip: Keep these lines straight and parallel to make the structure look sturdy.
Step 8: Adding the Basket and Clouds

Draw a trapezoid for the basket, then a rectangle underneath it. Add fluffy clouds around the balloon using soft, scalloped lines. Teacher's Tip: Vary the size of your clouds to make the sky look more natural and dynamic.
Step 9: Adding Decorative Stripes
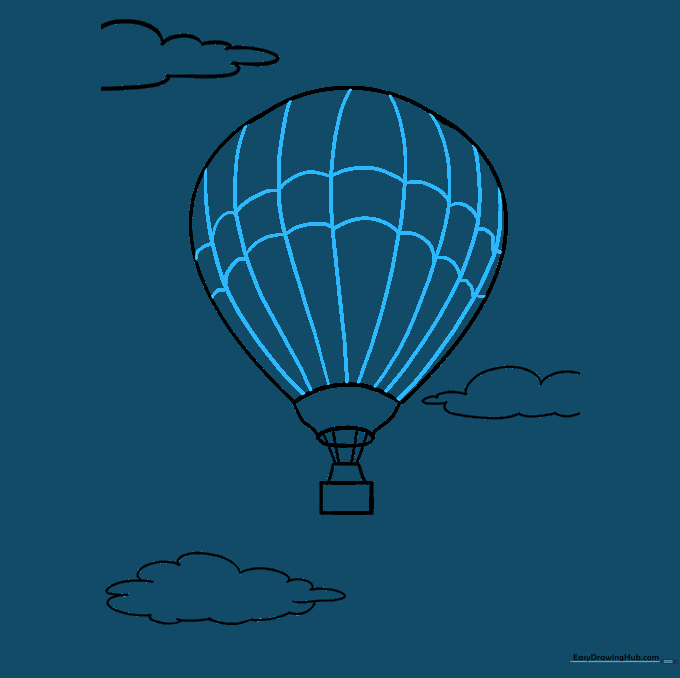
Draw vertical and horizontal curved lines across the balloon to create a striped pattern. Teacher's Tip: Follow the curve of the balloon when drawing these lines to make them look like they are wrapping around a sphere.
Step 10: Bringing It to Life with Color
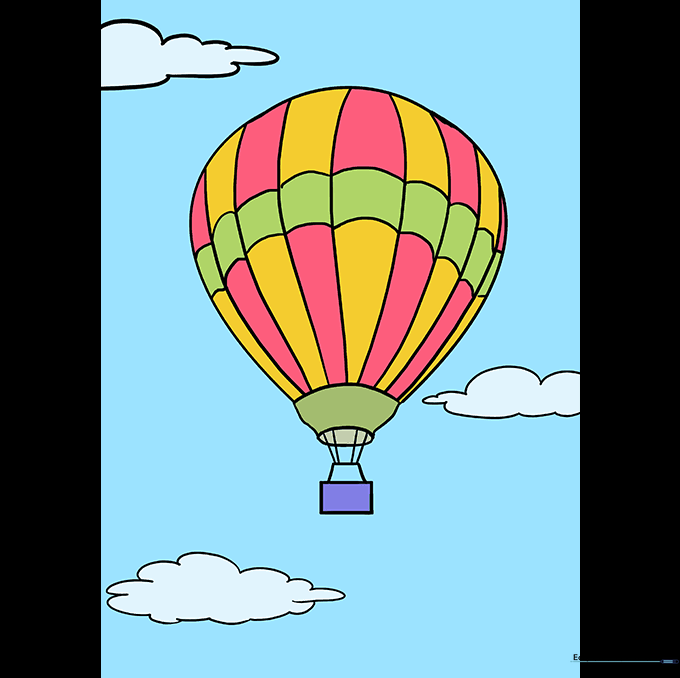
Time to color! Use bright, contrasting colors for the stripes to make your balloon pop. Teacher's Tip: Try using two shades of the same color for the stripes to create a professional, shaded look.
More Tutorials


