How to Draw Holding Hands: Easy Step-by-Step Guide
Capturing the gesture of two hands holding is a wonderful way to practice drawing human anatomy. This tutorial is perfect for artists ages 7 and up. Grab a pencil, an eraser, and a piece of paper to start building your confidence with organic shapes and overlapping lines.
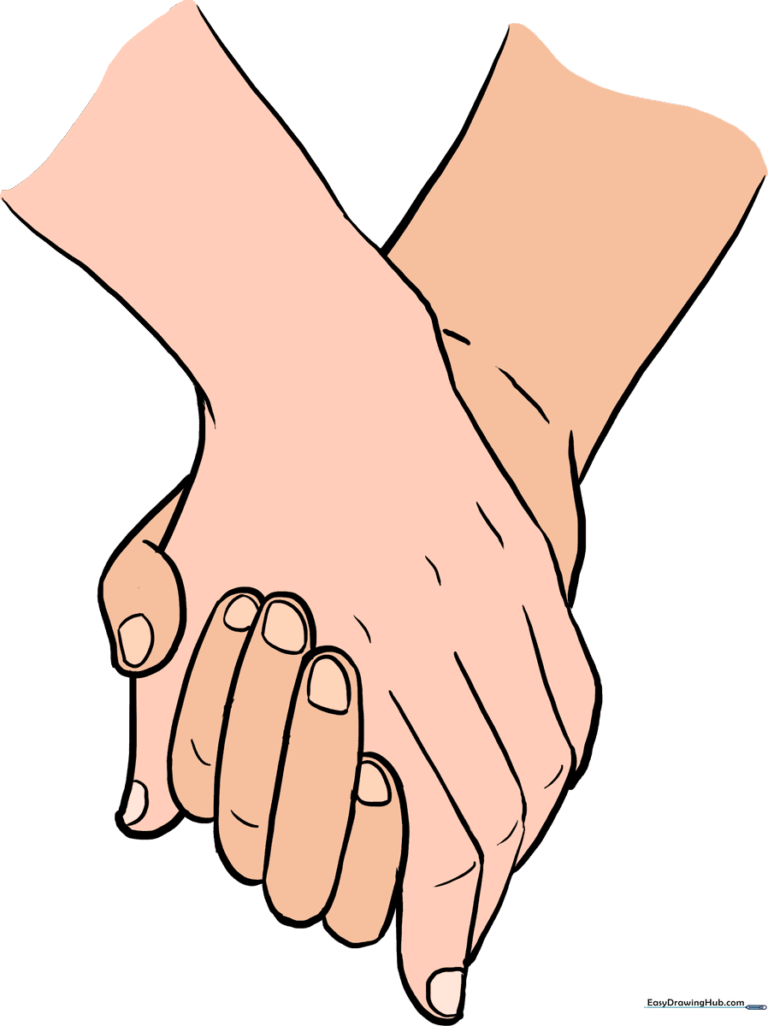
🎯 Final Result
Step-by-Step Instructions
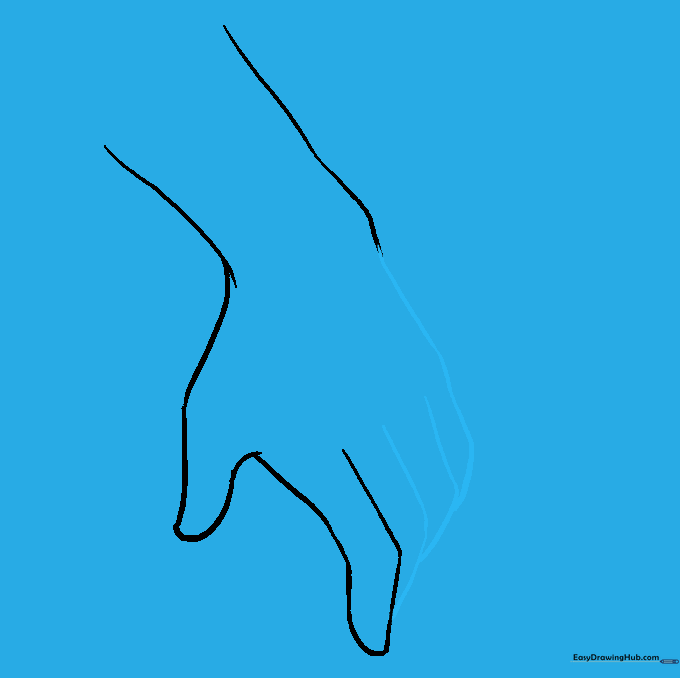
Step 1: Sketching the First Wrist

Draw two diagonal, parallel curved lines to form the first arm. Tip: Keep the lines soft and rounded to suggest the natural curve of a wrist.
Step 2: Forming the First Thumb

Extend a curved line from the wrist and loop it back to create the thumb. Tip: Think of the thumb as a rounded 'C' shape attached to the side of the hand.
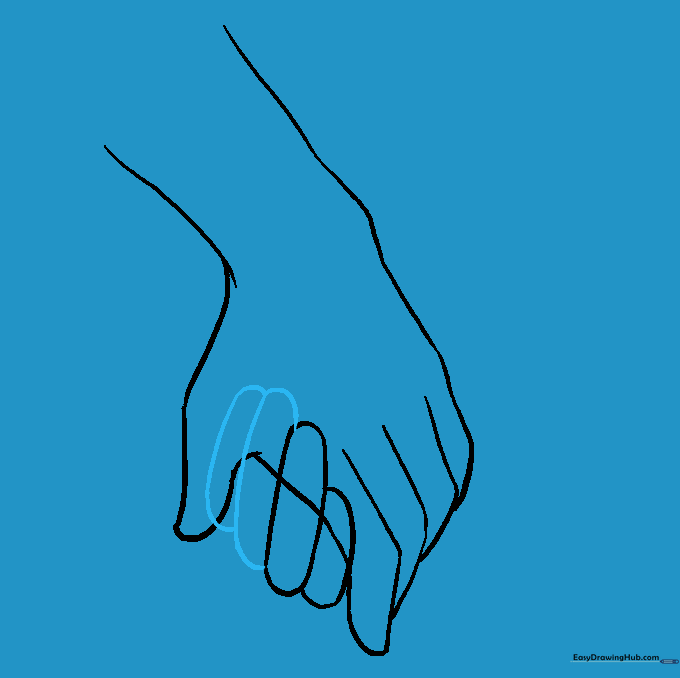
Step 3: Adding the Pointer Finger

Extend a line from the thumb to form the pointer finger, doubling it back. Tip: Add a slight angle at the top to represent the knuckle—this makes the finger look more realistic.
Step 4: Completing the First Hand
Draw the remaining fingers by extending curved lines from the pointer finger, connecting them back to the wrist. Tip: Vary the length of the fingers slightly so they don't look like identical sticks.
Step 5: Starting the Second Hand

Begin the second hand by drawing two elongated, rounded shapes overlapping the first hand. Tip: These shapes represent the fingers of the second person holding on.
Step 6: Adding More Fingers
Add two more rounded shapes to the second hand, overlapping the thumb area. Tip: Keep the shapes soft to show that the fingers are wrapping around the other hand.
Step 7: Defining the Second Thumb

Extend a curved line from the base of the second hand to form the thumb. Tip: Make sure this thumb looks like it is resting on top of the first hand.
Step 8: Cleaning Up

Carefully erase the overlapping guide lines inside the fingers. Tip: Use a kneaded eraser if you have one; it’s great for lifting graphite without damaging the paper.
Step 9: Adding Final Details
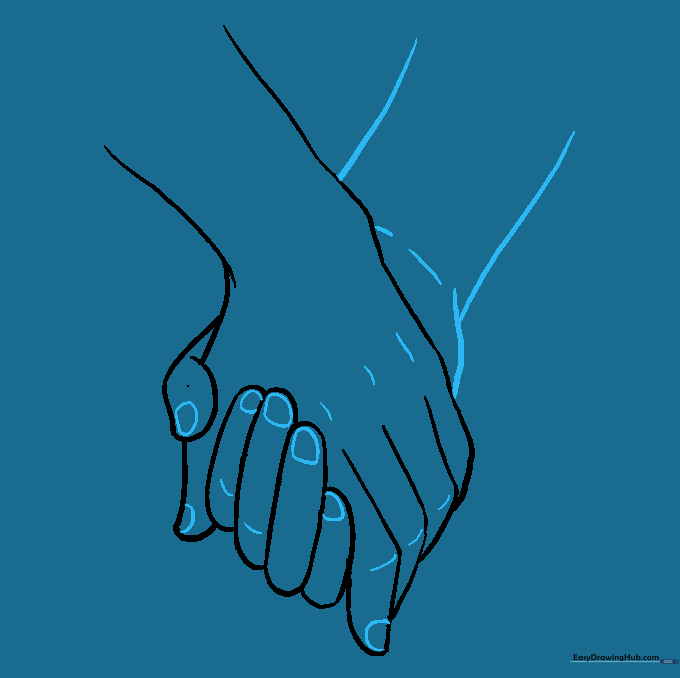
Draw the second wrist, add small curved lines for knuckles, and sketch tiny rounded fingernails. Tip: Keep these details subtle; too many lines can make the hands look older than intended.
Step 10: Bring Your Drawing to Life
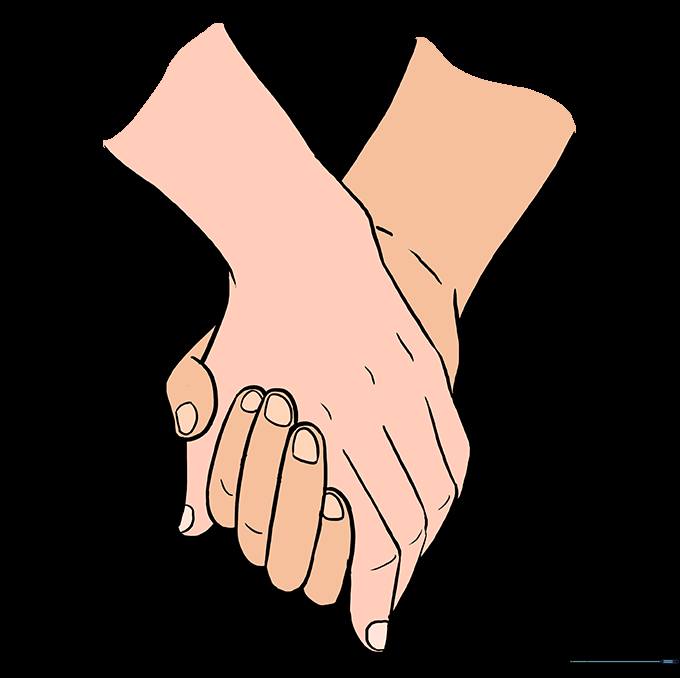
Add color to your drawing! Tip: Use a light peach or brown for the skin tone, and try adding a slightly darker shade on the sides of the fingers to create a soft shadow effect.
More Tutorials


