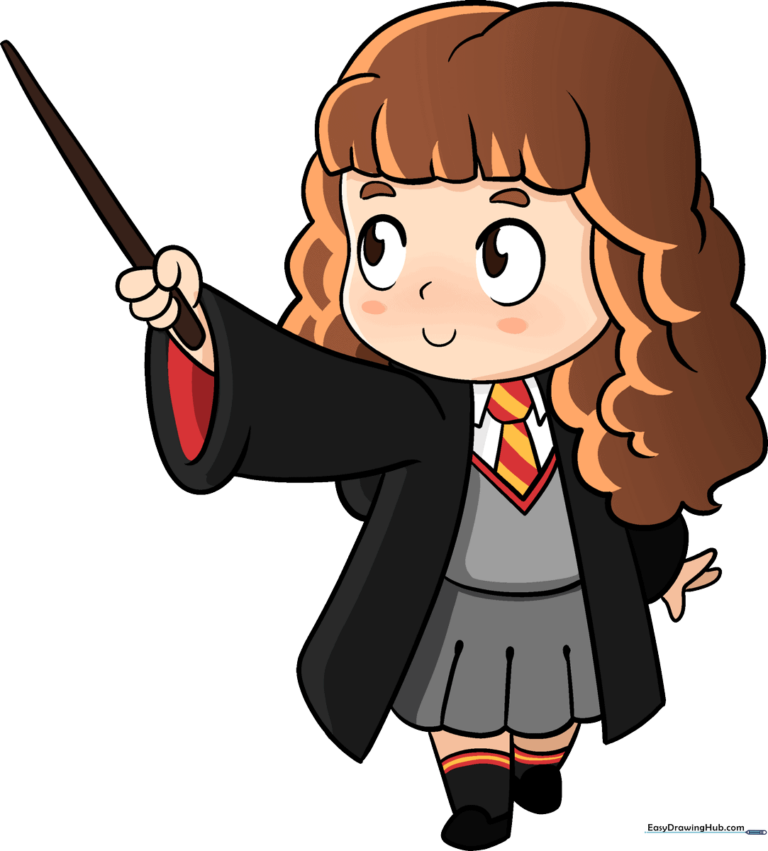
How to Draw Hermione Granger: Easy Step-by-Step Guide
Bring Hogwarts to life with this fun, beginner-friendly drawing guide. Designed for young artists ages 6+, this activity requires only a pencil, paper, and an eraser to capture Hermione’s iconic look. Follow these steps to build confidence in your character sketching skills.
🎯 Final Result
Step-by-Step Instructions
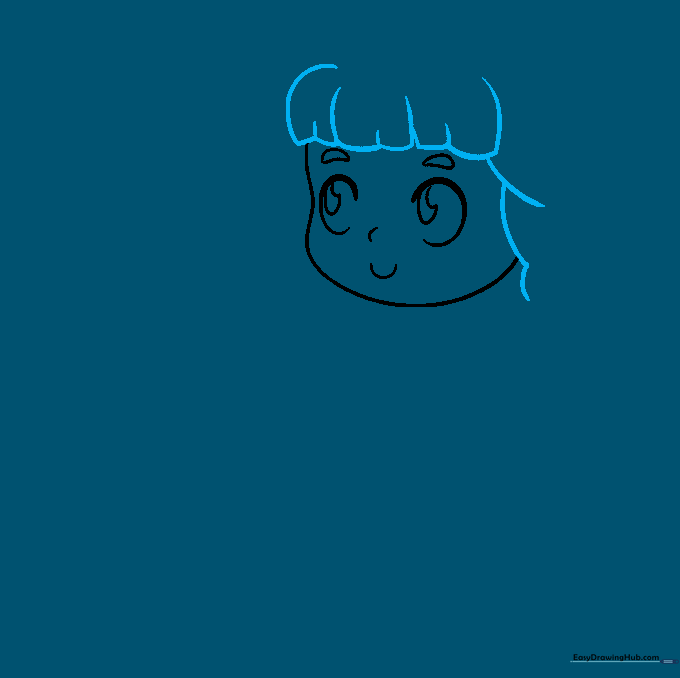
Step 1: Sketching the Face and Features

Draw a soft, curved line to outline the side of the face and chin. Add two small, oval-shaped eyes with 'C' shaped pupils. Teacher's Tip: Keep your pencil pressure light so you can easily adjust the symmetry of the eyes before moving on.
Step 2: Framing the Hairline
Use overlapping curved lines to create the bangs across the forehead and the hair framing the sides of the face. Tip: Think of these as soft, flowing ribbons to give her hair a natural, voluminous look.
Step 3: Defining the Hair Part
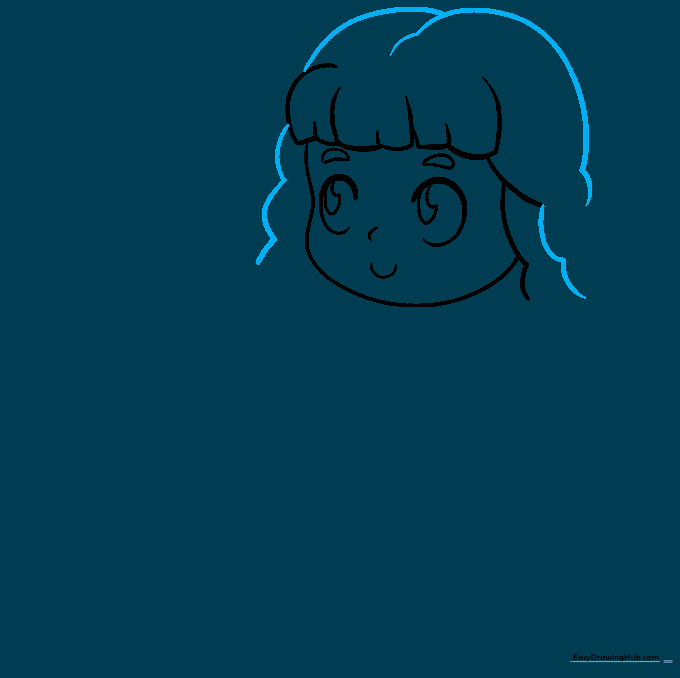
Continue adding wavy, curved lines to the top and sides of the head. Notice how the lines meet at the top to form a part. Tip: Vary the length of your strokes to make the hair look less stiff and more realistic.
Step 4: Completing the Hair Shape
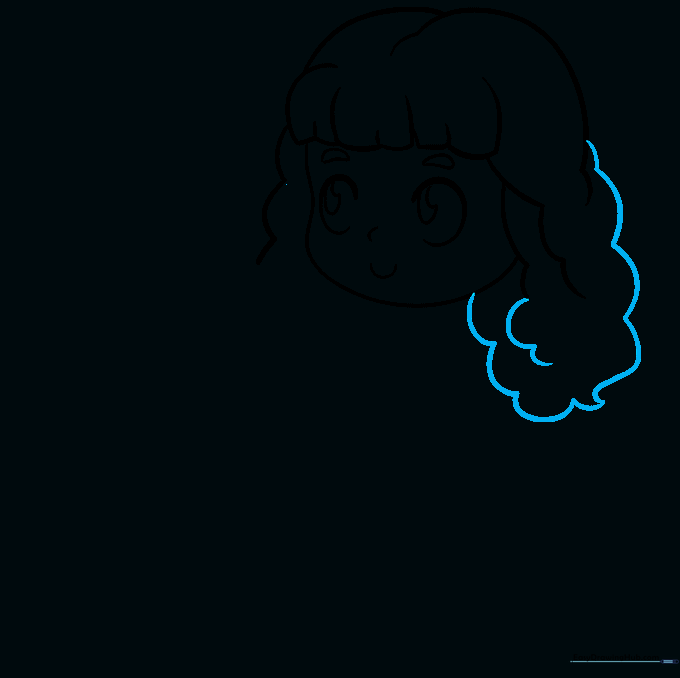
Enclose the long hair using a series of wavy lines that taper to a point at the bottom. Tip: Don't worry about perfect symmetry; hair is naturally messy and organic!
Step 5: Starting the Robe
Draw two long, curved lines below the chin to start the robe. Add overlapping lines for the sleeves. Tip: Make sure the sleeves look like they are draping over her shoulders for a more realistic effect.
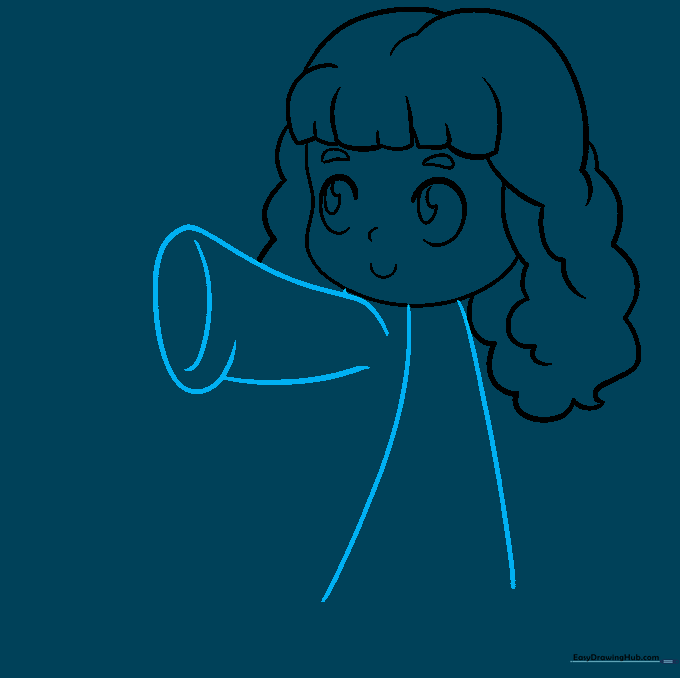
Step 6: Drawing the Wand
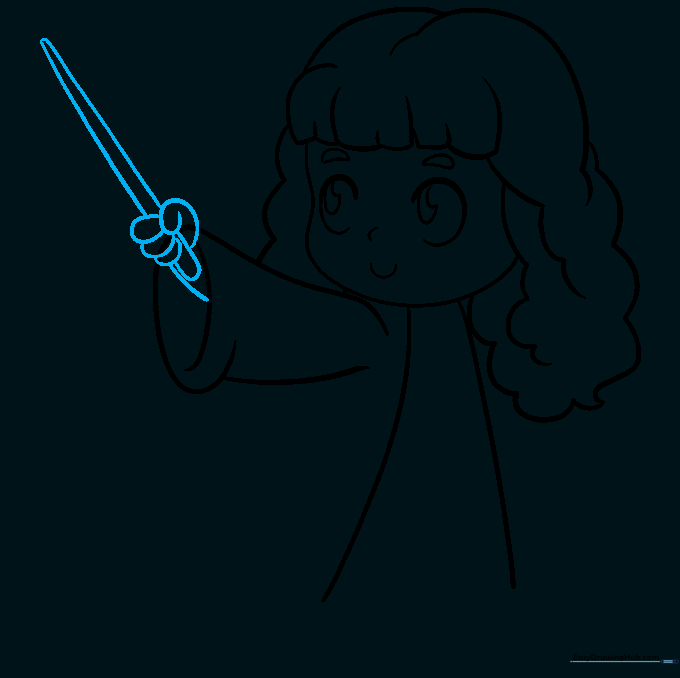
Sketch the forearm and the hand gripping the wand. Extend two lines to form the wand itself. Tip: Keep the wand lines straight and firm to contrast with the softer, wavy lines of the hair.
Step 7: Adding the Second Hand
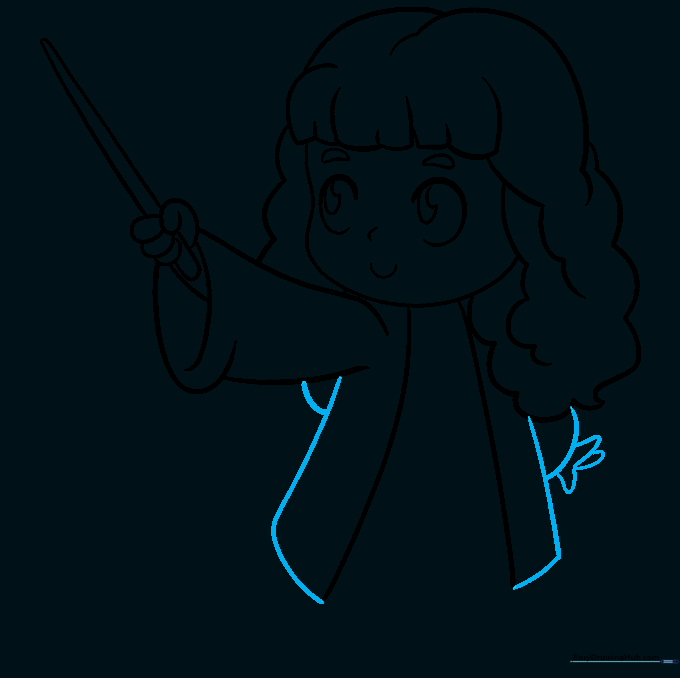
Complete the robe sides and add the second hand using a 'V' shape for the fingers. Tip: Use small, quick strokes to suggest the fingers without needing to draw every knuckle.
Step 8: Adding Uniform Details
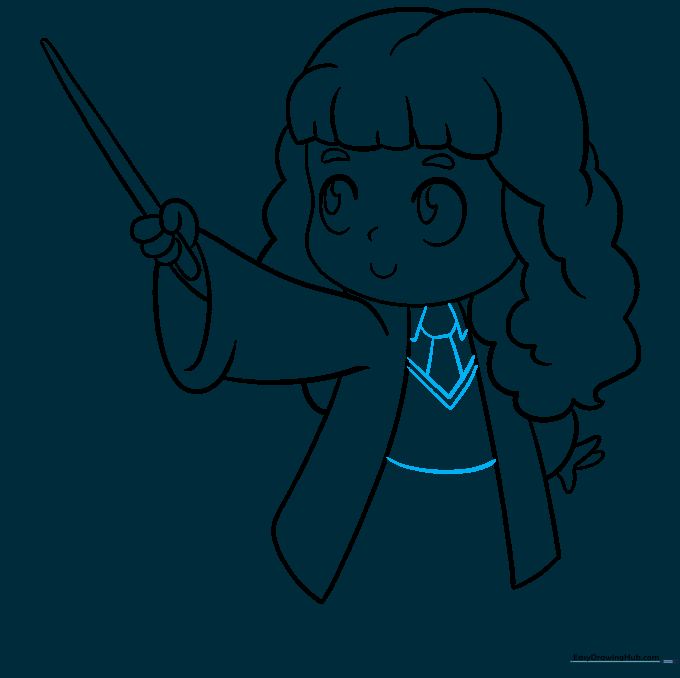
Draw the vest collar and tie using 'V' shapes. Add a curved line for the vest bottom. Tip: Keep these lines clean and sharp to represent the crispness of a school uniform.
Step 9: Finishing the Skirt and Legs
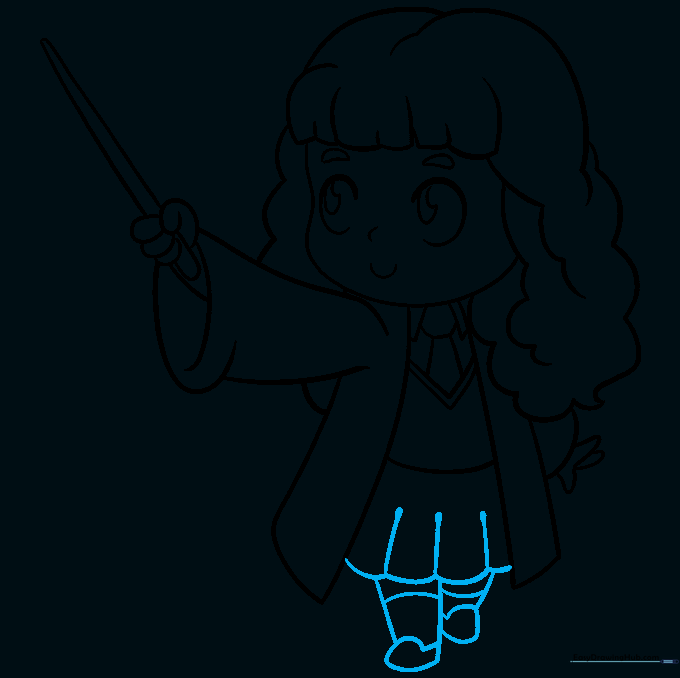
Add the scalloped edges of the skirt and draw the legs with simple lines. Band the legs to represent socks and shoes. Tip: Use a ruler if you want the socks to look perfectly straight!
Step 10: Adding Color
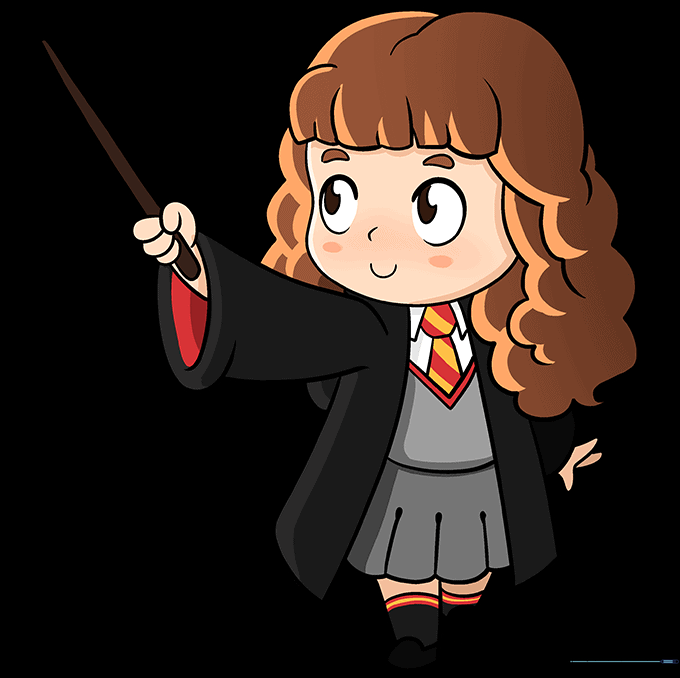
Bring your Hermione to life with color! Use warm browns for her hair and the classic Gryffindor colors for her uniform. Tip: Try using colored pencils to add light shading to the folds of her robe for extra depth.
More Tutorials


