How to Draw Harriet Tubman: Easy 9-Step Portrait Guide
Honor the legacy of Harriet Tubman by creating your own portrait. This tutorial is designed for students and history buffs who want to practice facial proportions and character sketching. All you need is a pencil, an eraser, and a sheet of paper to begin.
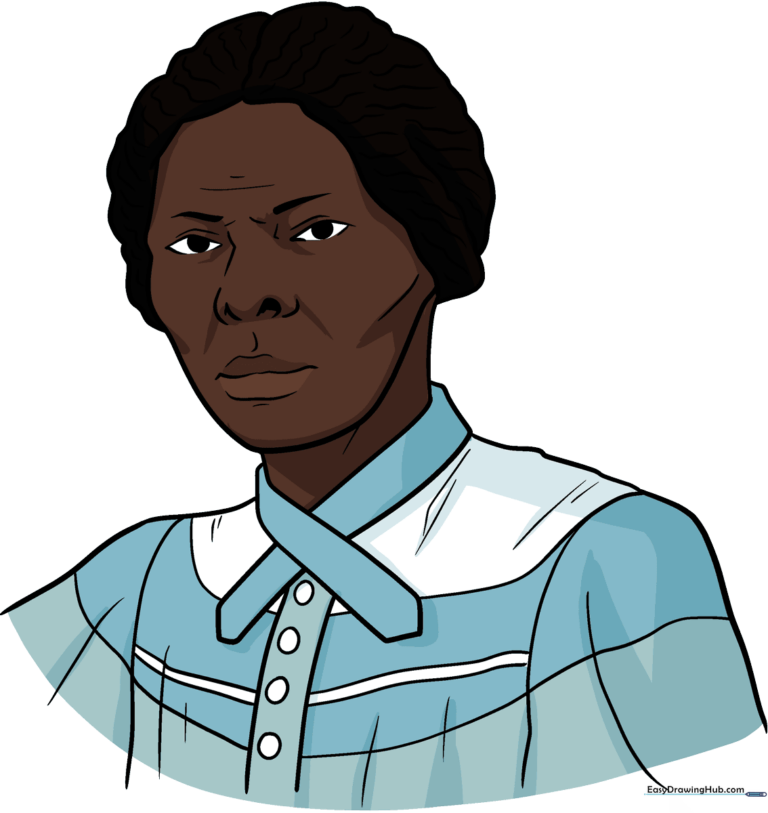
🎯 Final Result
Step-by-Step Instructions
Step 1: Sketching the Eyes
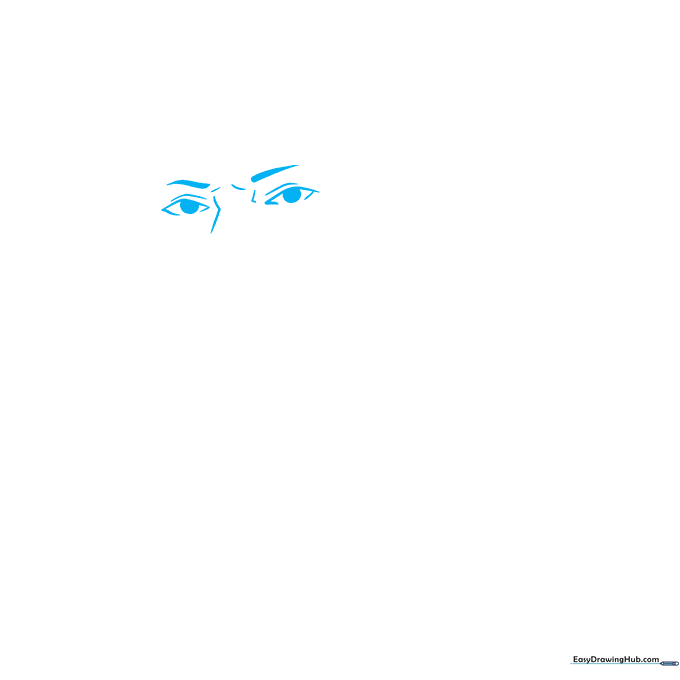
Start by drawing two almond-shaped curves for the eyes and a small bridge for the nose. Tip: Keep your pupils small and centered to give her a thoughtful, focused expression.
Step 2: Defining the Mouth
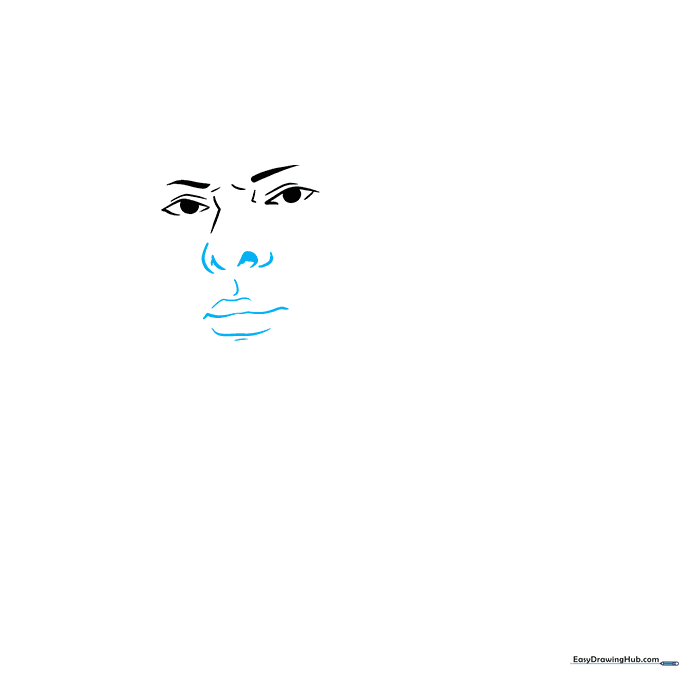
Add the nostrils and lips using gentle, curved lines. Tip: A little shading inside the nostrils adds instant depth, making the face look three-dimensional.
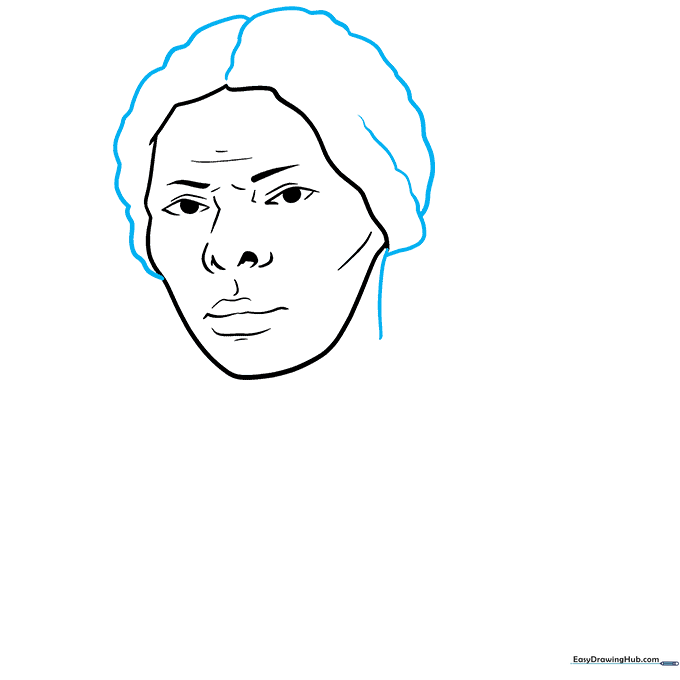
Step 3: Shaping the Face
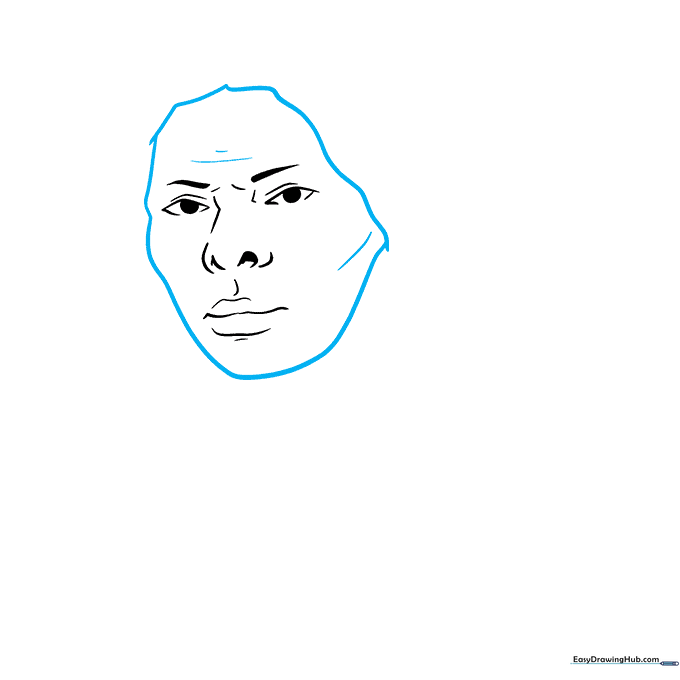
Draw the jawline and forehead using a continuous curved line. Add wavy lines near the hairline to suggest the texture of her hair. Tip: Use a light touch here; you want the face to look soft, not rigid.
Step 4: Adding the Hair
Layer wavy lines to create the hair, ensuring they overlap near the ears and the center part. Tip: Think of hair as 'shapes' rather than individual strands to make it look more natural.
Step 5: Adding Hair Texture
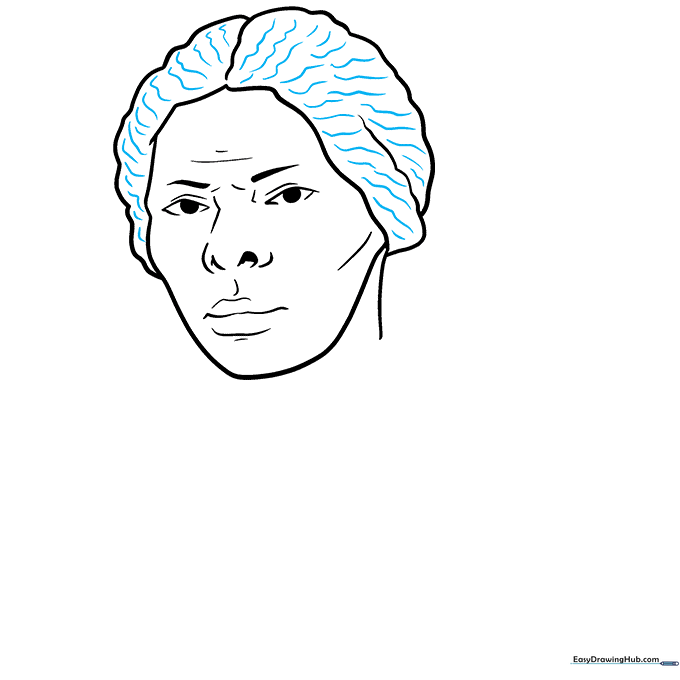
Add smaller, wavy lines throughout the hair to create texture and volume. Tip: Vary the length of your strokes to avoid a 'uniform' look—hair is naturally irregular!
Step 6: Drawing the Collar
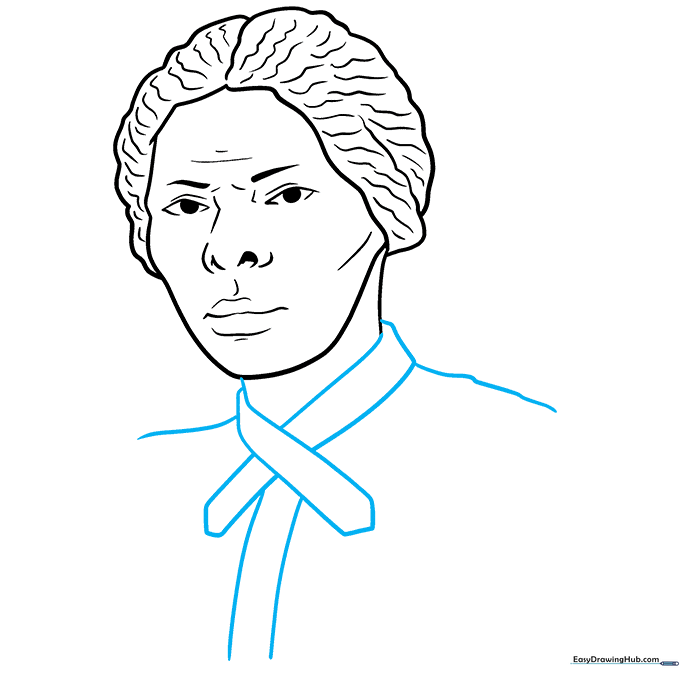
Sketch the collar of her dress using structured, geometric shapes. Tip: Ensure the collar sits symmetrically on both sides of the neck to keep the portrait balanced.
Step 7: Adding Buttons
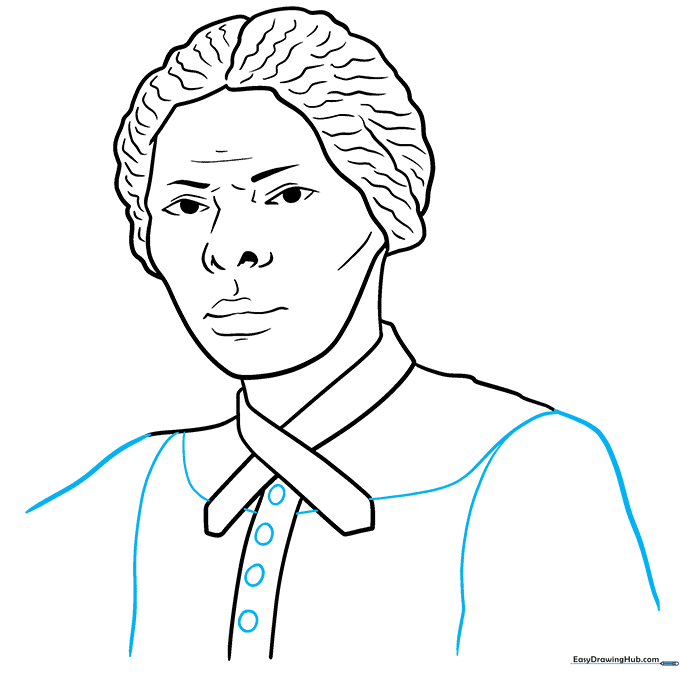
Outline the shoulders and add a series of small circles for the buttons down the front of the dress. Tip: Use a circular object like a coin if you struggle to draw perfect circles freehand.
Step 8: Adding Fabric Folds
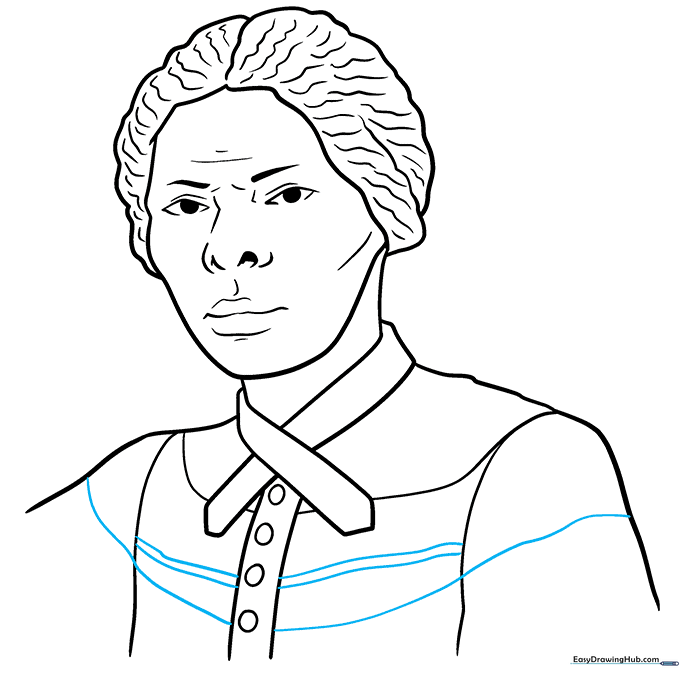
Draw subtle curved lines across the dress to represent fabric folds. Tip: Keep these lines sparse; too many lines can make the drawing look cluttered.
Step 9: Final Contouring
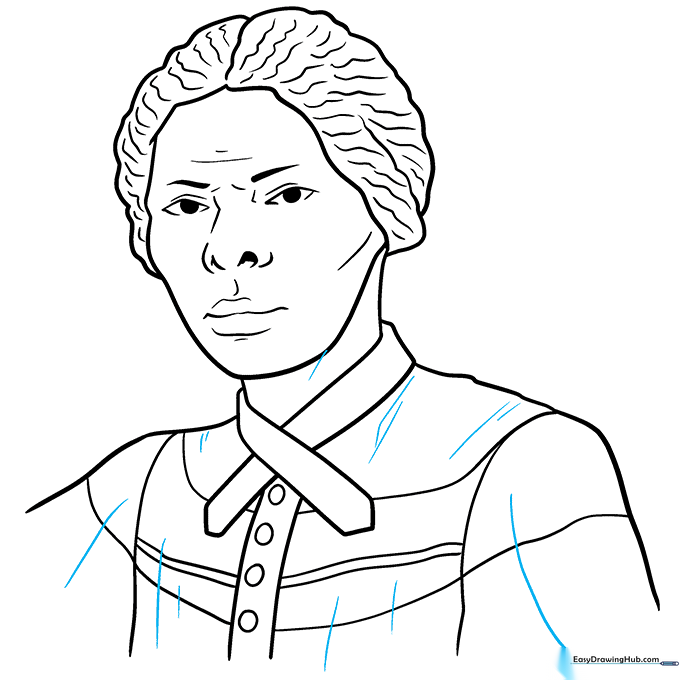
Refine the neck and dress lines with a final, confident pass of your pencil. Tip: Erase any stray guidelines now to clean up your portrait before coloring.
Coloring Your Portrait
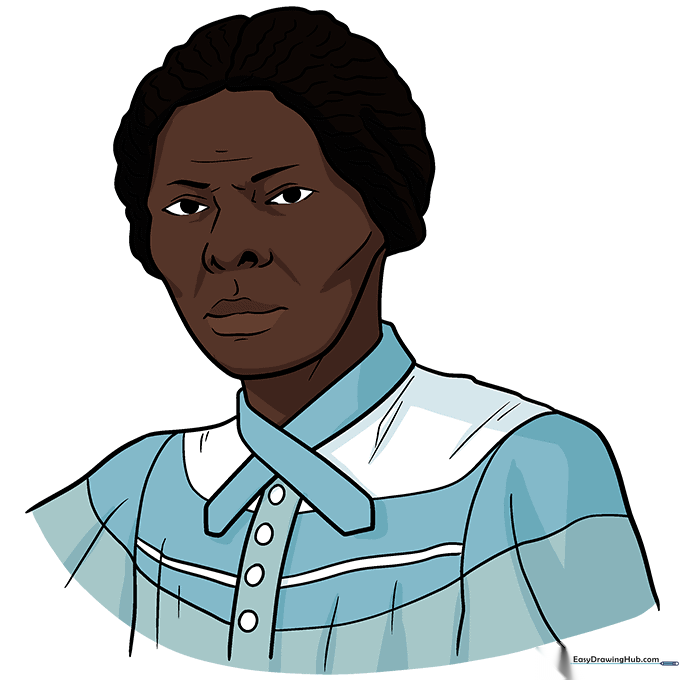
Bring your drawing to life with color! Use warm browns for her skin and dark tones for her hair. Choose a classic color like deep blue or grey for her dress to match the historical era.
More Tutorials


