How to Draw Bubble Letter ‘Happy Birthday’: Easy Step-by-Step
Looking to add a personal touch to your next greeting card? This tutorial is perfect for artists ages 6+ to master the art of bubble lettering. All you need is a pencil, an eraser, and your favorite markers to create a festive, professional-looking message.
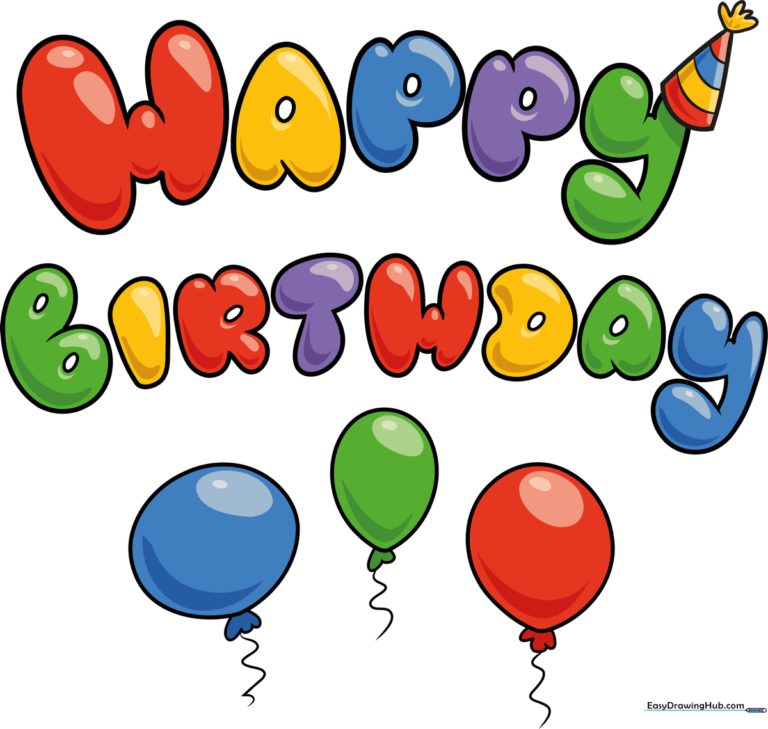
🎯 Final Result
Step-by-Step Instructions
Step 1: Sketching the Letter H
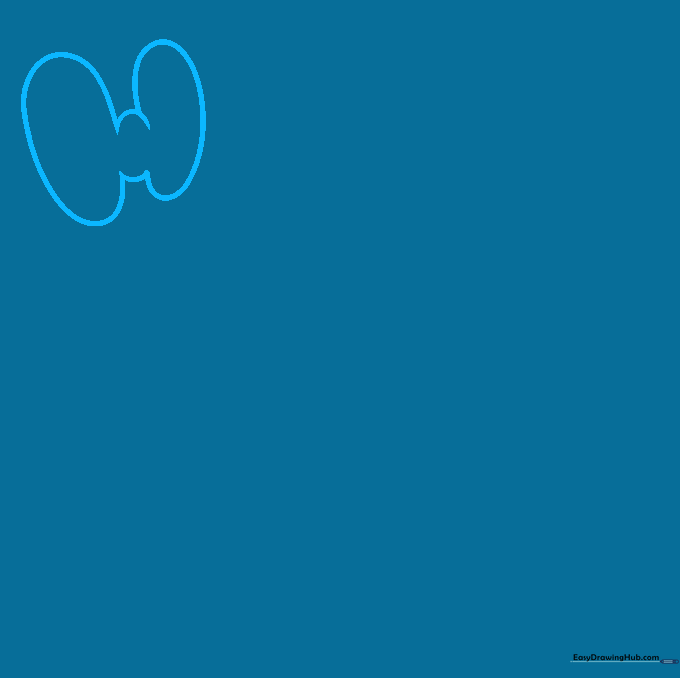
Start by drawing two elongated ovals to form the sides of the 'H'. Connect them with a curved bridge. Teacher's Tip: Keep your pencil lines light so you can easily erase the overlapping lines later for a clean, bubbly look.
Step 2: Forming the A and P
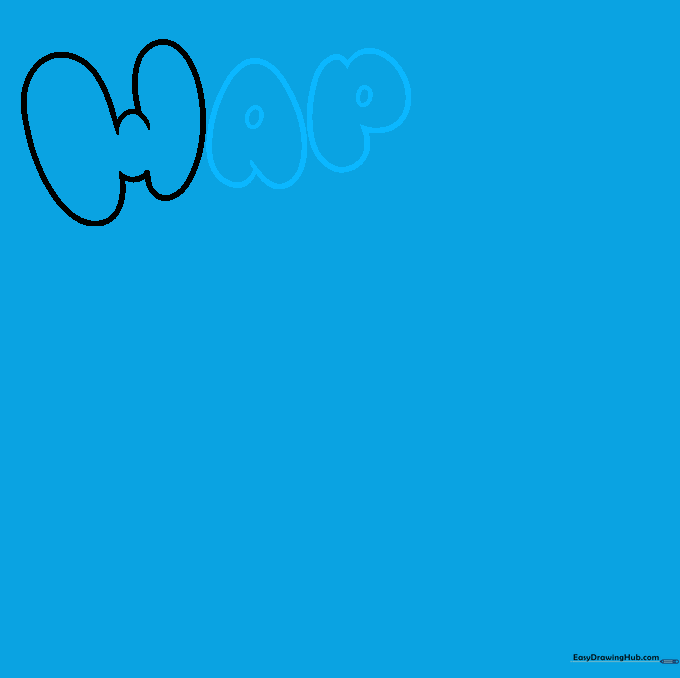
Draw an upside-down heart shape for the 'A' and include a small circle in the center. For the 'P', use a curved line to create a rounded top. Teacher's Tip: If your heart looks a bit pointy, just soften the edges with your eraser to keep the 'bubble' theme consistent.
Step 3: Completing the First Word
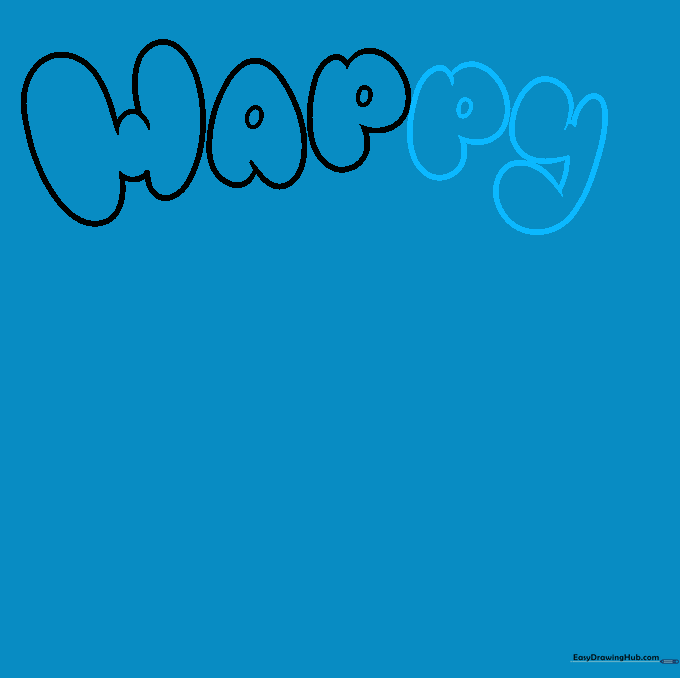
Add the second 'P' and finish the 'Y' using smooth, sweeping curved lines. Teacher's Tip: Make sure your letters are roughly the same height so the word looks balanced across the page.
Step 4: Starting the Second Word
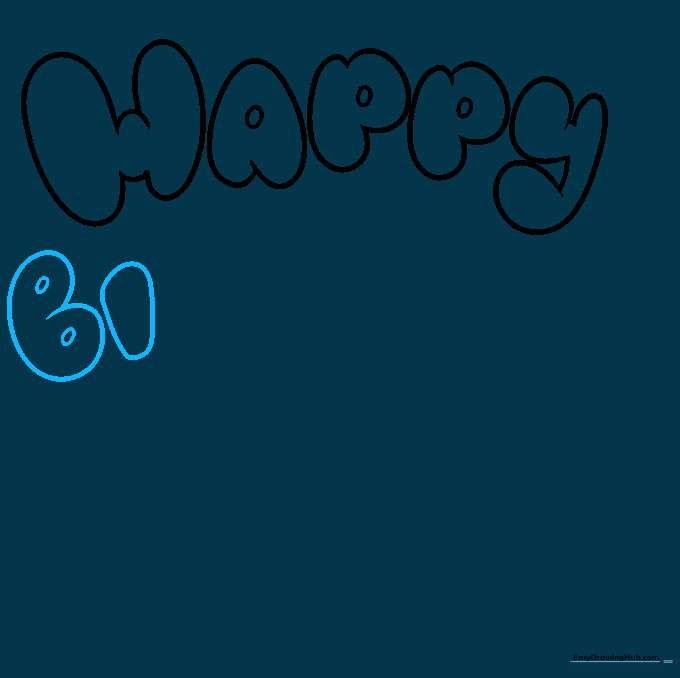
Draw the 'B' with a long curved line and add two small circles inside for the loops. Use a simple rounded shape for the 'I'. Teacher's Tip: Think of these as inflated balloons—the more rounded the corners, the 'bubblier' they look!
Step 5: Adding R and T
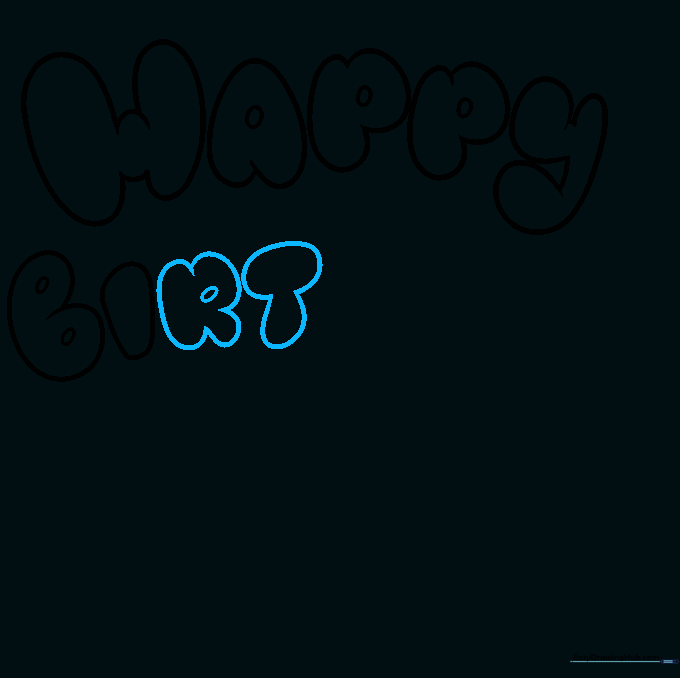
Outline the 'R' with three distinct curved sections and add a 'T' with a wide cross-bar. Teacher's Tip: Keep the 'R' leg curved rather than straight to maintain the playful, cartoon aesthetic.
Step 6: Finishing the Word
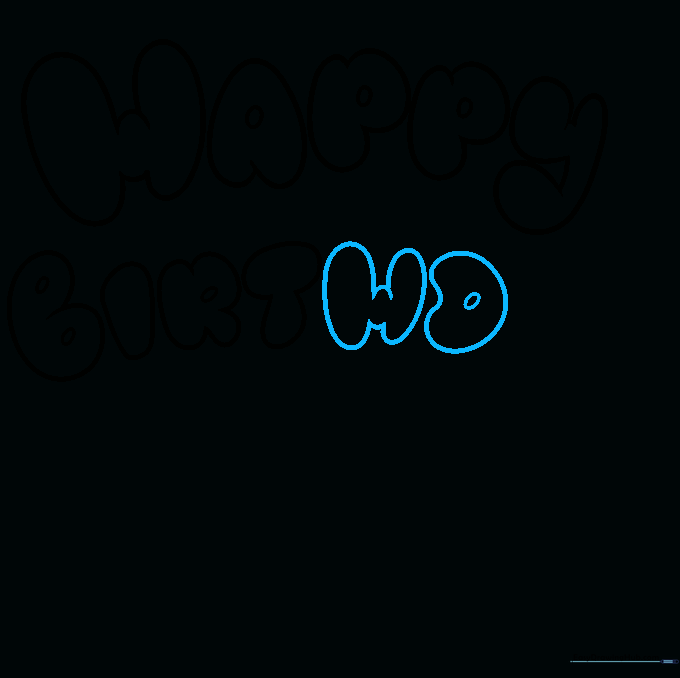
Add the final 'H', 'D', and 'A'. For the 'D', draw a circle with a small gap on one side to give it character. Teacher's Tip: Don't worry if the letters aren't perfectly symmetrical; that's what gives them a fun, hand-drawn look.
Step 7: Final Letter Details

Finish the remaining 'Y' with smooth curves. Teacher's Tip: Review your spacing now—if the letters are too far apart, you can always add small stars or dots in the gaps later.
Step 8: Adding Party Balloons
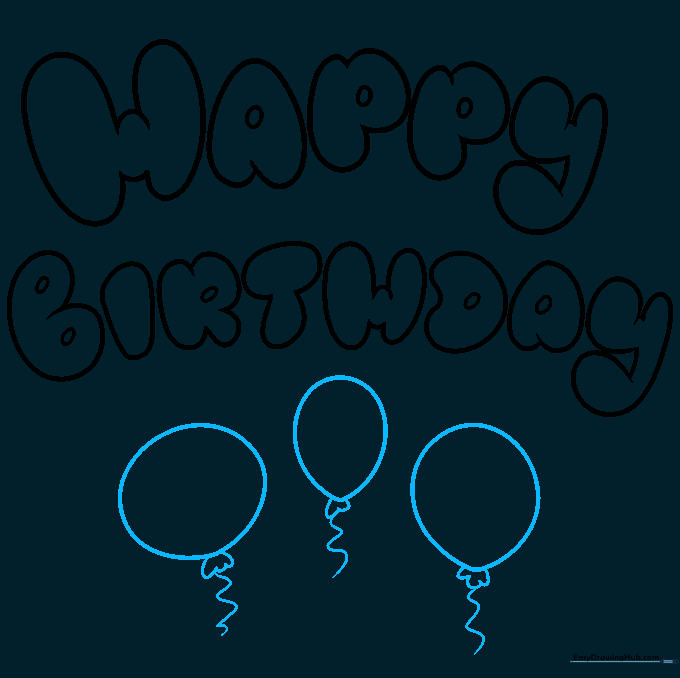
Draw floating balloons beneath your text using circles and scalloped 'U' shapes for the knots. Add wavy lines for the strings. Teacher's Tip: Vary the sizes of the balloons to create depth and movement in your drawing.
Step 9: Adding a Party Hat
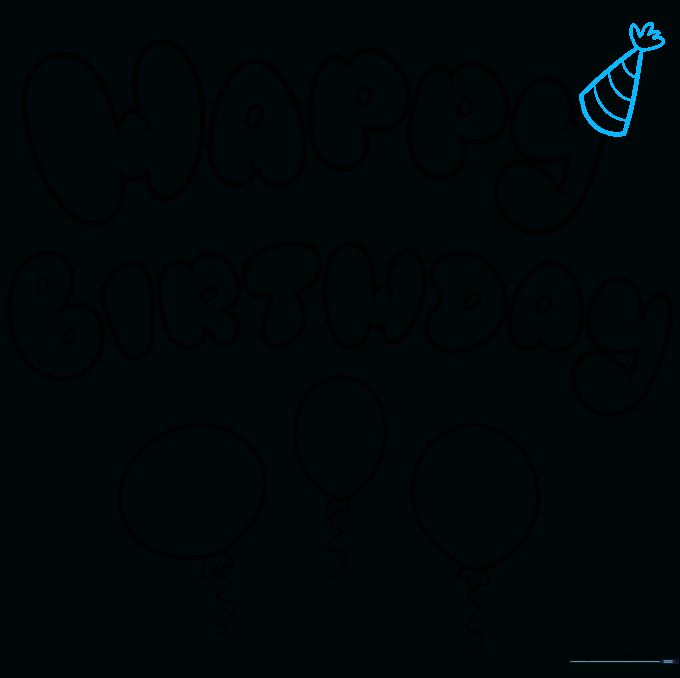
Draw a small party hat perched on the 'Y'. Use a triangle base and add diagonal stripes for texture. Teacher's Tip: Erase any lines from the 'Y' that are covered by the hat to make it look like it's actually sitting on top.
Step 10: Color Your Masterpiece
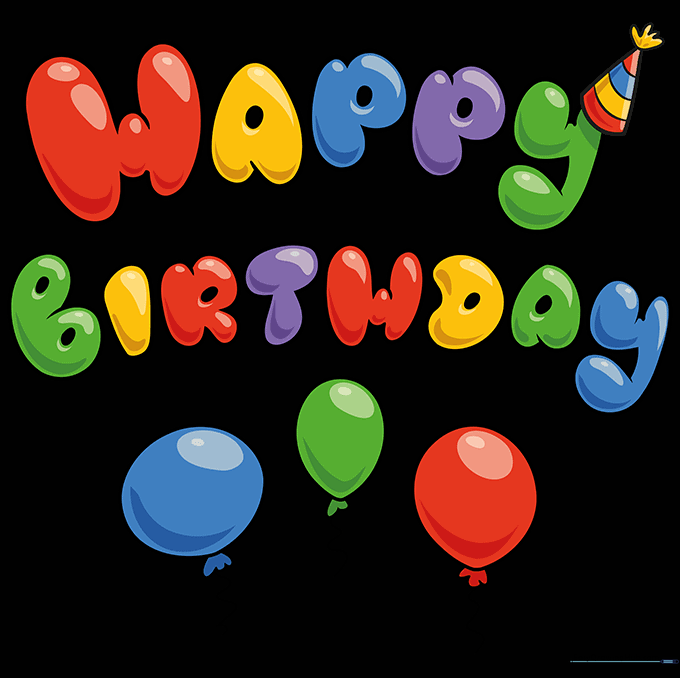
Bring your drawing to life with bright, festive colors! Use markers or colored pencils to fill in the letters and balloons. Teacher's Tip: Try using a different color for each letter to make the 'Happy Birthday' message really pop.
More Tutorials


