How to Draw Handcuffs: Easy 10-Step Guide for Beginners
Looking for a fun, technical drawing challenge? This step-by-step guide is perfect for young artists ages 8+ who want to master metallic textures and geometric shapes. All you need is a pencil, an eraser, and a steady hand to bring these handcuffs to life.
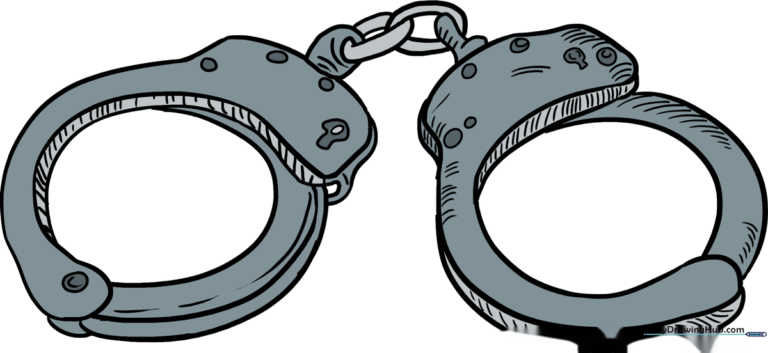
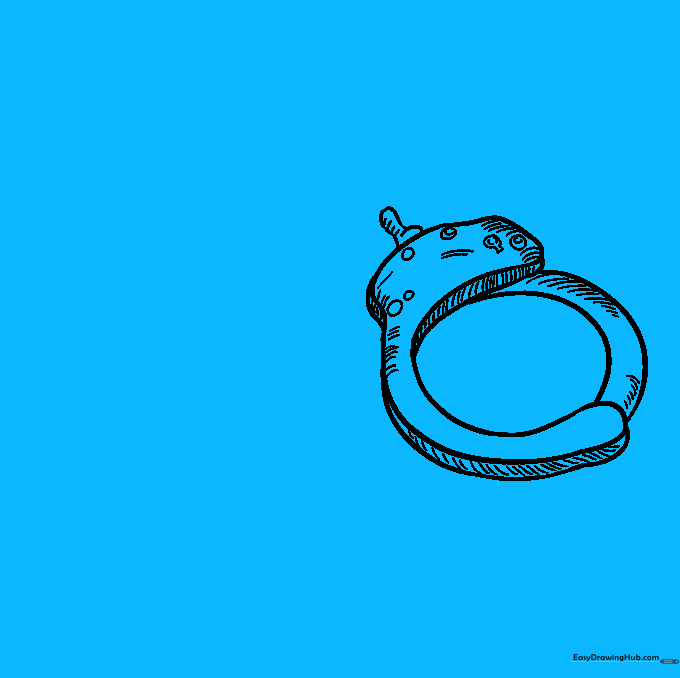
🎯 Final Result
Step-by-Step Instructions
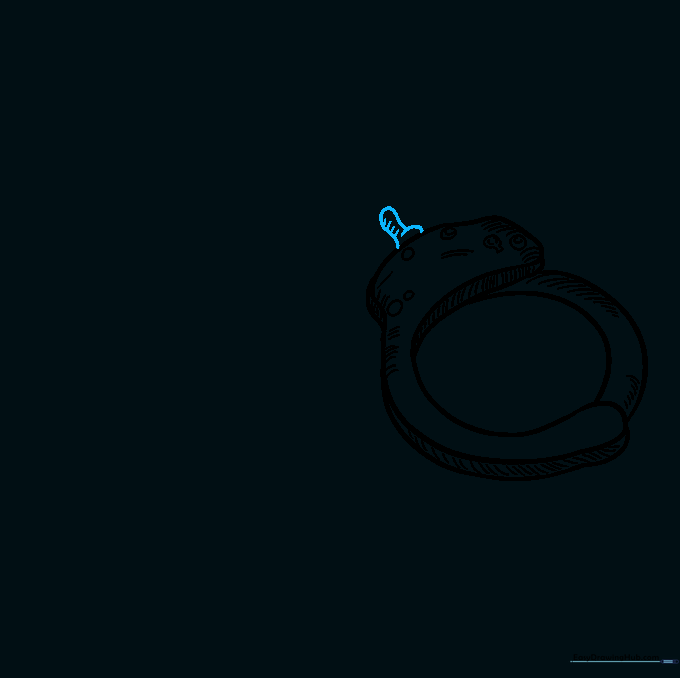
Sketching the Main C-Curve

Draw a long, curved line shaped like a 'C.' Make the top bulge slightly thicker than the rest of the line. Teacher's Tip: Keep your pencil pressure light here so you can easily adjust the shape if it looks a bit lopsided.
Defining the Single Strand
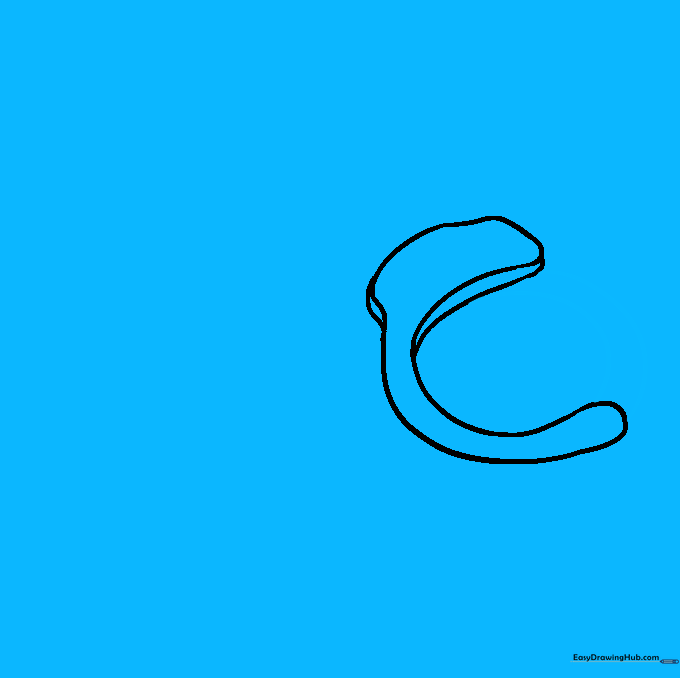
Draw two parallel curved lines to connect the ends of your 'C' shape. This creates the 'single strand' that locks into place. Tip: Try to keep the gap between these two lines even to make the metal look uniform.
Adding Depth to the Cuff
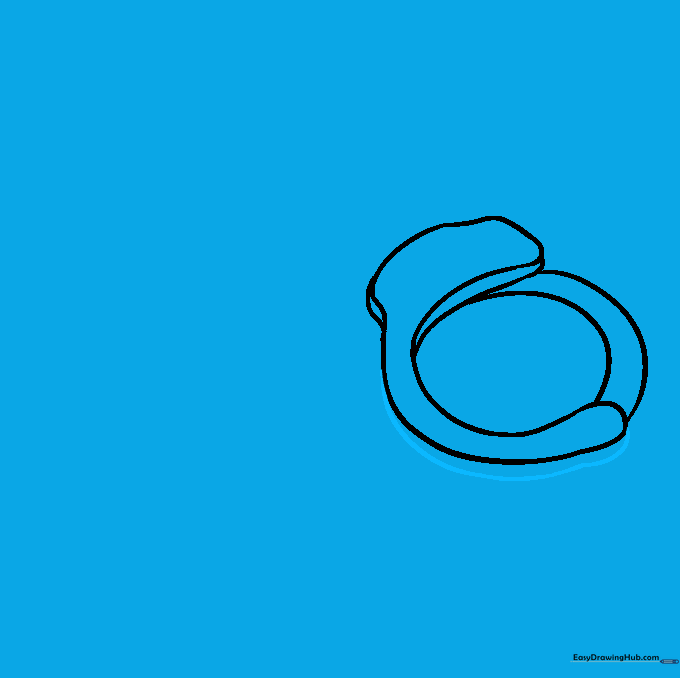
Draw a long curved line mirroring the inside of the 'C.' This creates the illusion of thickness, making the handcuff look like a solid object rather than a flat drawing.
Adding Rivets and Texture
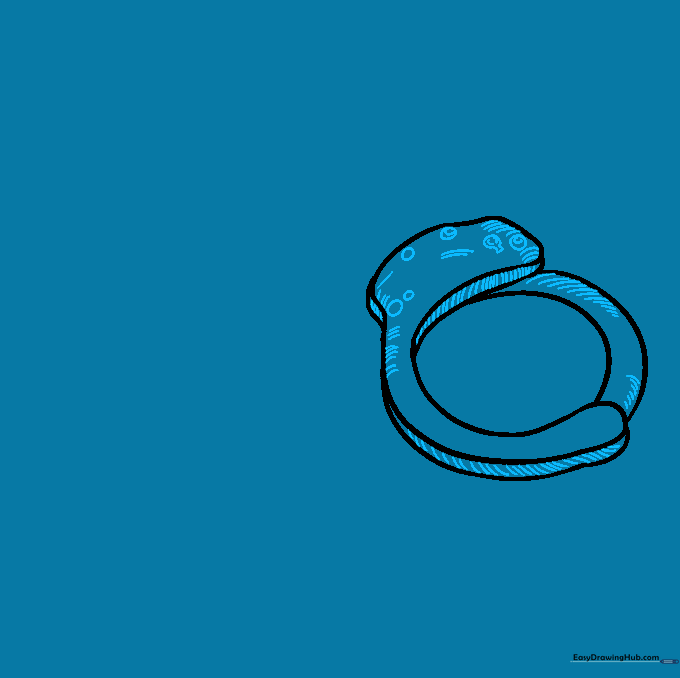
Draw small circles on the bulge to represent the rivets. Now, use 'hatching'—drawing many short, parallel lines—to shade the edges. Tip: Keep your lines close together for darker shadows and further apart for lighter areas.
Drawing the Swivel Joint
Add a small 'L' shape on top of the bulge to create the swivel. This is the pivot point that connects the cuffs. Shade it with light hatching to give it a metallic sheen.
Creating the Chain Link
Draw an oval attached to the swivel, then draw a smaller oval inside it. This forms the first link of the chain. Tip: Ensure the ovals are rounded to make the chain look strong and heavy.
Completing the Chain

Draw another oval at the end of the chain to connect to the second cuff. Erase any overlapping guide lines to keep your drawing clean. Add a small flattened oval inside the link to show the opening.
Drawing the Second Cuff
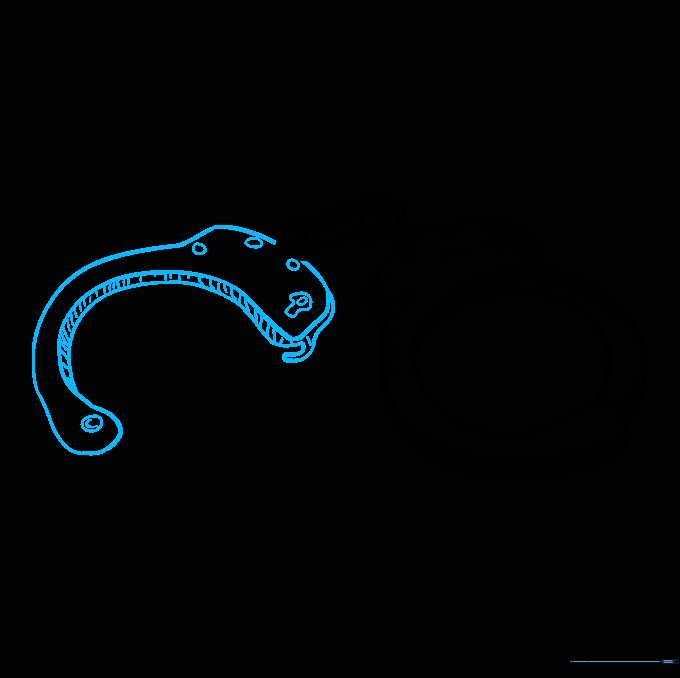
Repeat the process from Step 1 to create the second handcuff. Add the bulge, rivets, and parallel lines. Tip: Make sure the second cuff is roughly the same size as the first for a balanced look.
Finalizing the Second Cuff

Connect the ends of the second 'C' with three curved lines to finish the single strand. Add hatching to the inner curves to maintain consistency with the first cuff.
Adding Color and Polish

Use shades of silver, grey, or black to color your handcuffs. Focus on leaving a white streak in the middle of the metal to represent a highlight. Great job—you've finished your drawing!
More Tutorials


