How to Draw Guy Fawkes: Easy 10-Step Drawing Guide
Bring history to life with this engaging Guy Fawkes drawing tutorial, designed for artists ages 8 and up. You will need a pencil, eraser, and paper to follow along with these clear, structured steps. By the end, you'll have a detailed character sketch that captures the iconic historical look.
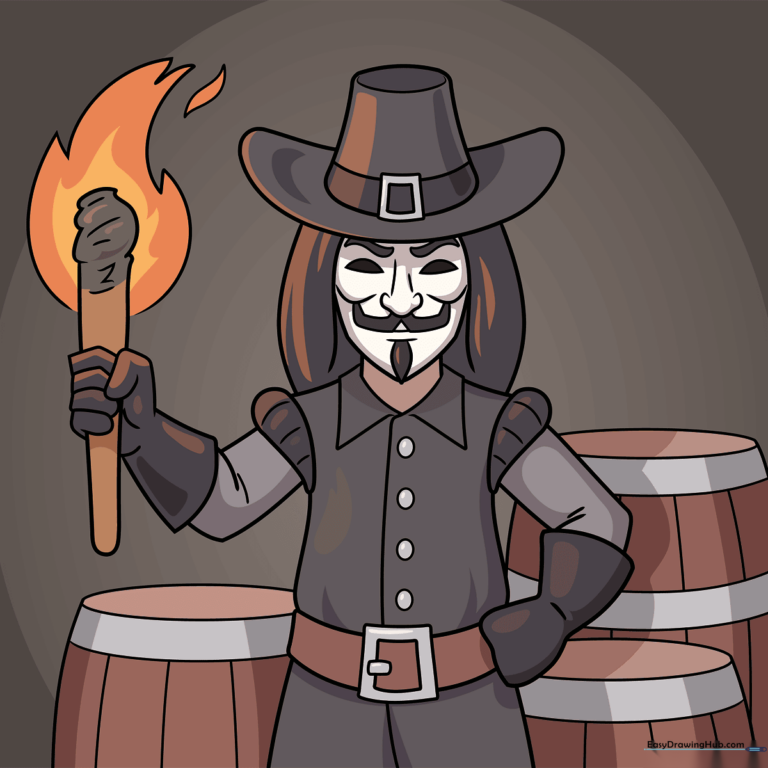
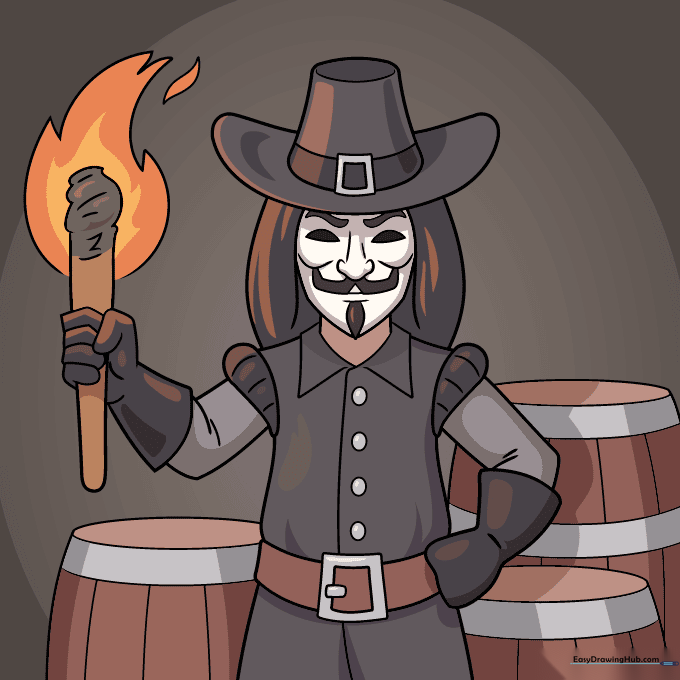
🎯 Final Result
Step-by-Step Instructions
Step 1: Sketching the Facial Features
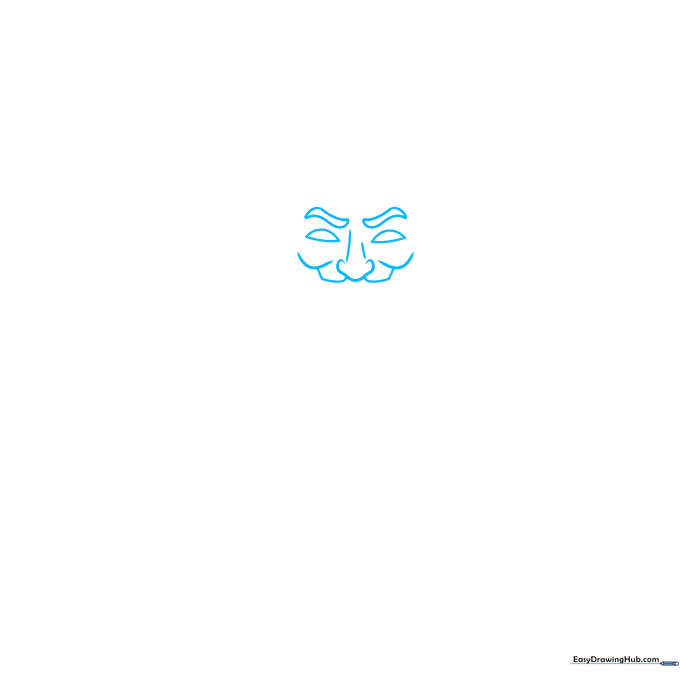
Draw the eyes using two semi-ovals. For the nose, sketch two diagonal lines, a horizontal U-shape, and two vertical C-shapes. Add a curve on each side of the nose, connecting them with boxy shapes. Tip: Keep your pencil pressure light so you can adjust the symmetry of the eyes later.
Step 2: Defining the Face and Hat Brim
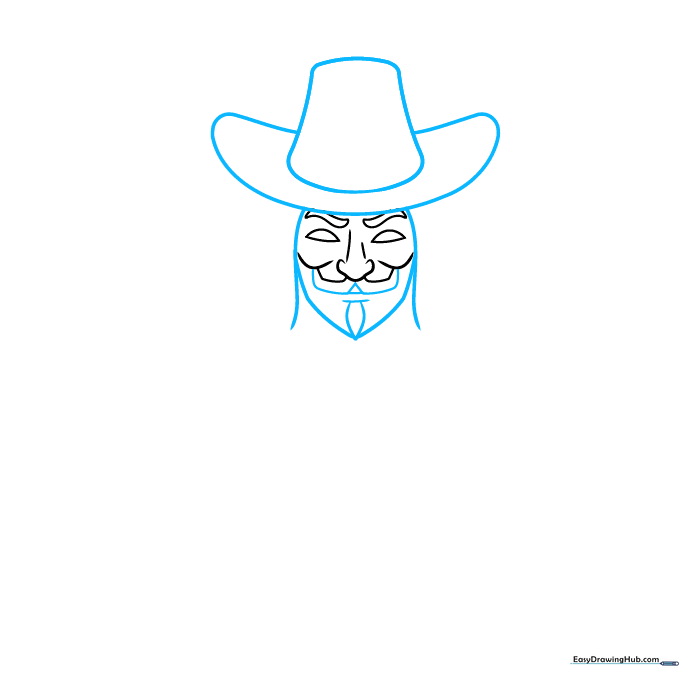
Add wavy lines on each side of the face and outline the chin using a triangle and two diagonal lines. Below the nose, draw a straight line with a small triangle and vertical dashes for the mouth. Sketch a wide, banana-shaped brim above the head. Tip: The 'banana' shape for the hat should be slightly wider than the face to create a realistic perspective.
Step 3: Constructing the Neck and Hat
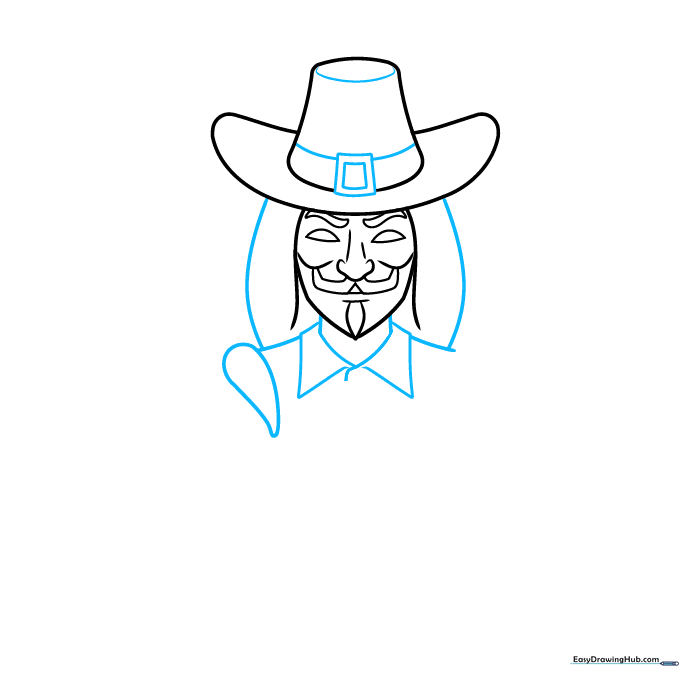
Sketch a triangle and two straight lines for the neck, adding triangles on either side for the collar. Outline the shoulders with diagonal lines and add curves on the sides of the head. Inside the hat, draw two squares. Tip: Ensure the neck is centered beneath the chin to keep the character balanced.
Step 4: Drawing the Arms

Sketch a teardrop shape on the right side. On the left, outline the arm with diagonal lines, using large bean shapes to represent the fingers. Tip: Use loose, rounded lines for the fingers to make them look natural rather than stiff.
Step 5: Adding the Torch
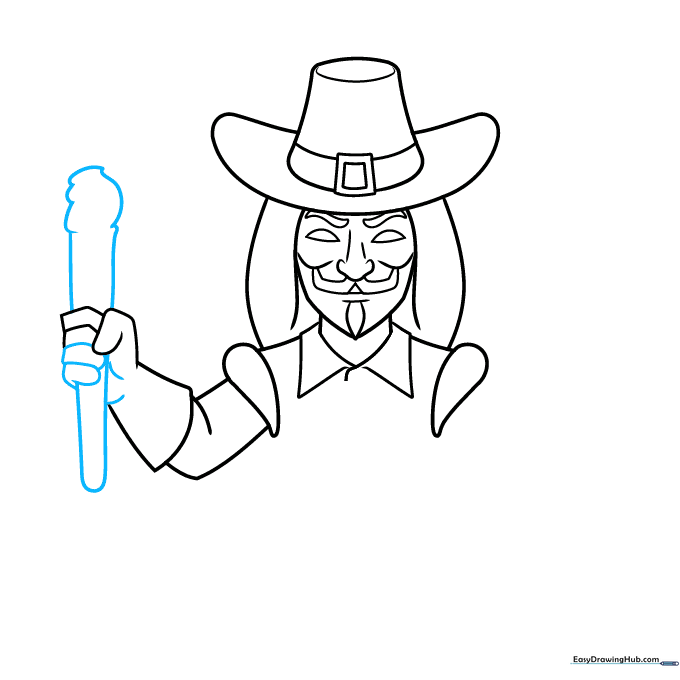
Draw two more fingers and sketch a long cylinder with a curvy, whipped-cream-like shape on top to represent the torch. Tip: The 'whipped cream' shape is actually the flame base—keep the curves irregular to make it look like flickering fire.
Step 6: Finalizing the Arms and Flame

Add the right arm using diagonal lines and a broad heart shape for the fist. On the left, outline the flame using loose, sketchy curves. Tip: Use quick, flicking motions with your pencil to create the jagged look of a flame.
Step 7: Drawing the Belt and Body
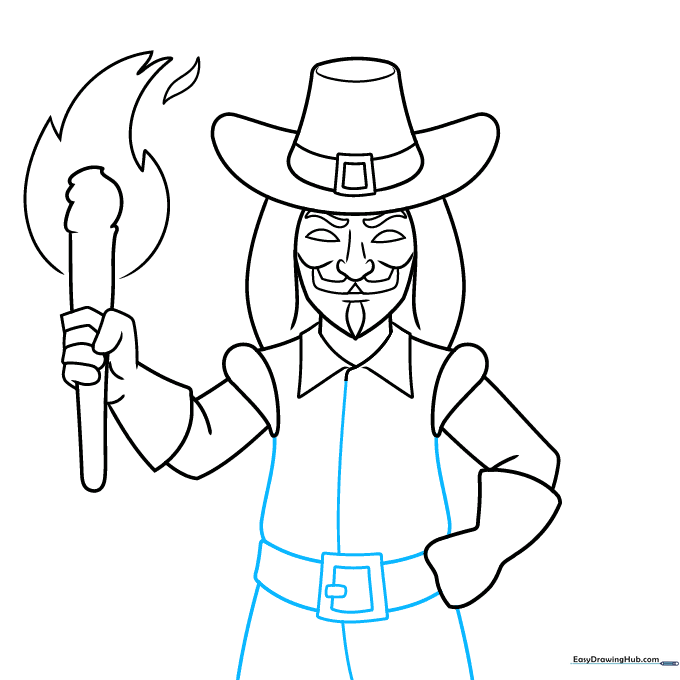
Sketch the buckle with two squares and a small rectangle. Add horizontal curves behind the buckle and complete the body with long vertical lines. Tip: Use a ruler if you struggle with straight lines, but try freehand first to build your confidence!
Step 8: Adding Texture and Background
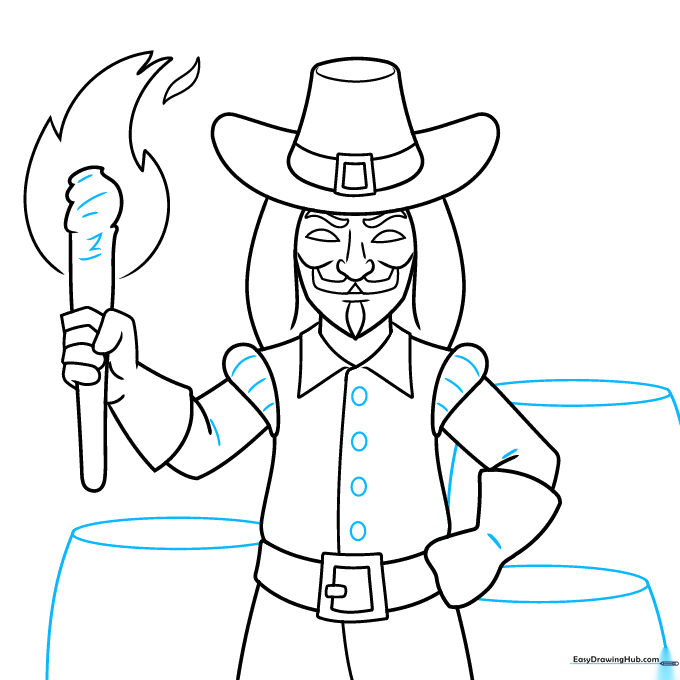
Sketch lines and circles inside the torch and clothing to add detail. In the background, sketch three wide ovals and vertical curves. Tip: These background shapes help ground your character in a scene.
Step 9: Final Outlining
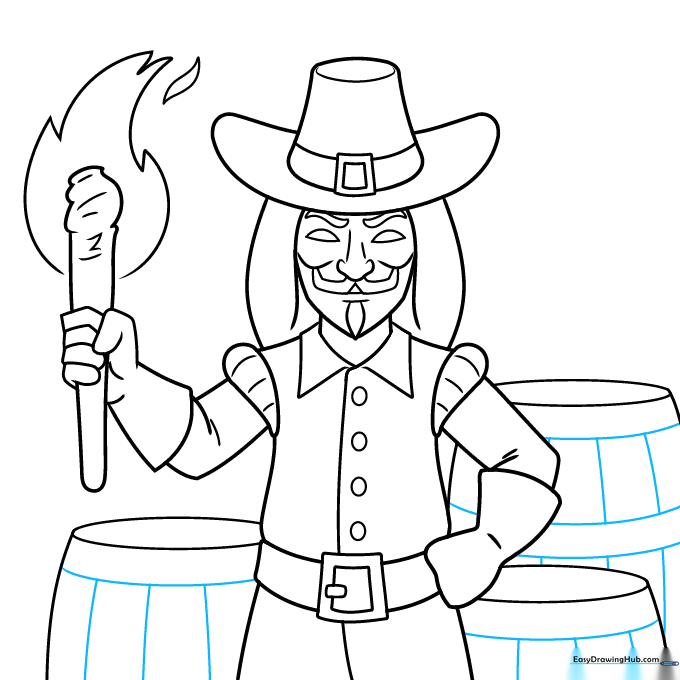
Draw curved lines inside the barrels to give them volume. Finally, go over your pencil lines with a black ink pen. Tip: Take your time with the ink; use slow, steady strokes to ensure clean, crisp lines.
Step 10: Adding Color
Use black, grey, and white for the mask, and shades of grey for the outfit. Use brown for the belt, barrels, and torch. Make the flame a bright, vibrant orange. Tip: Use light grey for shadows on the mask to give it a more three-dimensional look.
More Tutorials


