How to Draw Gru: Easy 10-Step Cartoon Tutorial
Bring the iconic villain-turned-hero to life with this step-by-step drawing guide. Designed for young artists and beginners, this activity requires only a pencil, paper, and an eraser. Follow along to master Gru's unique silhouette and expressive features.
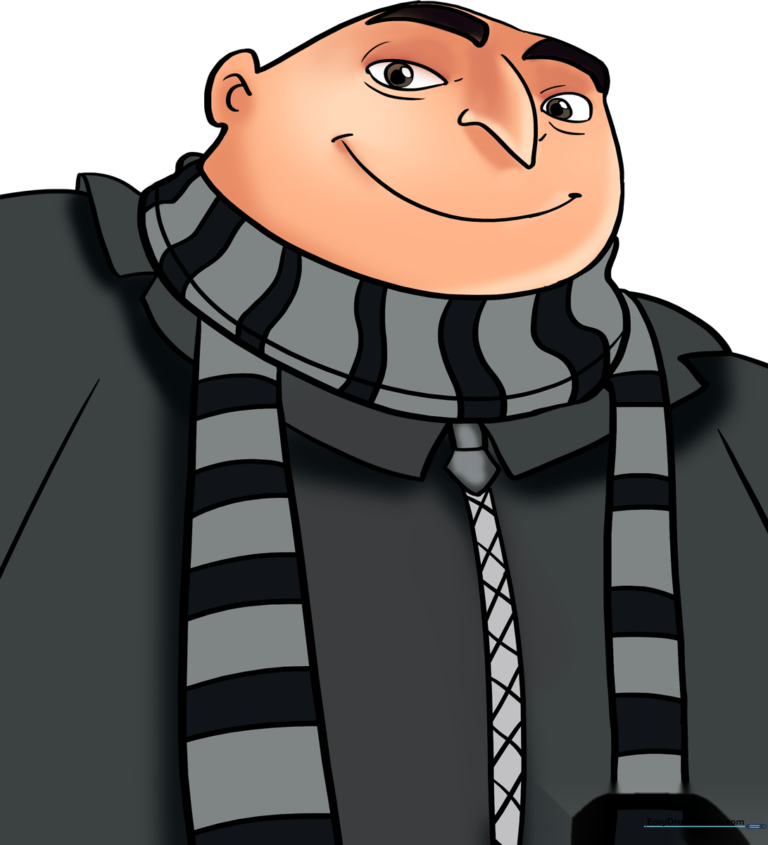
🎯 Final Result
Step-by-Step Instructions
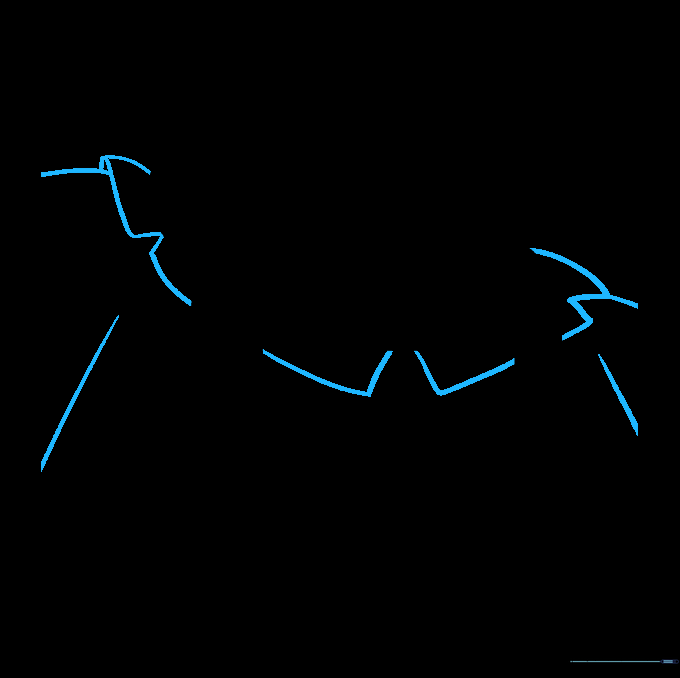
Step 1: Sketching the Head
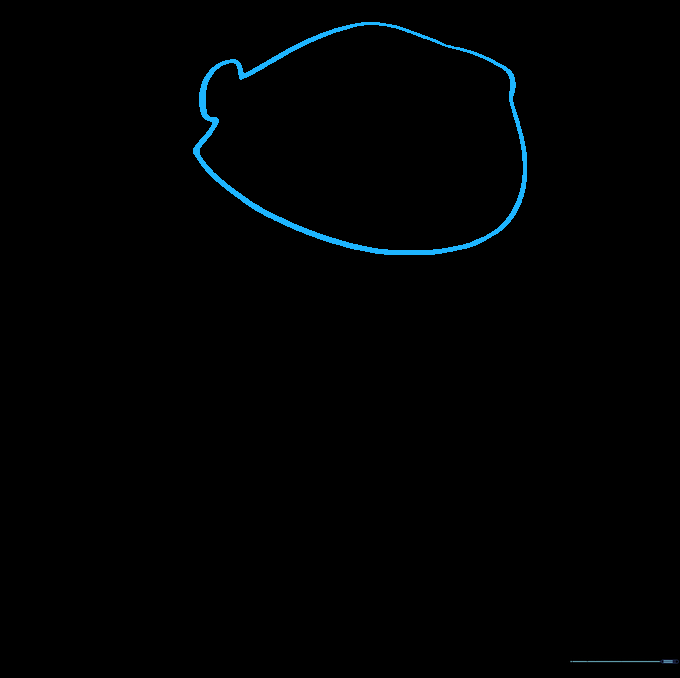
Sketch the outline of Gru's head using curved lines. Teacher's Tip: Keep your pencil pressure light so you can easily adjust the shape of his signature ear later.
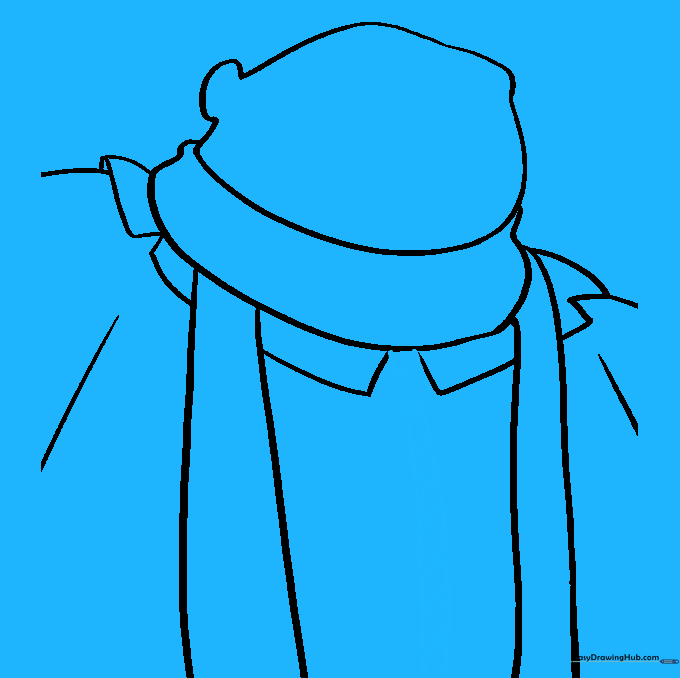
Step 2: Starting the Scarf
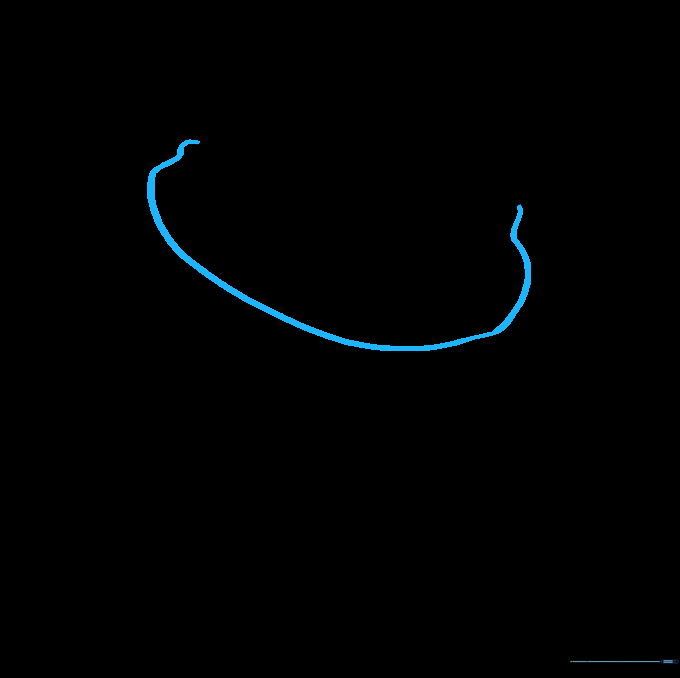
Outline the top of Gru's scarf with a long, curved line tucked under the chin. Teacher's Tip: Think of this as a soft collar; keep the curve smooth to show the fabric's weight.
Step 3: Extending the Scarf
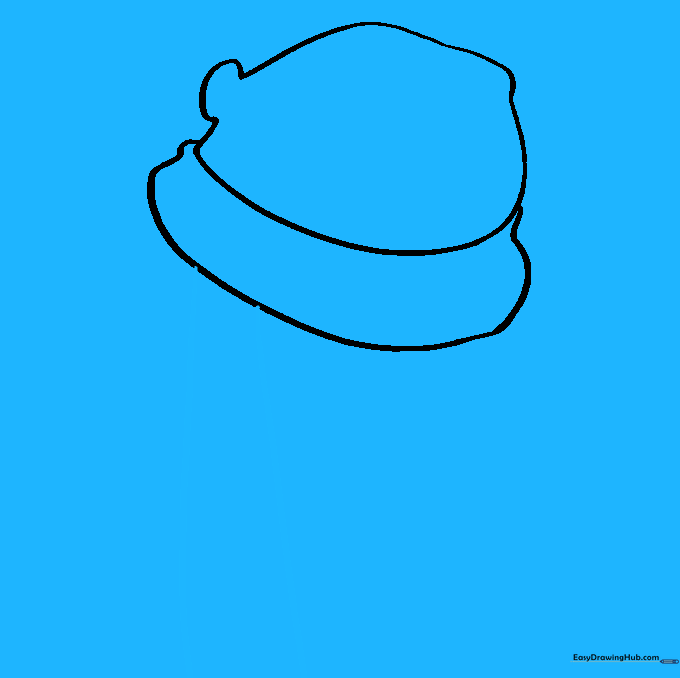
Extend two long, straight lines downward from the scarf wrap. Teacher's Tip: Make sure these lines are parallel to give the scarf a clean, structured look.
Step 4: Completing the Scarf Ends

Draw the opposite end of the scarf using curved lines to show movement. Teacher's Tip: Varying the curve slightly makes the scarf look like it's draped naturally.
Step 5: Sketching the Jacket
Add the jacket collar using rectangular shapes and extend lines for the shoulders. Teacher's Tip: Use a 'V' shape for the center to give the jacket a realistic, sharp appearance.
Step 6: Adding the Zipper
Draw the zipper detail with a square and an inverted pentagon, then add 'X' patterns down the center. Teacher's Tip: Keep the 'X' marks small and uniform for a tidy look.
Step 7: Detailing the Scarf
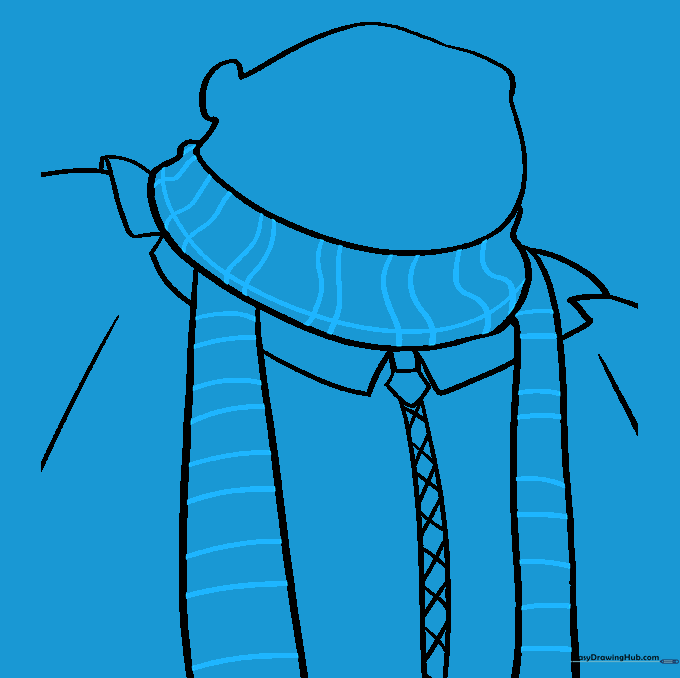
Add stripes to the scarf with pairs of curved lines. Teacher's Tip: Space them evenly to make the pattern look professional.
Step 8: Facial Features

Draw the eyebrows, nose, and a wide, smiling mouth. Teacher's Tip: Use a 'V' shape for the nose to capture Gru's distinct profile.
Step 9: Eyes and Ears
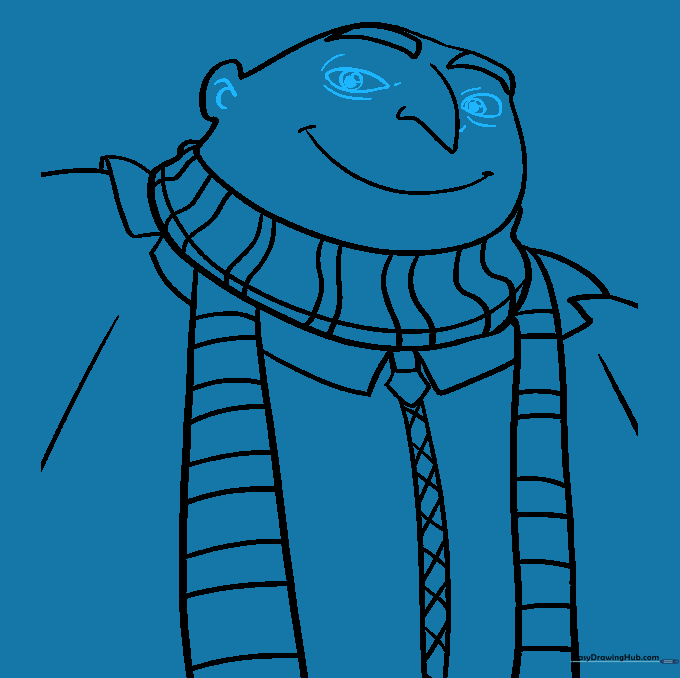
Add the inner ear details and the eyes with three concentric circles. Teacher's Tip: Shade the center circle to make his eyes pop!
Step 10: Final Coloring

Color your Gru using shades of black and grey. Teacher's Tip: Use light grey for the scarf stripes to create contrast against the dark jacket.
More Tutorials


