How to Draw Grapes: Easy 10-Step Guide for Kids
Ready to draw a delicious bunch of grapes? This tutorial is perfect for young artists ages 5 and up. You will only need a pencil, an eraser, and some colored pencils to bring your fruit to life while practicing overlapping shapes and leaf details.
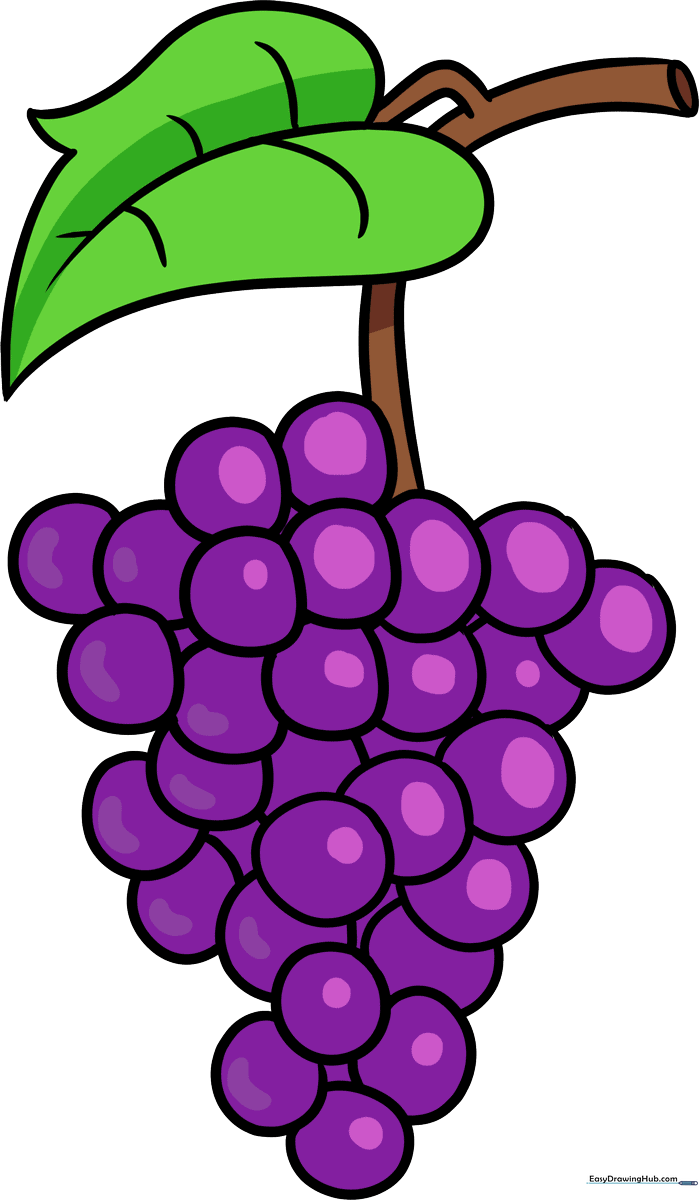
🎯 Final Result
Step-by-Step Instructions
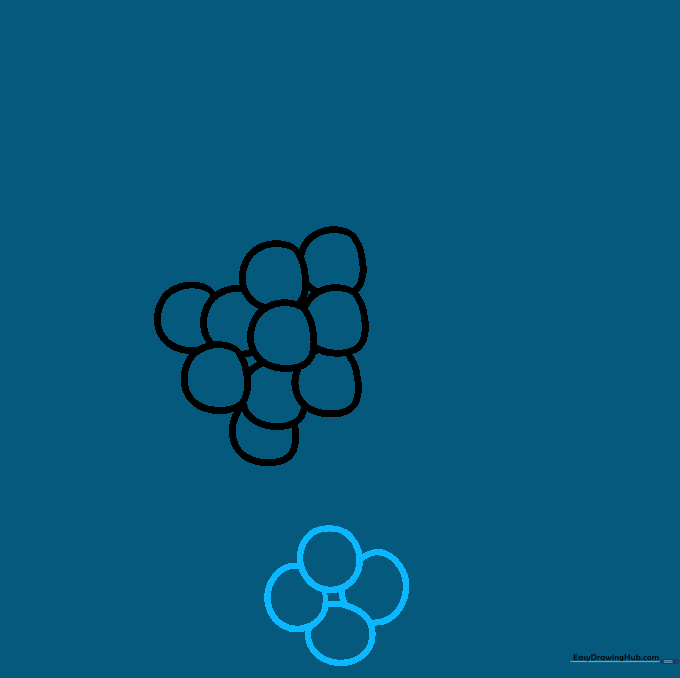
Step 1: Starting the Top Cluster

Draw a small circle to represent the top grape. Add a few more circles around it, letting them overlap. Teacher's Tip: Keep your pencil lines light so you can easily erase the hidden lines later.
Step 2: Expanding the Bunch
Add a second layer of circles beneath your first group. Tip: Vary the size of your circles slightly to make the bunch look more natural and organic.
Step 3: Defining the Cluster Shape
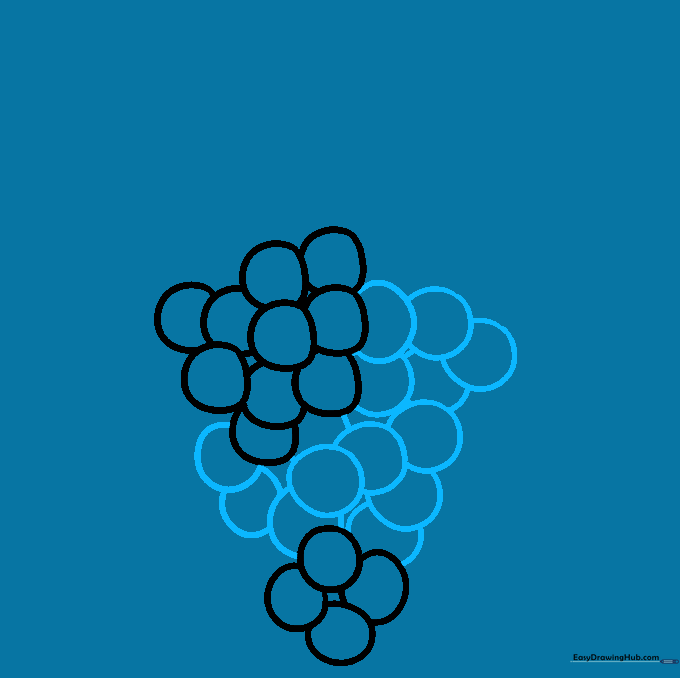
Continue adding circles until you have an inverted triangle shape. Tip: Don't worry about making them perfect; grapes in nature are rarely perfectly round!
Step 4: Drawing the Main Stem
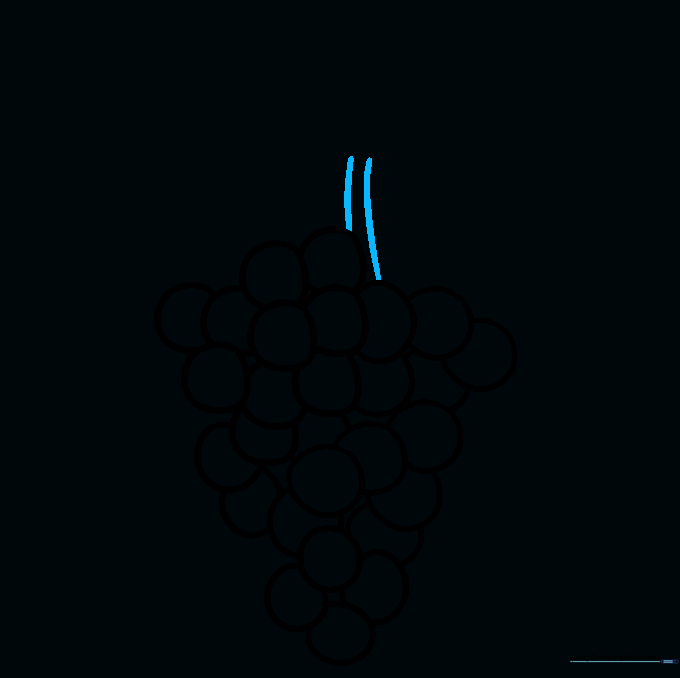
Draw two short, parallel curved lines extending upward from the top of your cluster. This creates the main stem. Tip: Imagine the grapes are hanging from a vine.
Step 5: Outlining the Leaf
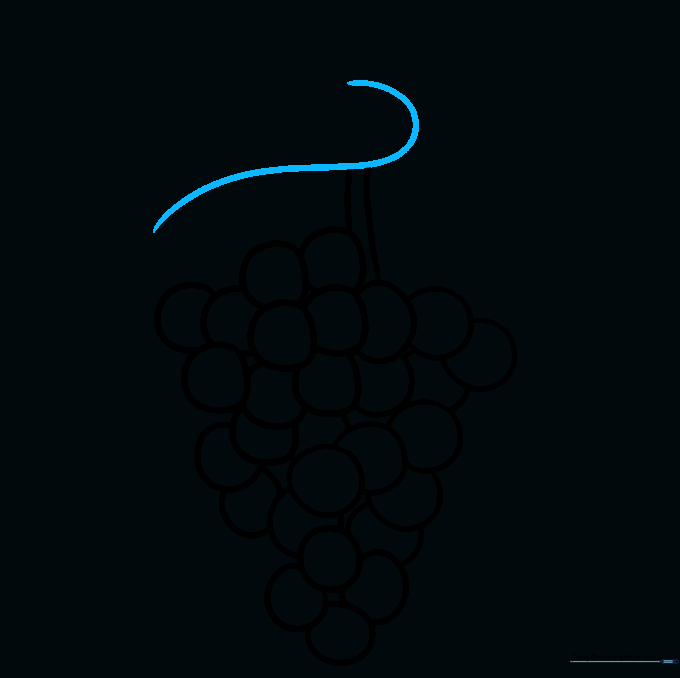
Sketch a large, wavy line above the grapes to start your leaf. Tip: Use loose, flowing wrist movements to get that natural, jagged leaf edge.
Step 6: Completing the Leaf Shape
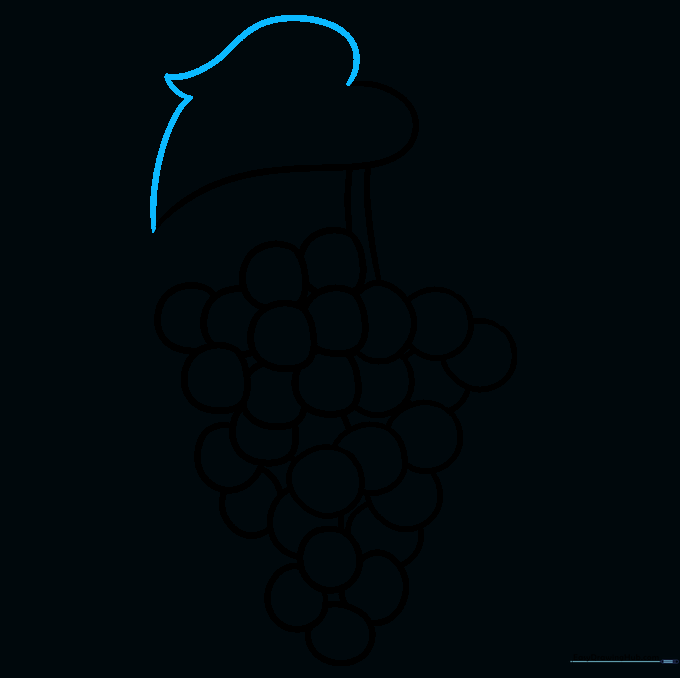
Connect your lines to finish the heart-like shape of the leaf. Add a small 'V' notch to give it that classic grape leaf look.
Step 7: Adding Leaf Veins
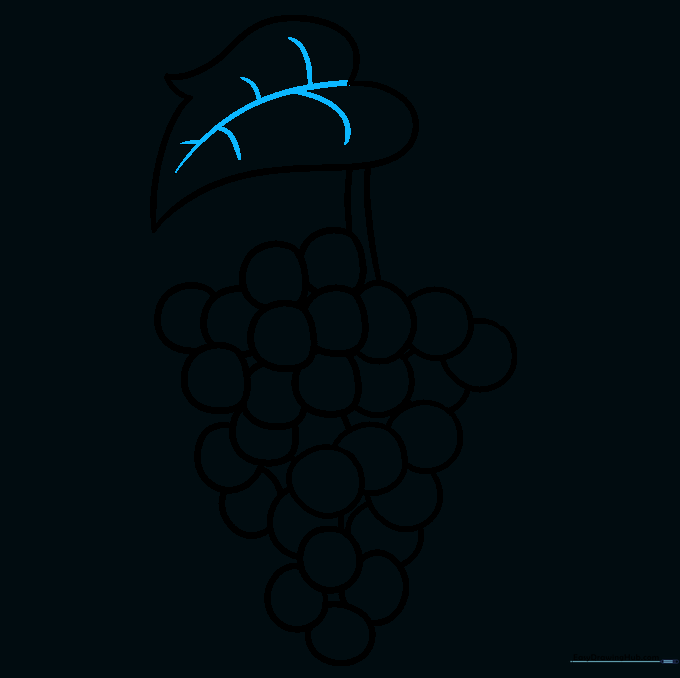
Draw a line down the center of the leaf, then add smaller diagonal lines for the veins. Tip: Keep these lines thin and delicate.
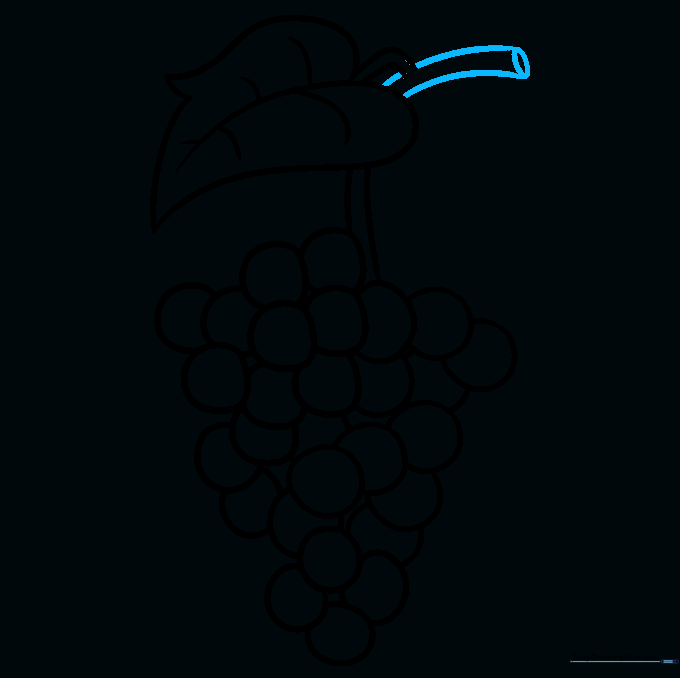
Step 8: Extending the Vine

Draw a curved line from the base of the leaf to create a secondary vine. Tip: This adds movement and makes your drawing look more professional.
Step 9: Finalizing the Vine
Connect the vine to the leaf and add a small oval at the end to show where it attaches to the main plant. You've finished the outline!
Step 10: Adding Color
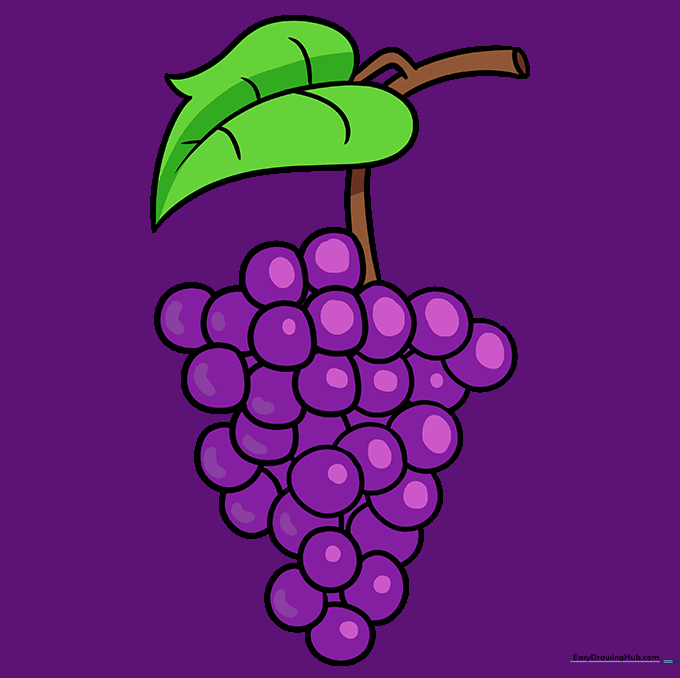
Time to color! Use deep purples, vibrant greens, or reds. Tip: Leave a small white spot on each grape to represent a highlight—this makes them look juicy!
More Tutorials


