How to Draw a Graduation Cap: Easy 10-Step Guide
Celebrate academic achievements by drawing your own graduation cap! This tutorial is perfect for artists ages 5 and up. You will only need a pencil, an eraser, and your favorite markers or crayons to complete this fun, screen-free art project.
🎯 Final Result

Step-by-Step Instructions
Step 1: Sketching the Top Square

Start by drawing a rhombus—a slanted square with equal sides. This forms the flat mortarboard top. Teacher's Tip: Keep your pencil pressure light so you can easily adjust the shape if needed.
Step 2: Adding Depth to the Top
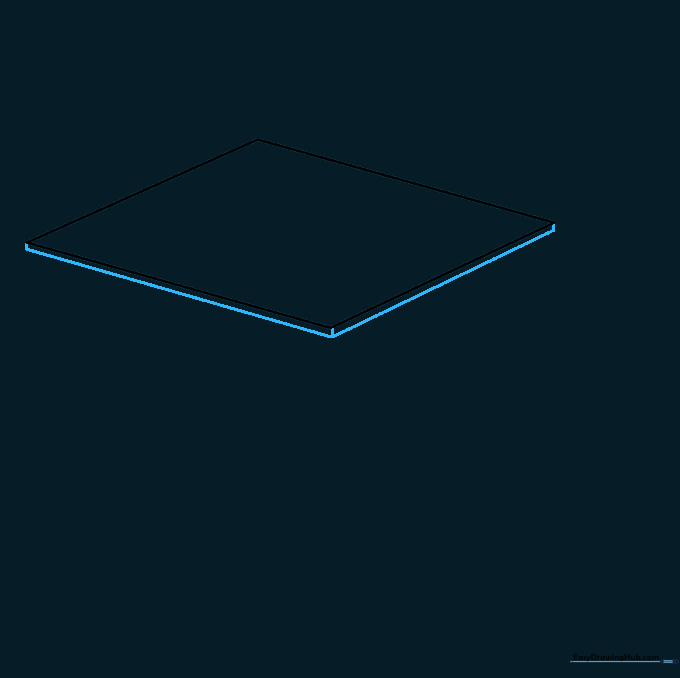
Draw short lines parallel to two sides of the rhombus and connect them to the corners. This creates the 'thickness' of the board. Teacher's Tip: Think of this as drawing the edge of a book cover.
Step 3: Sketching the Cap Base
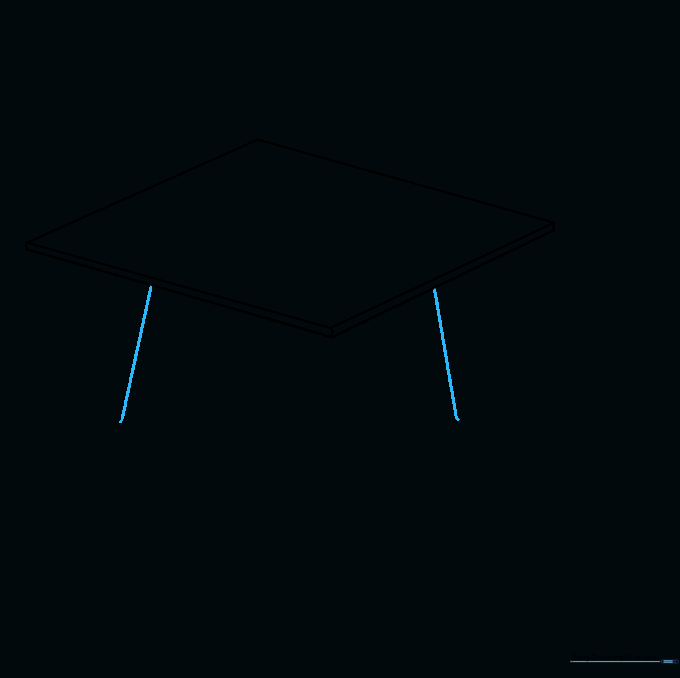
Draw two diagonal lines descending from the top section. Make sure they angle slightly outward. Teacher's Tip: Use a ruler if you struggle with straight lines, but freehand is great for practice!
Step 4: Closing the Cap

Connect the bottom of your diagonal lines with a soft, curved line. This creates the opening where the head goes. Teacher's Tip: A gentle curve makes the cap look more natural and less like a box.
Step 5: Drawing the Tassel Button

Draw a small oval in the center of the top square. Add a tiny curved line inside to give it volume. Teacher's Tip: This is the anchor point for your tassel, so place it right in the middle.
Step 6: Sketching the Tassel String
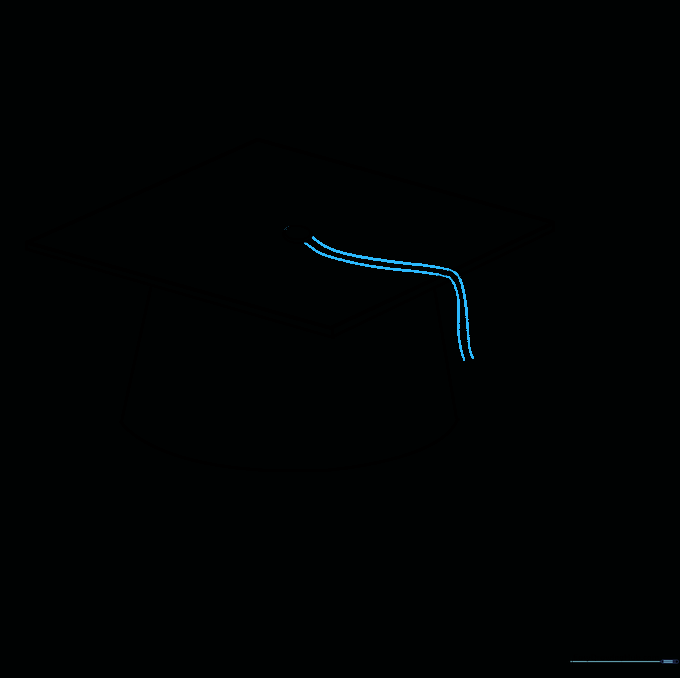
Draw two parallel curved lines flowing from the button to the edge of the cap. Teacher's Tip: Imagine the string is made of soft fabric—let it 'droop' naturally over the side.
Step 7: Cleaning Up

Carefully erase any overlapping lines where the tassel string meets the cap edge. Teacher's Tip: Use a clean eraser to keep your drawing looking professional and crisp.
Step 8: Starting the Tassel

Draw a circle at the end of the string, followed by small, flattened ovals below it. Teacher's Tip: These ovals create the 'fringe' effect of the tassel.
Step 9: Adding Tassel Texture

Extend long, curved lines from the tassel and connect them with a zigzag pattern at the bottom. Add small lines for texture. Teacher's Tip: Vary the length of your lines to make the tassel look like real thread.
Step 10: Adding Color

Color your cap! Black is traditional, but feel free to use your school's colors. Teacher's Tip: Use a metallic gold marker for the tassel to make it pop against the dark cap.
More Tutorials


