How to Draw Goofy: Easy 10-Step Cartoon Guide
Bring Disney’s most lovable character to life with this simple, step-by-step drawing tutorial. Designed for artists ages 5 and up, this activity requires only a pencil, paper, and an eraser. Follow along to master Goofy’s iconic expressions and build your cartooning confidence.
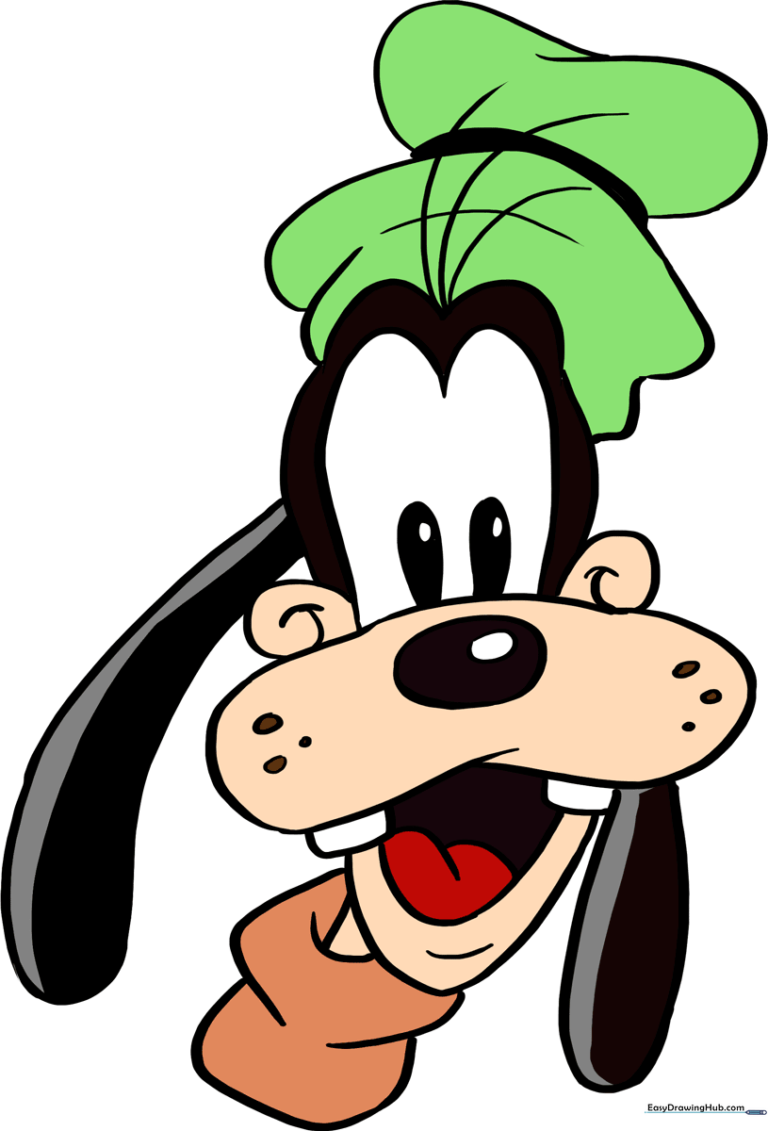
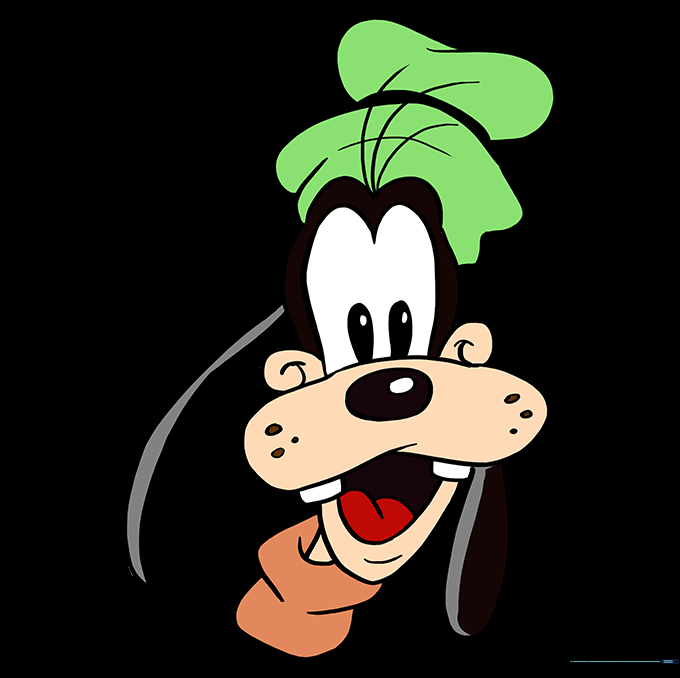
🎯 Final Result
Step-by-Step Instructions
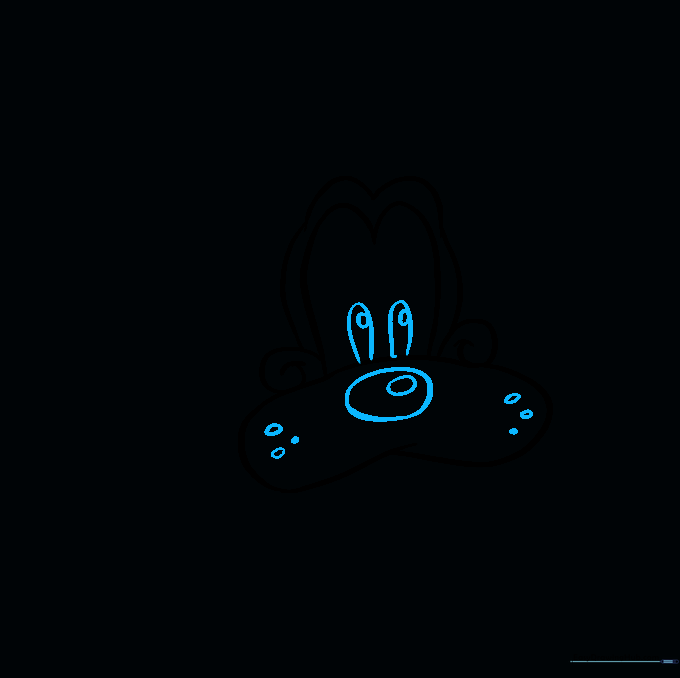
Sketching the Eye Outline
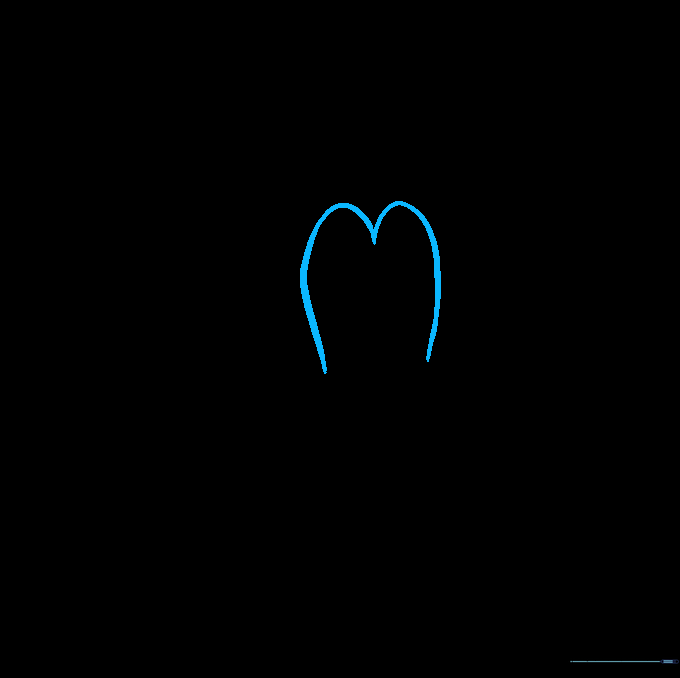
Start by drawing a rounded 'M' shape to form the top of Goofy's eyes. Teacher's Tip: Keep the curves soft and symmetrical to give him that friendly, classic look.
Defining the Muzzle
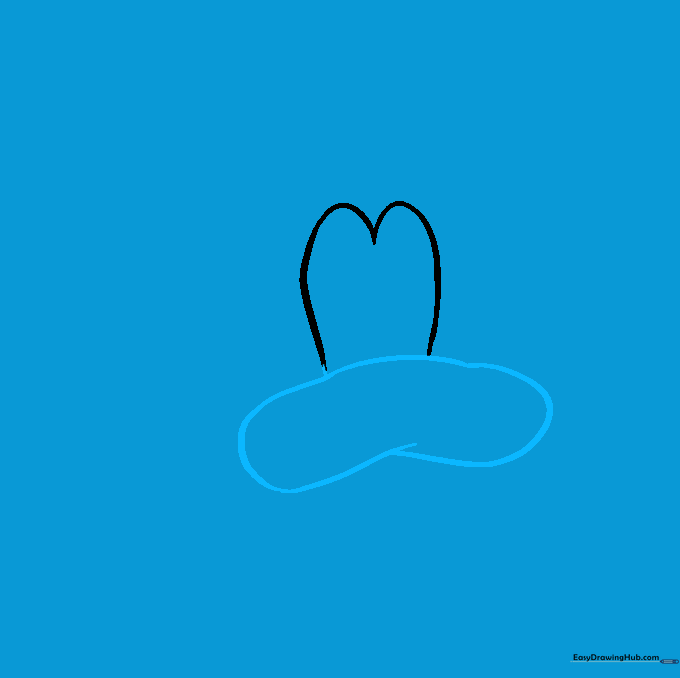
Draw a bent oval shape beneath the eyes to create the snout. Tip: Let the lines overlap slightly at the bottom to give the muzzle a three-dimensional feel.
Shaping the Mouth and Head
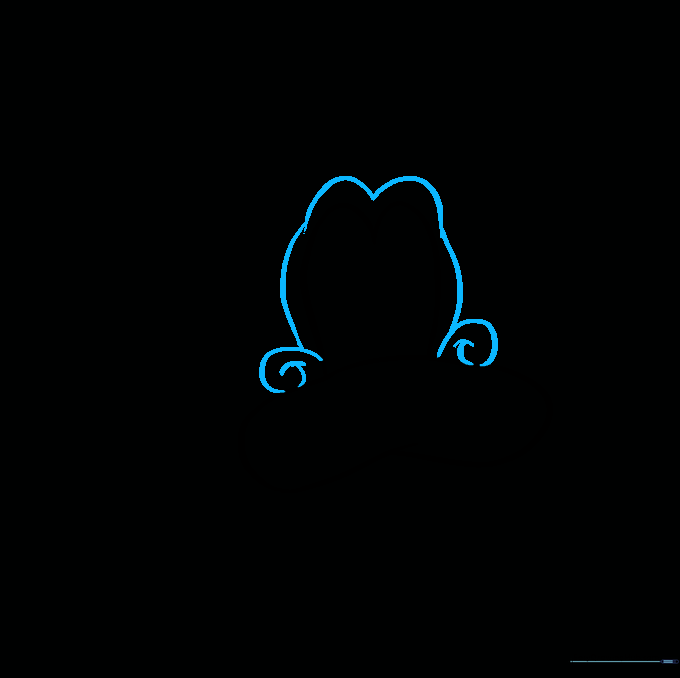
Add spiral shapes at the corners of the mouth, extending them upward. Then, draw a curved line parallel to the eyes to define the top of his head. Tip: Use a light touch here so you can adjust the head shape if needed.
Adding Facial Details
Draw two small ovals for pupils with tiny circles inside for highlights. Add an oval-within-an-oval for the nose and small ovals on the muzzle for whiskers. Tip: Keep the pupils centered to make Goofy look focused.
Drawing the Floppy Ears
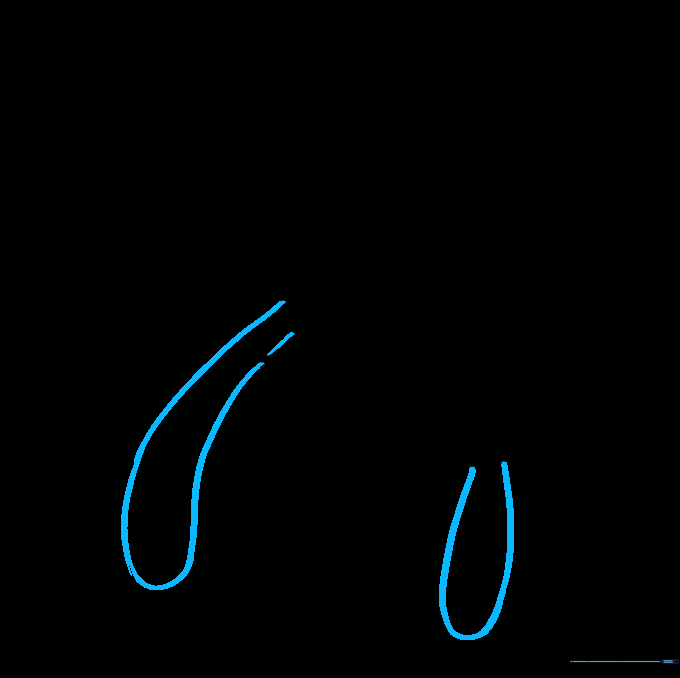
Use long, curved lines that double back to create his signature floppy ears. Tip: Make them nice and long—Goofy’s ears are one of his most recognizable features!
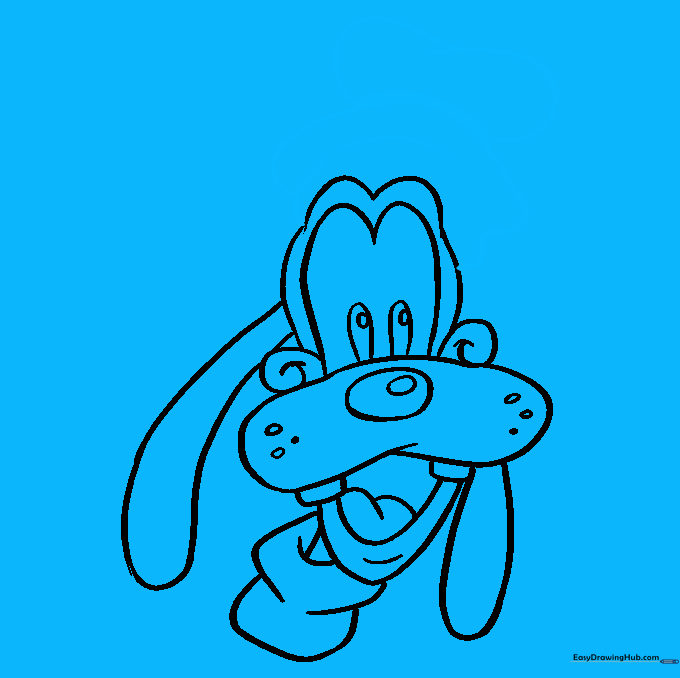
Adding the Mouth and Teeth

Draw two small rectangles for teeth and large 'U' shapes for the open mouth. Add a curved line for the tongue and a small curve for the chin. Tip: Ensure the teeth are slightly rounded to match the cartoon style.
Sketching the Collar

Use overlapping curved lines to draw the collar of his shirt and the neck. Tip: Keep the lines smooth to show the fabric folding around his neck.
Adding the Hat
Draw the base of the hat with a long curved line, then add the crown with overlapping lines. Shade the hatband for contrast. Tip: A slightly crooked hat adds to Goofy's silly personality!
Final Touches
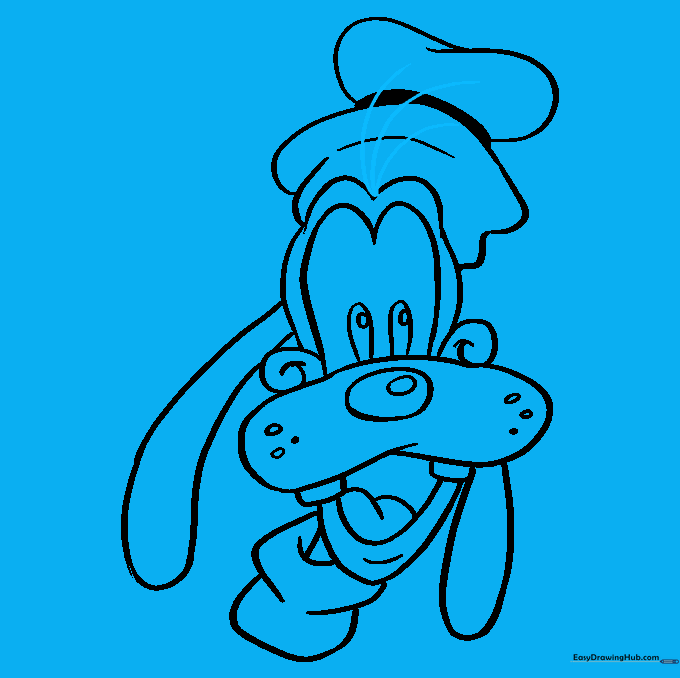
Draw three small curved lines for hair peeking out from under the hat. Tip: Keep these lines short and flick your pencil upward for a natural hair texture.
Coloring Your Masterpiece
Bring Goofy to life! Use black for his fur, a bright green for his hat, and a vibrant orange for his shirt. Tip: Use light, even strokes to keep the colors smooth and consistent.
More Tutorials


