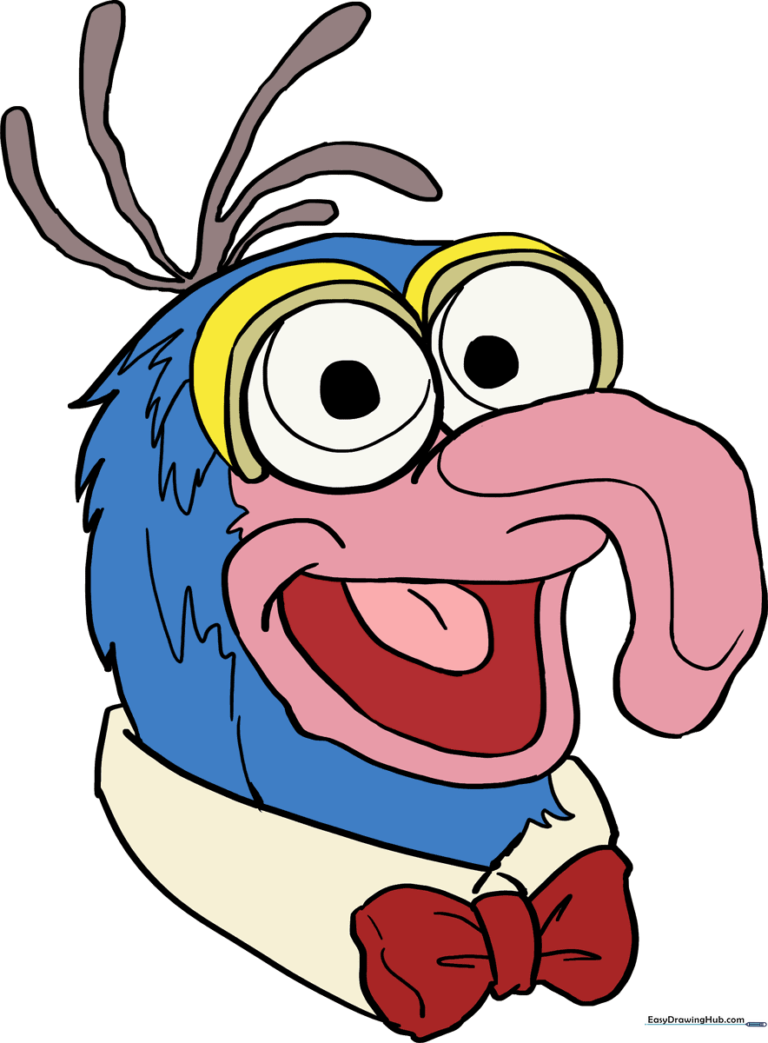
How to Draw Gonzo: Easy Step-by-Step Muppets Tutorial
Ready to bring The Great Gonzo to life? This tutorial is designed for young artists and Muppet fans to practice character sketching using basic shapes. Grab a pencil, an eraser, and some paper to start building your favorite daredevil’s iconic look.
🎯 Final Result
Step-by-Step Instructions
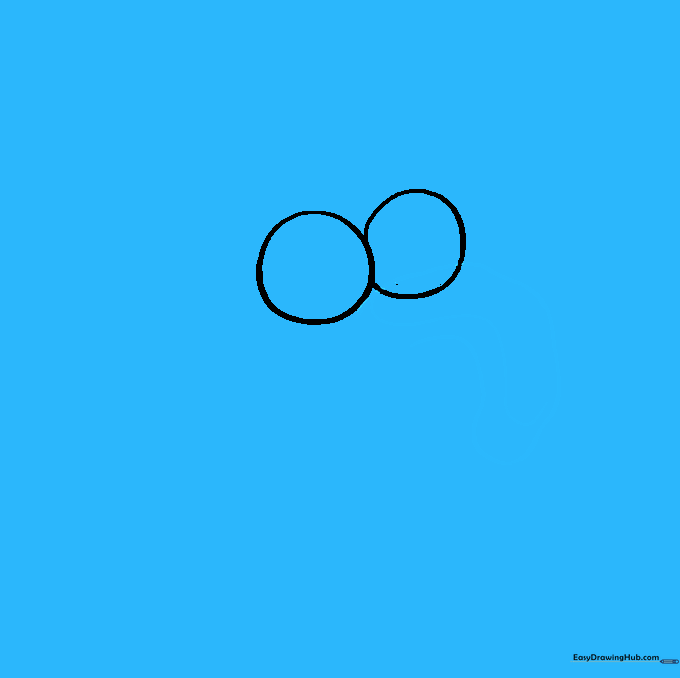
Step 1: Sketching the Eyes

Draw two light circles side-by-side. Teacher's Tip: Keep these circles small and close together; they act as the foundation for Gonzo's expressive face.
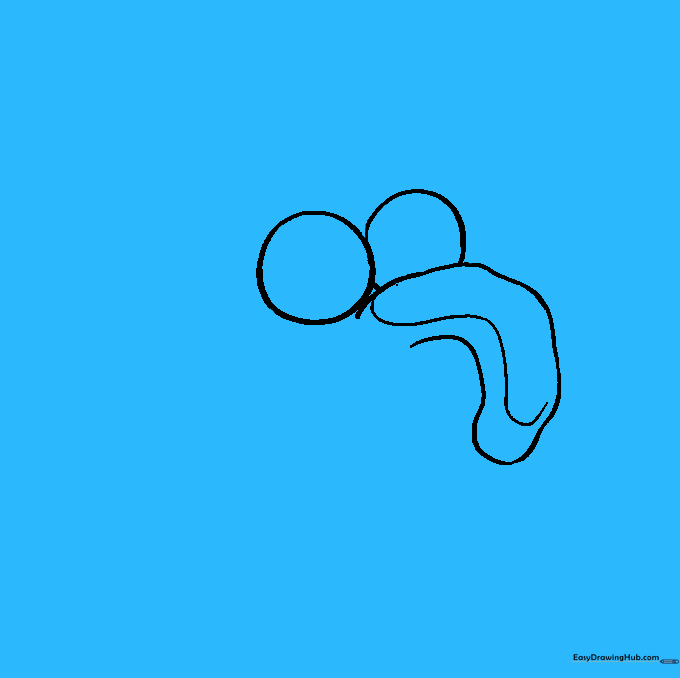
Step 2: Shaping the Iconic Nose
Extend a long, curved line from below one eye, looping it back to form a large 'C' shape. Add a second line inside to give it volume. Tip: Don't worry if it looks a bit wobbly; Gonzo's nose is famously flexible!
Step 3: Defining Eyes and Lids
Add pupils inside the eye circles and draw double-layered curved lines above them for eyelids. Tip: Eyelids give him that classic, slightly surprised Muppet expression.
Step 4: Drawing the Mouth

Use 'U' shaped lines to create the lower jaw and tongue, connecting them to the base of the nose. Tip: Use short, light strokes to show the texture of the tongue.
Step 5: Outlining the Furry Head
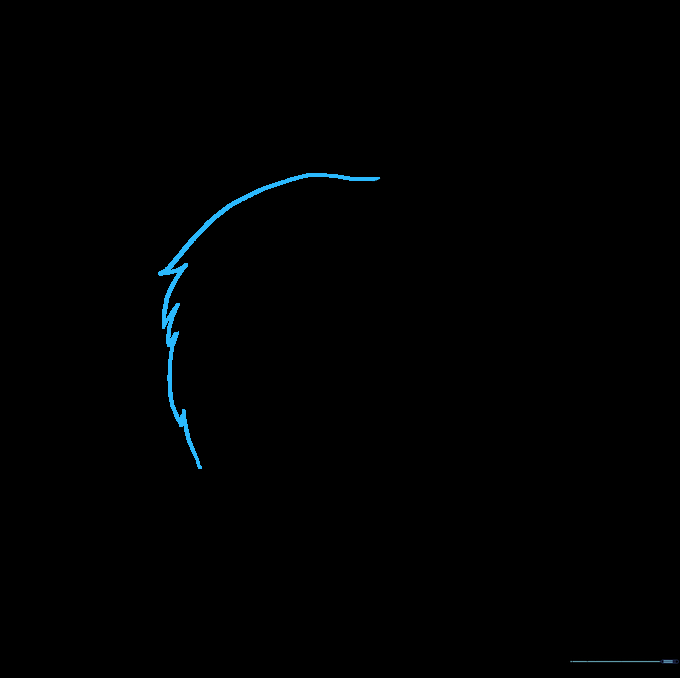
Draw a long, sweeping curve for the top of the head. Use short, jagged lines at the back to suggest his fuzzy texture. Tip: Keep your pencil moving quickly to get that 'unruly' look.
Step 6: Adding Fur Texture
Add more jagged, short lines around the sides of the head and below the mouth. Tip: Vary the length of these lines to make the fur look natural and messy.
Step 7: Drawing the Collar
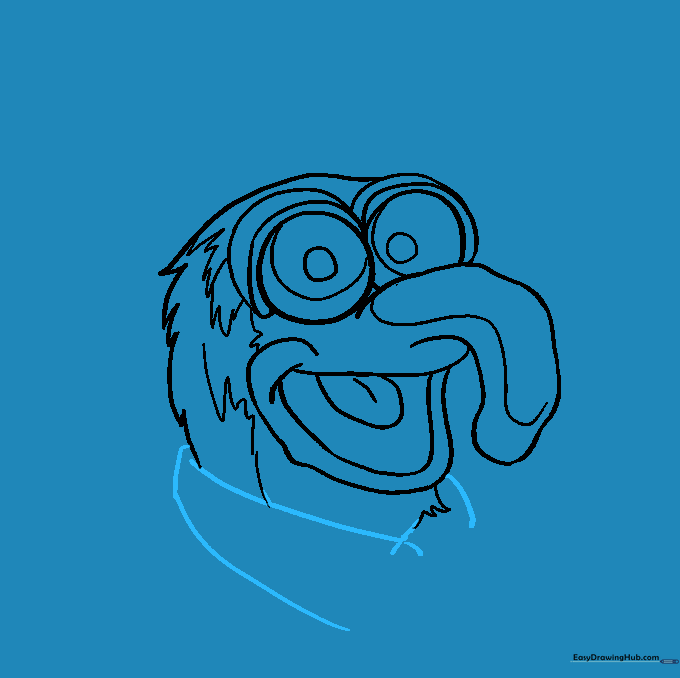
Use curved lines to draw the collar of his shirt, framing the bottom of the head. Tip: Ensure the collar lines connect smoothly to the jawline.
Step 8: Adding the Bowtie

Draw a bowtie at the center of the collar using a small rectangle and two irregular shapes for the ribbon. Add curved lines to show the fabric folds. Tip: Folds make the bowtie look 3D!
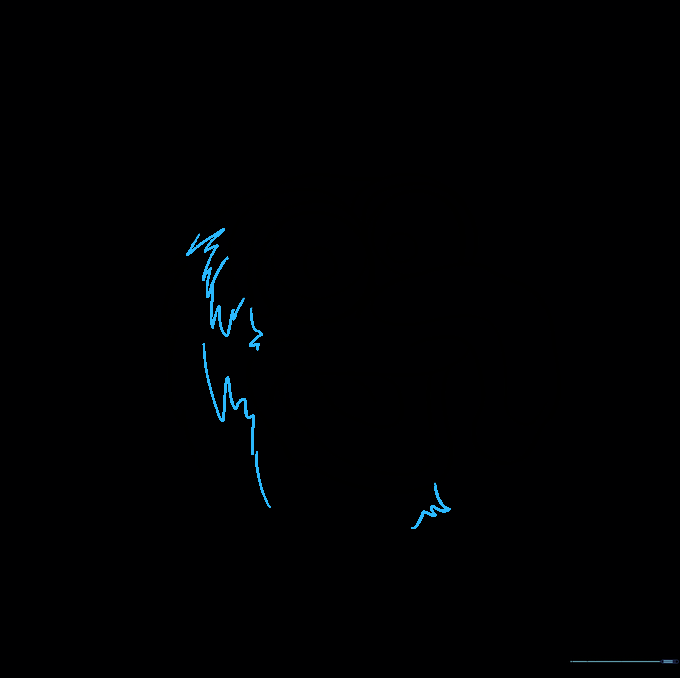
Step 9: Adding Unruly Hair
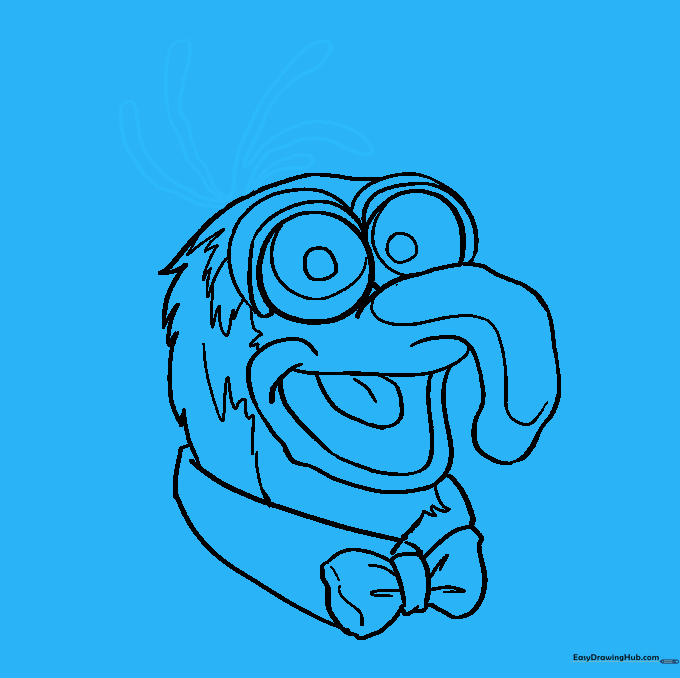
Draw long, curved lines on top of his head to create his signature wild hair. Tip: Make them loop back on themselves to give them volume and bounce.
Step 10: Bringing Gonzo to Life with Color
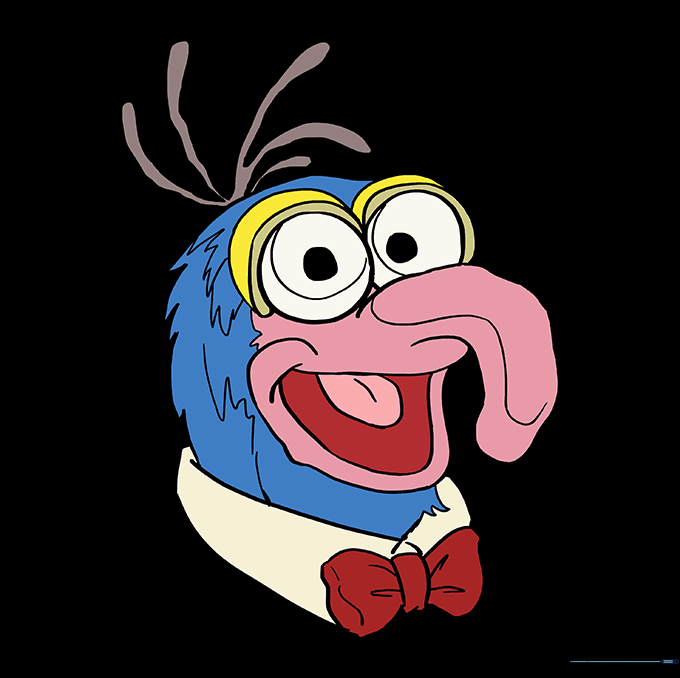
Color your drawing! Use bright blue for his fur, yellow for the eyelids, and a soft pink or purple for his nose. Tip: Use light pressure with your colored pencils to create smooth, even shading.
More Tutorials


